Privacy/Disclosure Policy
Privacy/Disclosure Policy
Terms & Conditions, Shipping, & Refunds
Babble Dabble Do
SHOP
CLASSES
Art for Kids
12 Easy Art Ideas: Start Here
20+ Preschool Art Projects
75 of the Best Arts and Crafts for Kids to Enjoy Creating
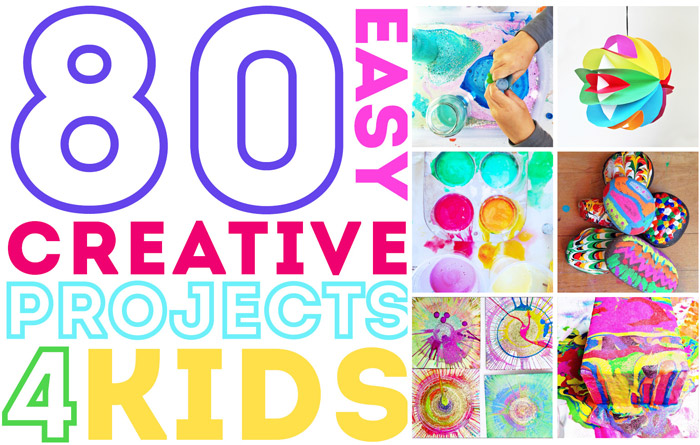
80 Easy Creative Projects for Kids
Art for Kids: All Projects
Science for Kids
80 of the Best Physics Projects for Clever Kids
30+ Science Fair Projects
50 Chemistry Projects That Will Amaze Kids!
20 Science Projects for Preschoolers
20 Science Experiments for Kids
30 Simple Kitchen Science Experiments for Curious Kids
Science for Kids: All Projects
Engineering for Kids
25 STEAM Projects for Kids
100 of the Best Recycled Crafts for Kids
STEAM Toy Guide: Smart Toys for Little Designers
Engineering for Kids: All Projects
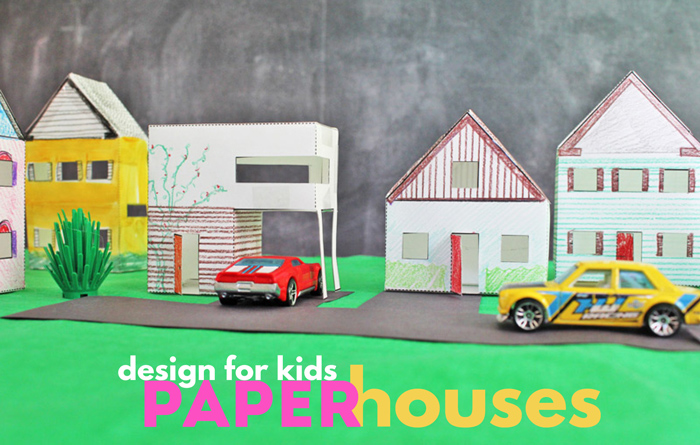
Design for Kids
60+ Amazing Paper Crafts For Kids and Adults
40+ DIY Toys
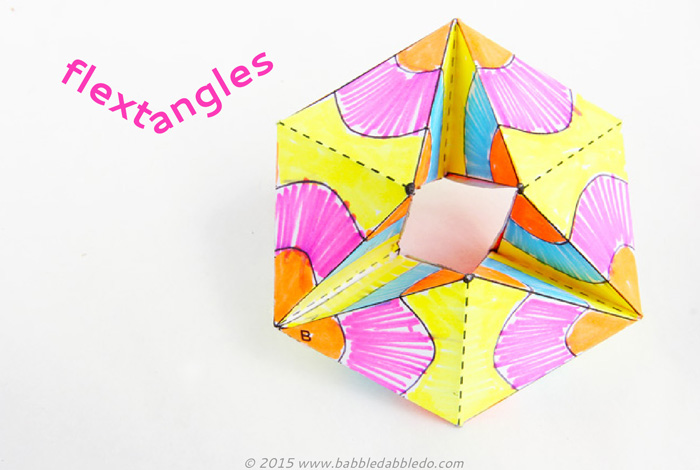
Design for Kids: All Projects
STEAM Gift Guide: Smart Toys for Little Designers
How to Get Started Doing STEAM Projects At Home
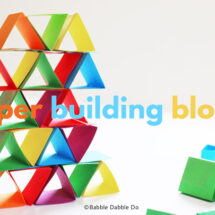
How strong is paper? Find out by making Paper Building Blocks
More Engineering for Kids
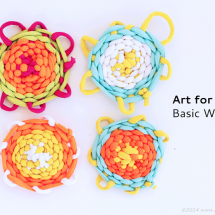
Basic Weaving for Kids Using Recycled Plastic Looms
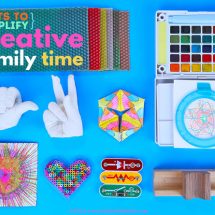
Gifts to Simplify Creative Family Time
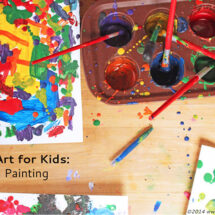
Easy Art for Kids: Crayon Painting
More Art for Kids
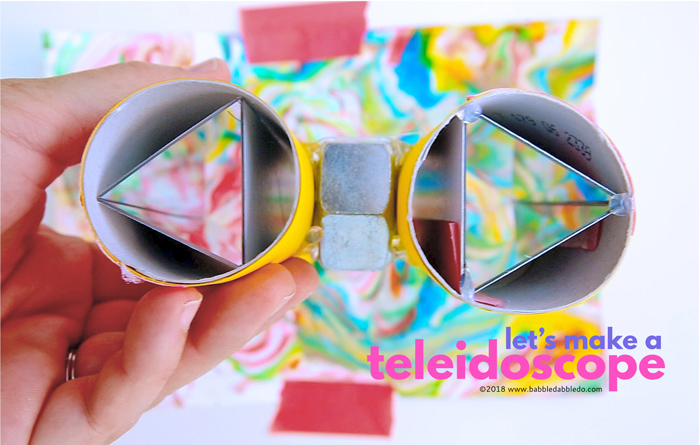
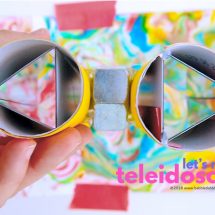
How to Make a Teleidoscope and a DIY Kaleidoscope
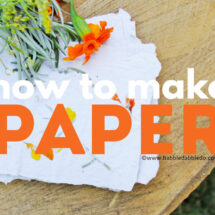
How to Make Paper
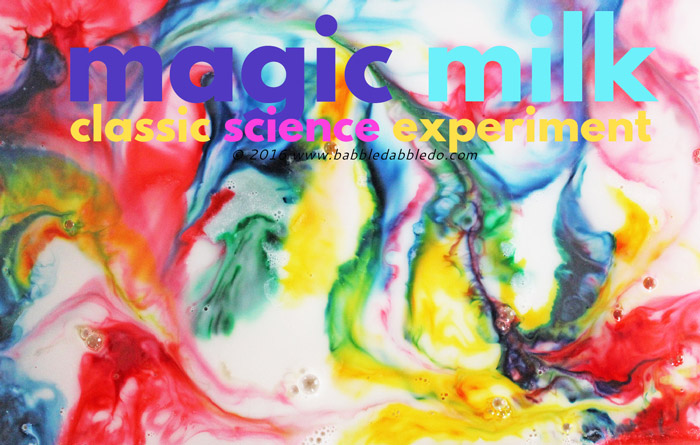
Science & Art for Kids: Salt Pendulum
More Science for Kids
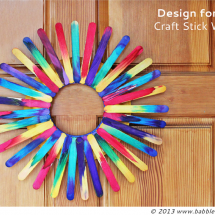
Craft Stick Wreath
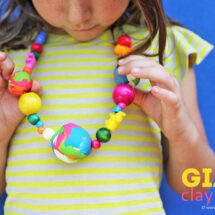
Polymer Clay Ideas: GIANT Clay Beads
How to Make Books with 5 Simple Book Binding Methods
More Design for Kids
Pin It on Pinterest
Share This
Pinterest
Facebook
Google+
Twitter
Gmail
We use cookies to ensure that we give you the best experience on our website. If you continue to use this site we will assume that you are happy with it.
Ok
Read more