Attention all Wizards…your first Charms lesson is here…are you ready to learn a science magic trick to surprise your fellow Hogwarts students?
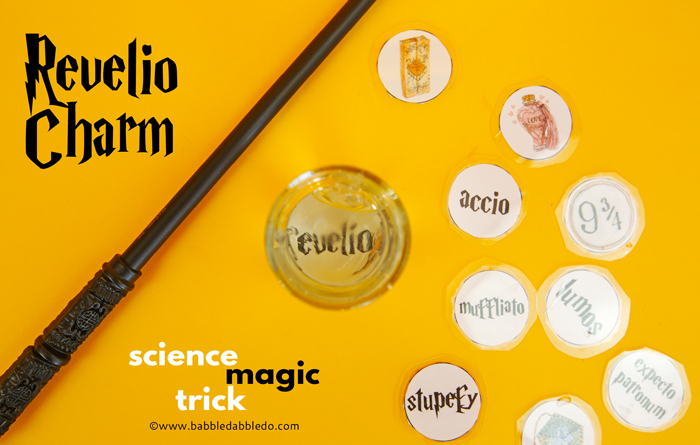
Today’s project invites you to learn a little bit about the “magic” of optics. Be sure to scroll down to then end of the post for a scientific explanation of this charm.

This post contains affiliate links to products.
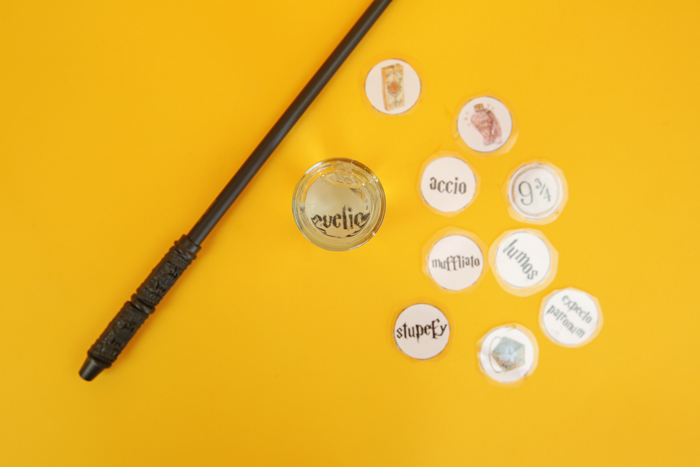
Revelio Charm:
A Science Magic Trick for Kids
PRINT THE TEMPLATE HERE

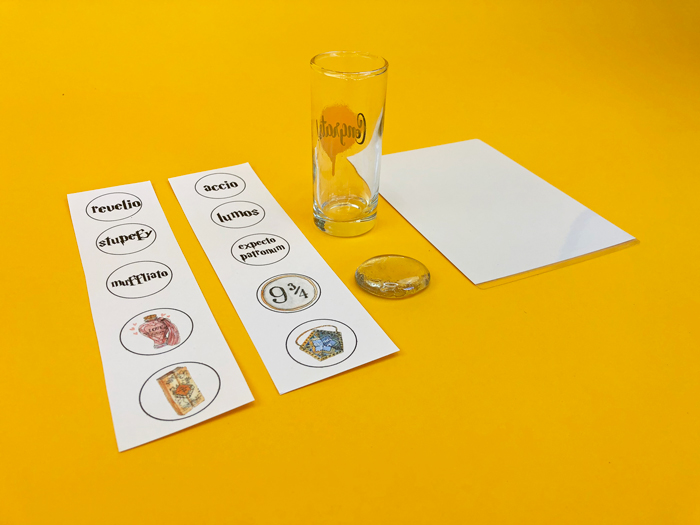
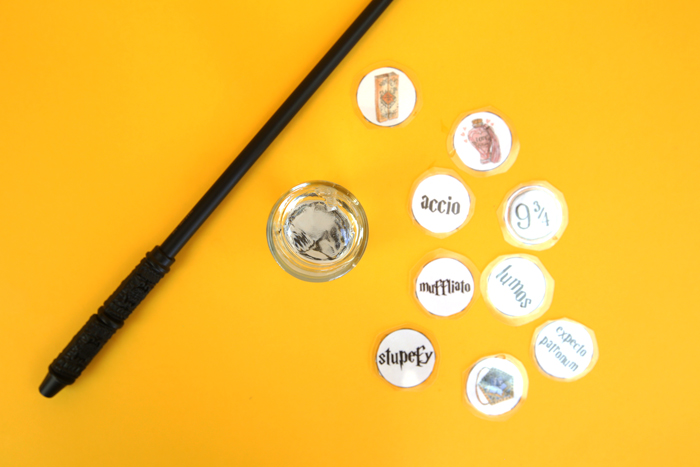
Materials
- Shot glass (I purchased ours at the dollar store)
- Clear large flattened marbles (available in the artificial flower section of craft stores or the dollar store) Note: The marble must be big enough to completely cover the bottom of the glass. It does not need to be the exact size of the bottom of the glass – the marble we used was larger and sat in the glass at an angle. Also be sure to use a marble with a relatively smooth surface on both sides.
- Hot glue gun/glue/skewer Optional
- Template
- Scissors
- Self Laminating Sheets Optional These will protect the cards when the get wet.
- Water
Instructions
- Step 1 Print template and cut out circular cards.
- Step 2 Optional Place mini cards on a sheet of self laminating plastic and press down to create seal.
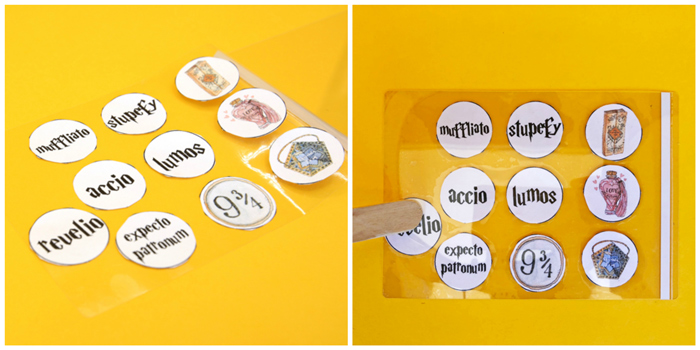
- Step 3 Cut out laminated circular cards. Set aside.
- Step 4 Place a large flattened marble into the shot glass with the round side facing up. It may be angled. It does NOT have to sit at the bottom of the glass. Ours actually was about 1.5 inches above the bottom of the glass.
- Step 5 Optional Place a small dab of hot glue on the edge of the marble to secure it in place. You may need to squeeze the hot glue on the end of a toothpick or skewer and then quickly press the glue onto the marble/glass connection point.
How to perform the science magic trick:
- Step 1 Place one of your cards down on a table.
- Step 2 Place the glass on top of the card. Looking down at the glass from above you will not be able to see the card beneath the glass.
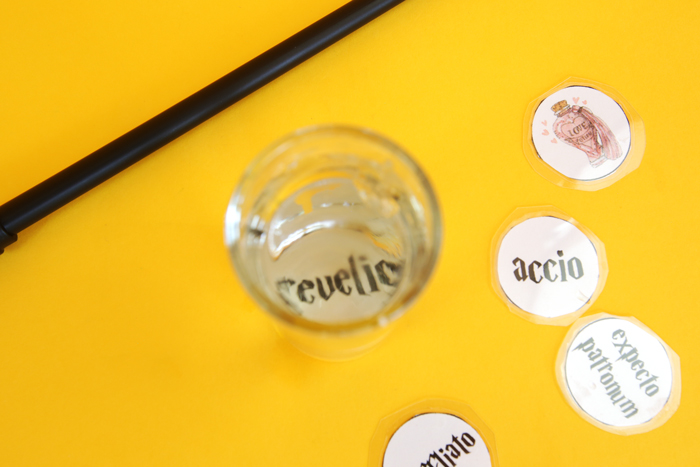
- Step 3 Wave your wand above the glass and say “Revelio.”Now pour your magic liquid AKA water into the glass to completely cover the flattened marble.
- Step 4 You can now read the card beneath the glass!
The Science Behind the Magic
Here’s a little secret my dear young wizards, this is actually not a magic trick…it’s science! Let’s go over a few scientific terms before we get to the explanation of how this works:
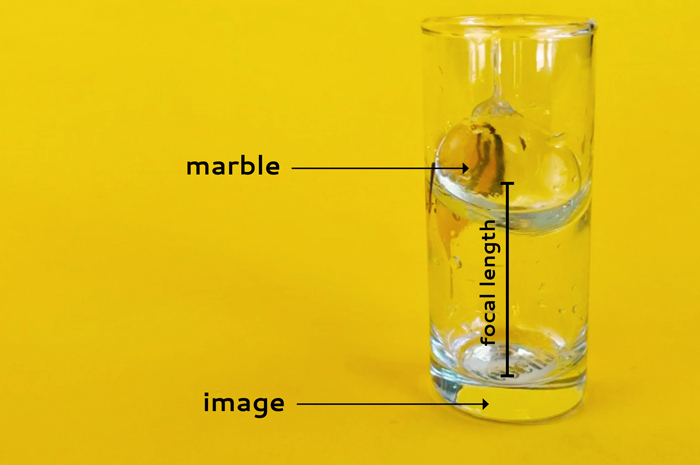
- A lens is piece of glass that is curved on one or both sides and used to bend light to either increase or decrease the size of the image below. Lenses are used in telescopes, microscopes, and binoculars. In this project the flattened marble is our lens.
- Focal length is the distance between the center of a lens and the object it is focusing on. So in this case, the focal length is the distance between the marble and the circular card underneath the glass.
- Refraction is the term used to describe the bending of light as it passes from one clear substance to another.
Okay so here’s what’s happening: When you place the marble in the glass, the picture below it is no longer in focus. This is because the image is beyond the focal length of the marble lens. Water is denser than air so when you add it to the glass it changes the direction of the light rays entering the glass and further “bends” the light. This is an example of refraction. The refraction caused by the addition of water changes the focal length of the marble and now you can see the image below the glass AND it’s magnified!
More from Potter Hop!
Be sure to check out the other spellbinding posts featured in today’s Potter Hop
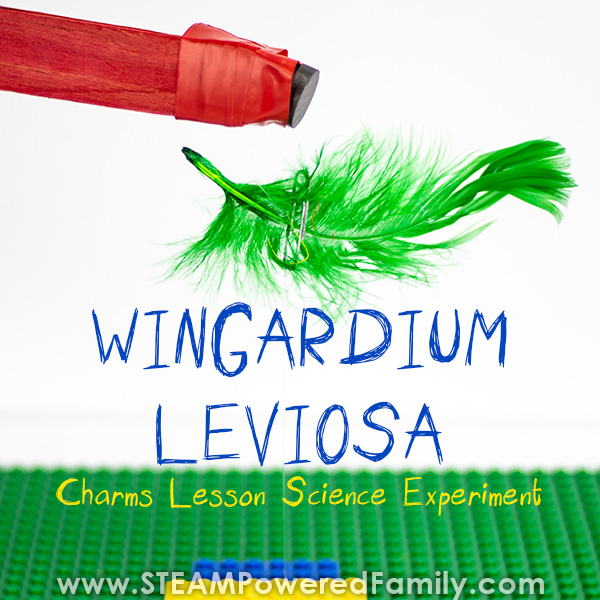
Wingarduim Leviosa!
And for the complete index of posts in this series go here:

Are you passionate about raising creative kids?
Join over 22,179 parents and educators who want connect with kids and nurture their creative process through magical, easy projects you can do TOGETHER.
Subscribe to our email list to receive project ideas as well as offers for some our creative products.
If you want to read our privacy policy before subscribing, hop over here.
Leave a Reply