I love to do science experiments. There I said it. I may be an adult but I love a good science experiment when I see one and luckily being a blogger means I get to try them with my kids “for work.” I do sometimes feel I have the coolest job in the world…but I digress.
This post originally appeared as 20 Quirky Cool Science Projects for Kids in 2014. It has been updated with our best content here.
Science for kids is one of the main subjects we focus on here on Babble Dabble Do and you’ll find that the science we like to explore is a little, well…offbeat.
Most of these are not your standard science experiments for kids, rather I always look for science projects that are both visually appealing, fun, and if possible surprising. A science project that is exciting to undertake AND looks engaging are our top criteria; the designer in me knows that the more interesting a project looks upon presentation, the more it will be attacked with gusto by kids and adults alike!
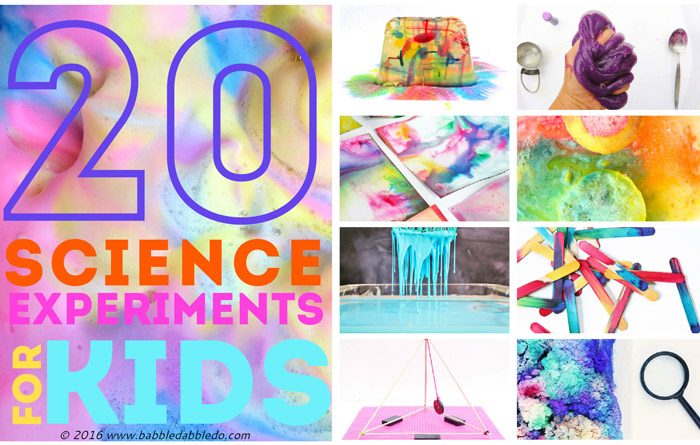
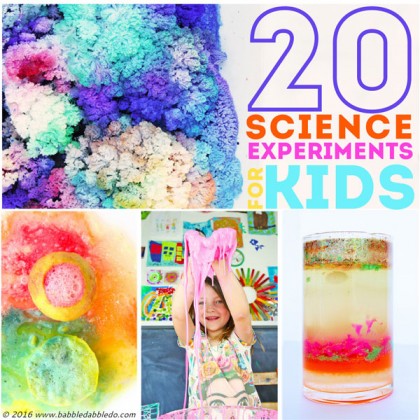
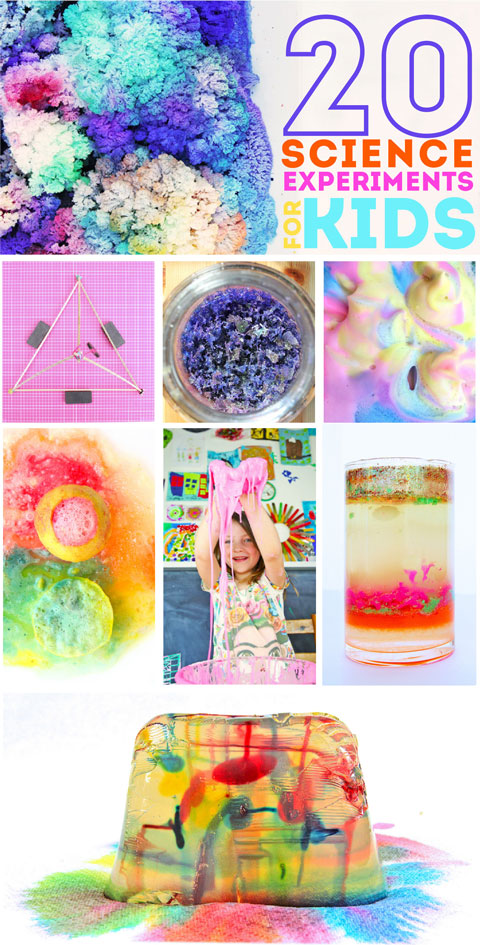
Here are 20 of my family’s favorite science experiments, many of which would be perfect for the science fair or homeschoolers.
Note: This post contains affiliate links to products I love and recommend to my readers.
CRYSTALS
Click on the project title for a link to the full experiment.
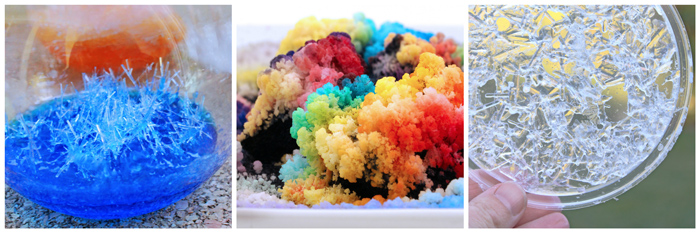
Crystal Garden
Want to try your hand at growing crystals but short on time? This is a fun crystal experiment that takes less than 24 hours to get results. And the best part is it uses only one ingredient you can buy at the grocery/drug store.
Crystal Suncatchers
This is a companion project to the crystal garden experiment. When pouring out the excess water from your garden you can make a couple suncatchers on the side! They offer a different and close up view of crystallization.
Crystal Landscapes
Salt crystals are a classic science experiment. We turned ours into colorful landscapes by supersizing the experiment and adding some food coloring.
Weird & Wonderful
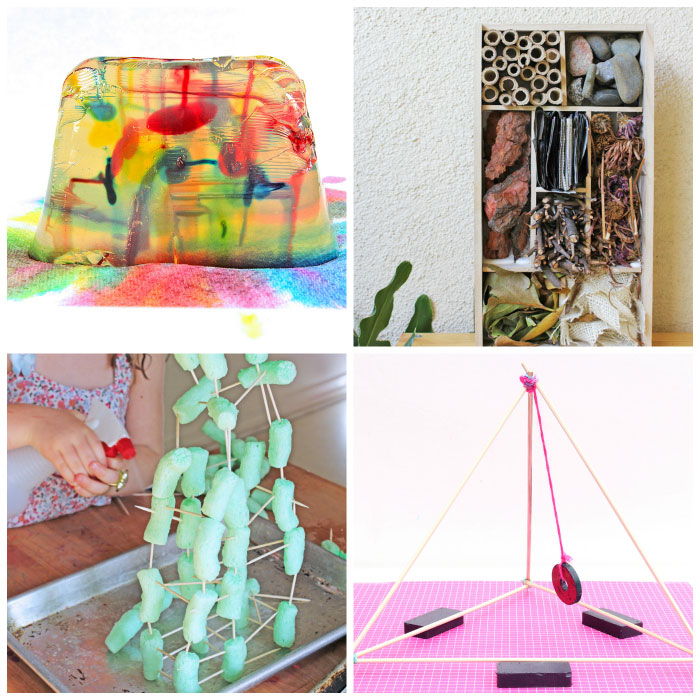
Insect Hotel
Grown-ups tend to see insects as pests, especially indoors, but kids see insects for the amazing creatures they are. This project celebrates insects by making a home for them. Insect hotels are also beneficial for your garden. Learn how to make one here.
Building and DESTROYING Toothpick Structures
The architect in me loved making structures using eco packing peanuts and toothpicks. The wrecking ball nature of my kids loved melting them with water! It’s structures with a twist of chemistry! Instructions here.
Magnet Magic
Think you can move something without touching it? Have you ever seen an indecisive magnet? We built a super siple hanging magnet structure out of skewers and then tried 4 different experiments exploring the force of magnetism. Full Tutorial Here.
Gelatin Streaking
Okay this project is just plain weird. But so cool! We tried this after a funny back story. See why we did it here.
Oozing Experiments
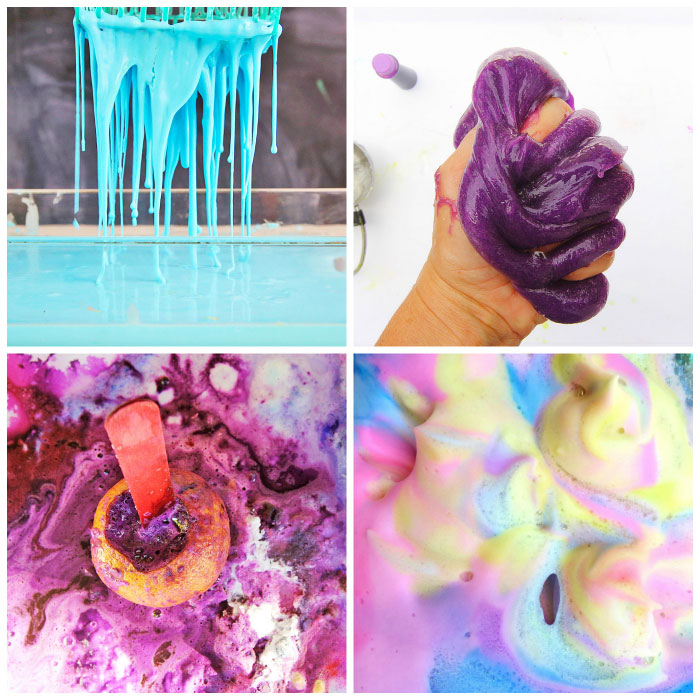
Neon Slime
All kids have to try making slime at some point in their lives. There is nothing more enticing that oozing, rubbery, stretchy substances and this recipe/chemistry experiment is an all-time favorite of my daughter’s. Plus our version is Borax-free. Recipe here.
Elephant Toothpaste
Another classic! We have been experimenting with turning it into Elephant Soap as well. See how the classic experiment works here.
Oobleck
My daughter presented this as her science fair project this year and we watched loads of people spend time squishing this marvelous substance. Is it a solid or a liquid? Find out here.
Lemon Volcano
Got a lemon tree? Then this is for you! These are the best smelling volcanoes out there and exploits the chemical reaction between citric acid and baking soda. Full instructions here.
LIQUIDS
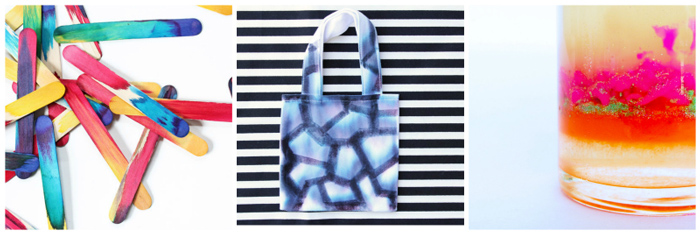
Chromatography Bags
Chromatography is a fancy description for the process of separating mixtures into components. In this experiment we prove that black is really made up of different colors. All you need are water based black markers, rubbing alcohol, and some fabric. Alternatively this experiment can be done using paper towels or coffee filters, a black marker, and water. Try it here.
Dip Dyed Craft Sticks
Color mixing is one of the easiest science projects you can do with kids. Simply put three bowls filled with red, blue, and yellow water out and ask the kids to combine two of the colors in an empty bowl. They will be delighted at the magic color that appears! This project expands on that and creates some funky looking craft sticks in the process. See what happens when wood absorbs primary colors over several hours….
Density Tower
Think all liquids mix? Density plays a huge part in whether or not a liquid will mix with another liquid. See what happens when you “stack” liquids! Try it here.
Siphons

Materials
8’-10′ length of clear tubing, Water, Food coloring, (3) 1 Gallon water jugs, Zip Ties, Fence, Small colored gravel, Bulb Syringe , Utility Knife (ADULTS ONLY), duct tape
Instructions
- Step One Cut the top off one of your jugs. Poke a large hole near the bottom of the jug to insert the tubing. Poke two holes near the top to use to hang it on the fence. Place a zip tie through each of the top holes and secure the jug in place on the fence (it will be heavy when filled with water). This will be your starting point.
- Step Two Place one end of the tubing into the top jug. Seal the openings around the tubing/jug connection with duct tape. Make sure the end of the tubing is touching the bottom of the jug interior.
- Step Three Use zip ties to secure the tubing to the fence with in a slight downward position to create a “roller coaster” look. Make sure that end of the tubing is lower than the tubing start point. Add a jug at the end of the tubing to catch the water. Have a 2nd jug nearby to use when transferring water to the start point. Keep the tubing end loose enough to be able to lift it higher than the tubing start to stop the siphon.
- Step Four Fill jug with water, add food coloring and some fine gravel.
- Step Five Squeeze your bulb syringe and hold it in the squeezed position while you insert it into the end of the tubing. When you are ready to start, release the syringe and the suction will pull the water through the tubing. Try again if it doesn’t work at first. Remove the bulb syringe and position the end of the tubing to dump into the jug at the siphon end.
- Step Six Continue adding water to the top container to keep the siphon flowing. Suck up the fine gravel and watch it move through the tubing! To stop the siphon lift the end of the tubing higher than the start point.
Tips
- Don’t make the upward climb too high or too loopy. The bulb syringe will not be able to create enough suction to pull water through a super steep incline.
- Don’t put the zip ties too tightly around the tubing and make sure there are no kinks in your tubing that will restrict water flow.
- Do make sure the siphon end is below the start point. That is the number one rule of siphons!
Experiments with Paper
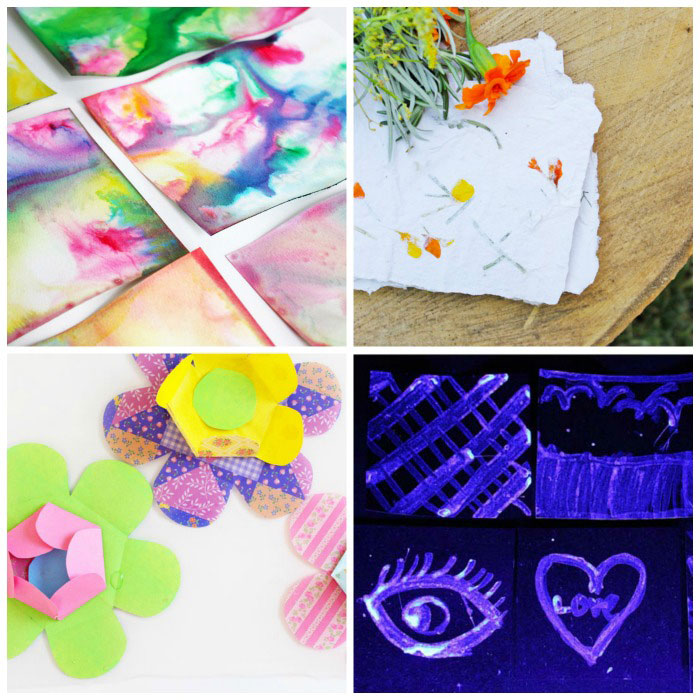
Marbled Milk Paper
I love this experiment because not only do you get to do some science, you also make pretty paper too! It’s been one of the most popular projects here on Babble Dabble Do and for good reason! We used almond milk for the experiment. Full Instructions here.
How to Make Paper
Paper making is an involved process but it doesn’t have to be intimidating. Chemistry is “…the investigation of the properties (of substances) and the ways in which they interact, combine, and change; and the use of these processes to form new substances.” So yes, paper making qualifies as a chemistry experiment in my book (pun intended) Plus you end up with a pretty cool product afterwards. Set up a paper making station and make funky paper using paper scraps, seeds, glitter and more! Learn how to set up a Paper Making Station.
Kirigami Water Blossoms
Since paper is made from a natural material it also absorbs water. This is a sweet little blossoming project that exploits the expansion of paper fibers when they get wet. Printable and instructions here.
Invisible Ink
Another classic science project is making invisible ink. We made some using laundry detergent, yes that’s right many laundry detergents glow! See how we did it here.
You can also try these two methods of making invisible ink:
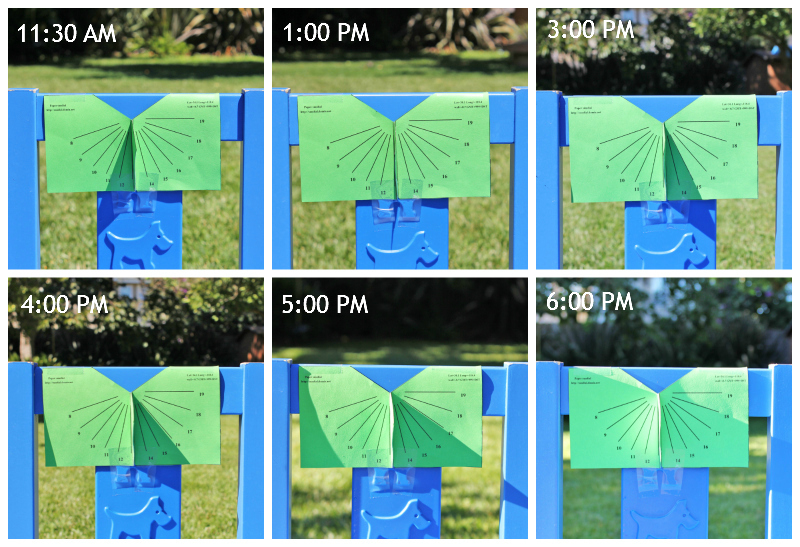
Paper Sundials
 Materials
 Materials
Paper, Access to the Internet and a printer, Scissors, Tape
Go here to create a sundial for your location
Instructions
- Step One Determine where you will be placing your sundial. Chose a location that is in full sun for most of the day.
- Step Two Visit Damia Soler’s website to create your own sundial. Plug in all the information for the location you will be placing the sundial. Be sure to drag a line across the face of the wall you will be placing the sundial on.
- Step Three Print your sundial.
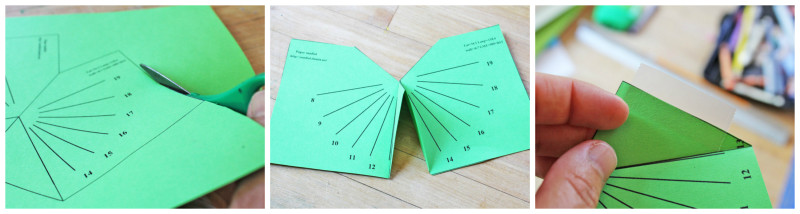
- Step Four Cut and fold the sundial according to the website’s directions. Tape the gnomon (that’s the part of the sundial that casts the shadow) together.
- Step Five Tape your sundial on the surface you chose in step one. Since we don’t have a lot of easily accessible wall locations in full sun, I decided to place our sundial on a chair in the backyard.
- Step Six Read it! Show your child the numbers and have them compare the shadow cast by the gnomon to the time on a clock. This is especially obvious at the start of an hour so take them outside at intervals to check the accuracy of the sundial.
The next time you are looking for a science experiment for kids (or yourself, hee, hee hee) and maybe one slightly off the beaten path, try one of the 20 experiments we’ve done here! Many of them are cross disciplinary projects which I believe helps kids think outside the box, a trait necessary for creativity!
Even more science fun:
I was a contributor a wonderful ebook resource Fizz, Pop Bang! Playful Science and Math Activities which for children aged 3 to 8.
Check it out here: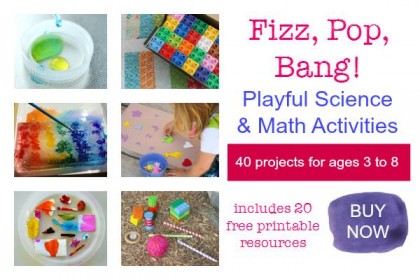
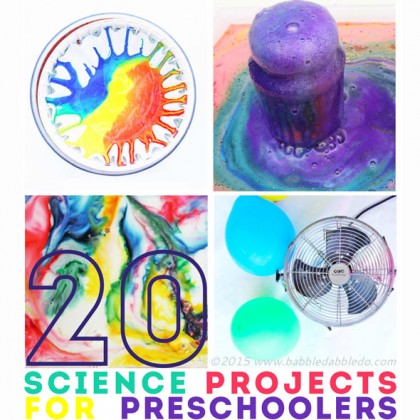
Be sure to visit our companion post
20 Science Projects for Preschoolers
Many of the projects are enjoyable for kids of all ages!
Fill your child’s life with more art, design, science, and engineering!
Subscribe and get our projects delivered straight to your inbox.
Yes! Love these, and I’m thinking we might just systematically work through them. You have the best science experiments.
Thanks Jeanette! You know how much I adore Artchoo……..
These are all so great!!
Thanks so much Victoria!
These are great! Guess I love the quirky because I see several I want to try with my daughter! 😉
I love off the beaten path projects! Glad to find a kindred spirit!
so nice . I like the art project so much.