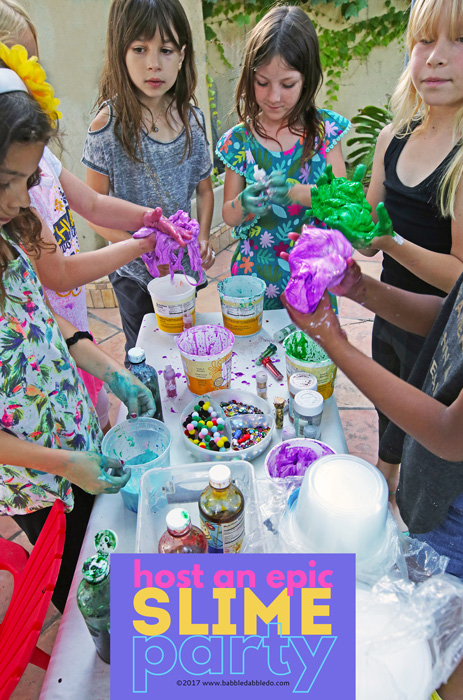
It’s the best kind of messy, it’s creative, it’s a blast, these are three reasons you should consider throwing an epic slime party for your child’s next birthday!
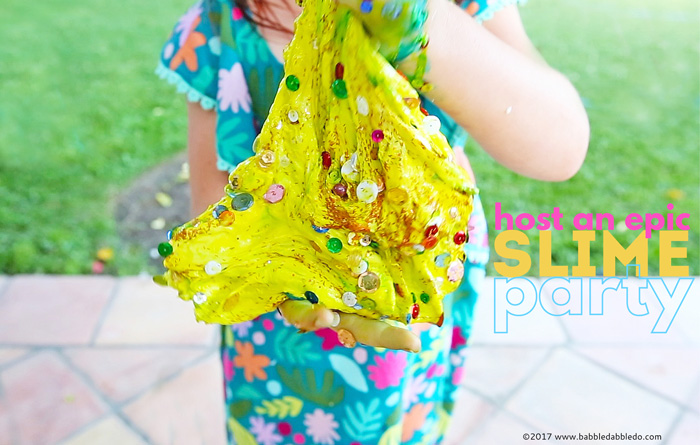
My 8 year old is obsessed with slime. We have 12 batches sitting in little containers as I write this, the fruits of quite a lot of slime making experiments. So for her birthday earlier this year we decided to have a slime making party and it was a HUGE hit with her friends.
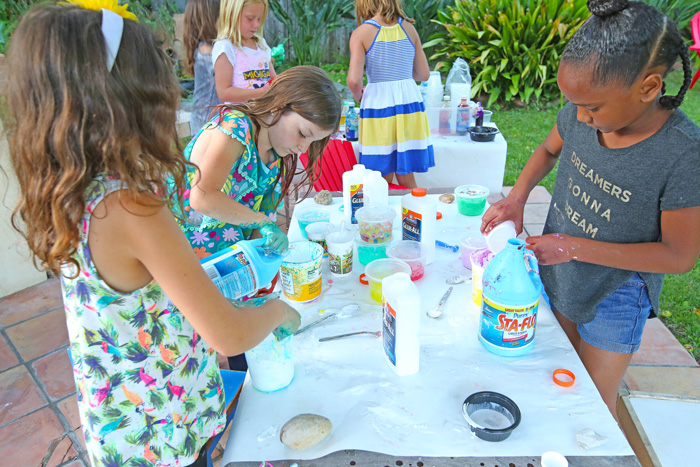
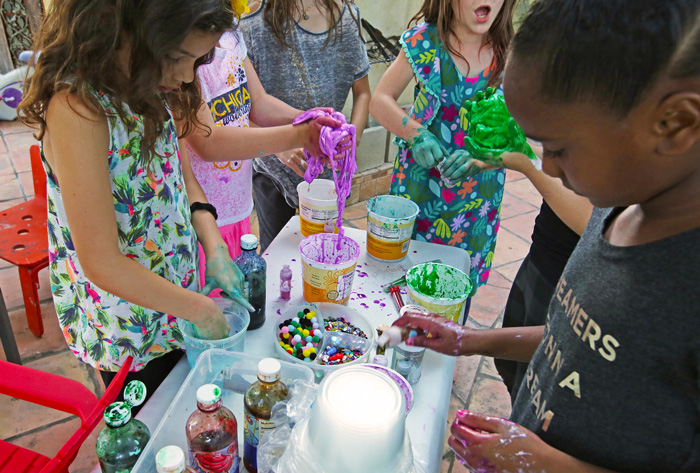
Okay so let me just say this off the bat, having 6-10 kids making slime at once is MESSY! Really messy! But with a little preparation you can successfully contain the mess and let kids have the freedom to experiment. And that’s what I love most about slime, kids love the hands-on play and creativity it affords. Once kids are out of preschool they get fewer and fewer opportunities for sensory play activities and slime is probably the coolest sensory play for older kids; they LOVE it!
So let’s get on to the party…
How to Host an Epic Slime Party
This post contains affiliate links to products.
Slime Party Supplies
- 4 oz cups
- Drop cloths
- Painter’s Tape
- Bowl
- Food Coloring
- Divided tray
- Trays (optional but good for fluffy slime) If you are close to an IKEA pick up some of their clear plastic trays for under $2 each!
- Plastic containers with lids
- Gift Bags
Slime Bar Goodies
Location
- Outside is best I highly recommend having it outside if at all possible on a patio. Outside messes can always be hosed down afterwards.
- Put nice things away! If you have the party inside be sure to have it in a place far away from precious items especially fabrics like sofa etc. Slime does come out of fabric BUT it’s best to avoid a fabric mess in the first place.
Preparation
- Cover everything This is optional but it makes clean up SO EASY! Before the party purchase plastic drop cloths and painter’s tape. Place and tape the drop clothes down on the patio or floor and then move a table(s) in the center of the drop cloth. Place an additional drop cloth on the table(s).
- Containers, containers, containers Have lots and lots of containers on hand for mixing and measuring! I love to put my collection of recycled plastic containers to use here!
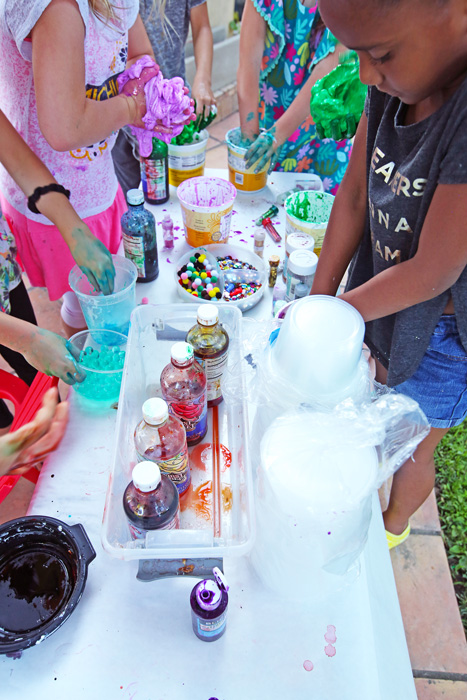
- Set-up a Slime Bar Use a divided party tray to display a number of things kids can add to the slime. Here’s what I suggest you include
- Food coloring
- Glitter
- Sequins
- Foam Balls
- Sand
What Slime to Make
For a slime party I recommend making one of two basic slimes and the having a Slime Bar where kids can personalize their slime with colors, glitter, foam balls and more.
Basic Slime Recipe
Materials
- Glue Buy the gallon size for the party. 1 gallon make enough for about 30 batches of slime.
- Liquid Starch Tide laundry detergent may be substituted
- Food Coloring
Instructions
Start with the following ratio of glue to starch: 2 Parts glue to 1 Part Starch, then fine tune as described below.
- Step One Pour your glue and starch into the bowl using the ratio above. We used 1/2 cup glue to 1/4 cup starch for each batch
- Step Two Add food coloring if desired.
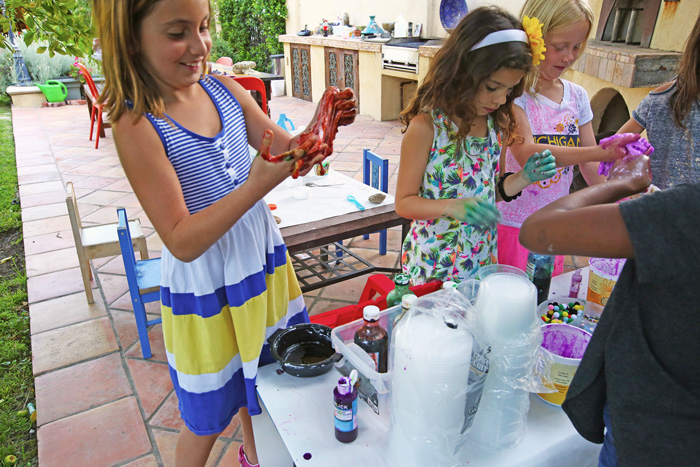
- Step Three Stir well to combine. Once the mixture starts to gel you can mix it with your hands. You will know when the slime is properly mixed because it will NOT stick to your hands or the bowl.
Fine Tune It
- If your slime is too liquidy add more glue 1-2 tablespoons at a time.
- If your slime is too sticky add more starch 1 tablespoon at a time.
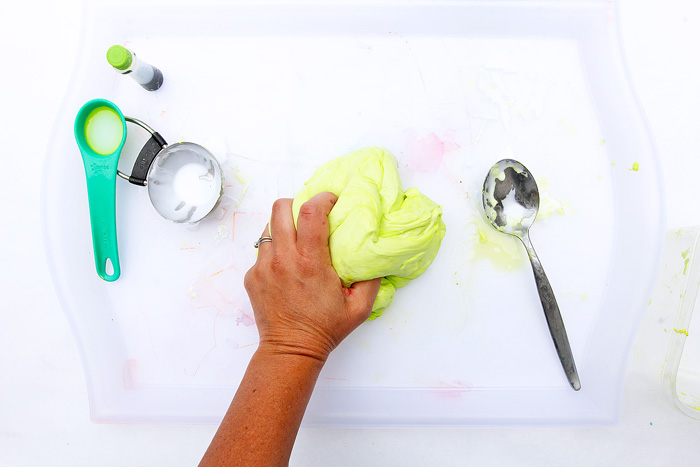
Fluffy Slime Recipe
Materials
- White Glue
- Shaving Cream Stock up at the dollar store
- Contact Lens Solution
- Baking Soda
- Food Coloring
Instructions
- Step One Pour 4 oz of glue into a bowl.
- Step Two Add food coloring. Mix
- Step Three Add (2-3) cups of shaving cream. Mix
- Step Four Add ¼ teaspoon baking soda. Mix
- Step Five Add 1 Tbsp of contact lens solution. Mix.
- Step Six Pour the contents onto a tray and knead everything together.
Leading the Party
- Sample and Demo Start by showing kids a sample of the slime they are going to make. You can either demonstrate how to make the slime or have them make a batch alongside you.
- Adults should pour the glue! Adults should be in charge of pouring the glue (a 1 gallon of glue is heavy!) and the activator (either starch or contact lens solution).
- 4 oz cups are awesome It helps to have individual 4oz cups for each child to use to measure out the ingredients. These can be purchased online or at the supermarket/restaurant supply stores.
Clean Up & Storage Tips
- Have plastic deli containers with lids on hand for storing each slime. Be sure to have the kids name their slimes and write it on the lids!
- If you get slime on clothing, carpets, floors, even hair (been there done that), the best way to remove it is with white vinegar.
- For clothing soak the affected area in vinegar for a minute then rub the slime to dissolve it. Wash and dry as usual.
- The quicker you get to it, the easier slime is to remove!
- Most slime will last indefinitely if kept in an airtight container.
Party Favors
Send everyone home with a bag for their slime and some slime extras! Here are some party favor ideas:
- Slime 101 book
- Smoothie Straws (perfect for blowing slime bubbles)
- Clean-up tips for parents. Print our handy list here along with labels (coming soon)
- Balloons Perfect for making slime stress balls!

Okay are you pumped??? You can do this and your slime obsessed child will be so happy you dove in and helped them host an EPIC SLIME PARTY!
Leave a Reply