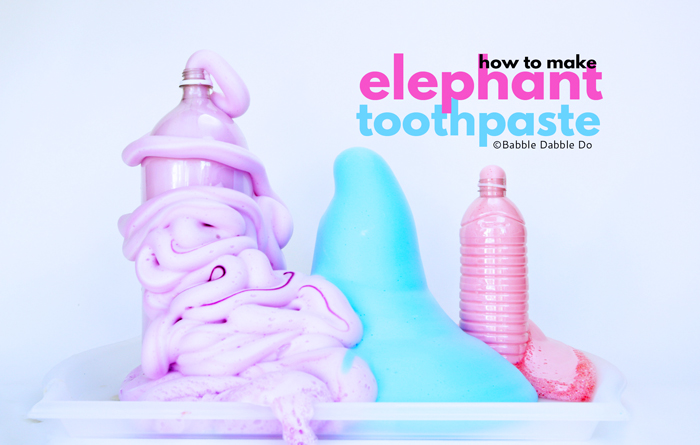
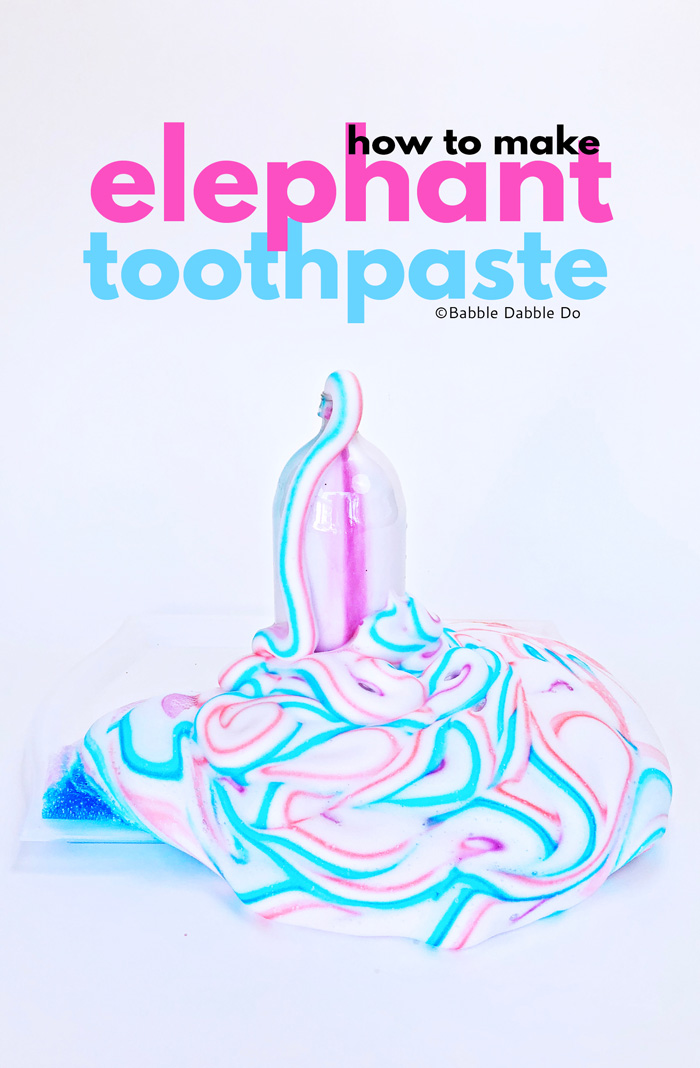
Of all the classic science experiments out there, learning how to make elephant toothpaste has been one of the most amazing I have ever tried. EVER. It definitely has a big wow factor that impresses both kids and adults and leaves everyone talking excitedly about how cool science is!

Today I will be sharing the following with you:
- How to make classic elephant toothpaste
- How to make striped elephant toothpaste
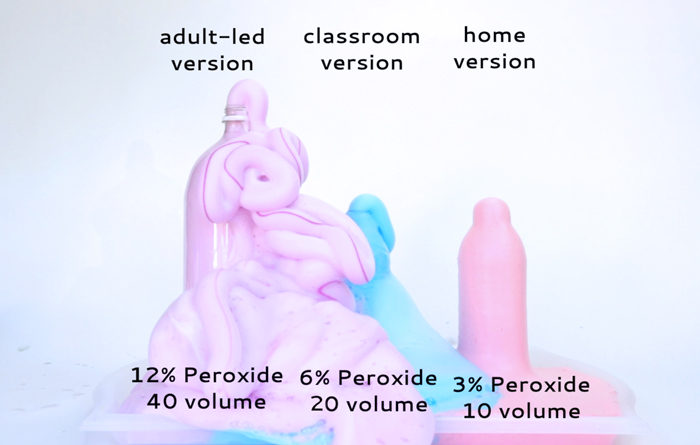
- The difference in the reaction depending on the strength of hydrogen peroxide used
- How to set this up as a classroom experiment
So consider this your definitive resource for how to make elephant toothpaste with readily available materials There is one version we have not yet tried that uses special chemicals and should only be done by adults. You can read about that here.
This post contains affiliate links to products.
How to Make Elephant Toothpaste
The instructions below will work for 10, 20, and 40 volume peroxide. The hydrogen peroxide typically bought at the drug store is 10 volume. It will work but much less dramatically. See below for a comparison image.
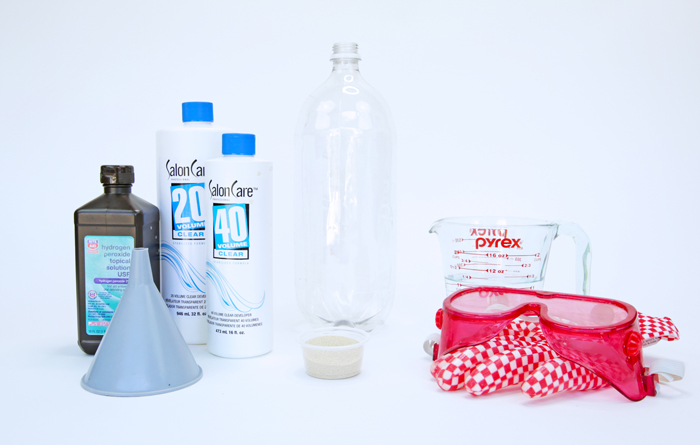
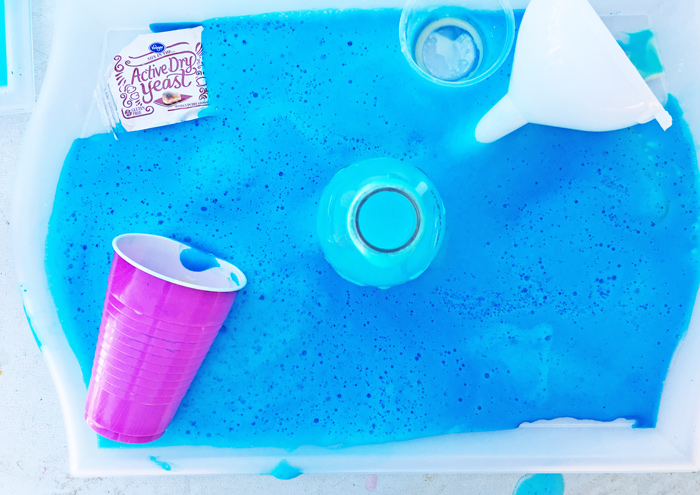
Materials
- ½ cup (4 oz) Hydrogen Peroxide- Use 20 volume for classroom experiment and 40 volume for adult demo. Be sure to use clear developer NOT cream.
- Food Coloring
- Very Warm Water
- Yeast Use 1 packet per experiment or ½ Tbsp if measuring from a jar
- Dishsoap
- Recycled Plastic Water Bottle (see experiments below for suggested sizes)
- Funnel
- Tray
- Measuring Cups and Spoons
- Safety Goggles
- Plastic Gloves
SAFETY NOTES
Let’s talk safety first!
- I recommend the 40 volume experiment to be conducted by adults only as a demonstration for kids.
- 20 and 40 volume Hydrogen Peroxide are high concentrations of peroxide and can irritate/burn the skin. Adults only should pour the peroxide into the bottles.
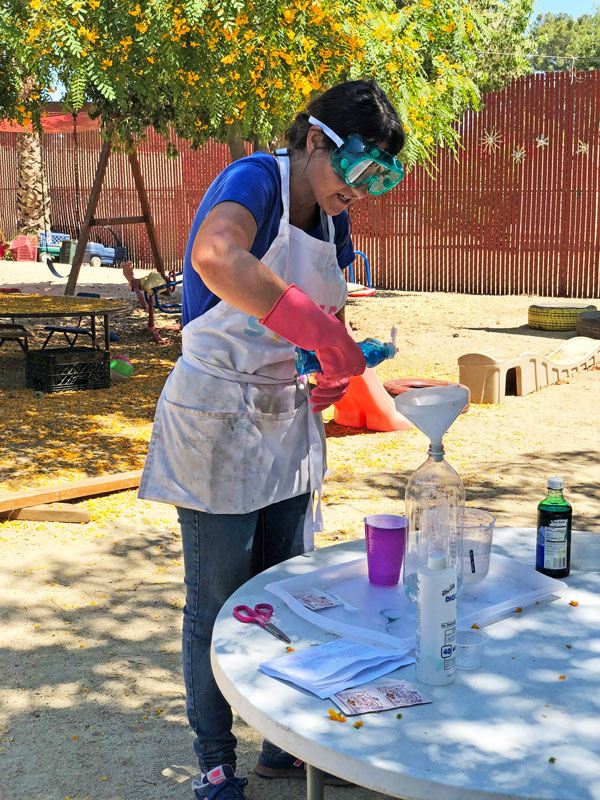
- Adults and children should wear safety goggles and plastic gloves at all times during this experiment
- The bottles can easily tip! Once the hydrogen peroxide has been poured into the bottles please have kids hold the bottle steady so it does not fall over and spill.
- The foam is HOT! Do not touch the foam until it has cooled. And keep your gloves on!
Instructions
Wear gloves for the entire process when using 20 or 40 Volume Hydrogen Peroxide! If it gets on your skin it will sting. Wash it off immediately with soap and water.
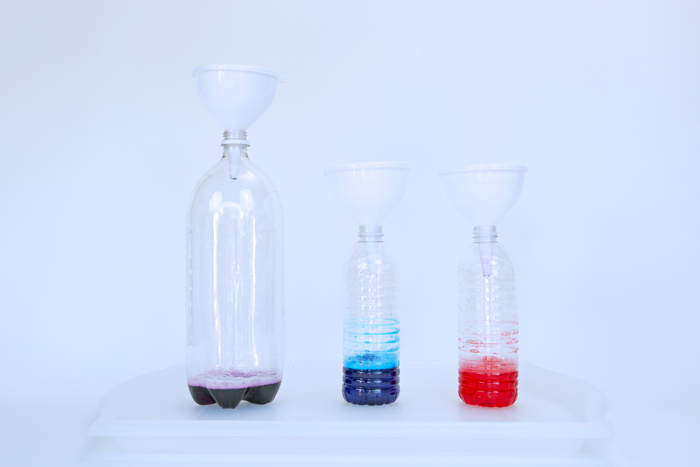
- Step One Place your bottle in the center of a tray with sides. There will be a lot of foam and this will contain the mess. Place a funnel in the bottle neck.
- Step Two Add a few squirts of dishsoap to the bottle
- Step Three Add ½ cup (4 oz.) of hydrogen peroxide to bottle. Gently swirl to mix.
- Step Four Add in a squeeze of food coloring. Gently swirl to mix. See below for striped version instructions.
- Step Five Mix 1 packet or 1 Tbsp of yeast with 1/2 cup (4oz.) of very warm water. Stir to dissolve. It may be pasty.
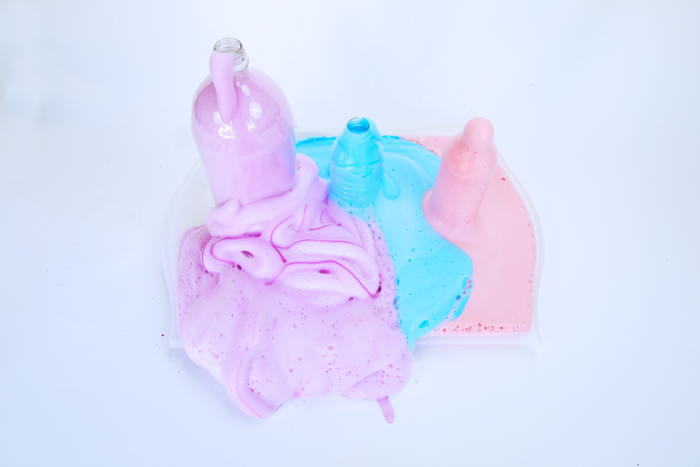
- Step Six Pour the yeast mixture through the funnel into the bottle. Give it a quick swirl then step back. BAM!
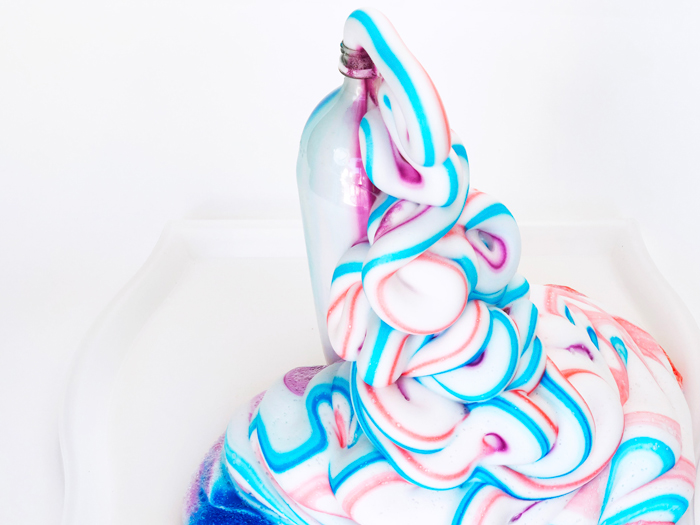
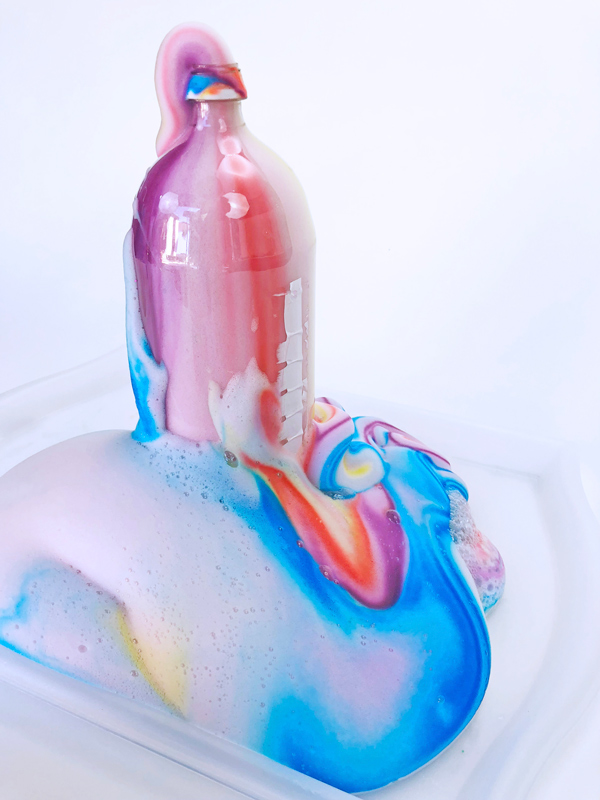
How to Make Striped Elephant Toothpaste
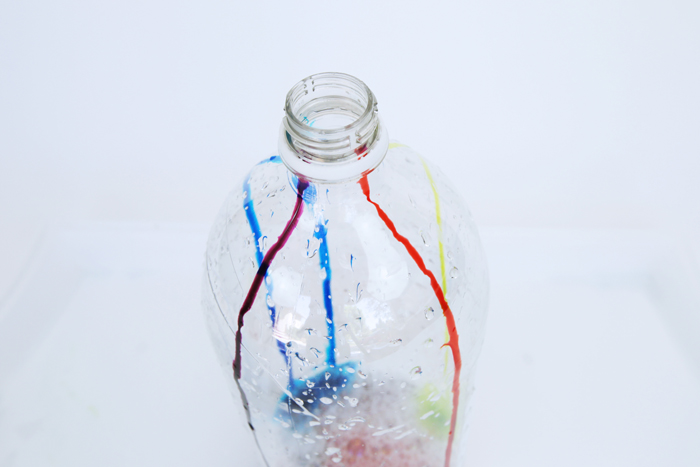
The striped version works best as an adult led demonstration. You must use a a smooth sided bottle! When you get to step 4 in the instructions above do the following:
Gently tilt the bottle and squeeze the food coloring onto the side of the bottle neck. Let it drip down the side of the bottle. Rotate the bottle and add more “stripes.” DO NOT swirl the food coloring with the peroxide! Add the east as directed above being careful not to switch the bottle around too much.
Tips
- Yeast If possible use freshly opened yeast! Yeast that has been opened previously does not work as well.
- Foam Safety The foam is HOT! Once cooled it is safe to touch however I do recommend keeping your gloves on. Any hydrogen peroxide that may not have reacted with the yeast or might have leaked on the tray or bottle can sting and/or burn the skin.
- Clean-up Safety Be sure to keep your gloves on during clean-up so as not to accidentally touch any hydrogen peroxide that may not have reacted with the yeast. I speak from experience when I say that it will temporarily sting/burn your skin and leave a white bleached spot. If you do get the 20 or 40 volume hydrogen peroxide on your skin wash it immediately with soap and water.
- Clean this up immediately. Over the course of couple days the yeast will STINK! I learned this the hard way when I waited a few days to thoroughly clean all our supplies.
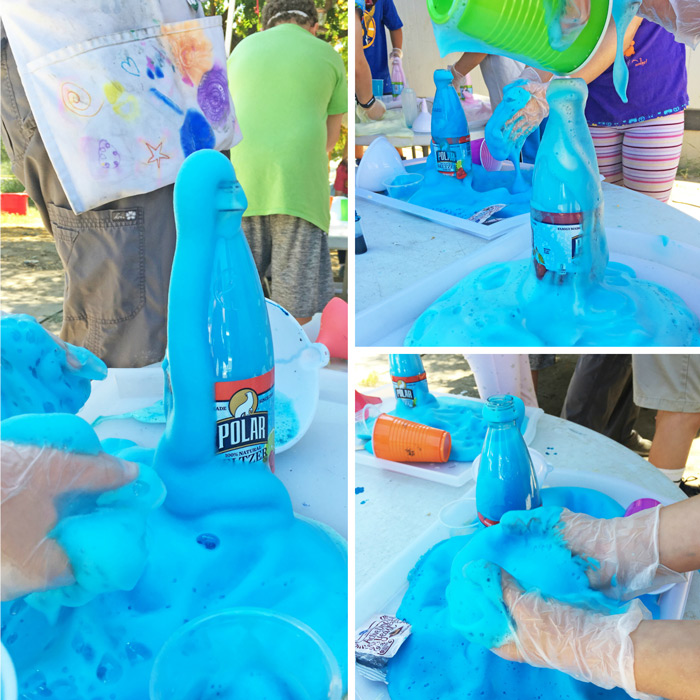
How to Run a Classroom Experiment
If doing this with a group of students I recommend the following set-up:
First I like to demonstrate the project in front of the kids using the 40 volume version of the experiment. It’s a wonderful way to get the kids revved up and excited. Set-up a table in front of them where they watch at a safe distance. Talk about the safety procedures while doing the experiment. Add in a countdown for extra anticipation!
After doing the adult led- demonstration we let the kids try the experiment with the 20 volume peroxide.
IMPORTANT: All kids must wear safety googles and gloves at all time while doing the experiment!
Set up individual stations in advance. For each student place the following items on a tray:
- Yeast 1 packet per experiment or ½ Tbsp if measuring from a jar
- Recycled Plastic Water Bottle Use a 2-liter bottle for the adult run demo and smaller water bottles for the student version.
- Funnel
- Safety Goggles
- Plastic Gloves
- Small bowl and spoon
Place dish soap and food coloring at the table for the kids can share.
- Step One Have students put on their goggles and gloves. No exceptions!
- Step Two Ask each student to add a squeeze of dish soap and food coloring to their bottle
- Step Three Adults should go around to each student and pour 4oz of hydrogen peroxide into the bottle. Have the kids hold the bottle and funnel steady while the peroxide is being added.
- Step Four Student should remove the funnel and place on the tray.The funnel makes the bottle unsteady and easy to knock over.
- Step Five Students should empty their yeast packet into a small bowl. Adults can go around to each student and pour 4oz of very warm water into each bowl. Students should stir to dissolve the yeast completely in the water.
- Step Six Have students place the funnel back on their bottle being careful to hold the bottle steady with one hand.
- Step Seven Have students add in the yeast mixture. Remind them to remove the funnel, give the bottle a gentle swirl if they can and then step back.
Students will want to touch the foam! I have them wait until it has cooled and leave their gloves on while touching the foam.
Let’s Talk Science
Term to know:
- Catalyst Something that speeds up a reaction.
- Exothermic Releasing heat
Hydrogen Peroxide is a solution that is chemically very similar to water but with with one additional oxygen atom. When yeast is added to the hydrogen peroxide it acts as a catalyst that causes oxygen to be rapidly released. What’s left behind is water and oxygen. The dish soap traps the released oxygen in the form of bubbly foam. The reaction is exothermic which is why the foam and bottle are hot after the experiment is conducted.
More
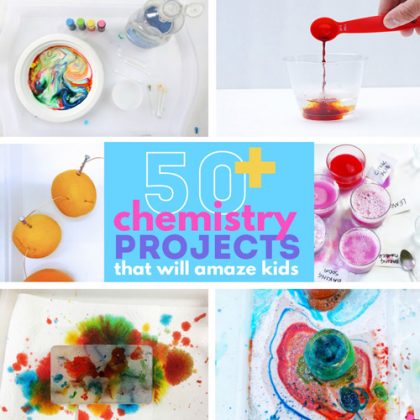
For more kids science experiments that will delight and amaze, check out 20+ Science Fair Projects to Wow the Crowd
and 50 Chemistry Projects that will Amaze Kids!
Are you passionate about raising creative kids?
Join over 22,179 parents and educators who want connect with kids and nurture their creative process through magical, easy projects you can do TOGETHER.
Subscribe to our email list to receive project ideas as well as offers for some our creative products.
If you want to read our privacy policy before subscribing, hop over here.
Leave a Reply