I have always wanted to make a homemade camera obscura. I love old fashioned science tools and instruments and this one was ripe for the DIY’ing!
A Camera Obscura is one of those fascinating optical tricks that will wow you and your children. And it’s actually easy to make your own DIY version out of nothing more than empty coffee cans. Ready to try this project?
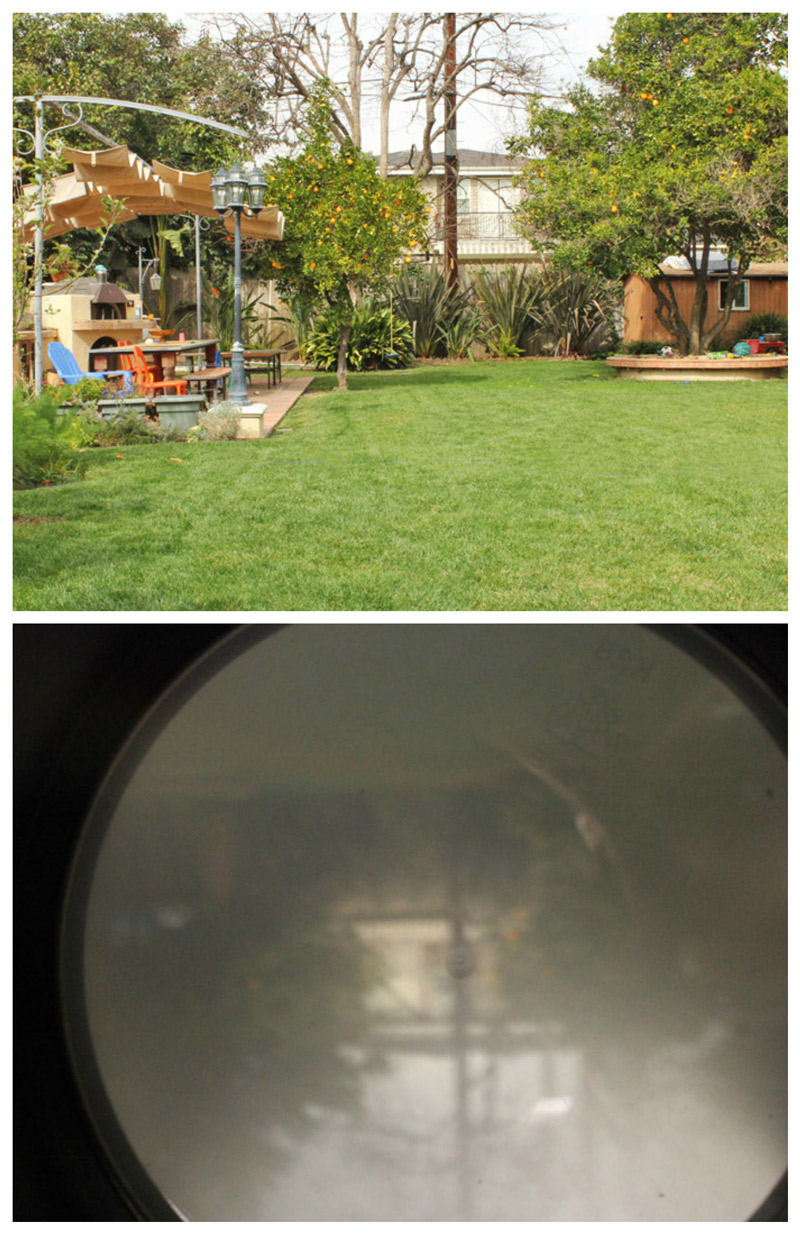
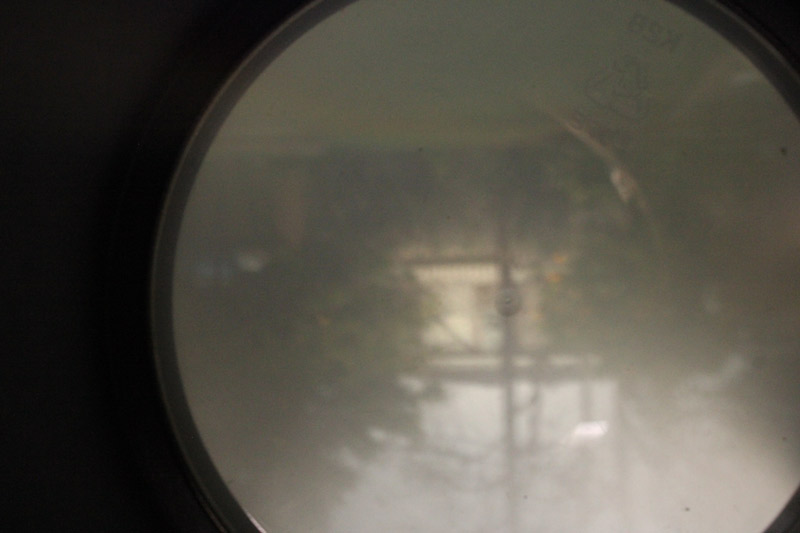
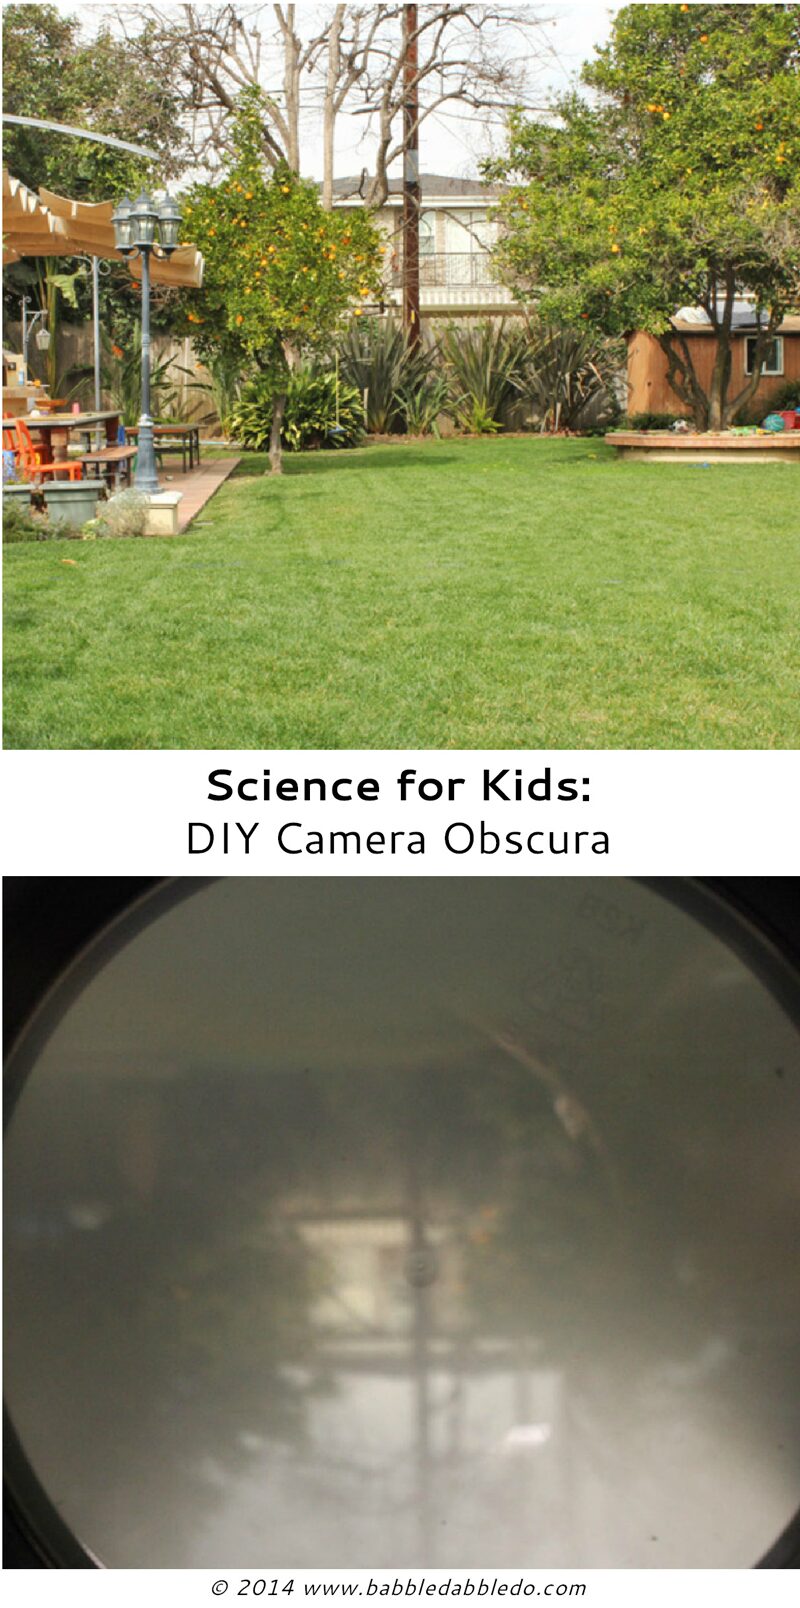
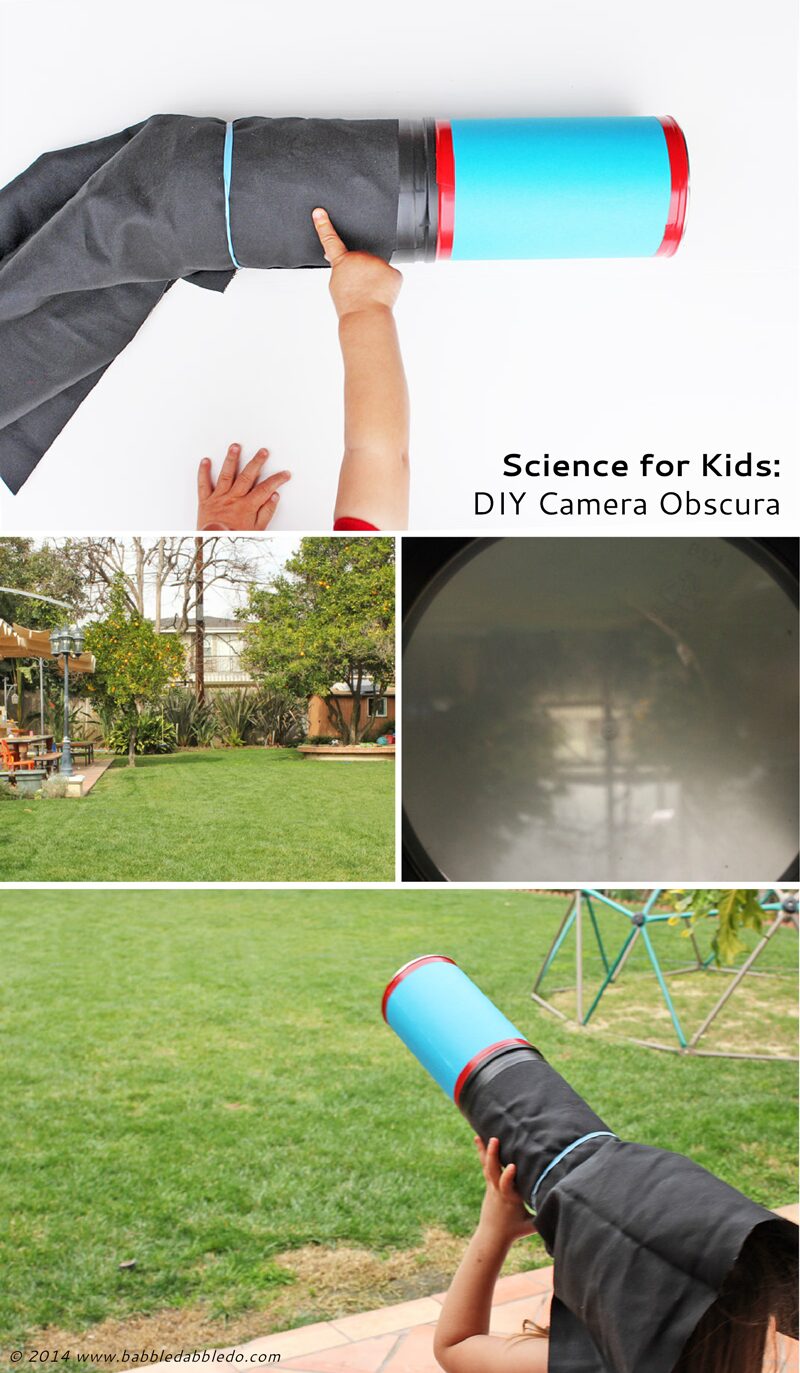
The collage below shows the view of our yard normally and as shot through our homemade camera obscura.
Homemade Camera Obscura
Materials
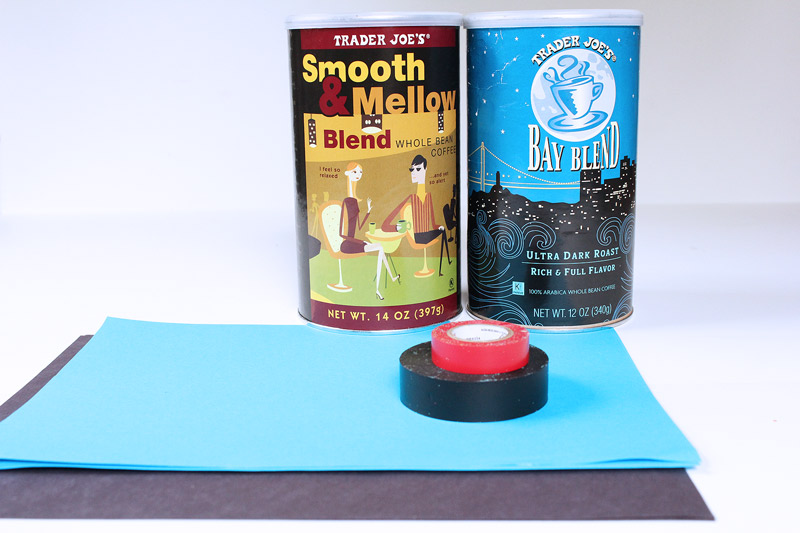
- 2 coffee tins, clean and empty, with at least one lid. The longer and skinnier the tubes the better. The lid should be translucent! If your lid is not translucent you can substitute a piece of wax paper secured with a rubber band around the tube. Make sure to pull it taught.
- 2 sheets black construction paper
- Scissors
- Exacto knife
- Electrical or duct tape
- Small nail
- Hammer
- Black canvas (optional) or black towel/jacket
- Colorful paper (optional)
- Double sided tape (optional)
Homemade Camera Obscura Instructions
- Step One Measure and trim both sheets of black construction paper to fit within each coffee can. Place a trimmed sheet inside each can. They will naturally unfurl and stay in place within the can.
- Step Two Place the lid on one can. The lid will be your “screen.” This can will be the bottom end of the camera obscura.
- Step Three Turn the bottom end over and use a small finishing nail to make a hole in the metal end of the can. Set can aside.
- Step Four Take your second can and trim off the metal bottom using an exacto knife. This step should only be completed by adults! Recycle the bottom end. This can will be the top half of your camera obscura.
- Step Five Align the cut end of the top can with the lid side of the bottom can so that the lid “screen” is in the center of the camera obscura. Tape the seam to secure the cans together. You will want to use heavy duty tape to prevent light from entering your camera obscura at the seam.
- Step Six. If desired, you can “fancy up” your camera obscura now by trimming and taping colorful paper around the outside of each can. We used double sided tape to secure the paper to each can, then added extra electrical tape at each can end.
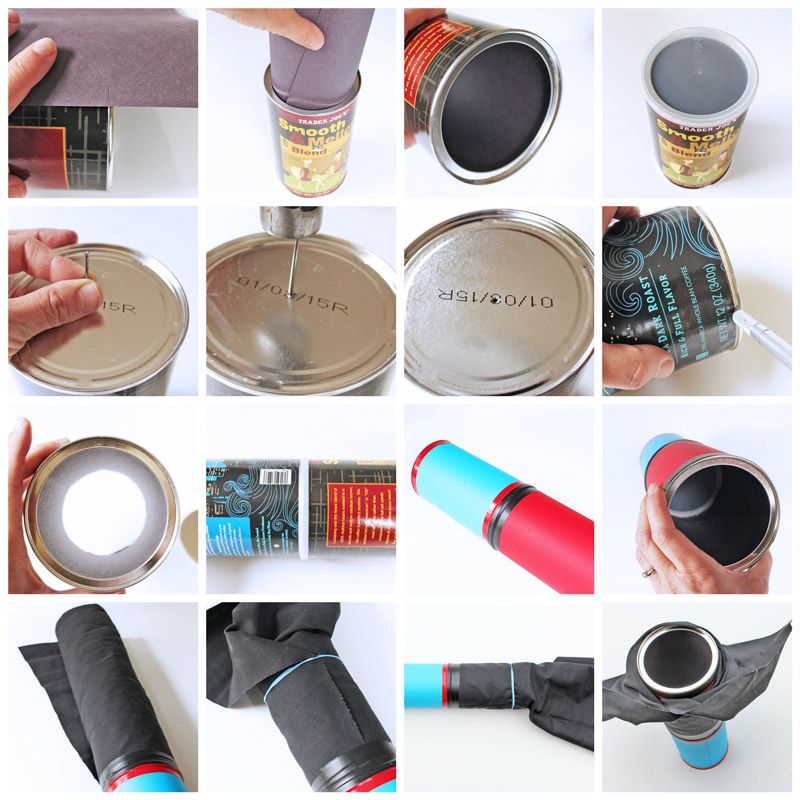
- Step Seven (optional) Cut a piece of black canvas fabric and tape it to the center seam of your homemade camera obscura. The open end of the canvas should face the open end of the camera. It will be used to block excess light out when you look into the camera. Secure the canvas with a rubber band to the top can. If you do not have canvas don’t worry! You can simply use a black towel or jacket to block out light, see below.
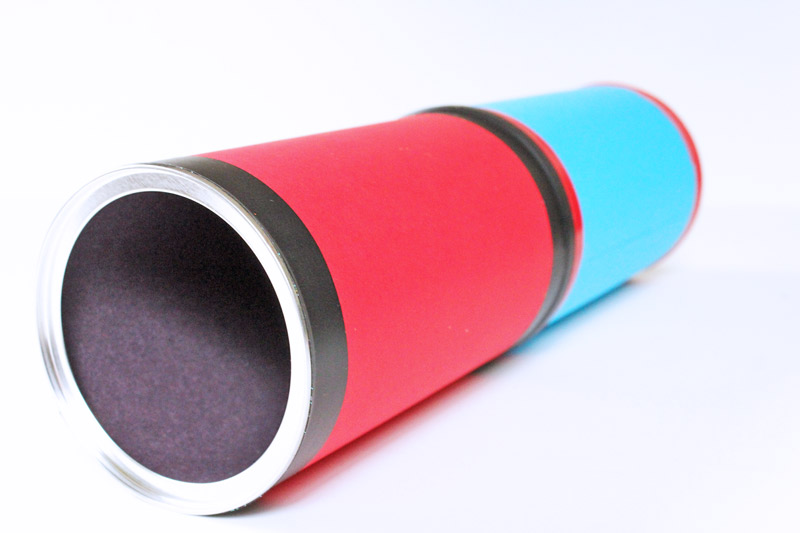
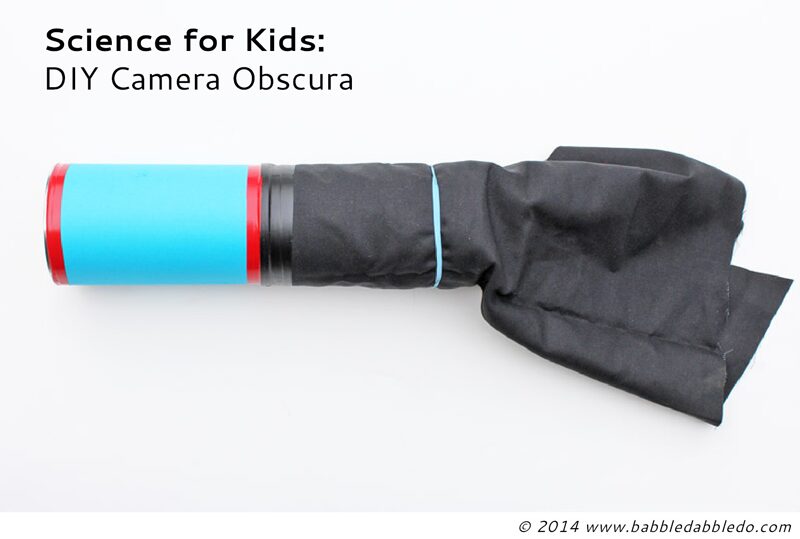
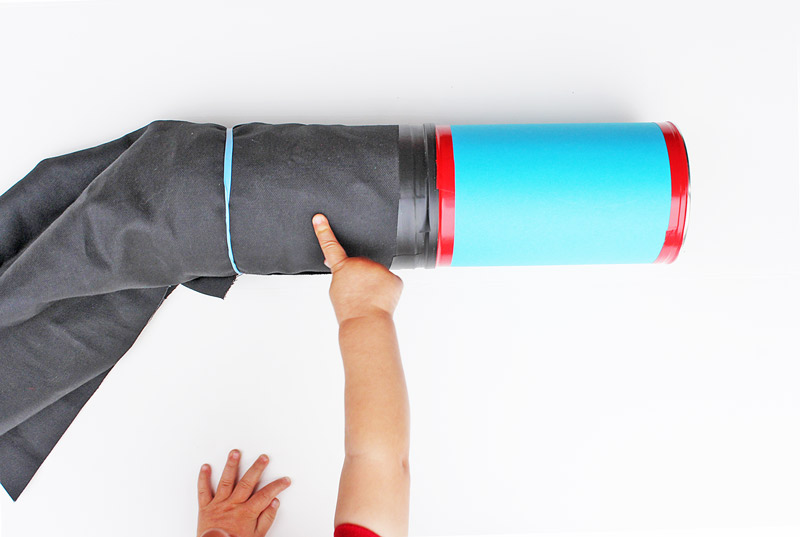
You’re done! This version is before we added the canvas.
How to Use Your Homemade Camera Obscura
Go outside on a sunny day. Aim the camera obscura at a bright object or scene. Look into the open end of the camera obscura. If you used canvas, pull the canvas over your head and around the bottom of the camera to block out as much light as possible. Alternatively place a heavy black jacket or towel over your head and hold it in place around the bottom of the camera obscura to block out light. THIS IS AN IMPORATNT STEP! You will not be able to see anything without eliminating as much light as possible from the interior of the cans so you can see the screen.
Look carefully at the interior screen of your camera obscura. You should be able to see an upside down mirror image of the view in front of you!
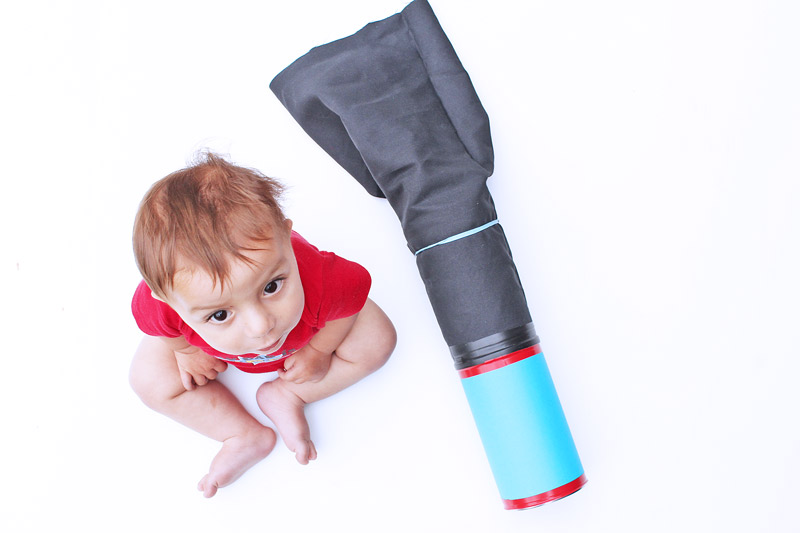
Here is my son setting it up…

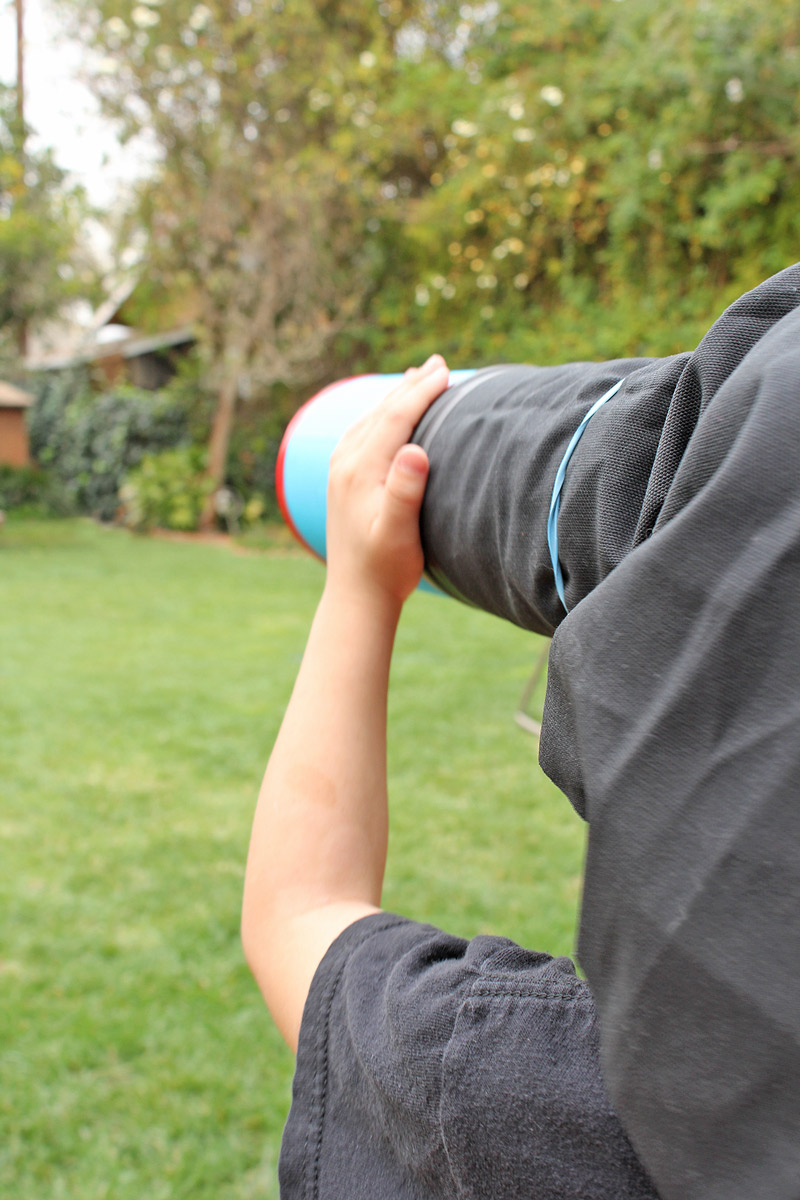
And now viewing…
Tips
- BLOCK OUT THAT LIGHT! Your camera obscura will not work well without blocking out as much light as possible.
- I liked having the viewing end really large so it was easy for the kids to see into the camera obscura.
- If you have older kids an alternative method of construction is to add a piece of tinfoil over the open end and poke a hole with a pencil in it for viewing. You will need to cup you hand around your eye when using it this way.
- Experiment with the pinhole diameter! The smaller the hole the more focused the image will be on your screen, however it will be very dim. The larger the hole the brighter the image, however it will be more and more out of focus the larger you make it.
What is Happening?
Light enters the small hole at the end of the homemade camera obscura and acts as a lens, focusing the outside image onto your camera’s screen. Glass lens’ do the same thing only they allow in more light and better focus.
This article goes into more depth on the camera obscura science and how it has been used in art.
Looks Like
Johannes Vermeer. Are you interested in a fascinating art debate? In 2001 artist David Hockney claimed that Johannes Vermeer, a famous Dutch artist of the 1600s used a camera obscura as an aid in creating his artwork. It is possible to use a lens to create a large room sized camera obscura and Hockney claims Vermeer used the device to create his intensely detailed paintings. Hockey’s claim has been both substantiated and debated. No camera obscura or other optical devices were found in Vermeer’s belongings however independent researchers have recreated Vermeer’s techniques in an attempt to prove the theory is correct. Check out the documentary Tim’s Vermeer if you can!
Conclusion
This project even lured my husband out of his editing room to see what the heck was happening. In fact I couldn’t believe it when I asked him if he wanted to try viewing it after the kids and he jumped at the chance! Of course, being a videographer and editor he was quick to point out that the image was dark and unfocused…but hey, we’re using coffee cans not Canon cameras! Making a homemade Camera Obscura is great way to illustrate the fundamental principles of how a camera works to your children. You can even take it a step further and make a pinhole camera!
More
If you like quirky and cool science projects like this one, visit 20 Quirky and Cool Science Projects for Kids. And if you just want to tinker around with light, try DIY EL Wire Lights on for size!
If you want to make a pinhole camera here is a great tutorial!
If you live in LA you should check out the Camera Obscura in Santa Monica. I have never been there but it is now on our hot list!
If you liked this post SHARE IT! Thank you!
This might be my favorite of your light month projects! It’s AWESOME.
Thanks Jeanette, judging by the number of times I have tried this thing out it is most definitely MY fave of the month too!
This is super super cool. 🙂 Thanks for sharing! I’ll definitely try it with the little guy one he gets a bit older. ;D
Thanks Leslie! It’s a fun one for the older set!
LOVE this project! Doing a pinhole camera has been on my activity list for awhile, this would be a great prerequisite project for that!
You will love it Brigette! Let me know how the pinhole camera works out; would love to see it on Life Lesson Plans!
Pretty cool. We just made this. The coffee can lids I had were black so I cut a circle out of the lid and used wax paper. Worked perfectly. Thanks for the easy to follow instructions.
Great to know Meghan! I’m going to add your suggestion to the post!
I love it, Ana! What a great lesson to introduce to your kids…and husband 🙂
Thanks Rachelle! It was super fun to make!