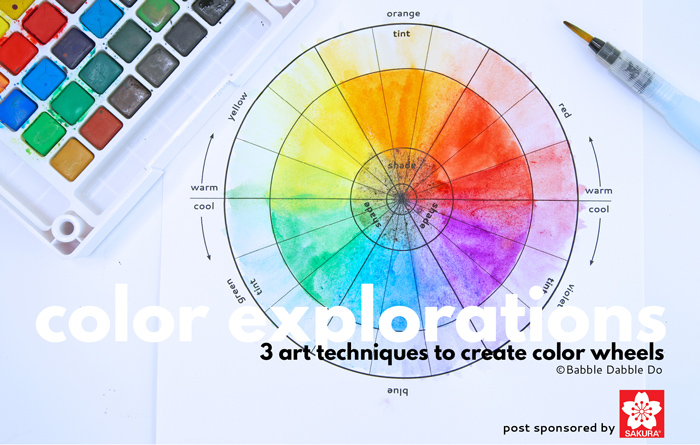
Who needs one color wheel project when you can do three exploring different art materials? In today’s post we will be exploring 3 art techniques to create a color wheel for kids.
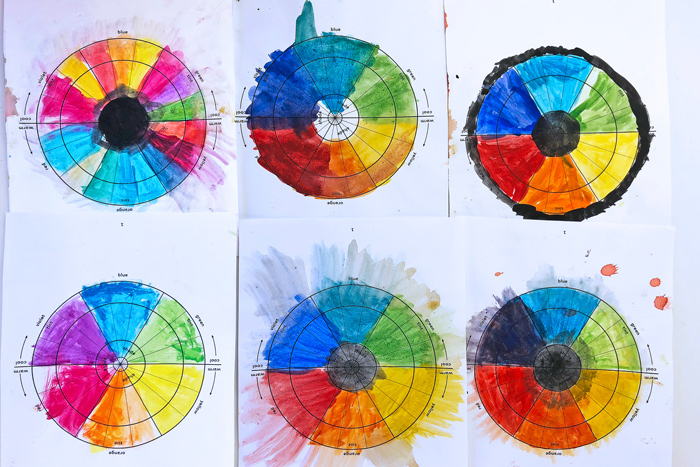
Sometimes it’s nice to get back to basics. We explore a lot of unique and unusual projects on Babble Dabble Do but I always love a good classic art project. And kids do too! I’m always so encouraged when we bring a basic art project to our STEAM class and the kids love it. And that’s what happened when we brought this color wheel for kids project to our afterschool program last spring.
This post contains affiliate links to products.
This post is sponsored by Sakura of America. I have worked with Sakura on numerous projects over the years and I adore their products! They make a variety of art supplies including Cray-Pas Oil Pastels, Koi Watercolors and Brush Pens and Micron pens which I use for my bullet journaling. Check out more projects we’ve done using their supplies at end of this post.![]()
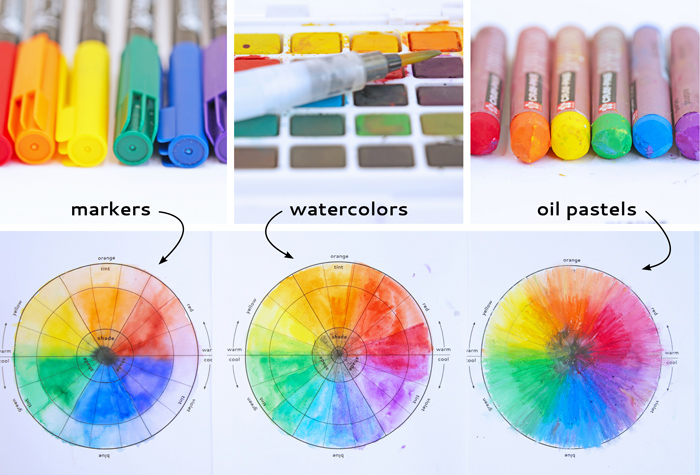
Today’s color wheel project is a three in one. One color wheel and three different materials you can use to create it. In this project we explored using watercolors, water based markers, and oil pastels to create the color wheel and blend the colors.
Color Explorations Color Wheel Project
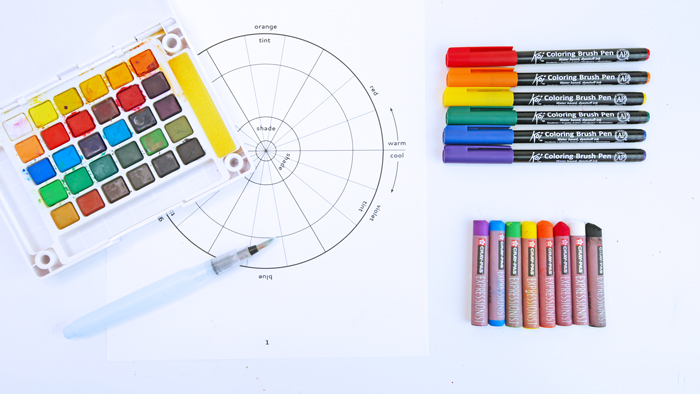

Materials
- Template Print on cardstock or watercolor paper
- Koi Brush Pens
- Watercolors such as Koi
- Paintbrush & Water OR Waterbrush
- Oil Pastels
- Paper Towels
Tip: Use a heavyweight paper for this! Standard copy paper is too flimsy to absorb the water and will ball up. We printed our template on cardstock.
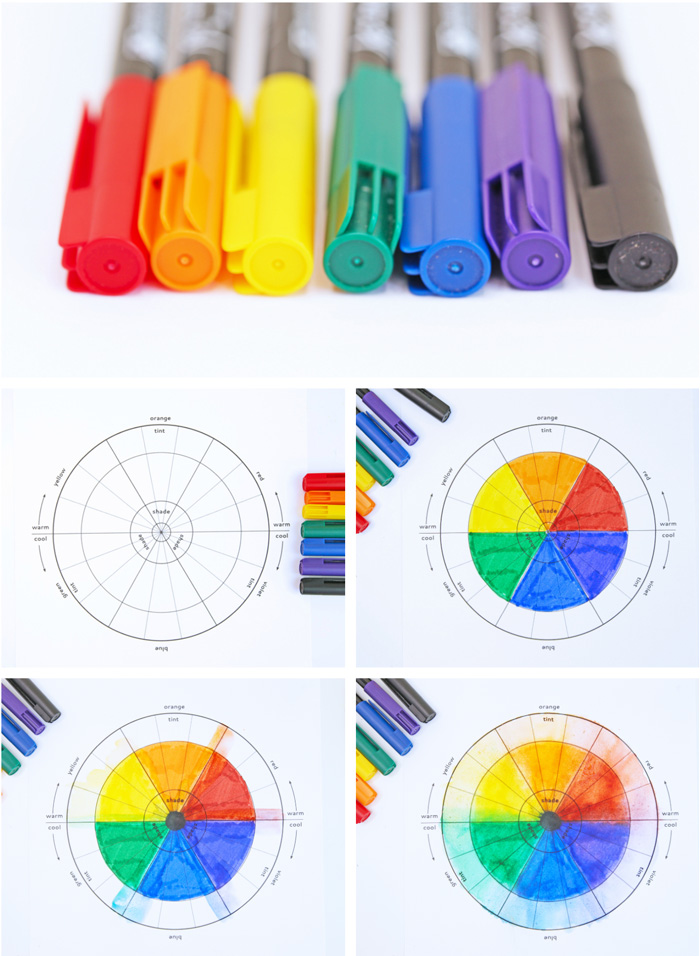
Color Wheel Project Technique #1:
Water Based Markers
- Step One Use water based markers to color the inner rings of the color wheel template. Leave the outer ring uncolored. Use the colors indicated on the template.
- Step Two Add black marker to the small center ring of the template.
- Step Three Use a waterbrush and/or paint brush and water to blend the colors. Start with the lighter colors and add water to the section where two colors meet. Clean the brush as necessary between colors.
- Step Four Use the water brush to brush the pigment out toward the outer circle creating tints.
- Step Five Use the water brush in the center to mix black with the color in the second ring. This creates a shade.
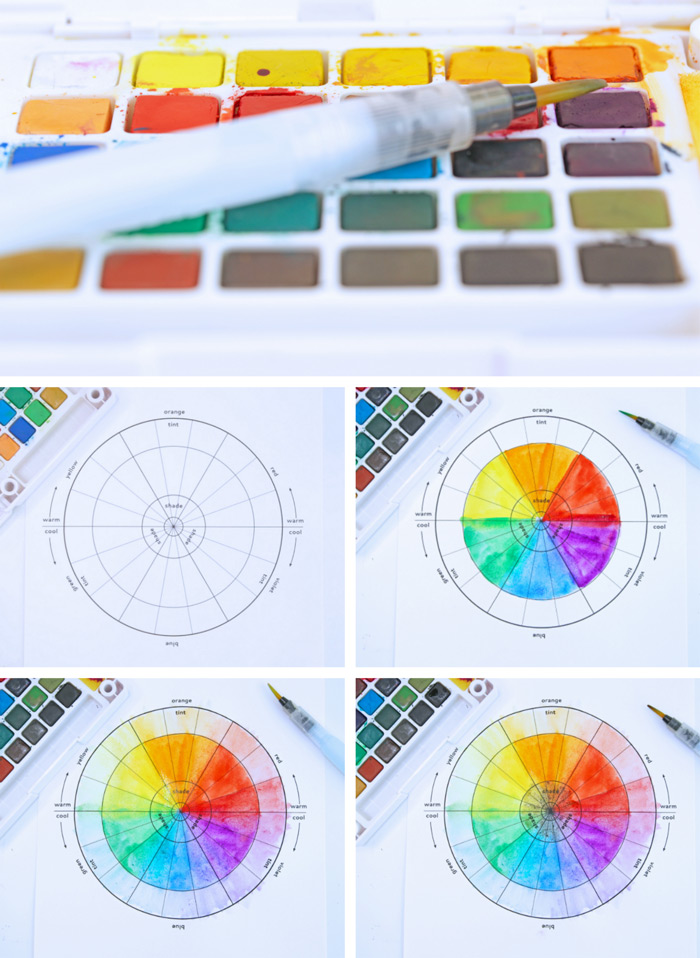
Color Wheel Project Technique #2:
Watercolors
- Step One Paint the color wheel template using basic colors as indicated on the template. Start with lighter colors and move towards darkers colors. You may use a waterbrush and/or paint brush and water to apply the watercolors. Leave the outer ring unpainted.
- Step Two Use your brush and water to blend the colors in the sections where two colors meet. Clean the brush as necessary between colors.
- Step Three Use your paintbrush to brush the pigment out toward the outer circle layer creating tints.
- Step Four Add a little bit of black paint to the center of the circle. Brush out to create shades.
Tip: Your paper may get saturated. Keep a paper towel handy to dab excess water off the paper and prevent pilling.
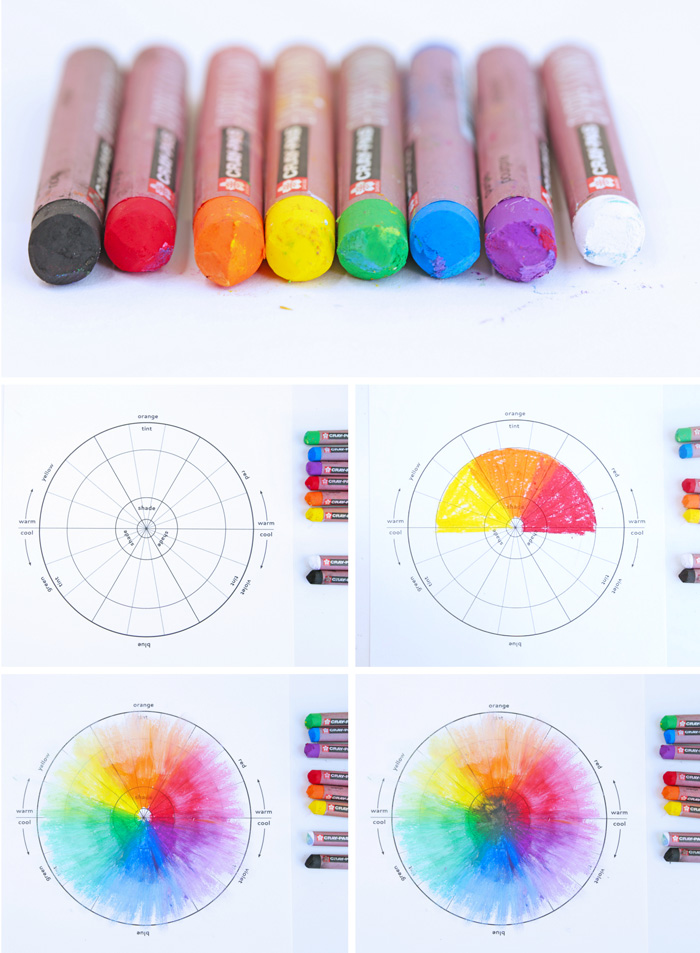
Color Wheel Project Technique #3:
Oil Pastels
- Step One Color the template with oil pastels using the basic colors red, orange, yellow, green, blue, and violet as indicated. Start with lighter colors and move towards darker colors. Leave the outer ring uncolored.
- Step Two Use your fingertip to blend colors where they meet.
- Step Three Take a white oil pastel and color over the outer edge of colors starting with yellow. Move around the color wheel brushing the oil pastel into the outer ring to create tints. Blend as desired with your fingertip.
- Step Four Add a small amount of black oil pastel in the center of the circle and brush outwards with your fingertip to create shades.
Let’s Talk STEAM
Art
Color theory is something I love to talk about in STEAM projects. In fact, a simple way to add in art lesson to almost any chemistry project is to limit any colors you use to red, blue, and yellow and talk about primary and secondary colors. Whenever we make slime, lemon volcanoes, and wizard’s brew this is an exciting way to show color mixing in action.
- Primary colors The primary colors are red, yellow, and blue. All colors are created by starting with primary colors.
- Secondary colors Secondary colors are the result of mixing two primary colors together. When you mix red and yellow you get orange. When you mix blue and and yellow you get green. When you mix red and blue you get violet.
A color wheel is a visual representation of colors and their relationship to each other. The primary colors are shown with the secondary colors they make between them. It’s a wonderful and easy way to visualize and understand color mixing. Designers often use color wheels to pick color schemes for projects they are working on.
Shade Vs. Tint
When mixing colors there are multiple ways to vary the color. One of the easiest way to create color variations is to create tints and shades.
- A tint is a color mixed with white to lighten the color.
- A shade is a color mixed with black to darken the color.
- A tone is when you mix a color with gray or both black and white.
- Value is the term used to describe the lightness or darkness of a color.
 Science
 Science
Solvents and solubility
When using water based pigments you can introduce children to the concept of solubility. Solubility refers to the ability of a substance to be dissolved by a solvent. A solvent is a substance or liquid that dissolves another substance. The solute is the substance being dissolved.
Water based inks like those found in Koi Brush Pens are dissolved by water, so water is the solvent and the ink is the solute. The same is true for watercolor cakes: the dry pigment is the solute and water applied by a brush is the solvent.
Try it: If you choose to do all three of the color wheels in this project an interesting contrast would be to try to dissolve oil pastels with a brush dipped in water. You’ll see that it does not work. However swap out the water for some cooking oil and your oil pastels will dissolve! This is because oil pastels use an oil based pigment and can only be dissolved using the solvent oil.
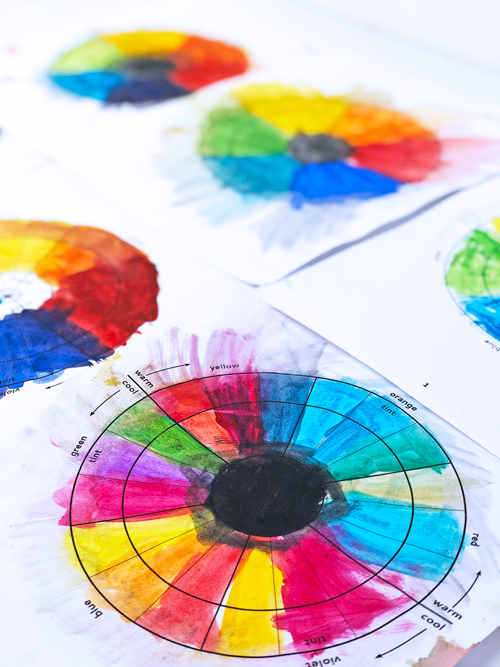
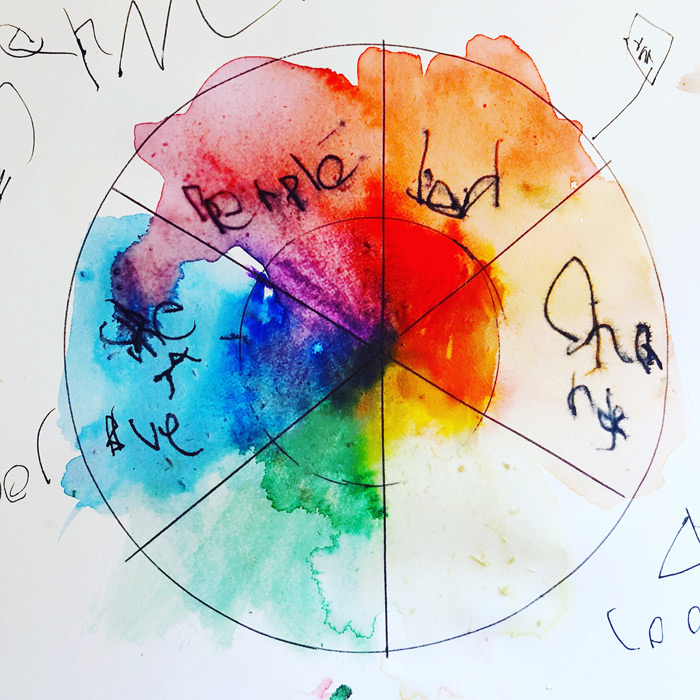
A little behind the scenes
As I was developing the template for this project my then 5-year old wanted to make his own version. It was so sweet I framed it!
More
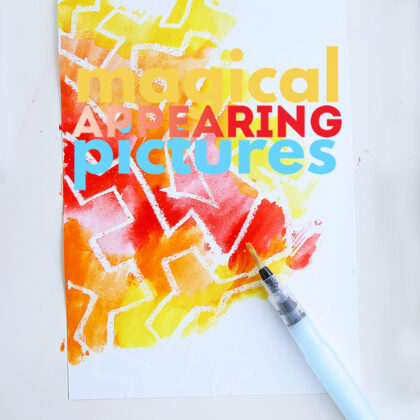
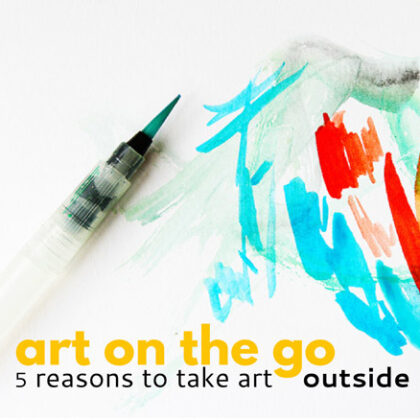
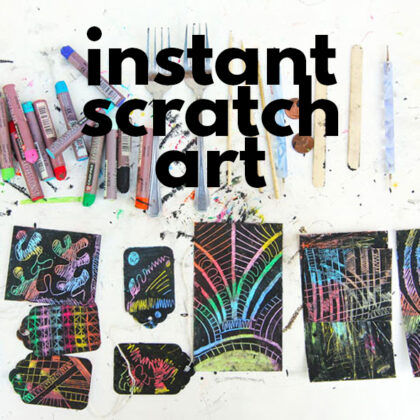
If you enjoyed this art project featuring Sakura supplies here are three more to check out.
Click the image to go to each tutorial
Sakura of America also has project ideas for kids here.
![]()
Are you passionate about raising creative kids?
Join over 22,179 parents and educators who want connect with kids and nurture their creative process through magical, easy projects you can do TOGETHER.
Subscribe to our email list to receive project ideas as well as offers for some our creative products.
If you want to read our privacy policy before subscribing, hop over here.

Leave a Reply