Polymer clay beads are not a new idea in any way, but how could a DIY jewelry nut like me let clay month pass without making some? Polymer clay, such as Sculpey, is just so pretty and vibrant, kids and adults alike cannot help being drawn to it. So I decided to indulge in this project, even though it is well traversed on the internet. Our take on it? Keep it simple and have fun with shapes!
The great thing about making beads with kids is having fun with shapes. Adults sort of can’t help themselves when it comes to perfection; in fact I made a bunch of beads and then found my daughter altering the spheres by pressing them. I walked across the room to stop her and then realized that the uniquely shaped beads she was creating from the balls of clay were much cooler than the ones I had made. So here’s to another fun collaborative projects for families: make polymer clay beads together for some funky and colorful jewelry!
This post contains affiliate links to products I love and recommend to my readers.
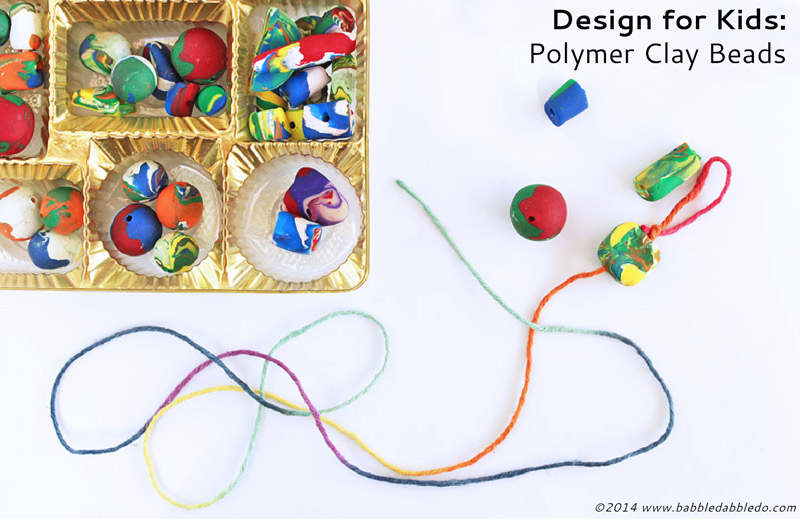
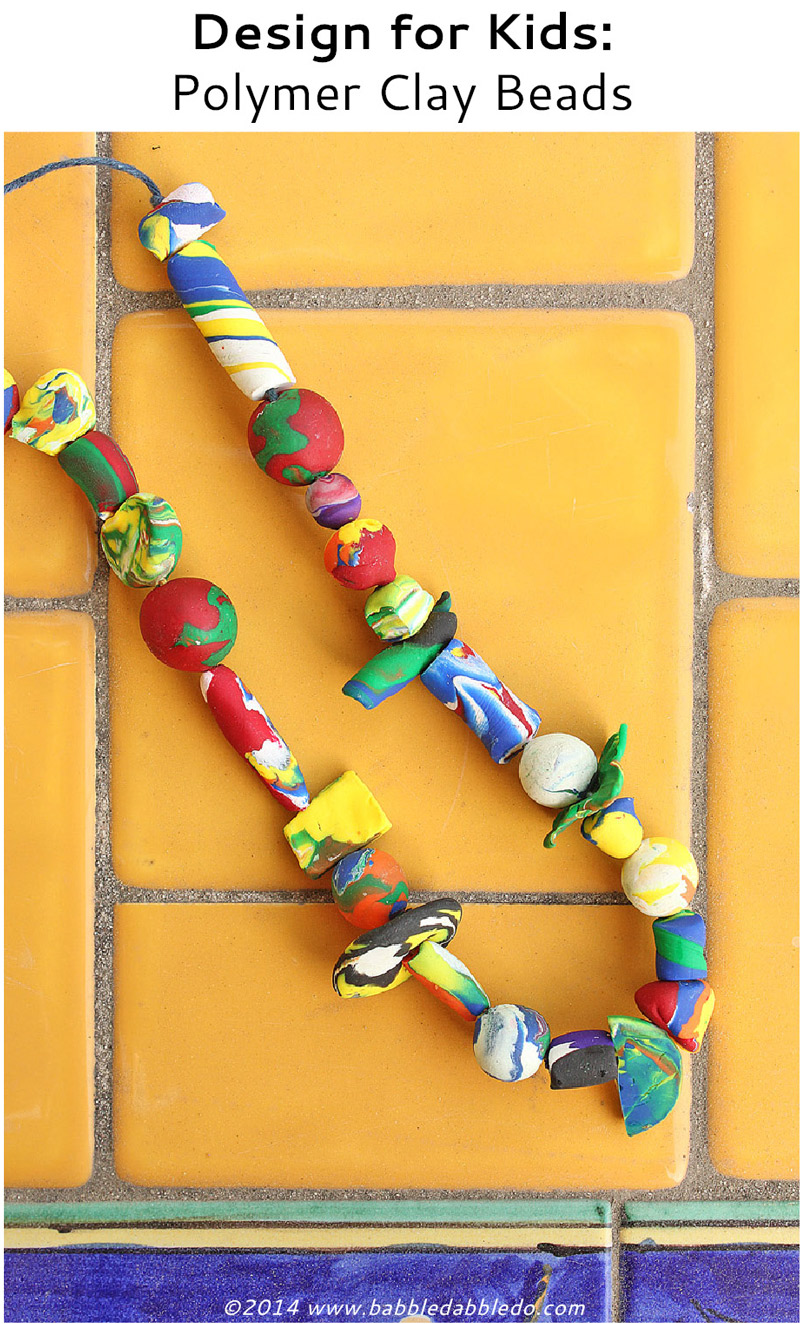
Design for Kids: Polymer Clay Beads & Jewelry
 Materials
- Polymer Clay such as Sculpey
- Toothpick
- Sharp Knife (optional) For adult use only!
- Baking Sheet
- Oven
- String or lanyard for necklace
Instructions
When working with polymer clay and younger kids its best to just have fun with the swirling effects you get when you mix different polymer clay colors together. Older kids can try more complicated designs with clay but for this project we kept it simple.
Note: Warming the clay by kneading it with your hands is called “conditioning” and is an important step in making clay workable and removing air pockets. You can do it with the combined colorful clay or before mixing the colors.
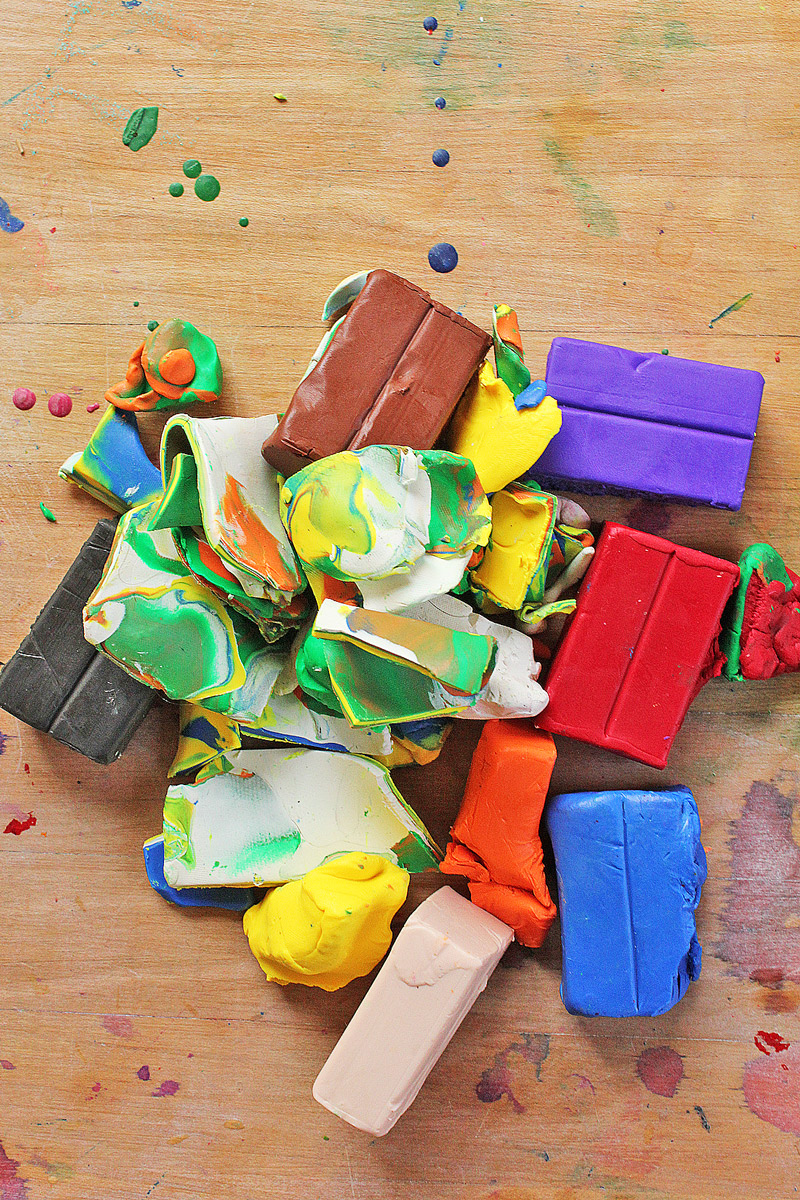
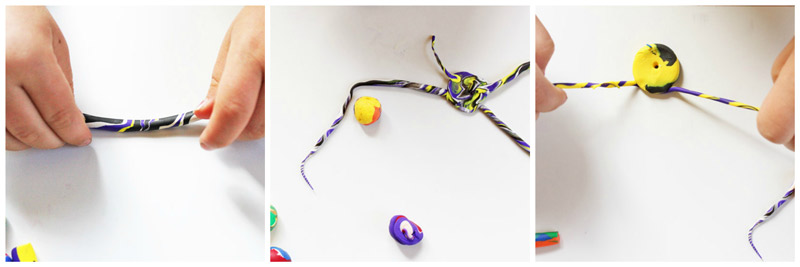
- Step One Take several colors of polymer clay and smoosh them together.
- Step Two Break off small chunks of the combined clay and start rolling them in a circular motion between your palms. Spheres of clay can be used as is or sculpted into different shapes.
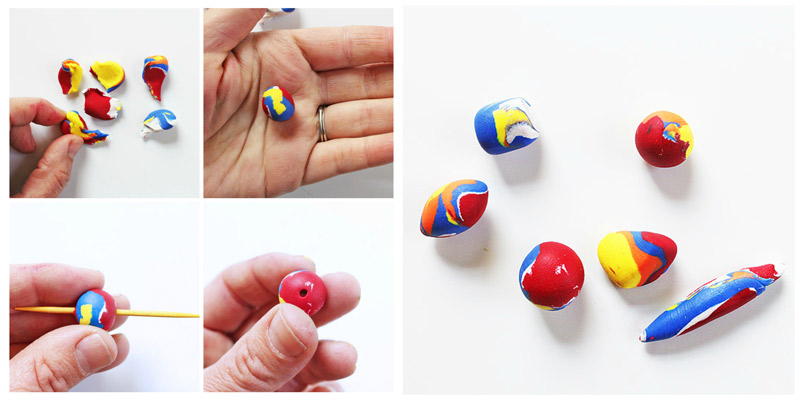
- Step Three For cylindrical shaped beads roll the clay on a table. Adults can slice the tube into pieces using a sharp knife to make bead shapes.

- Step Four Make holes in your beads by carefully inserting a toothpick through the entire bead and then removing it. Pat down the ends of the holes so that you have a nice smooth surface.
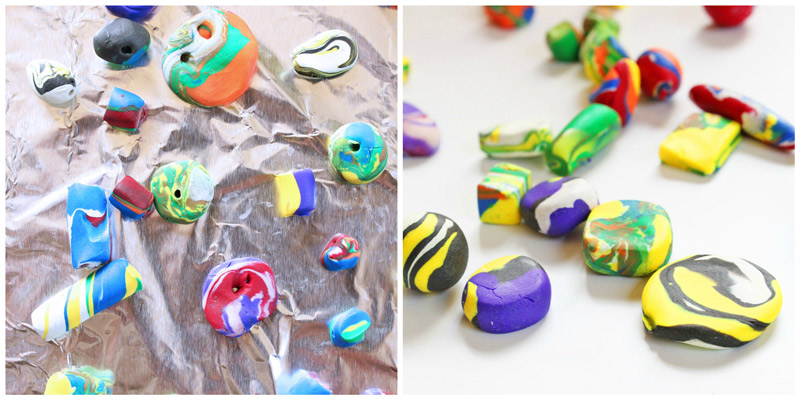
- Step Five Place your finished beads on a baking sheet lined with foil. Bake according to the directions on the clay you purchased. We baked our Sculpey at 275 degrees for about 15 minutes. DO NOT OVERBAKE!
- Step Six Let your beads cool and then start using them for jewelry!
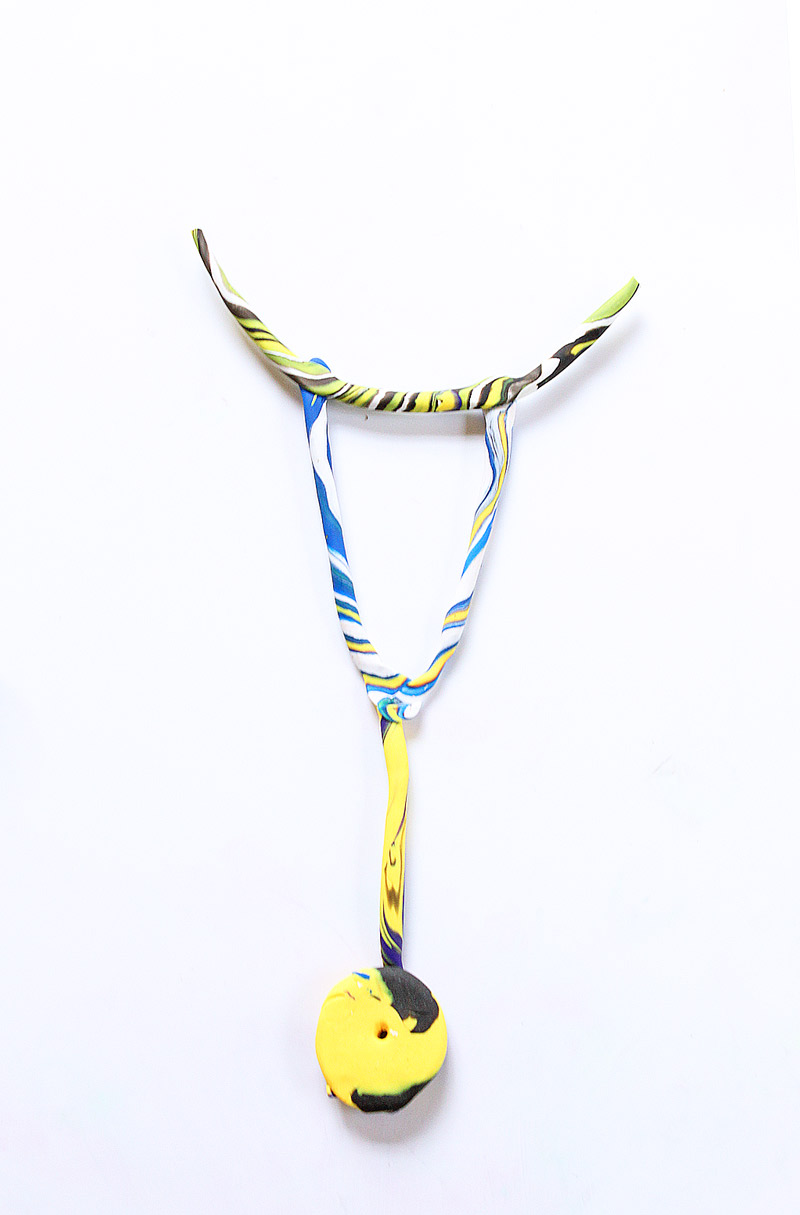
You’re done! For added fun let your child experiment with shapes. For best results, keep the shapes small but hearty. Clara enjoyed making full necklaces from the clay. I warned her they would be fragile and might break, which they eventually did, but I loved her creativity here. Isn’t this beautiful?
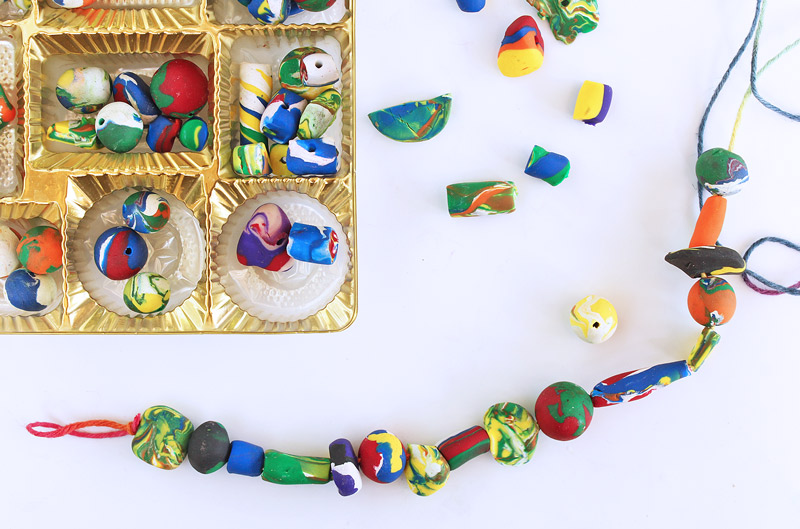
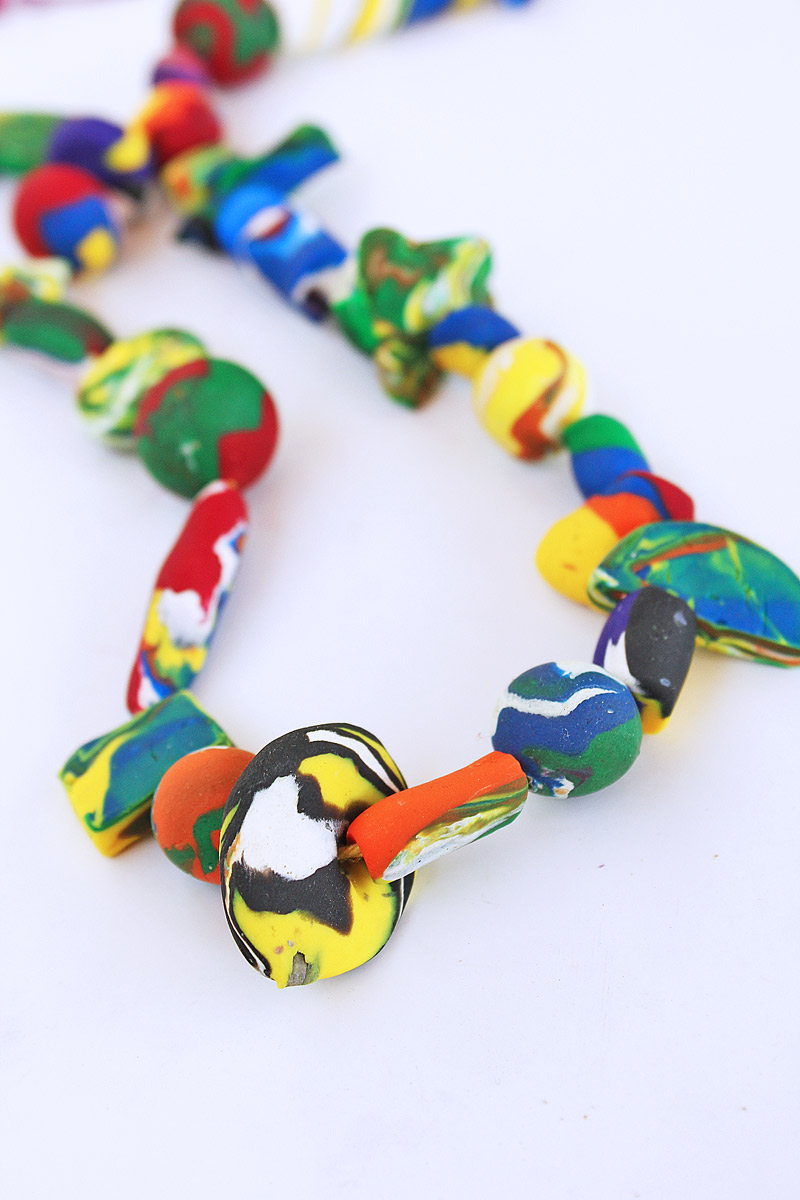
And here are some shots of our finished beads made into a necklace:
Looks Like
Dale Chihuly. I may be stretching it here but when I think of swirling color and funky shapes Dale Chihuly, a famous contemporary American glass artist, pops in my head. Chihuly’s work is sculptural genius, full of life and vibrancy and gorgeous color. I also love the fact that his work, in particular his chandeliers are often used as architectural centerpieces, in museums and even a casino. He is one of those cross over artists in my mind, whose art becomes “design” and who has inspired a whole style of contemporary light fixtures by many a lighting design company.
Conclusion
One of the cool things about this project was that we were able to recycle our polymer clay from our Sculpey ships into sweet little beads. Polymer clay isn’t cheap so I definitely did not want to see it go to waste after making our ships. And all those fun color swirls we got by mixing the colors together were put to some fancy use! I highly recommend this project for developing fine motor skills as well as a mini sculpting lesson. Letting kids have fun exploring shapes is the best part of this project and will make for the most interesting jewelry.
More
- If you like making unusual clay beads check out our post on seed beads, mini seed bombs you can wear! We also had fun making fabric beads not too long ago!
- I cannot work with polymer clay without immediately thinking of my friend Meri Cherry who is the Sculpey Queen! Meri made the amazing alien army all from Sculpey. You must see it here. She also inspires kids to use Sculpey to create beautiful designs, just check out this headband one of her students made.
- If your child falls in love with making polymer clay beads step it up a notch and buy them this book; it’s full of great tutorials and modern ideas for kids!

And don’t miss out on more design here on Babble Dabble Do! Your child’s inner Dale Chihuly thanks you! Subscribe below or like us on FB.
So great Ana! We love sculpey beads too. These look awesome! Thanks for the shout out.
Anytime Meri!!! You have inspired me to work with Sculpey more often!
We have had fun making Sculpy beads, too! ( http://homeschooljournal-bergblog.blogspot.com/2009/08/summer-fun-beads-dino-dig-and-bird.html
Yay Phyllis! You can’t go wrong with Sculpey 🙂
Oh wow! Your beads are beautiful! What a lovely project!
This is a great idea for making unique beads. My daughter loves making her own jewelry, but this would be a great way to take it a step further. I’ll have to get some clay together so we can design some unique beads that she can work with. Thanks for the tutorial!
I’m glad your daughter liked it!