If you love the combo of science and art look no further than this simple craft sticks project for kids with an educational twist!
 Do you all love the classic food-coloring-dyed-carnation-science-project as much as I do? No, that wasn’t a mouthful… I thought it would be fun twist on the classic science project to see how wood soaks up dye. After all wood is a natural material and in theory should soak up color in a similar fashion to a flower, right? Well, the answer is yes!
Note: This post contains affiliate links to products.
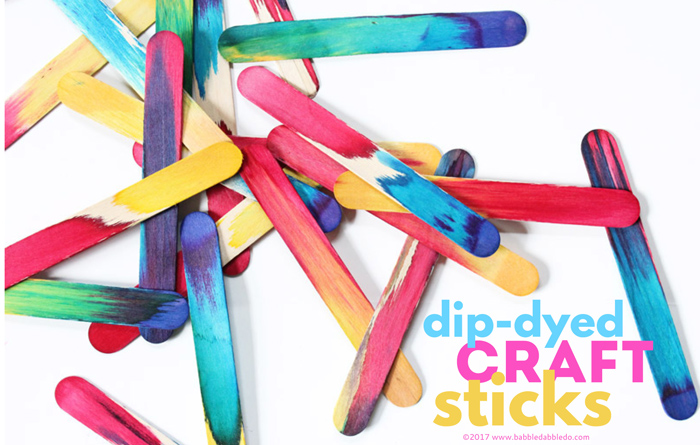
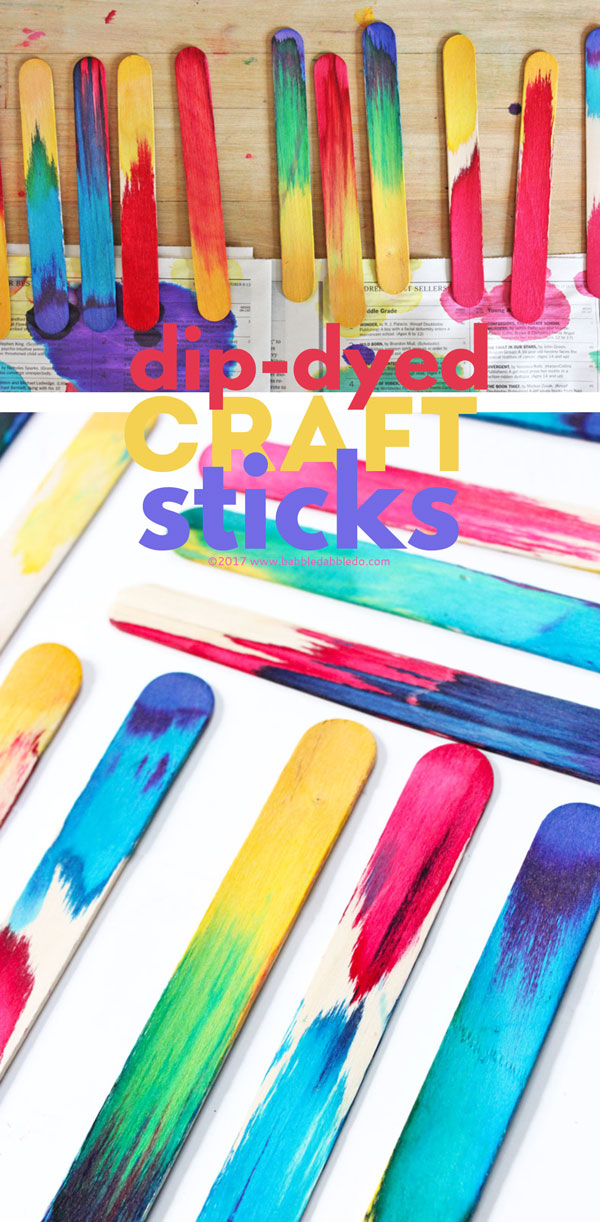
Dip-Dyed Craft Sticks Project
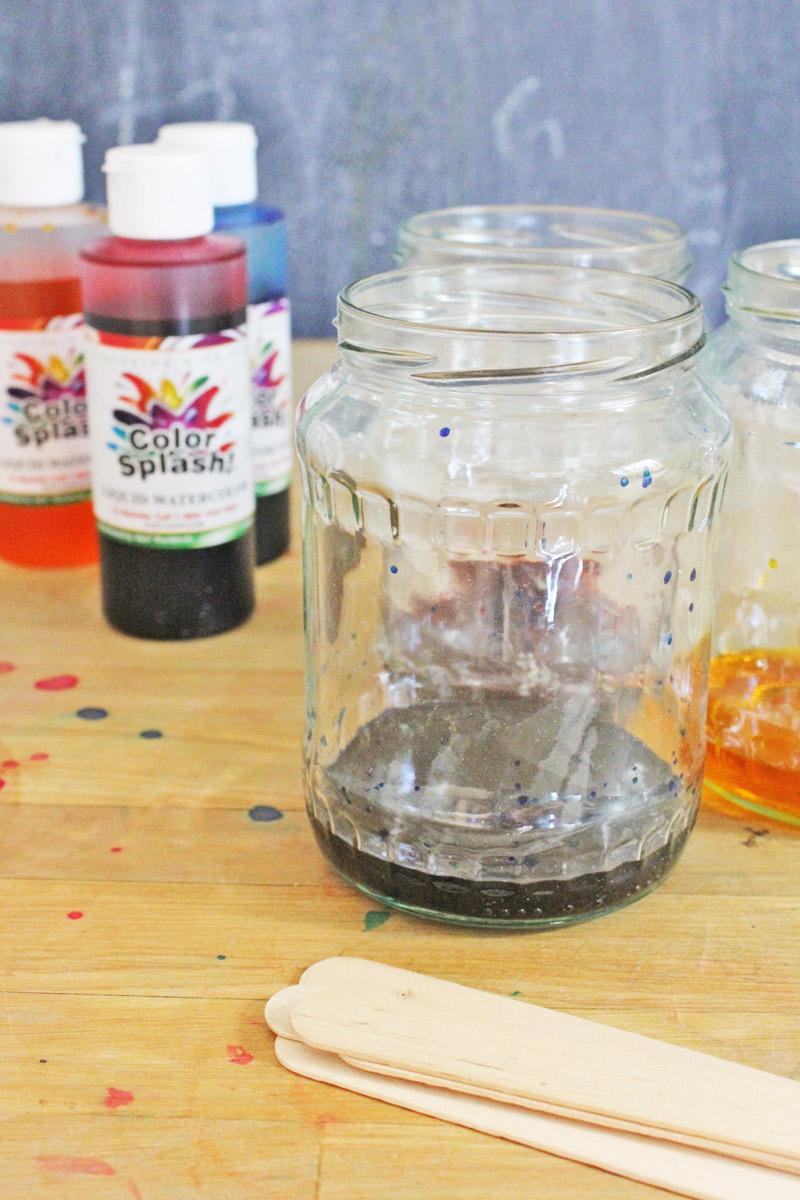
Materials
- Jumbo Craft Sticks
- Liquid Watercolors in Red
, Blue
, and Yellow– Food coloring may be substituted
- Jars
- Water
- Newspaper

Instructions
- Step One Pour roughly 2 tablespoons of each liquid watercolor into a jar. Add 1-2 Tablespoons of water to each jar. Use less water with yellow. If you are using food coloring add generous few squeezes of color along with 1-2 Tablespoons of water. Results may be slightly less vibrant than using liquid watercolors.
- Step Two Drop a few crafts sticks into each jar. They should begin to soak up the color within several minutes. Encourage your kids to let the sticks sit rather than stir up the color so that they can get a feel for observation side of the project.
- Step Three After a few hours the color should have soaked up the stick halfway. Invite your child back and ask them to remove the sticks, blot the wet end, turn the stick over, and drop it in another color.
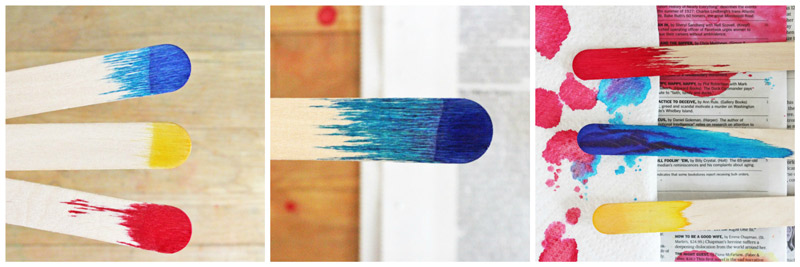
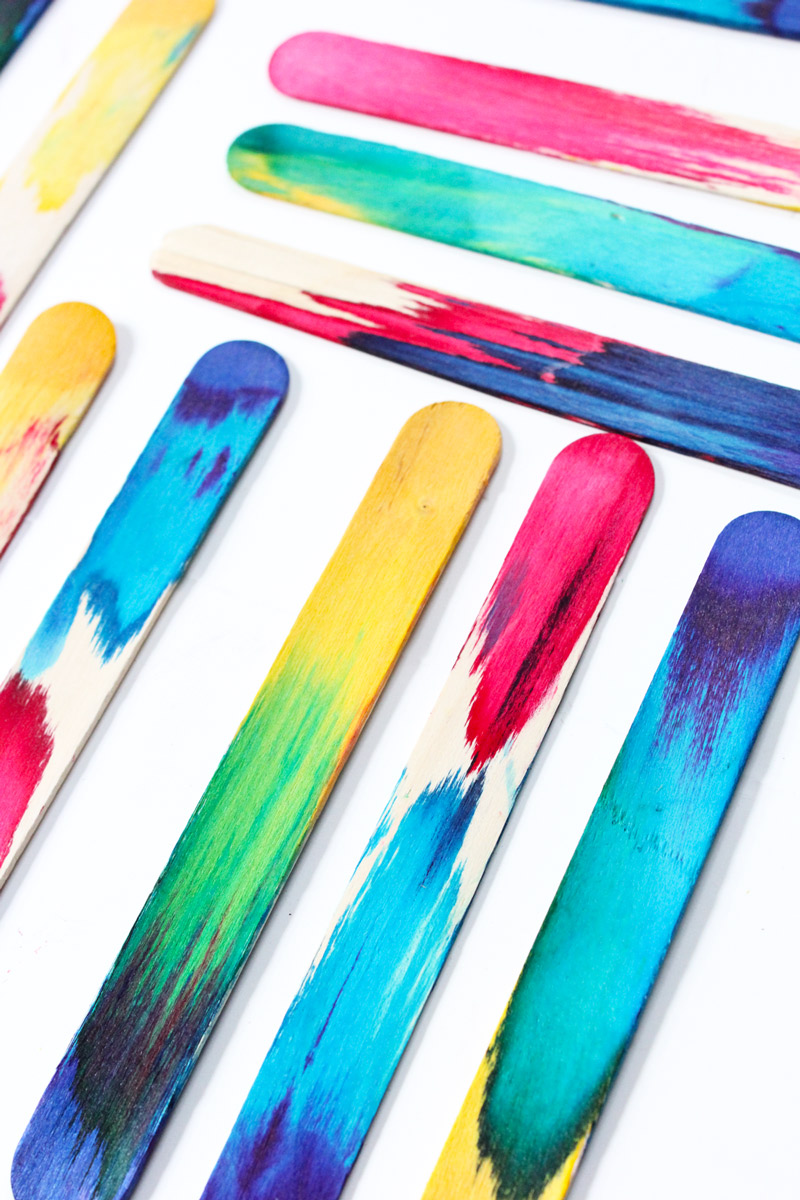
- Step Four Come back in a few more hours and you will see a lovely third color has magically appeared! Of course you know it’s not magic, its color theory! It is pretty cool to see third color like purple or green show up in the middle of the stick! Orange was bit harder to get since yellow is harder to see on the sticks.
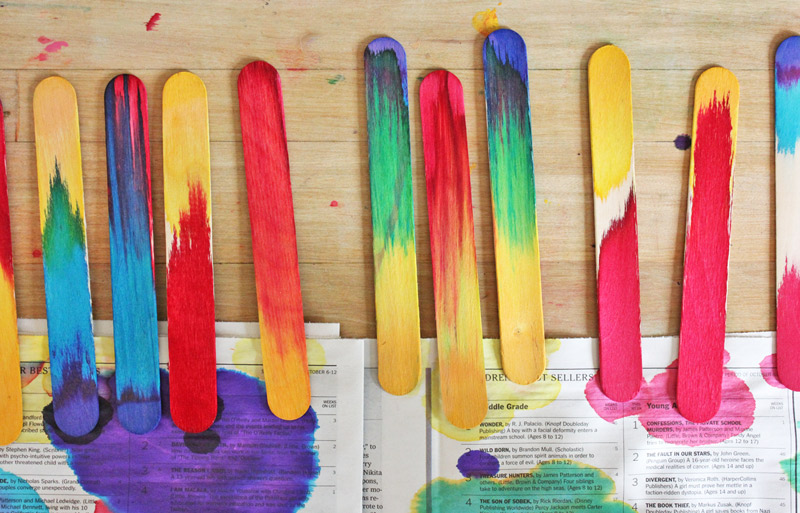 You’re done! Aren’t these lovely? The colors will mellow slightly when dry. Save them for your favorite craft stick projects or display tham as an art piece in an of themselves. Later this week we are going to make something decorative with them so stay tuned…..
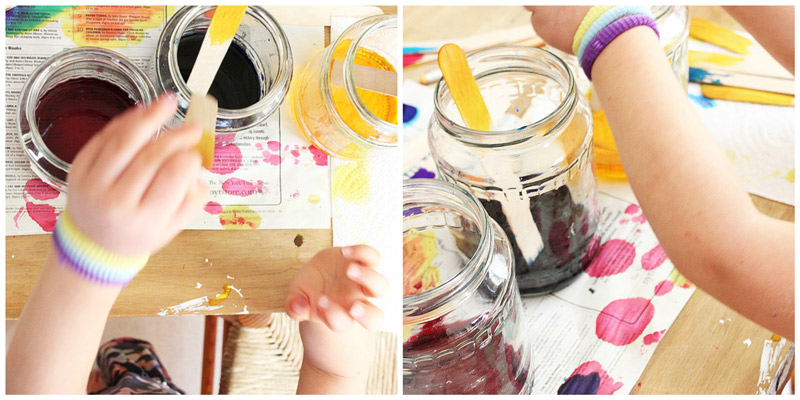
The Science Behind It
Trees and other plants absorb water from the ground through the process of capillary action which is ability of a liquid to flow against gravity through a porous material. It occurs when the molecules of a liquid are attracted to the molecules of a solid and move along the surface of that solid. Materials made from trees, like our wood craft sticks, exhibit this same ability to pull water through them using capillary action. That’s why they are often used for products that need to absorb water like paper towels. The colored liquid you see absorbed up along the craft stick is actually a visual display of capillary action. For a more detail explanation of this process hop over here.
Looks Like
Mark Rothko I had a Rothko print hanging in my first apartment in New York City years ago. It was inspiring. His deceivingly simple exploration of color juxtaposition and blurred boundaries is not to be missed. Rothko was considered an abstract expressionist but apparently didn’t like such classifications of his work. It’s a dream of mine to visit the Rothko Chapel one day in Houston….have you been there?
 More
More
 More
MoreI love it when a science project for kids can also be turned into art, or is it the other way around? Nevertheless I love when the two disciplines meet in a simple project like this one. Dip dyed craft sticks can be used in any number of craft stick projects for kids or are a great stand alone lesson in color theory for kids….Now go get creative!
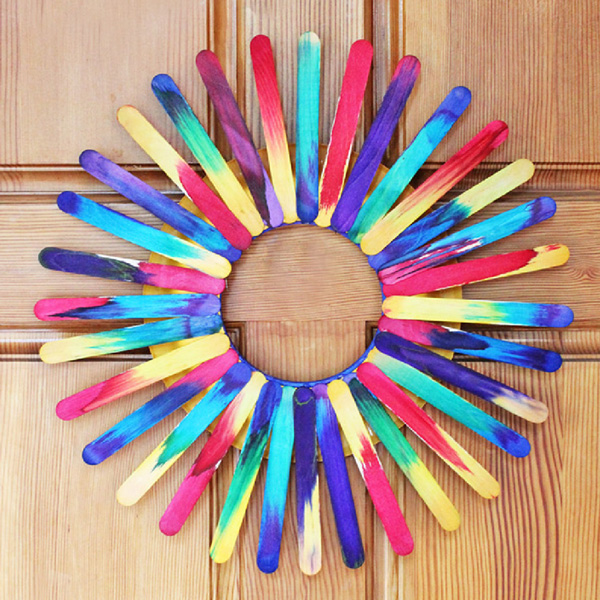
We also turned them into this pretty wreath. Hop over here to see the complete instructions for making a Craft Stick Wreath.
Are you passionate about raising creative kids?
Join over 14,890 parents and educators who want connect with kids and nurture their creative process through magical, easy projects you can do TOGETHER.
Send me awesome creative project ideas!
Just stopping by to say how much I heart this 😉 Art + Science=FAB
Thanks Stephanie, as a HUGE fan of Two-daloo this comment made my day!
Love this colorful project!
Thanks Natalie!!!!! I’m so glad to have found your blog too!
I love bright colors and this is such a cool project!! During Winter Break, I will do this project with some of the children in my apt. complex, as I am kind of the “Neighborhood Mom.” I just have to get bottles of liquid watercolor. With all of my craft supplies, you’d think I’d have them, but I don’t. 🙂 Great, beautiful wreath, too!!
Thanks Joy! I know, it took me FOREVER to get liquid watercolors and now I wonder how I could have crafted without them!
Beautiful! Love it; I am sure we could try this easily, pinning it 🙂
Veens, you will be amazed at how easy this is! Just soak some craft sticks in watercolors for a few hours 🙂
This is a fun idea that I haven’t seen before. I can see doing this and then using the sticks in other ways – using them with blocks, attaching magnets and using sticks on magnet boards, creating other types of art experiences with them – using them like I would regular craft sticks. Thanks for this great idea!
I’m glad you liked them Scott! I love your ideas for using them!
Do you need the liquid watercolours or would food colouring work too??
I don’t know if food coloring is concentrated enough for this project but you can try! Let me know if it works!
How long do the crafts sticks have to stay in the color water for ?
It should take a couple hours.