If you love to make homemade books you have to try making an envelope book! They come together simply and you can use them to store treasures like ticket stubs, notes, stickers, stamps, and more.


An envelope book can be made with or without a cover. To keep it simple you can skip adding the cover. This is a good idea if you are working with younger children.
If you are making an envelope book for yourself or with older kids who may want something more long lasting, adding a cover will make this book sturdier.
Make an Envelope Book

NOTE: I used some very bright day-glo envelopes I had. You can use whatever envelopes you have on hand, from basic envelopes to colorful ones, just make sure they are all the same size.
Materials
- 6 matching envelopes I use these 6 Astrobright envelopes: 4-3/4″ x 6-1/2″ or similar size.
- Glue stick
- White glue
- Lightweight cardboard
- 8 1/2″ x 11″ Astrobright paper
- Ribbon or Shoelace
- Exacto Knife
- Cutting Board
- Straight Edge
Instructions
Make the envelope book pages
This part takes 5 minutes!
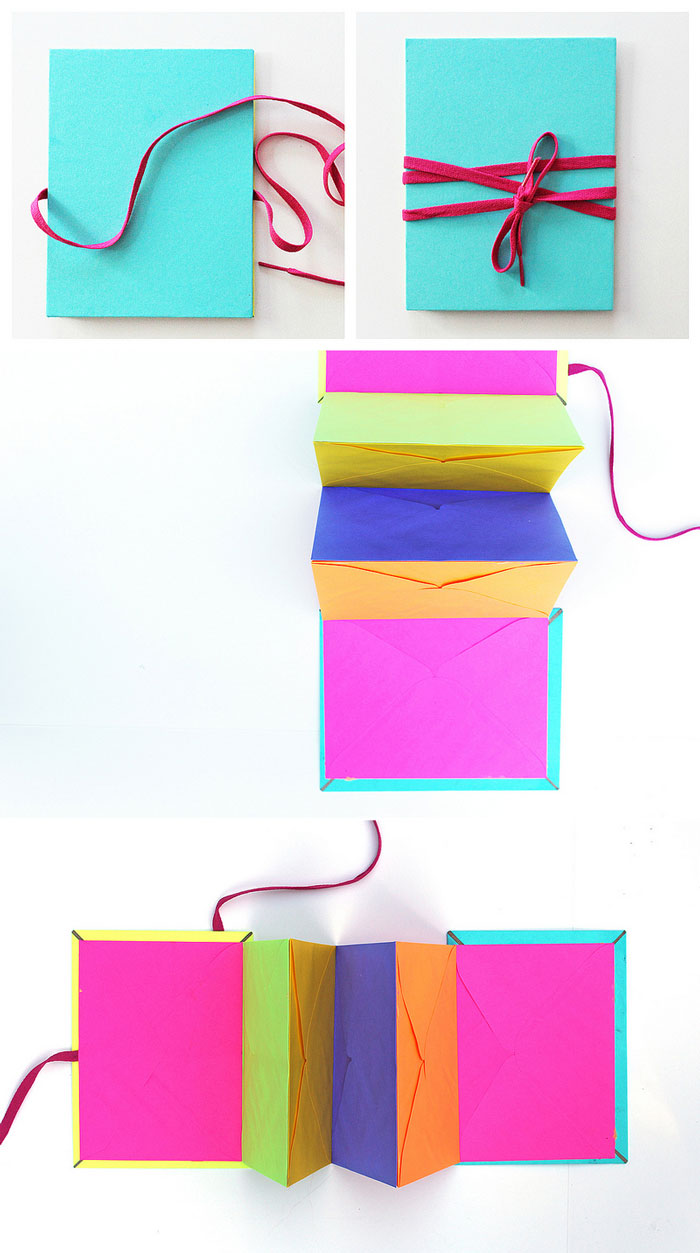
- Step One Using a glue stick, glue the flap of the first envelope to the front side of another envelope.
- Step Two Continue adding envelopes until they are all adhered together into an accordion.
- Step Three Press envelopes between a few heavy books. Let dry.

Check out our simple TikTok tutorial below:
@babbledabbledo Learn how to make an accordion book out of envelopes! ##LearnOnTikTok ##TikTokPartner ##craft ##bookbinding ##paperid
♬ original sound – Babble Dabble Do
Make the Cover (optional)
- Step One Cut out two cardboard pieces 1/2″ larger than your envelopes.
- Step Two Cut your cover paper. The cover paper should be at least 1″ larger than the cardboard on all four sides. Trim each corner at a 45 degree angle.
- Step Three Spread white glue on the cover sheet and smooth it out evenly across the paper.
- Step Four Place your cardboard in the center of the sheet and fold the flaps over the cardboard edges carefully. The better your 45 degree cuts, the smaller a gap you’ll have at the corners, obviously I could have done better on this step!
- Step Five Press between some books until the glue dries.

Envelope Book Assembly
- Step One Center the ribbon on one of the cover sheets and glue it to the cardboard.
- Step Two Spread glue over the front side of one of the end envelopes in your accordion. Turn it over, center on cardboard cover, and press together. Make sure to clean up any excess glue that may squeeze out.
- Step Three Glue the second cover sheet to the front side of the last envelope on the other end of the accordion. Clean up excess glue so you do not accidentally glue any of your pages together.
- Step Four Press the whole assembly between some heavy books and let dry.

You’re done! What can you use your envelope book for? All the odds and ends of everyday life: business cards, receipts, to-do lists etc. Kids can use it for stickers, temporary tattoos, collections or organization projects. Get creative!
More
If you liked this homemade book idea be sure to check out these DIY book projects:
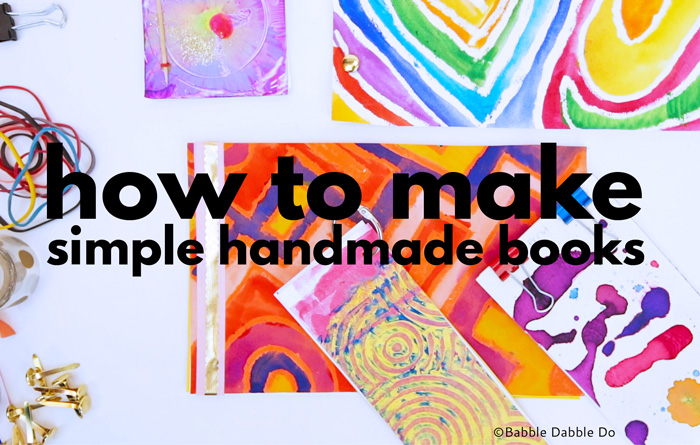
How to Make Simple Handmade Books
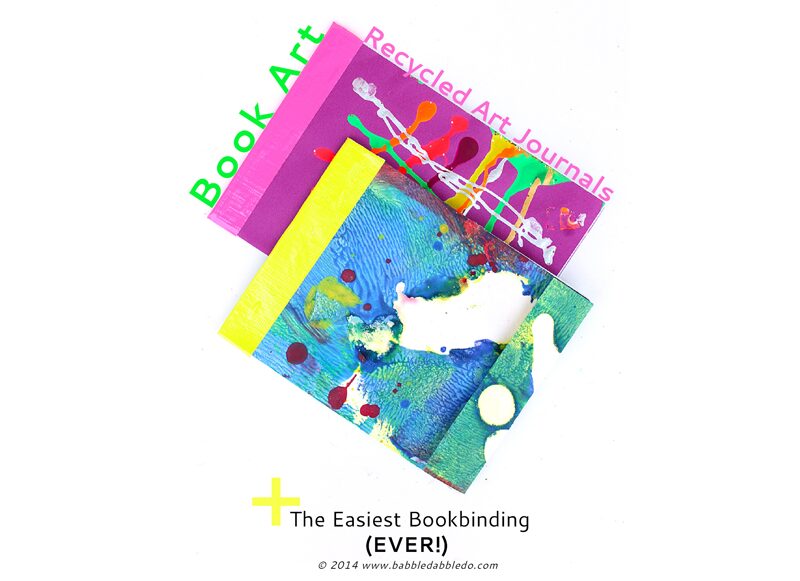
How to Make a Simple Recycled DIY Journal
LOVE THIS!!!!
Thanks Leslie!!!!! So glad you like it as I love your style 🙂
So cute! I wonder if a certain 10 year old would like to make these at her sleepover bday party… I think that’d be really cute!
I also thought… this might be a great idea for Christmas or Birthday cards every year! They’d be a bunch of different sizes, but it would be nice to be able to save all those sentiments year to year.
Hi Grace,
I love, love, love the idea of saving cards in this! Perfect for Valentines cards too!
Ana
I think my oldest son would love something like this to keep things in! Thanks for sharing!
Thanks for stopping by Julie! Depending on what paper you use you could totally make a completely different looking personalized book!
Ana
Really nice book, the idea is so brilliant, and just love your vibrant colour combi. Thanks for the tutorial, it’s great! Have a nice weekend
Thank you so much! Your blogs rocks too!
A great idea, I see so much additional activities we can do with this kind of book. I’ve done something similar with my kids, see here http://stepfordska-supruga-en.blogspot.com/2012/10/diy-texture-board-and-picturebook.html
p.s. found you via Diana Rambles’ pin me party.
Hi Irena,
Thanks for stopping in; I love your texture book idea! Pinned it!
Ana
Wow! What a great tutorial. Such a neat idea!
Thanks Michelle! Glad you liked it!
This is an adorable idea!! My daughter would just love this! Pinned!
Thanks Diana!
Thanks for sharing day Gloa accordion
Booktutorial! Made one!! Love it!