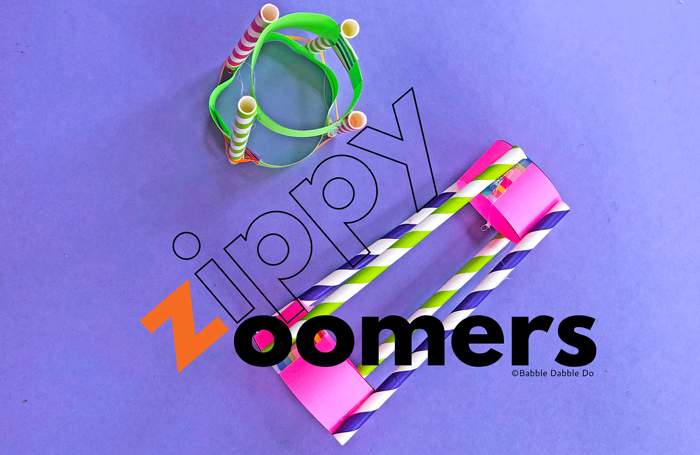
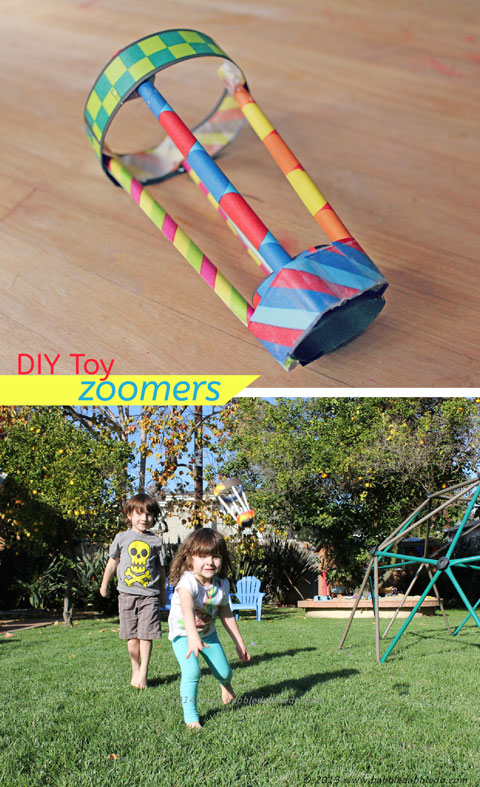
Today’s project is a fun DIY flying toy you can make and fly that sneaks in a little aerodynamics science lesson…. This is great screen-free activity that get’s the kids outside: Let’s make Zippy Zoomers!
This post originally appeared here in December 2012. I have updated it with a template, easier instructions, and a video.
Let me just start with the fact that prying my kids away from away from video games during school breaks is always a challenge…..I managed to convince them to do this project with me the other day and despite some taping frustration they were happily occupied for an hour or so. Mission accomplished!

This post contains affiliate links.
This project is modified from a project I originally saw in The Usborne Big Book of Science Things to Make and Do. I’ve changed a few things around and added a template for your convenience.
DIY Flying Toy: Zippy Zoomers
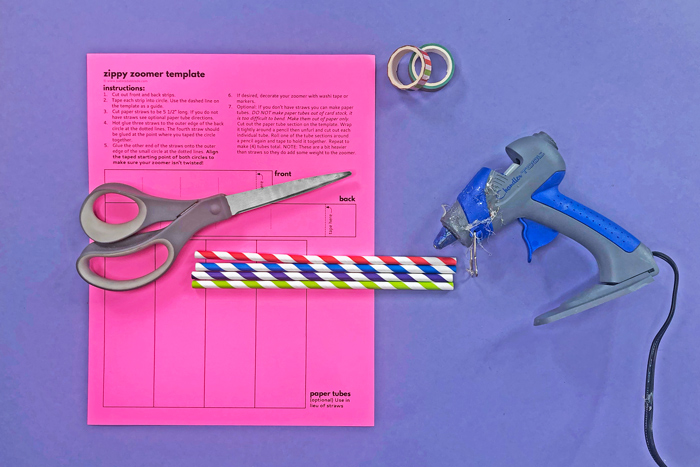
Materials

- Template (optional)
- Paper or Card stock
- Paper Straws
- Scotch Tape and/or Decorative Tape
- Hot Glue Gun/Glue
- Scissors
Instructions
Time needed: 15 minutes.
Make a fun DIY flying toy!
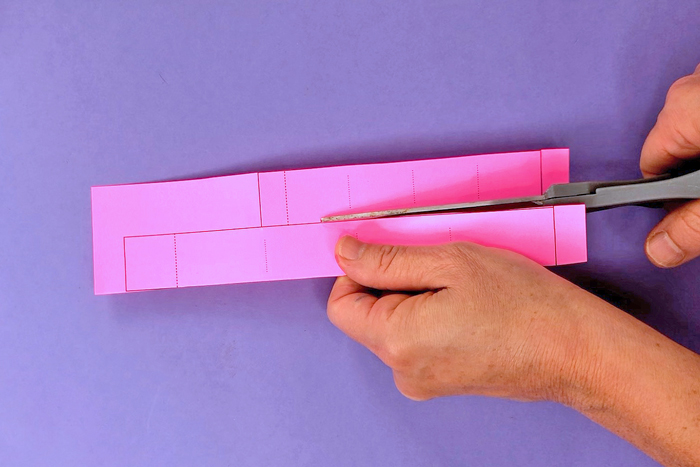
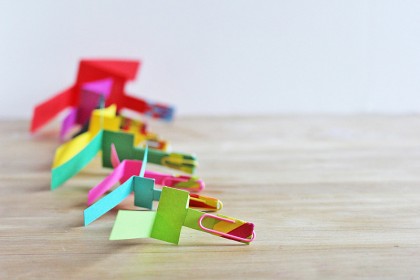
- Cut front and back strips
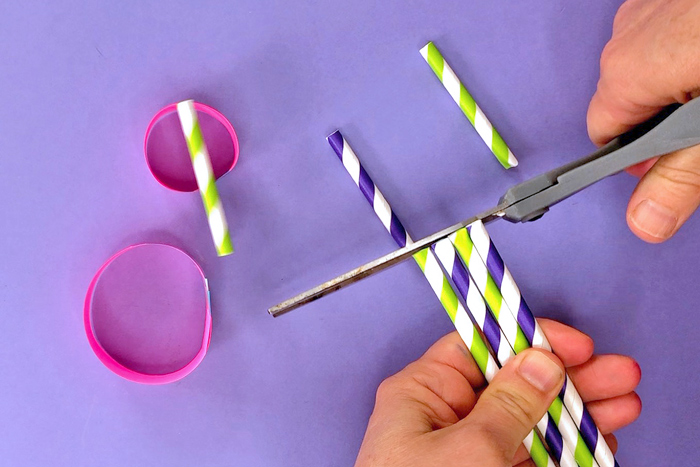
Print template on paper or card stock. Cut out front and back strips. If you are not using the template cut two strips of card stock using the following dimensions: 1″ x 7 1/2″ and 1″ x 5″

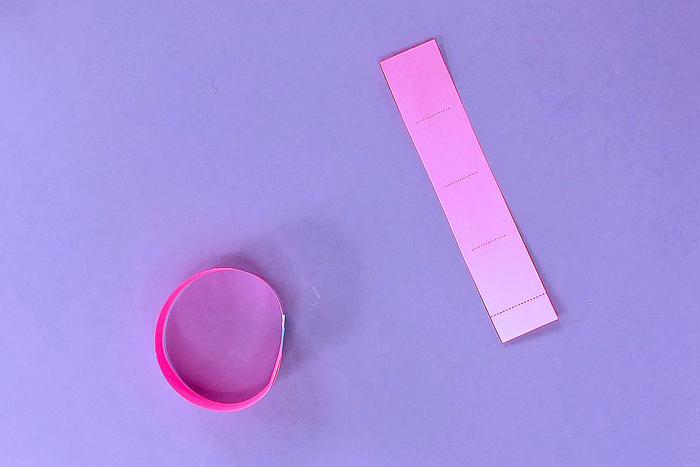
- Make front and back circles
Tape each strip into circle. Use the dashed line on the template as a guide.
- Cut straws
Cut paper straws to be approximately 5 1/2″ long. If you do not have straws see the optional paper tube directions at the end.*
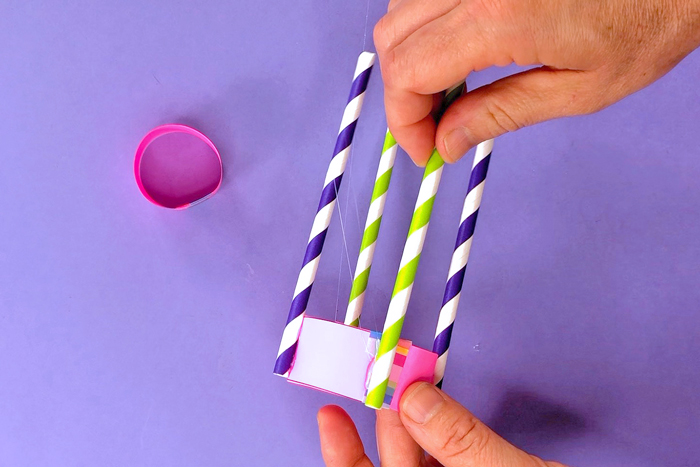
- Glue straws to back circle
Glue the straws to the outside edge of the big circle. They should be placed the 12, 3, 6 and 9 o’clock positions. The template has 3 dotted lines at these positions. The fourth straw should be glued at the point where you taped the circle together.
- Glue straws to the front circle
Glue the other end of the straws onto the outer edge of the small circle at the dotted lines. Be sure to align the taped starting point of this circle with the larger circle below to make sure your zoomer isn’t twisted!
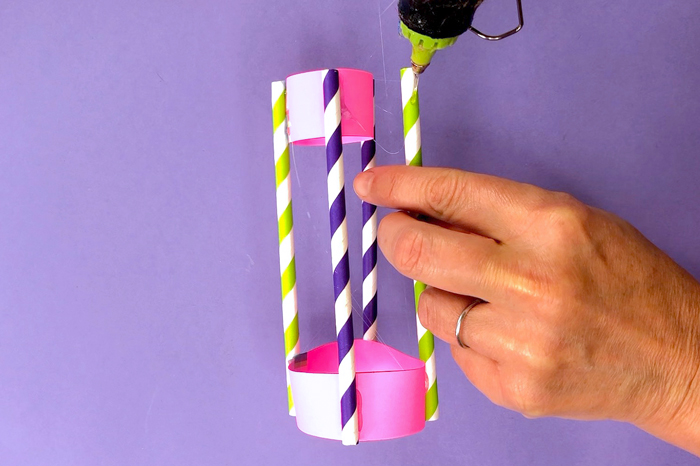
- Decorate it!
Optional If desired decorate your zoomer with washi tape or markers.
- * OPTIONAL: Make Paper Tubes
Optional: If you don’t have straws you can make paper tubes. DO NOT make paper tubes out of card stock, it is too difficult to bend. Make them out of paper only. Cut out the paper tube section on the template. Wrap it tightly around a pencil then unfurl and cut out each individual tube. Roll one of the tube sections around a pencil again and tape to hold it together. Repeat to make (4) tubes total. NOTE: These are a bit heavier than straws so they do add some weight to the zoomer.


Fly them!
Hold one of the straws near the back end and aim the zoomed up. Fly it as you would a paper airplane.


Since we live in LA we were able to go outside and fly these, even in the middle of December. With so many disappointing paper airplane flights in our past (they do take a bit of finesse to make fly right) the kids were happy to discover they could easily fly their Zippy Zoomers high and far!
Let’s Talk STEAM
The Science
This DIY flying toy is a simple aerodynamics project for kids. Aerodynamics is the physics branch of science that focuses on air movement and the forces at work as objects move through the air. Drag is the force that resists an object’s motion as it moves though air and is also referred to as air resistance.
The Engineering
Animals and man-made objects that move through the air are designed with streamlined shapes to minimize drag. Drag is affected by surface area and speed. Notice that our Zappy Zoomers are designed with a narrowed front end than a back end. This streamlined shape helps reduce their air resistance as they fly.
Did you like flying Zippy Zoomers?
Here are two more DIY Flying toys to make:
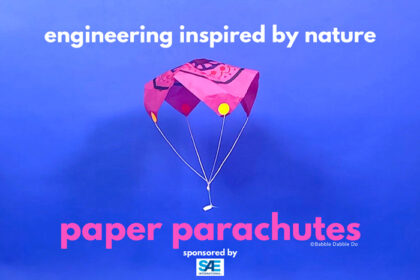
Make a Paper Parachute
Make a Paper Helicopter
Are you passionate about raising creative kids?
Join thousands of parents and educators who want connect with kids and nurture their creative process through magical, easy projects you can do TOGETHER.
Subscribe to our email list to receive project ideas as well as offers for some our creative products.
If you want to read our privacy policy before subscribing, hop over here.

Thanks for sharing this idea. I will be letting 11 year old children make these on Thursday, July 16, 2015 at a summer library program. What is the best way to get them to fly? Which end do you throw first? Please reply quickly so I can tell them on Thursday.
Excited to hear this Peggy! You throw the tapered side first. Fly them like a paper airplane. I highly recommend making a test one for yourself first too 🙂
I know I will sound like a dunce, but…which side is tapered, the small side? Thanks!
yes 🙂
how dos it fly?
It is aerodynamic and will fly through the air. Launch it like you would a paper airplane.