Have you ever made a geoboard? We have, three times over. I am of the belief that there truly can never be enough geoboards in the universe…..ha! If you don’t know what a geoboard is, it’s a learning toy that involves a grid of nails or pins that children wrap rubber bands around. For little ones it helps develop fine motor skills and for older kids it’s a great tool for exploring area and perimeter in a hands-on exercise.
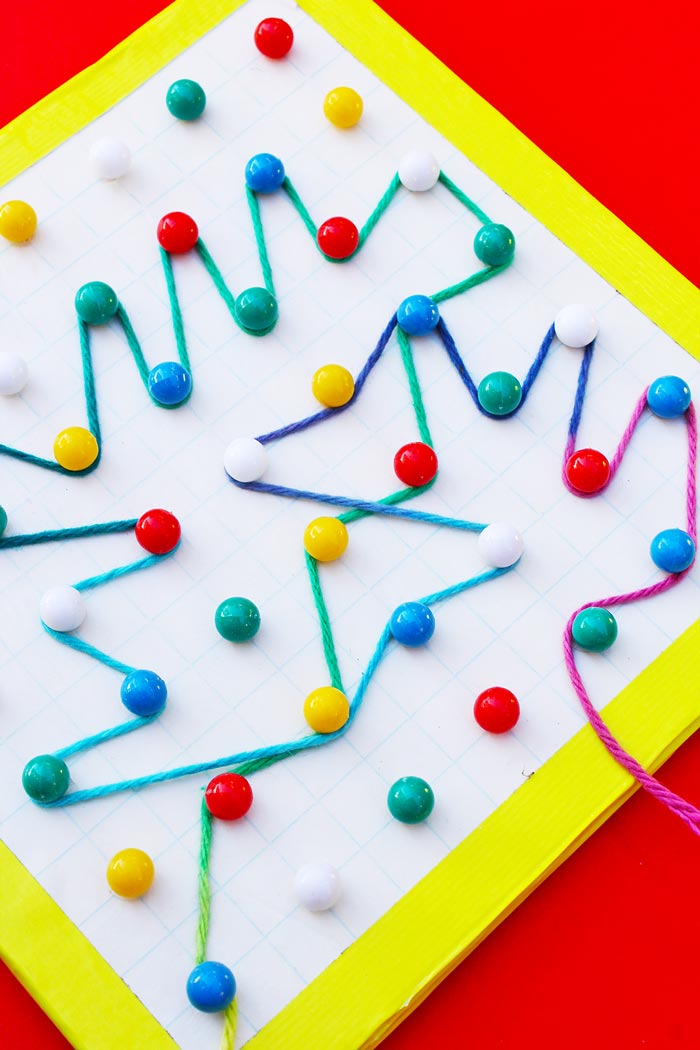
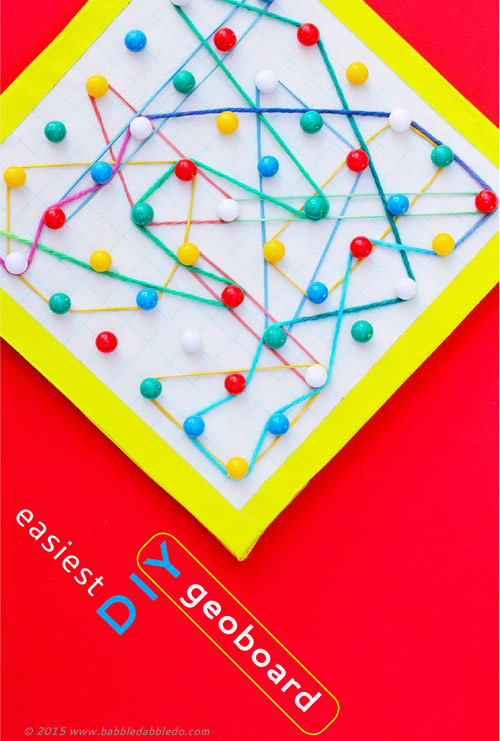
Geoboards can be purchased but there are also loads of DIY versions. We made some basic geoboards here using cork and some constellation geoboards here using inexpensive trivets. Recently I was fooling around with a few of our art supplies and discovered how to make just about the Easiest DIY Geoboard EVER which I’m sharing with you today. The secret is using a layer of graph paper on top so you can easily place and space the pins on the board.
This post contains affiliate links to products I love and recommend to my readers, plus it keeps this little blog o’mine afloat! Thank you!
The Easiest DIY Geoboard
Materials
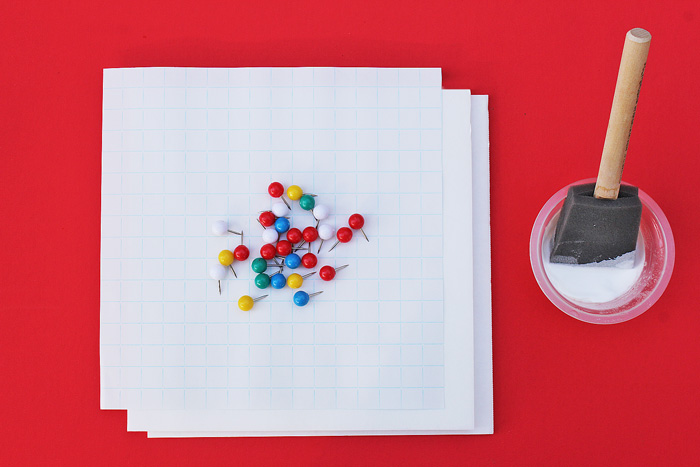
- Graph Paper
- Foamboard
or cardboard, or even thick fun foam + cardboard
- Mod Podge
- Push Pins/Tacks- I like the ones with the large round heads like this
- Rubber Bands
- Foam Paintbrush
- Duct Tape
Instructions
- Step One Trim your graph paper into a square shape. You want to leave an outer edge of about ¾ all around the board. I trimmed our paper to be 8 “ x 8”
- Step Two Trim your foamboard to match the paper size. You will want the geoboard base to be as thick as the exposed length of the pins you will be using. For our geoboards I used two layers of foamboard.
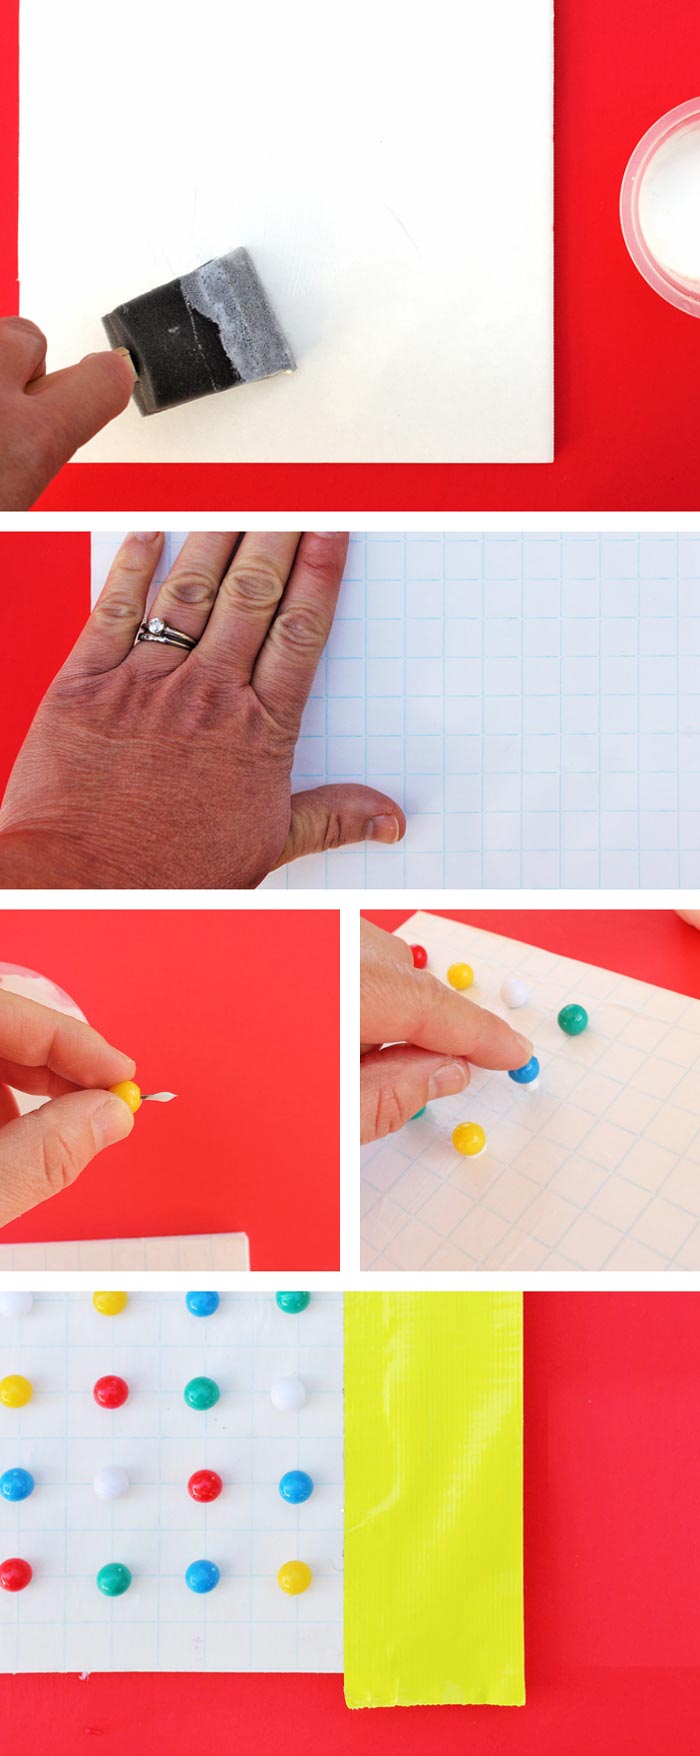
- Step Three Paint a layer of Mod Podge over one of your foambard base layers. Place the second base layer on top and press together.
- Step Four Paint another layer of Mod Podge on top of the second piece of foamboard. Add your graph paper and press out all air bubbles.
- Step Five Paint a layer of Mod Podge on top of the graph paper to seal it.
- Step Six Dip each pushpin base into Mod Podge and then push into the geoboard. Adding glue to the pins will secure them in place in the board and prevent them from popping off when rubber bands are removed during use.
- Step Seven Repeat Step Six at regular intervals to form a grid of pins. Let dry completely.
- Step Eight When the Mod Podge is dry, place duct tape over the edges of the board to prevent the graph paper from peeling up.
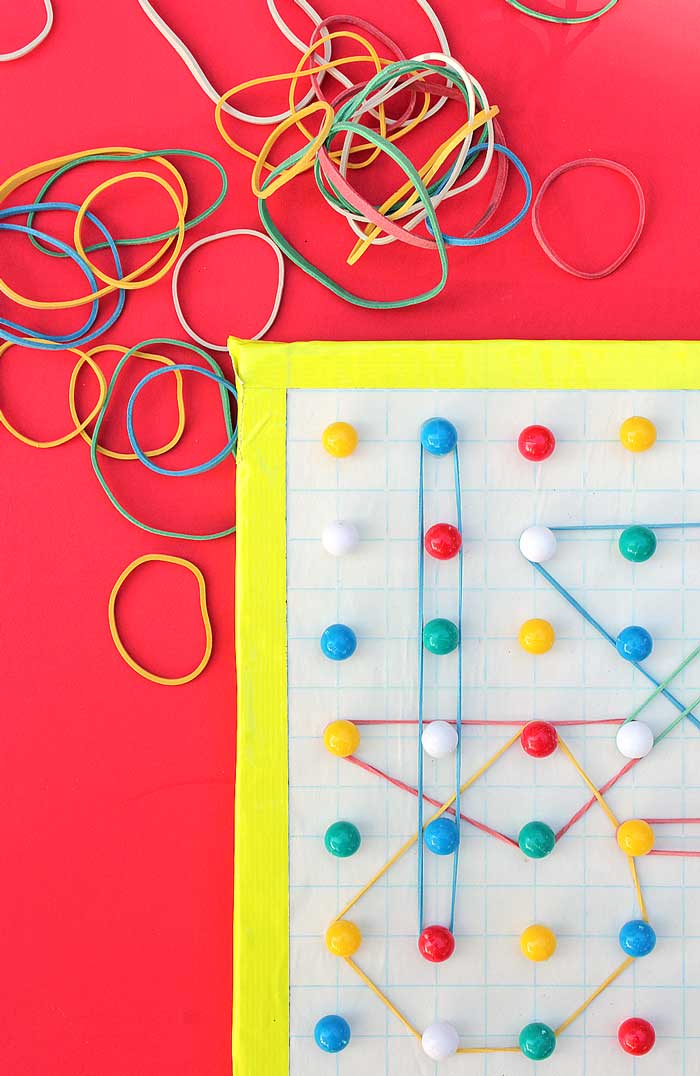
You’re done!
Geoboard Activity Ideas
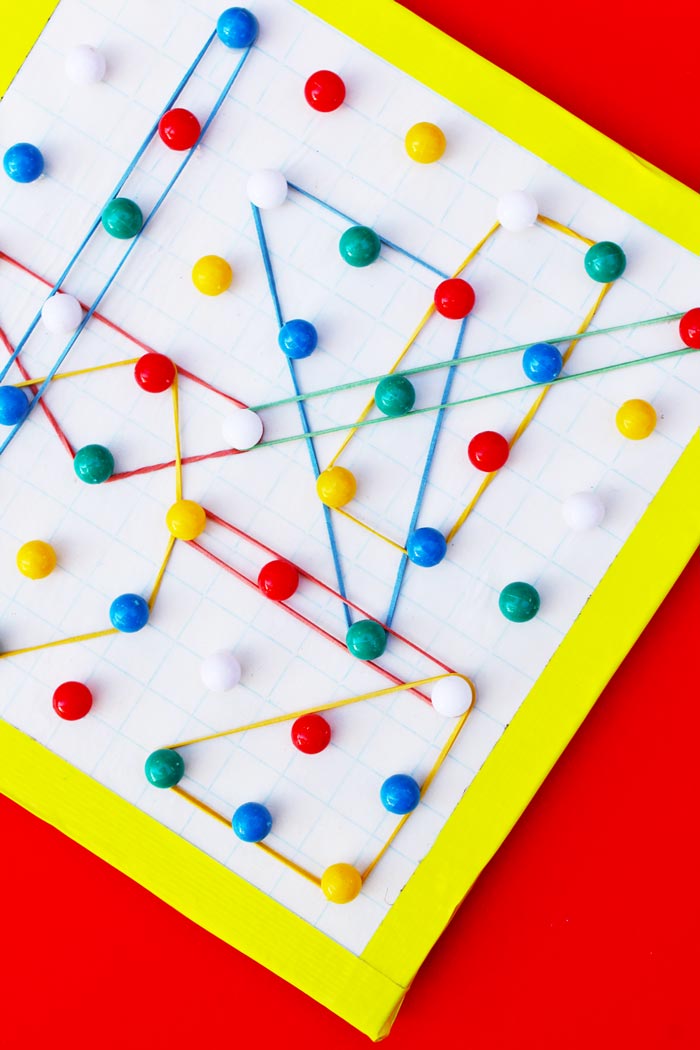
- Area & Perimeter Geoboards are great for learning about area and perimeter. Older children can stretch the rubber bands to form different shapes and learn the difference between area, the space contained within the rubber band shape, and perimeter, the distance around the edges of the shape.
- Letter Practice My kindergartener is learning letters and her first impulse when I gave her the goeboard was to recreate letters with the rubber bands. This would be a great way for children learning the alphabet to commit letters to memory, by replicating them.
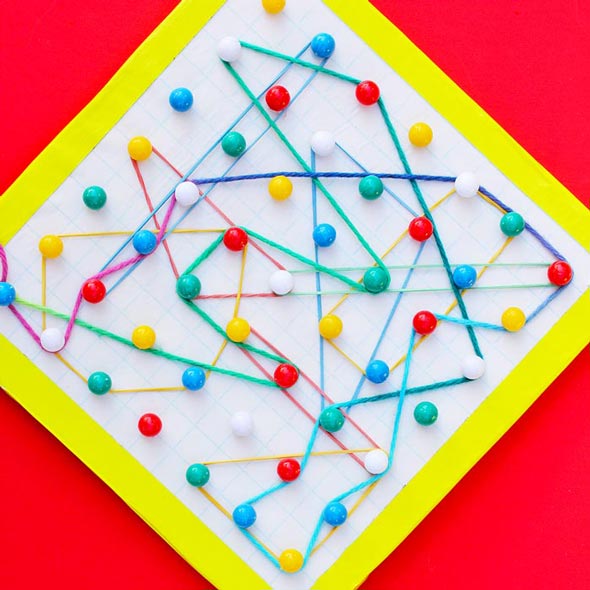
- String Designs Have you ever tried using a string with a geoboard in lieu of rubber bands? They area little harder to use since you need to pull the string tightly around pins to keep it in place, however older kids might enjoy creating elaborate continuous designs using string in lieu of the rubber bands.
Looks Like
Sol LeWitt. Playing with basic geometry, shape, and color to create exciting and eye catching art is what artist Sol LeWitt did best. He started his career in the 1960s by creating three-dimensional sculptures based on the cube and his work quickly became synonymous with the movement called Minimalism. He continued using basic geometric forms as the basis of his work even into the 1990s when his art became more curvilinear; Mr. LeWitt always used strict guidelines for the shape and placement of forms in his less obviously geometric works. Take a moment to check out his sculptures here.
Conclusion
Was that the easiest DIY Geoboard to make ever? I kicked myself that I didn’t come up with these easy method ages ago.
If you and your children have not had the pleasure of playing around with geoboards this is a great time to start!
More Geoboard fun:
Crazy DIY Geoboard from Picklebums
Giant Pegboard Geoboard on Crayon Box Chronicles
Fill your child’s life with more art, design, and science:
Subscribe to our free newsletter and check out our FB page where I share tons more creative ideas and resources from around the web.
Spread creative ideas like wildfire: Pin this!
FB Share
these are absolutely amazing! thank you for sharing them! 🙂
Thank you!
colorful!! i am try right-away
Yay!
This is amazing! I like the idea of the rounded head coz it seems safer that way. Thank you so much!
Anyway, is it sturdy for excessive use?
If you glue in the pins it’s sturdy for awhile 🙂