We’ve tried many different types of mosaics for kids over the years and this by far has been the most popular one…probably because kids can eat it afterwards!
This summer at Camp STEAM, we devoted a week to studying the five senses and this was one of the surprise hits from the week: An easy and edible mosaic using a popular fruit snack…
Now let’s just say I adore mosaics in all forms. There is something about taking bits and pieces of glass, tile, or rock and arranging them so that they create a bigger picture, pattern, or design. A memorable part of my year spent in Italy as an architecture student was a trip to Ravenna to see the famous Byzantine era mosaics. I also find the tie-in to pixels and tech fascinating, after all, digital images are made of thousands of individual squares pieces of color called pixels that when viewed at a distance form a smooth picture. All these make for great STEAM tie-ins….check out the Let’s Talk STEAM section below for additional information.
In any case, true mosaics are actually quite an involved process and I love finding way to make classic art techniques a little more kid-friendly. For today’s project I will show you how to repurpose a popular snack food into an art material. And the best part? You don’t have to waste this food! You can absolutely EAT YOUR ART PROJECT when you are done…provided your parent agrees!
This post contains affiliate links to products.
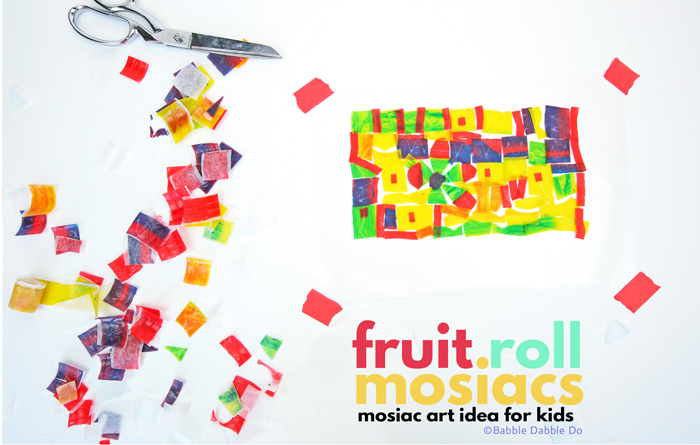
Easy {and EDIBLE} Mosaics for Kids
Materials
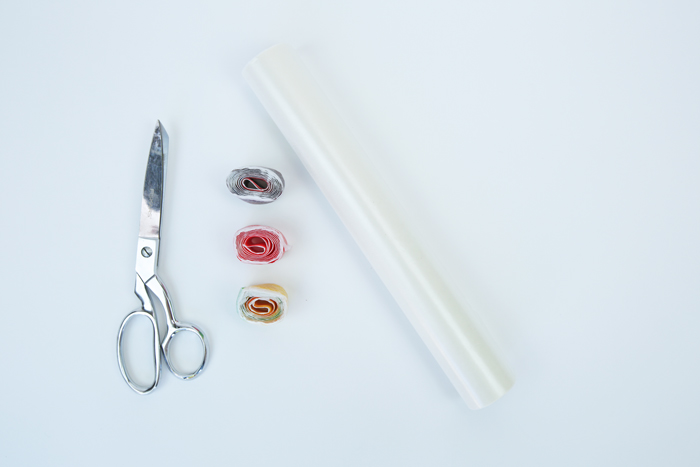
- Fruit By the Foot of various flavors and colors (we used this pack)
- Wax Paper
- Scissors
- Tape
- White Construction Paper (optional) or poster board for displaying the final product
Instructions
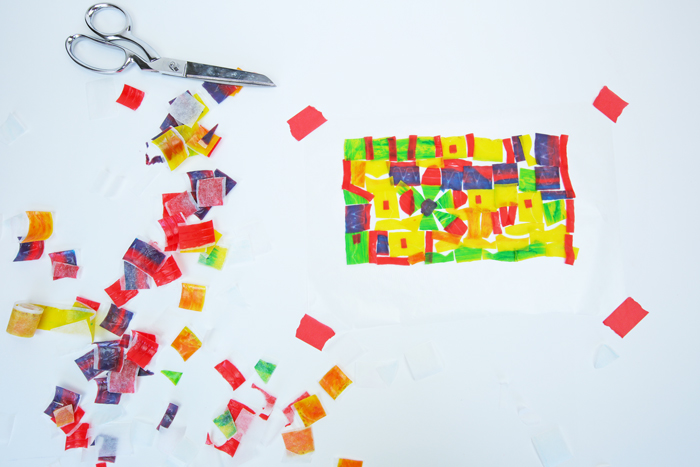
- Step One Cut your wax paper into a size you’d prefer to work with – we cut our pieces into a rough 8×10
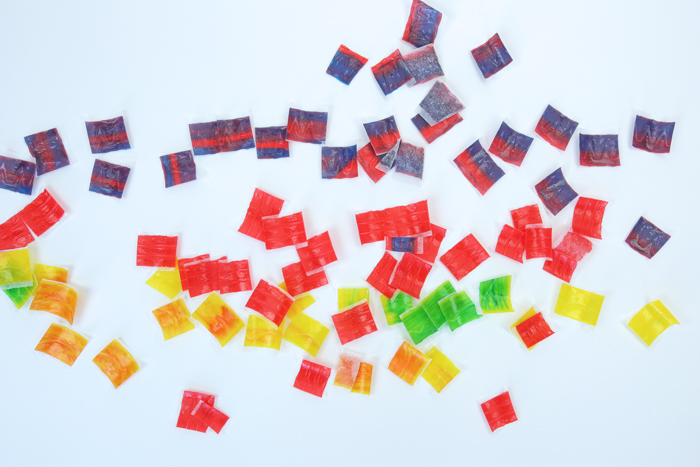
- Step Two Unroll the Fruit By the Foot and use your scissors to cut the strips into squares and triangles of various sizes and lengths – be sure to leave the paper backing on as you’re cutting, otherwise you’ll have a sticky mess on your scissors and hands. (This also provides some great fine motor practice for the kids who will be peeling the fruit snack away from the paper in the next step!)
- Step Three Peel the paper backing away from the Fruit By the Foot shapes and start placing them on the wax paper STICKY SIDE DOWN…ahem some of our campers claimed that licking the fruit snack before putting them on the wax paper made them stick better – or was that simply because it’s an additional yummy step in the project?
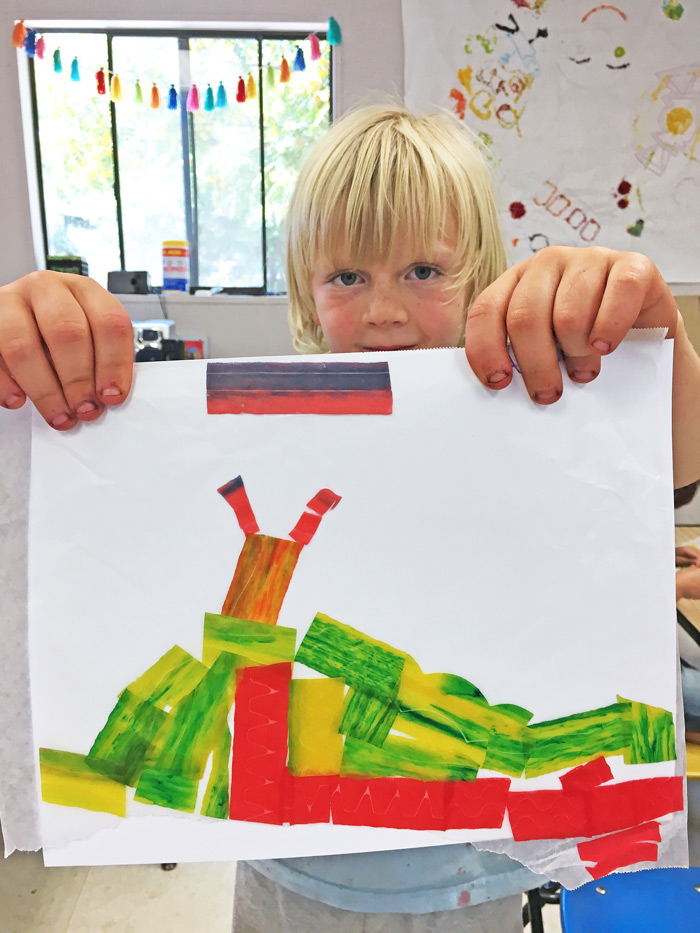
- Step Four Arrange the pieces into whatever design, pattern, or picture you can imagine
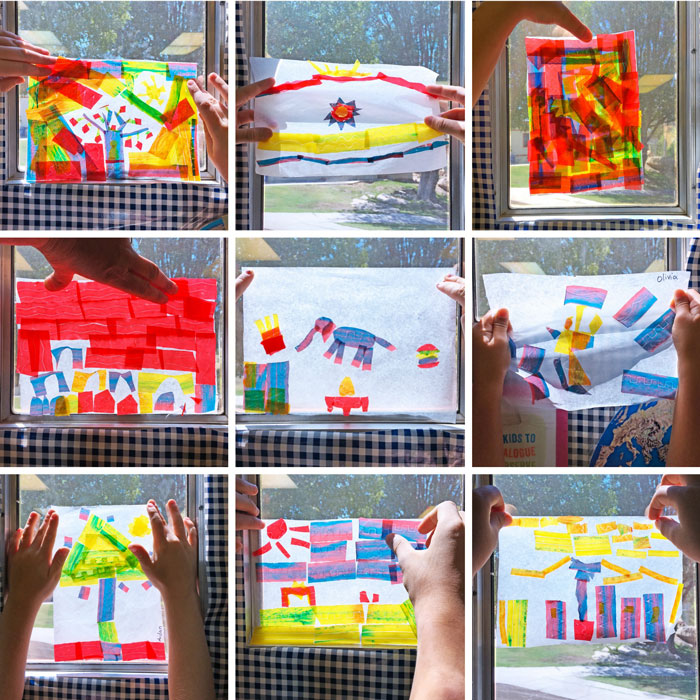
- Step Five (optional) Once you’ve finished your mosaic, gently lift the wax paper onto the white paper and tape the corners down to attach. The bright colors of the fruit snack really pop against the contrasting white of the paper and it’s a fun way to see the completed product. If it’s not too heavy you can also hang it in a window to display!
You’re done! The great part about this project is that it’s edible, so go ahead and eat your art, or it can be wrapped up and saved for later.
Let’s Talk STEAM
The Art
Mosaics Mosaics are an ancient art form that consists of taking small bits of glass, tiles, or pebbles and assembling them into a larger picture. The small pieces are usually held together by some type of mortar, similar to how bricks are connected together but on a much smaller scale.
Mosaic art has been around since the Mesopotamian era and became very popular during the Byzantine Empire which lasted from the 6th to the 15th centuries. As I mentioned above, a notable hub of Byzantine mosaics is the town of Ravenna, Italy which contains several churches whose interior walls are covered with intricate and golden mosaic murals. If you ever have the chance to visit the Church of San Vitale you will be awestruck by them. Imagine how many hours, days, and years it took to painstakingly create the images from tiny bits of tiles. Pointillism is a related form of art that employs small pieces of color to construct a large image that is intended to be viewed from a distance and for the individual pieces of color to be blended together by the eye.
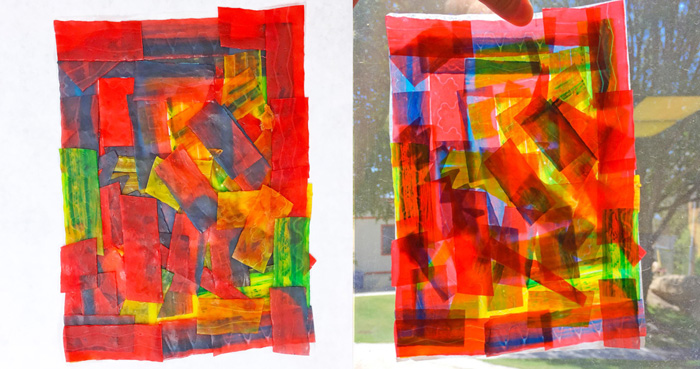
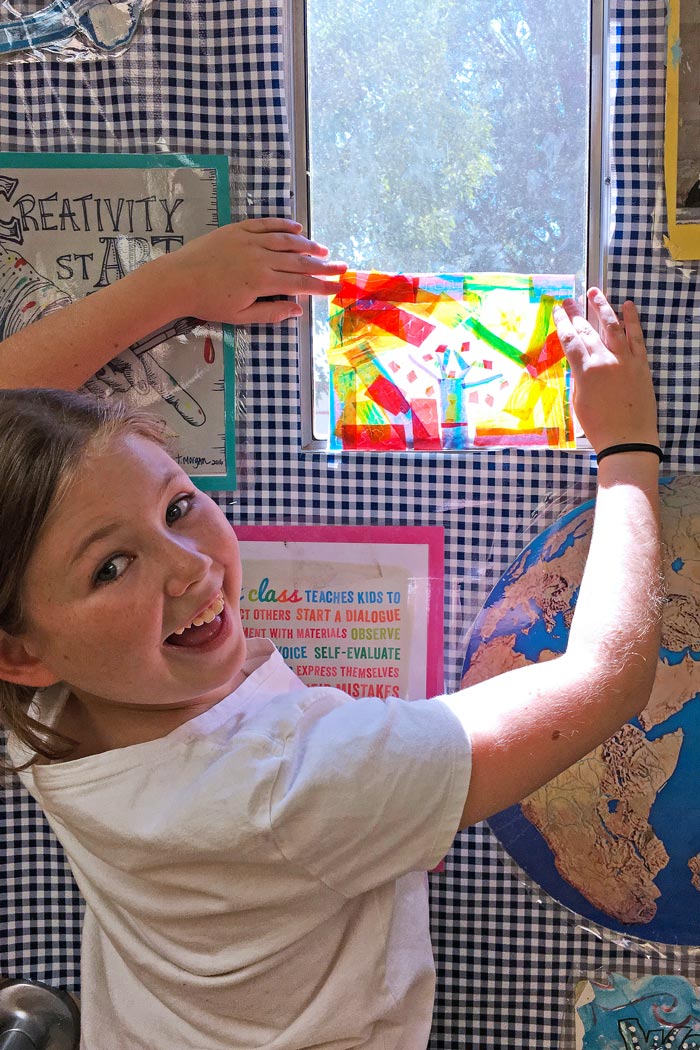
Translucency Translucency is defined in art as a material that allows some light to pass through it but which obscures the details of what is behind it. The brilliant discovery we made after making these mosaics for kids two times in camp was holding them up to a window! Wow! The fruit rolls are translucent and look even more bright and colorful with sunlight behind them.
The Tech
All digital images are actually made up of thousands (or millions) of little bits of colored squares called pixels. I magnified a section of one of the photographs I took of this project below so you can see. When we talk about the resolution of digital images we are talking about how many dots per inch the image contains. The more pixels/dots you have, the sharper the image with be. The fewer the pixels you have, the more your image will appear jagged. Graphic designers and photographers call this a “pixelated” image.
![]()
The Math
Since we used Fruit by the Foot this project is a fun way to introduce kids to measurement!. Each fruit by the foot roll is approximately 3 feet in length. We cut the pieces up in advance but you could really emphasize the math aspect of this project by having the kids cut the pieces into specific lengths, such as 1 inch, 2 inches, or fractions. Ask the kids to work with specific measurements so they can visualize that a foot is made up of 12 inches or 12 pieces of their fruit roll.

Conclusion
Like a lot of parents, I have often found myself telling my kids to stop playing with their food but for this project, playing with your food is ENCOURAGED! It’s a great way to discuss some art, tech and math concepts with kids while they make a lovely edible piece of art!
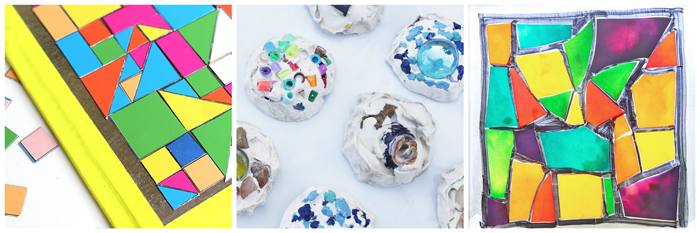
More Mosaics for Kids
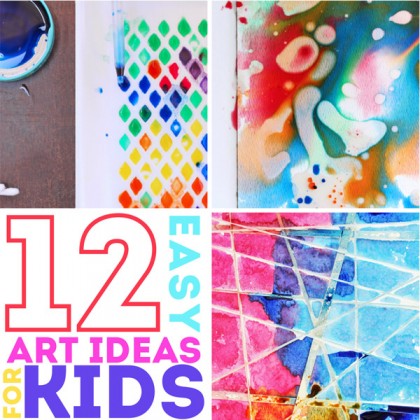
More Easy Art Ideas for Kids
Are you passionate about raising creative kids?
Join over 22,179 parents and educators who want connect with kids and nurture their creative process through magical, easy projects you can do TOGETHER.
Subscribe to our email list to receive project ideas as well as offers for some our creative products.
If you want to read our privacy policy before subscribing, hop over here.

Is there a way to print your awesome projects without all the advertisements?
I need to work on a way to easily print them…. Thanks for the encouragement! The ads are annoying I know but it’s the way I keep my blog afloat and am able to provide free content. Thank you for reading!