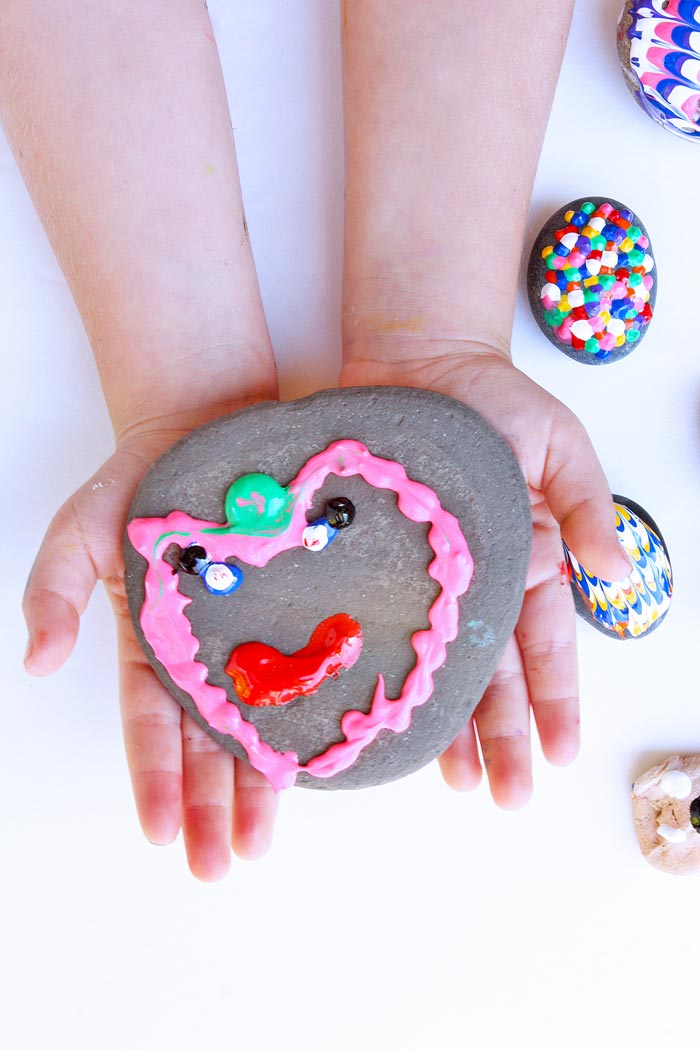
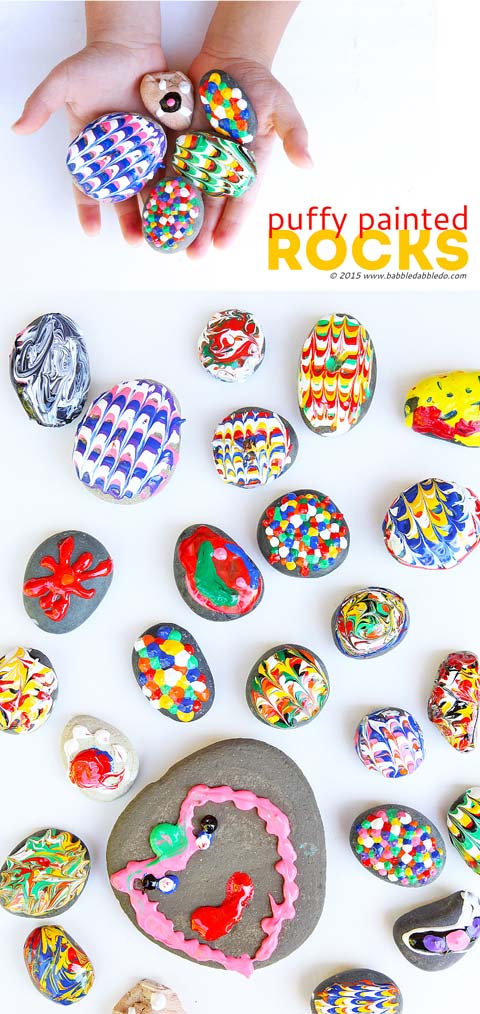
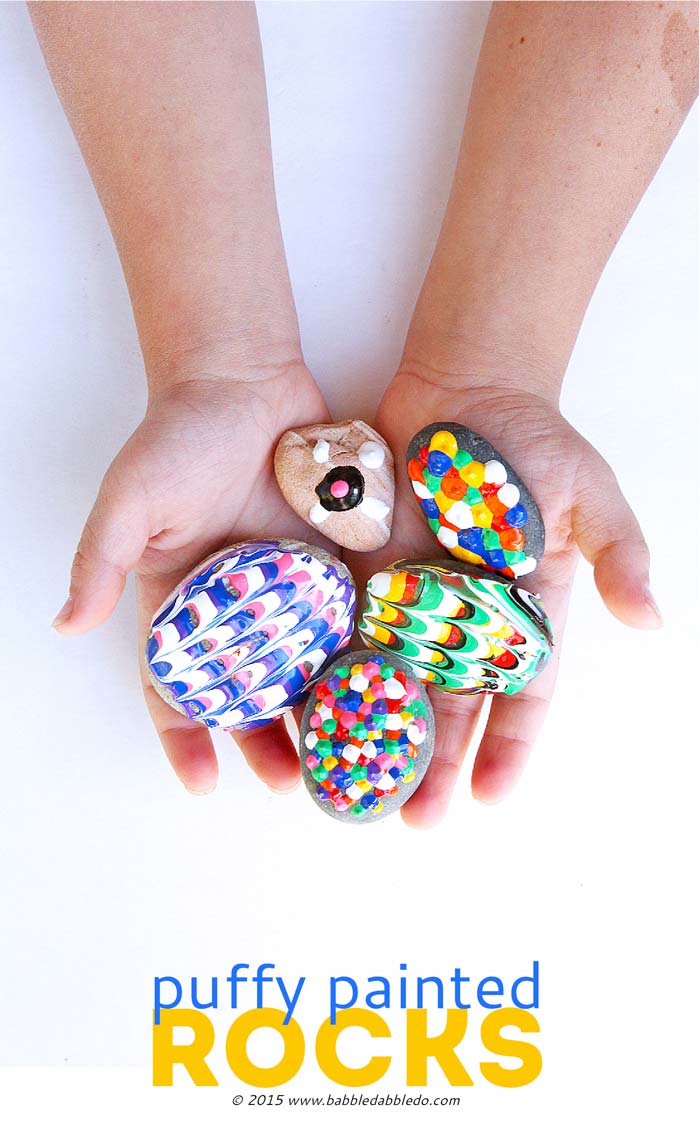
Painted rocks are a classic nature craft; easy to make and colorful to display, does it get better than that? Today we put a little spin on this craft by decorating rocks with Puffy Paint, which is typically used for decorating fabric. Wanna know the coolest thing about this project? My 6 year old invented it.
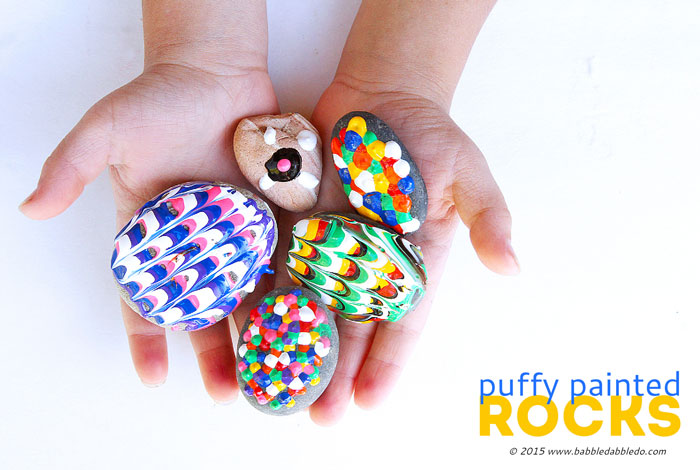
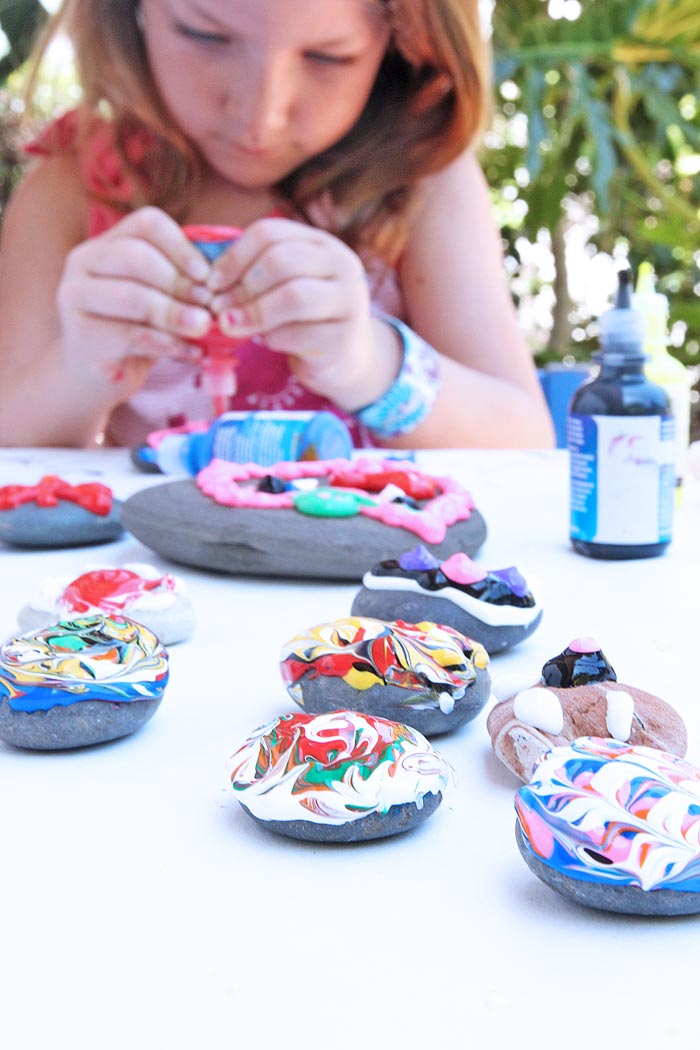
We collect a lot of rocks. Rocks at the beach, rocks from hikes, and just plain old store bought stones scattered around the garden that my kids often gather up in piles. I was recently working on a now scrapped idea for a rocks with faces using puffy paint but the project just wasn’t working out. I got up to clear my mind and my daughter who was quietly working at the table nearby took the materials and started woking on HER idea for the project. I came back to find a whole slew of rocks covered in colorful globs of puffy paint and I loved it! The rocks ended up having this really cool rubbery type texture when completely covered in 3D paint. Needless to say, we were hooked! And I got inspired again thanks to my 6 year old artist in residence.
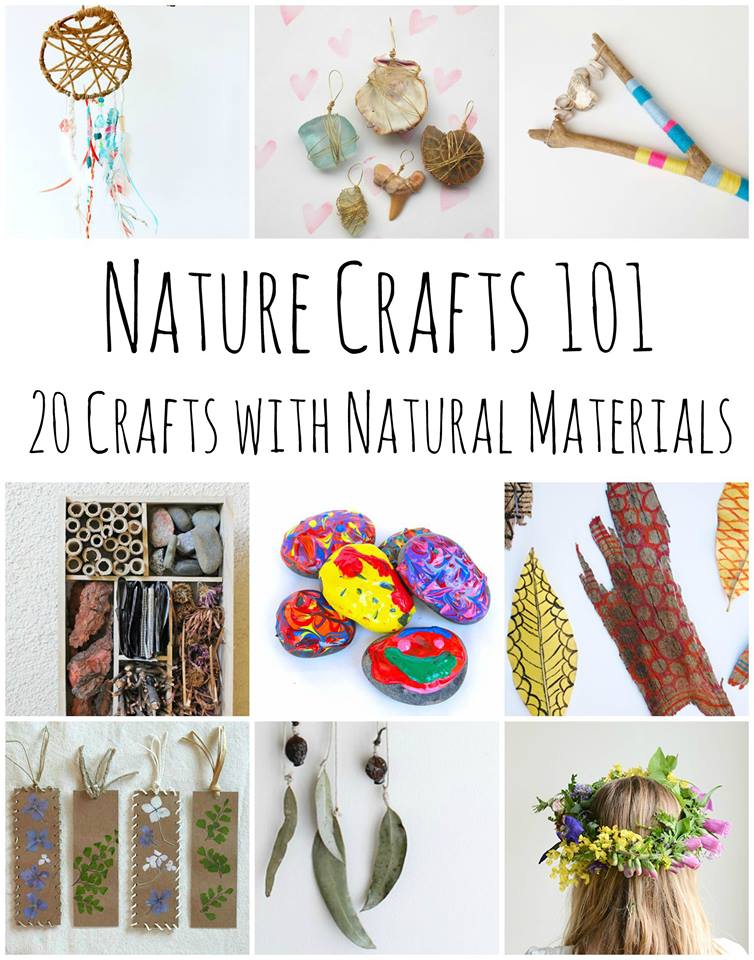
This project is part of a fantastic series of nature-based crafts from some of my favorite bloggers. The series is called Nature Crafts 101 and focused on easy and lovely nature crafts you can make with your children. Start here to see more projects in the series.
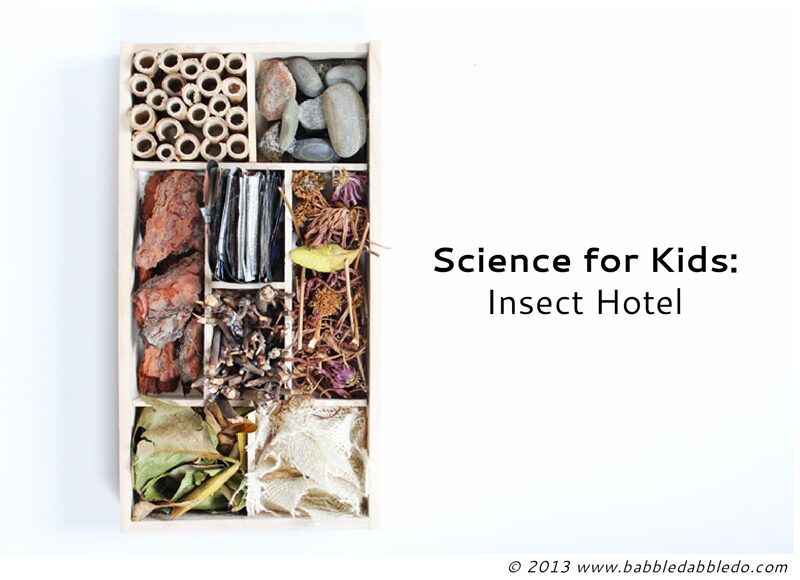
Then hop over and see our first craft in the series: Science for Kids: Insect Hotels.
This post contains affiliate links to products I love and recommend to my readers, plus it keeps this little blog o’mine afloat! Thank you!
Puffy Painted Rocks
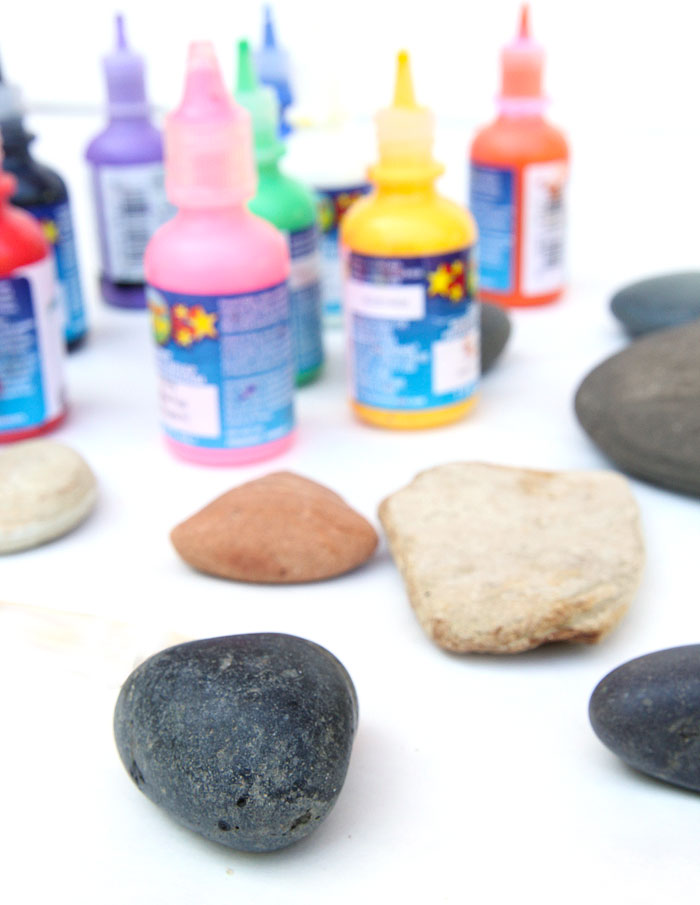
Materials
- Rocks
- 3D Paint AKA Puffy Paint
- Toothpicks (optional)
Instructions
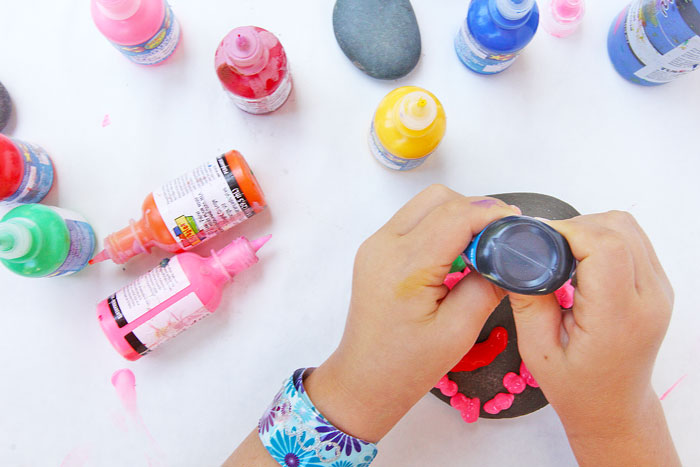
- Step One Clean your rocks to remove any dirt and let dry.
- Step Two Squeeze globs of a few colors of puffy paint on one side of your rock.
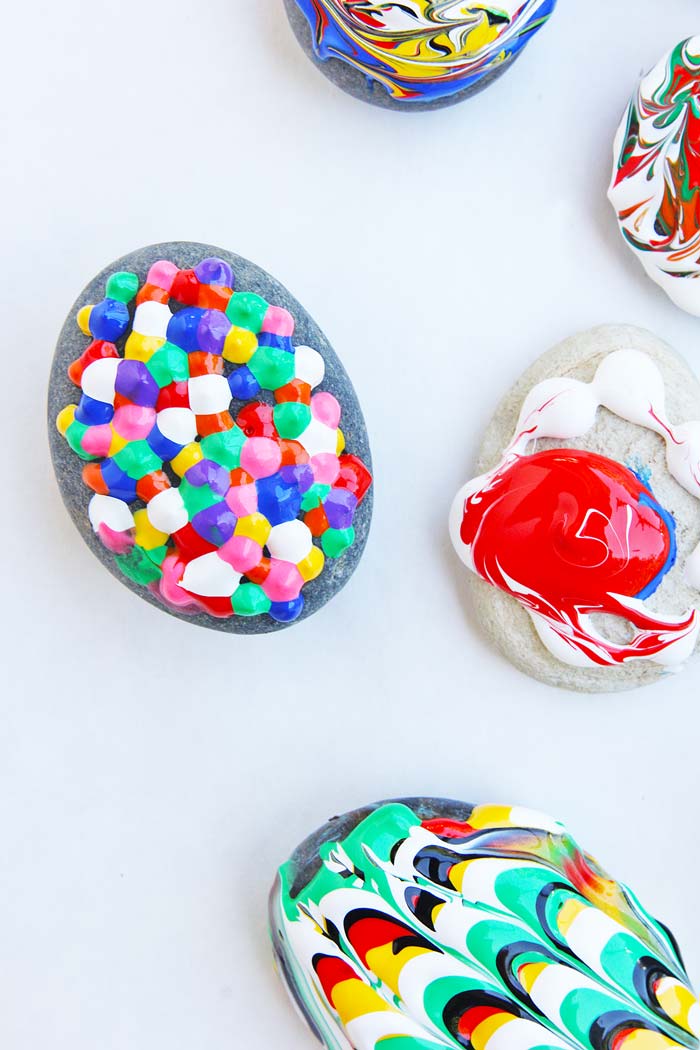
- Step Three Using a toothpick, gently swirl the colors to make colorful patterns. Alternatively you can simply squeeze the puffy paint out on the rocks in designs. Let dry.
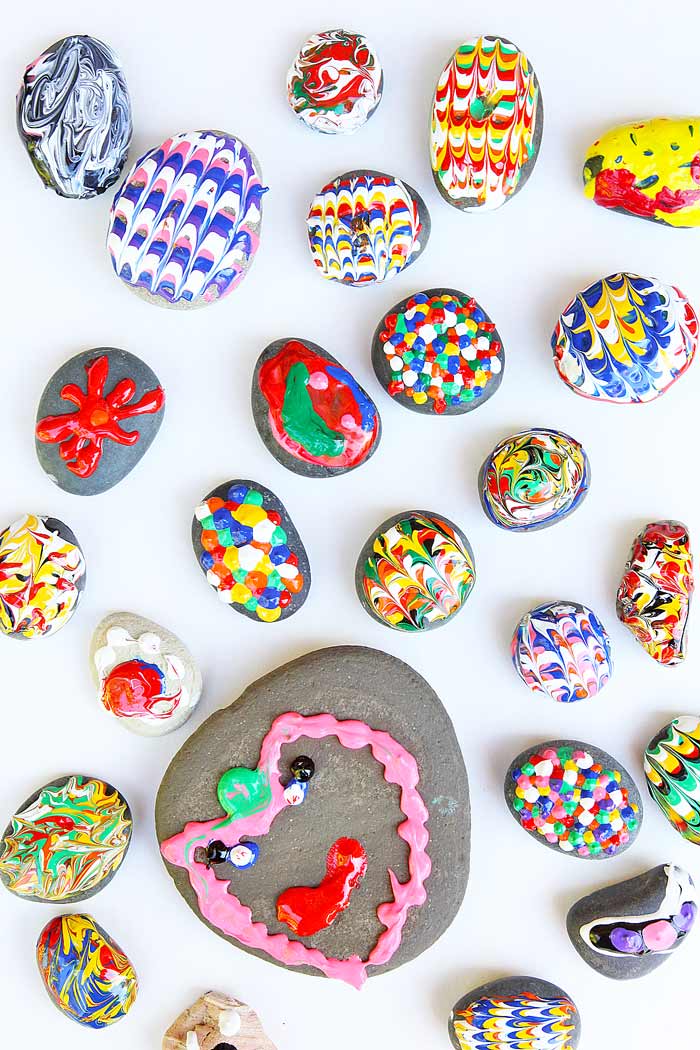
You’re done! These make lovely decorations in the garden or in your home. We have them scattered everywhere lately!
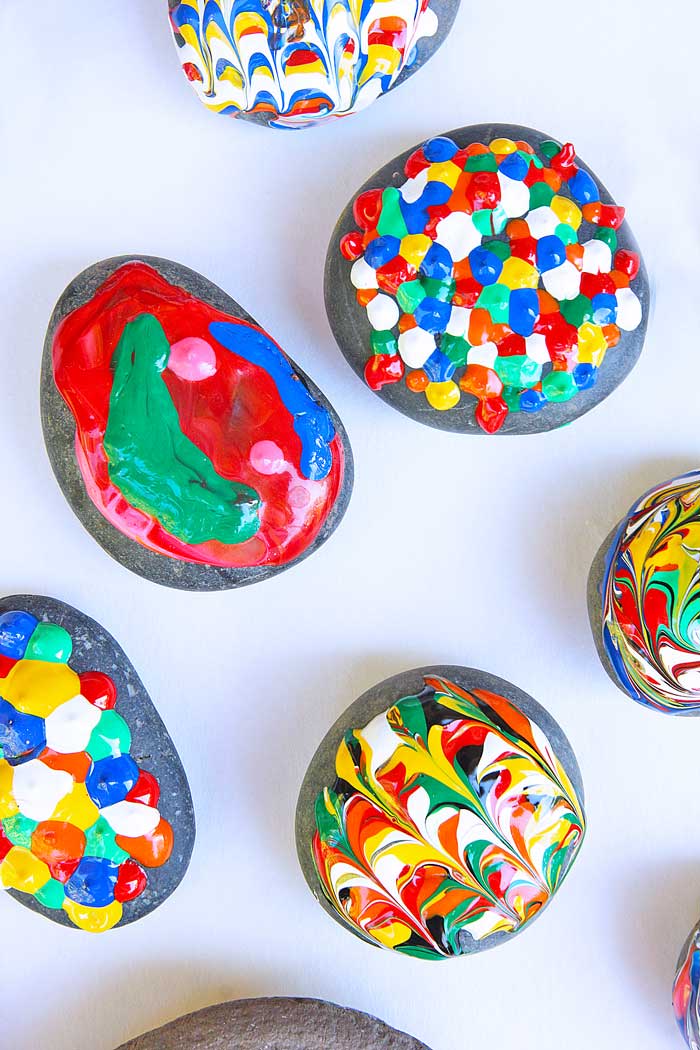
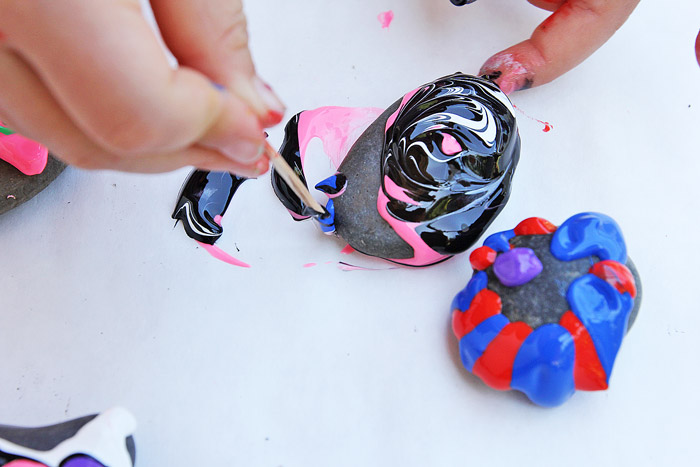
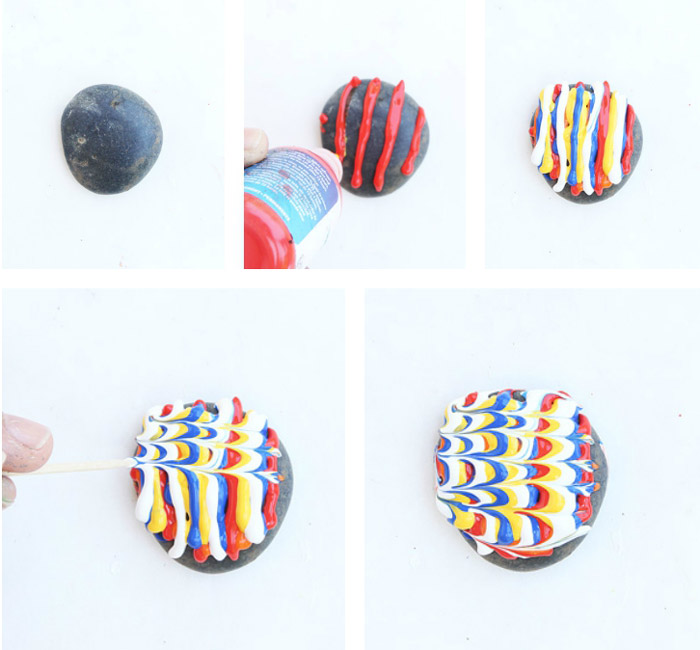
Marbled Puffy Painted Rocks
- Step One Clean your rocks to remove any dirt and let dry.
- Step Two Squeeze lines of puffy paint on your rock in several different colors.
- Step Three Gently pull a toothpick through the paint perpendicular to the lines. Let dry.
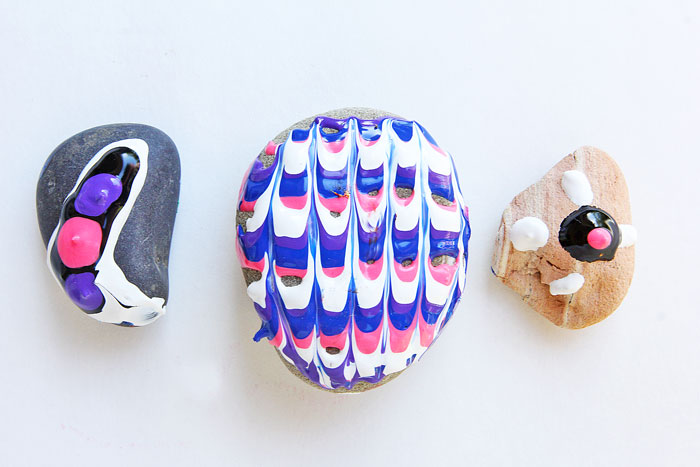
Dot Painted Rocks
Another fun variation is to try a dot painted rock by squeezing individual dots of colors over the surface of your rock.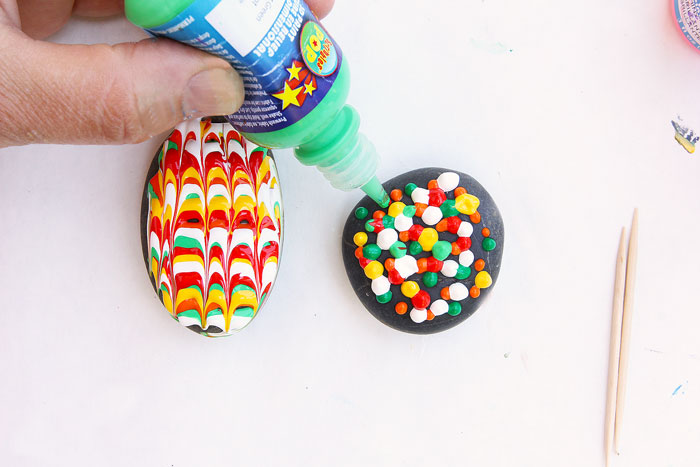
Looks Like
Elspeth McLean. I first discovered the work of Elspeth McLean on Bored Panda and when I shared her beautiful stone mandala paintings on Facebook people went nuts! Clearly the combination of intricate and beautiful paintings on the oh so familiar rock was inspiring to many folks. Elspeth McLean is an Australian artist who paints in a style she refers to as “dotillism” or painting with dots. Her method of using dots to create colorful and detailed patterns with texture is reminiscent of pointillism, only with a modern and decorative twist. You can see more of her work in her Etsy shop too!
Conclusion and More
If you’ve visited my blog before you probably know I have a penchant for bright, colorful projects; this preference doesn’t always lend itself to crafts made with natural materials. What I love about Puffy Painted Rocks is the chance to try a classic nature craft with a funky material: 3D paint, which gives rocks a whole different look and texture. When dry these rocks almost look like they have a plastic coating, in fact I was asked several times what they were when people first saw them. And they are addictive to make! My mother-in-law saw my daughter and I working on them and couldn’t help but jump in and try a few of these on her own….so be prepared by collecting many, many rocks!
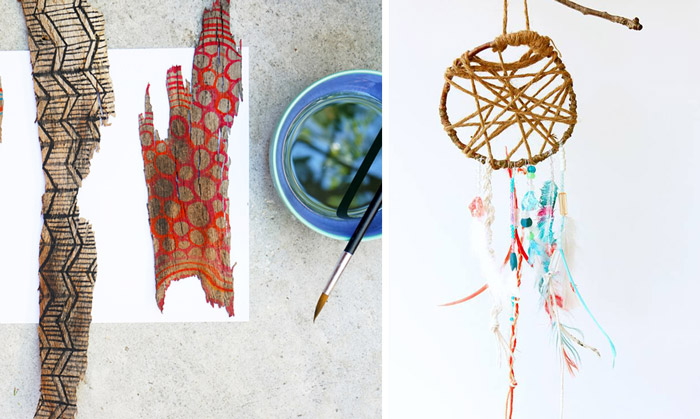
 If you are pumped for more EASY nature crafts be sure to check out yestereday’s featured post in the Nature Crafts 101 series: Painting Bark with Watercolors by Tinkerlab. Then tomorrow head over to Mama Miss to see lovely Woodland Dream Catchers!
Fill your child’s life with more art, design, and science:
Subscribe via email and check out our FB page where I share tons more creative ideas and resources from around the web.
Spread Creativity Like Wildfire: Pin This!
FB Share
Gorgeous!
Kisses!
I’m absolutely loving these, Ana. Isn’t it amazing when your own children come up with solutions that you never thought about? You should feel so proud! I’ve never used the 3D paint before. I know my art camp kids would LOVE this! xo
super obsessed with these! Now I know what our next project is! Pinning and sharing!
Fantastic! I’m going to try this out this weekend and then try it with my SS class. Thank you!