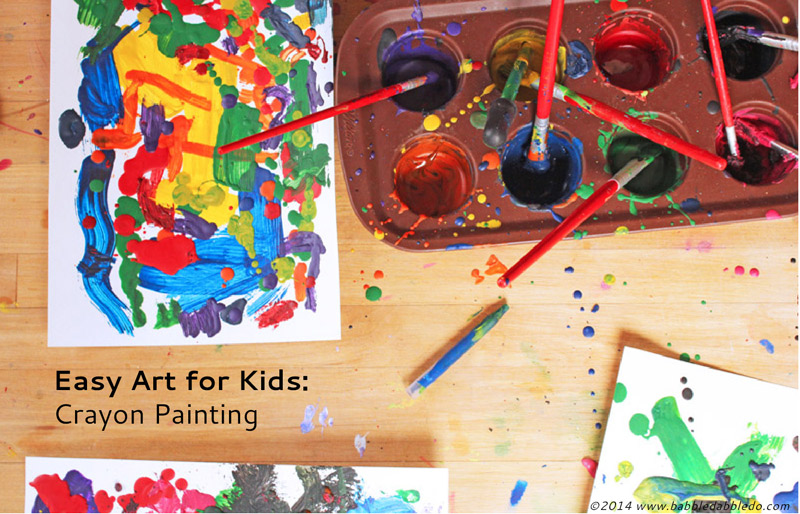
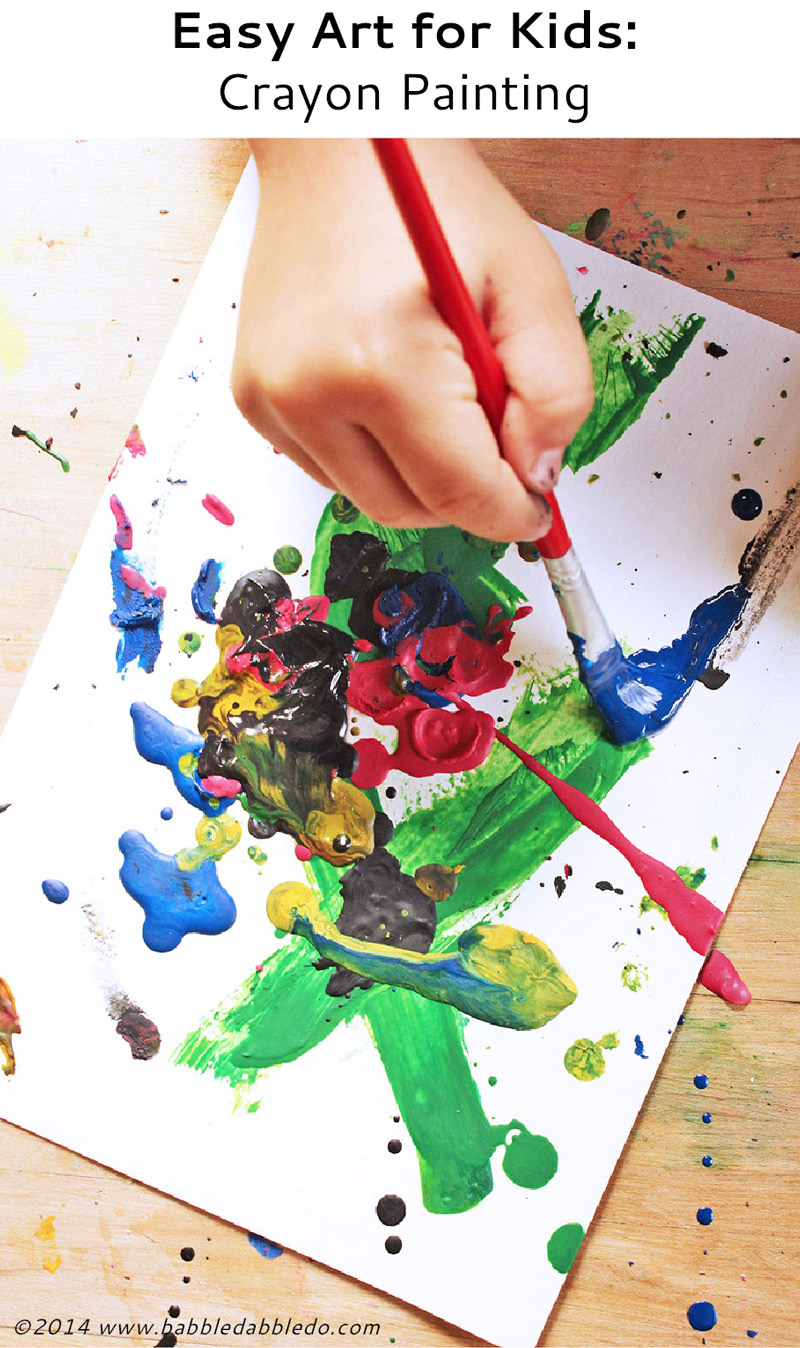
Crayon artwork using melted crayons has been the crafting rage for awhile now, usually in combination with a hair dryer. I started tooling around with other possibilities for melted crayon art projects and decided on this simple easy art project for kids: Crayon Painting. I mean who wouldn’t love painting with warm melted crayons? And if you use a silicone muffin dish for melting, the project is relatively safe for little ones!
This project is part of the easy art projects for kids series hosted by about 5 awesome art mom bloggers! This week’s theme is exploring crayons. Previous projects from this series are: Watercolors & Oil and Clay Resist Art. For more fun with crayons scroll to the end of this post for additional projects!
This post contains affiliate links .
Easy Art Projects for Kids: Crayon Painting
Materials
- Old crayons
- Silicone muffin/pop pan such as this one
- Inexpensive Paint Brushes- they will be waxy afterwards
- Eye Droppers
- Paper or small canvas panels
- Oven
Instructions
- Step One Preheat your oven to 275 degrees
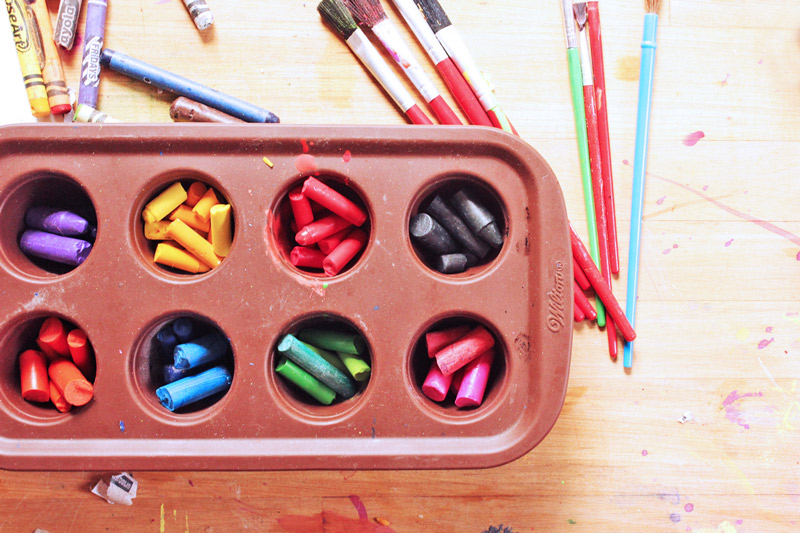
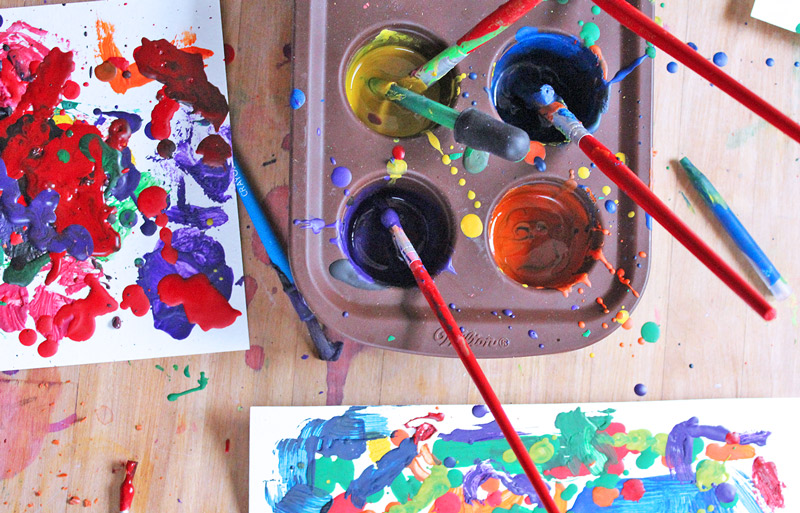
- Step Two Peel the paper off your old crayons, break them into pieces, and sort into color families. Place the sorted crayon bits into each section of your muffin pan.
- Step Three Place muffin pan and crayons in the oven for 15-20 minutes or until crayons are completely melted.
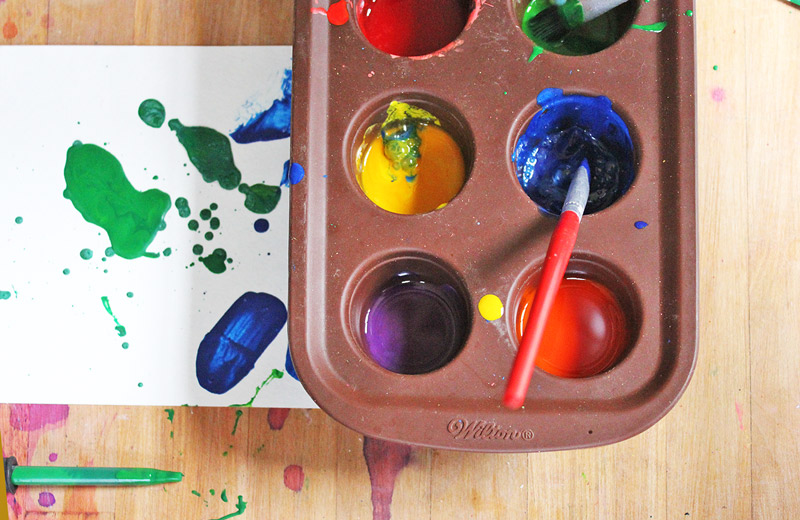
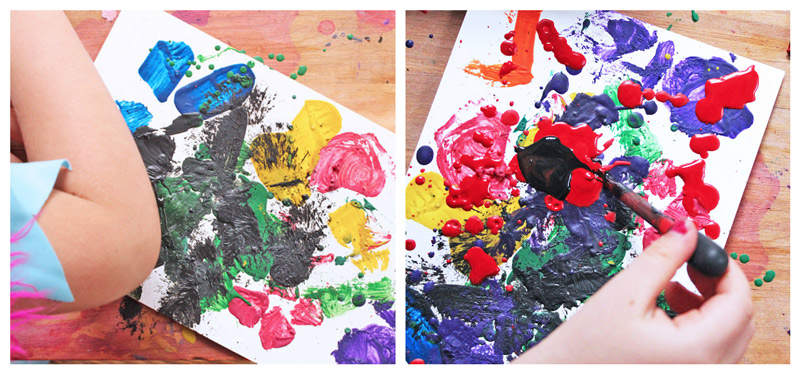
- Step Four Remove muffin pan and place on table. You can begin painting right away with the melted crayons. The silicone baking dish should cool down within a minute or so out of the oven. It will still be warm but not burning hot. In any case it’s a good idea to instruct your children NOT to touch the silicone muffin pan. You should also warn them that the wax is hot so don’t touch it.
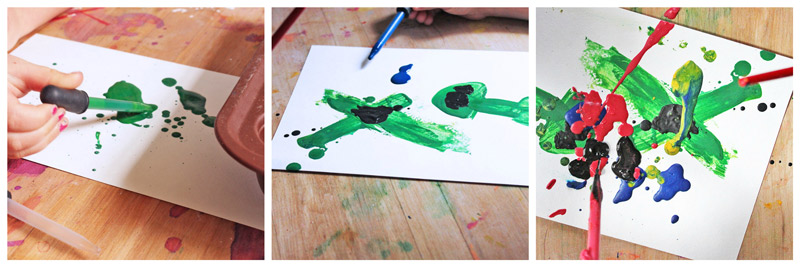
- Step Five Use the melted wax like paint. You can paint with brushes and/or use eye droppers with the melted crayons. I recommend eye droppers for older children ONLY since younger children might not have the fine motor control to keep drops of wax off their skin. The melted crayons will remain workable for about 10-15 minutes. After that they will start to cool and harden.
- Step Six Let the paintings completely dry. It will take about 30 minutes.
Tips/Cleaning
- You can also help protect little arms from hot wax by having your child wear long sleeves.
- Clean the dried wax off you paintbrushes by placing them in a jar of boiling water. Swish them around to remove the wax and dab on paper towels. When completely dry, any remaining wax can be flaked off the brushes by rubbing the bristels between your fingers. Eye droppers can be cleaned by soaking in boiling water then pushing out the warm crayon using the end of a paint brush.
- Once completely dry the crayon painting will be “brittle” and warping the paper will cause the large pools of crayon to pop off, leaving behind a translucent colored area on the original paper. If you want to save the completely melted crayon project for display consider painting on small canvas panels
instead of paper.
- Don’t use the silicone baking dish for food after this. I have a dedicated silicone pan just for art projects. Once the wax is dry, the remaining bits of melted crayon can actually be popped out of the dish.
Project Extensions
- As an extension to this project, have your children pop the dried crayon off the paper to reveal the lightly shaded translucent color underneath, which is in and of itself pretty.
- Place a blank sheet of paper over the painting and use a quarter to rub over the entire painting and transfer the color to the blank paper.
- Another technique for transferring the drawing, is to place a blank sheet of paper on a heat safe surface, then lay the original painting face down on the paper and a have an adult iron the backside of the original painting to transfer the image. If the back of the original artwork has wax remnants, protect your iron by placing another sheet of paper on top of the original art.
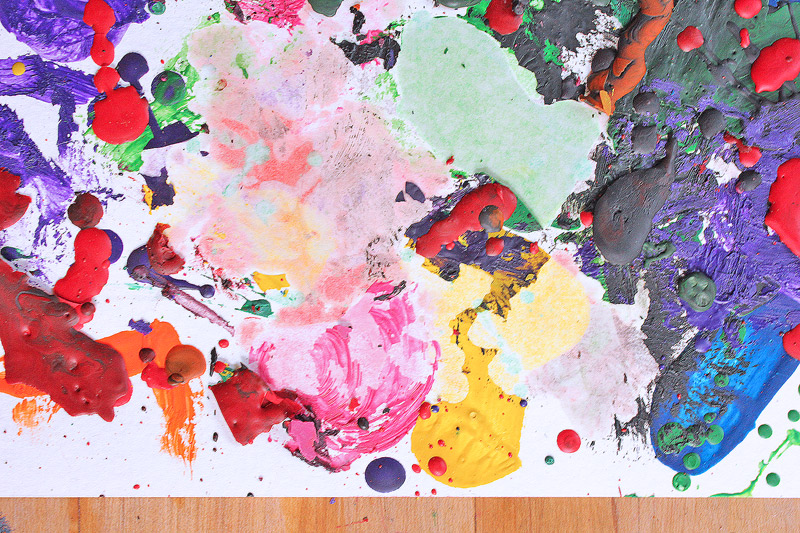
Looks Like
Encaustic Painting. Encaustic techniques involve using beeswax and pigments to build up layers for textural paintings. It’s a gorgeous and sophisticated art technique with many variations. Objects can be collaged into the wax too! Google encaustic paintings for some fun ideas.
Conclusion & More Projects!
So next time you clean out the crayon bits and pieces from your art stash melt them down and do some crayon painting with the kids. It’s so simple and a fun textural project!
Now onto more fun exploring crayons:
Melted Crayon Art with a Glue Gun from Learn Play Imagine
Art for Kids Using Crayons and Sandpaper from Buggy & Buddy
Crayon Art Sculpture from Meri Cherry Blog
Melted Crayon Art for Easter from Blog Me Mom
A.W.E.S.O.M.E. in every way.
Thanks Meri!
I was wondering the other day if this would work. Thanks for trying and sharing! I love the tip to use silicone baking sheets. We’ll have to give this a try!
It does work! The only downside is that your brushes will never quite be the same:) But if you clean them in boiling water they will still be useable for kids projects!
Just gorgeous…as usual! Nice job, Mama!
Thanks Stephanie!!!! I LOVE the frames you made!
Really, really cool. :0) Love the idea and love how it turned out.
Thanks so much Leslie!!!
Melted Crayon Painting is such a fun project.. Your images make me want to run and melt some right now and get creating with the kiddos. I always love your “looks like” section. It is great for people like me without any art education background. Always end up picking up a thing or two on your blog.
Yay Suja! So happy to hear it! Trying to put that art education to good use 😉
Amazingly clever and gorgeous! I love the extension ideas too ;D
I found that soaking the crayon bits in water for a while makes removing the paper sooooooo easy! I was tired of the broken fingernails and was under my nails, so I experimented and it worked! Cheap brand crayons do not melt as nice as Crayola and/or Rose Art.
Great tip!