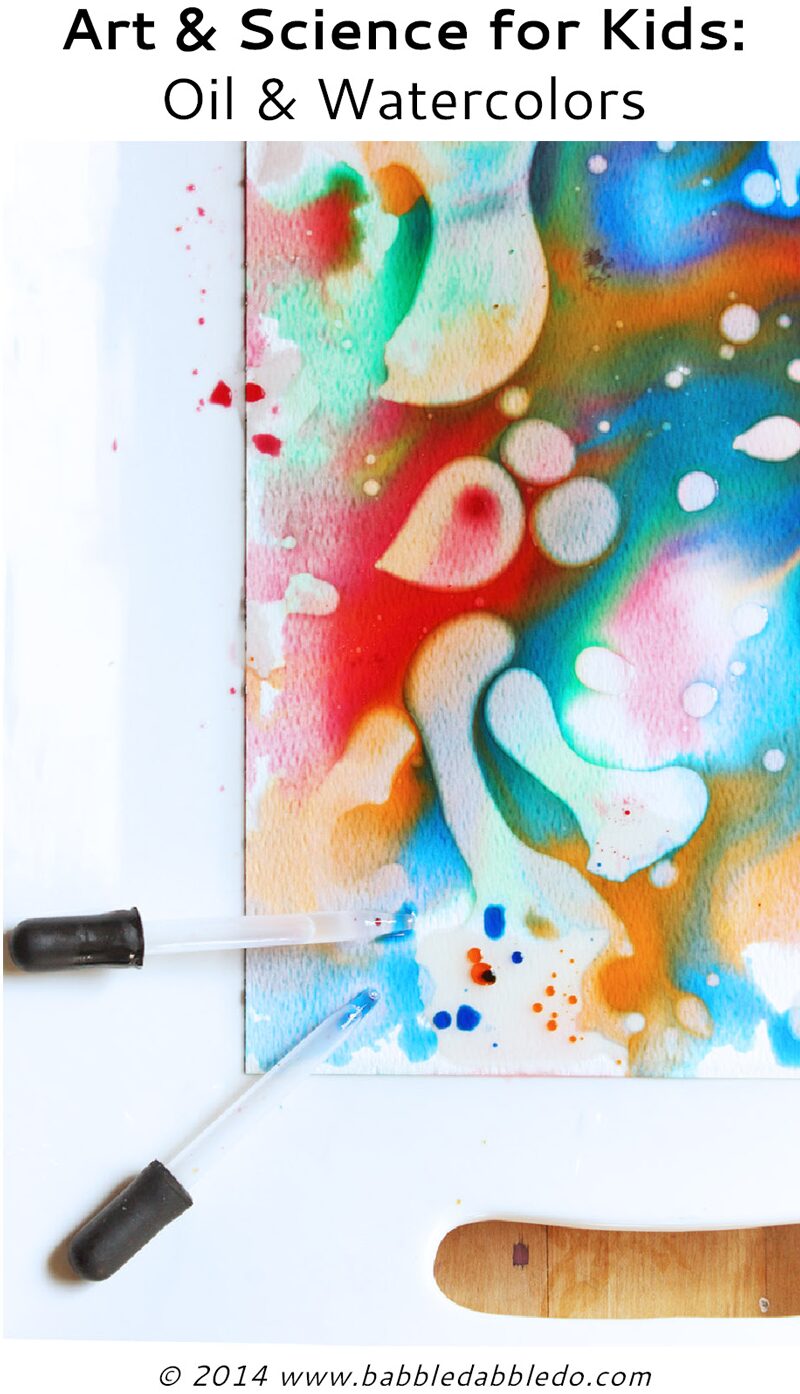
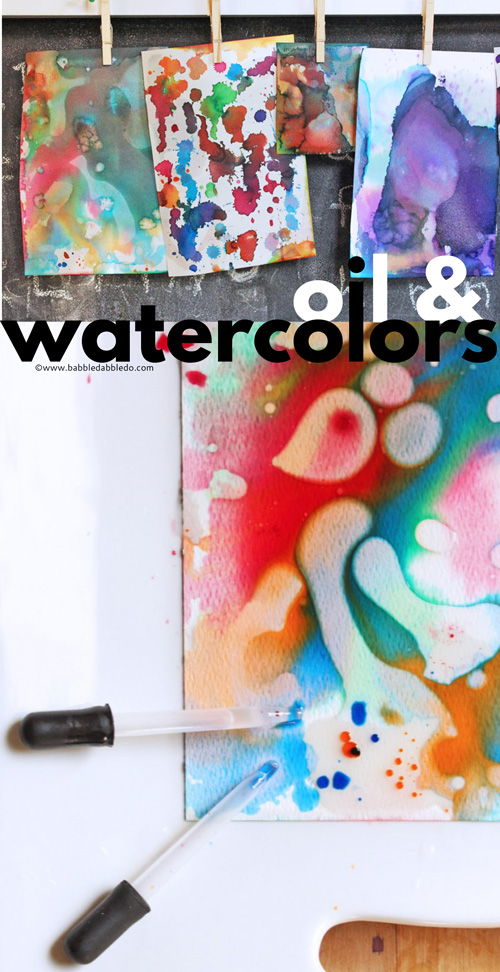
Combining watercolors and oil is a fun way to explore science and art at the same time!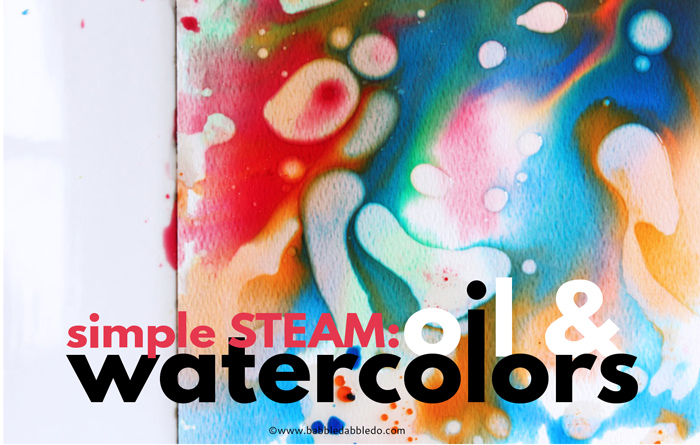
 If you just think of watercolors as those little pre-made trays with a teensy weensy brush your mind is about to be blown. The first thing you need to do is erase that association. The second thing to do is order yourself some liquid watercolors.
 Like right now. The third thing you need to do is explore the possibilities of what watercolors can do!
“I’m looking for easy art projects for kids” is a sentiment I hear often from readers. How many times have you wanted to do an art project with the kids but are too frazzled to figure one out on the fly? Well, I teamed up with some wonderful creative bloggers to bring you a whole host of easy art projects for kids. We are exploring different mediums and techniques with the common theme of keeping art simple and fun. More easy art ideas are listed at the end of this post.
Watercolors and Oil
Since we do a lot of science here on Babble Dabble Do our art project for this series has a scientific twist. Use this project as an introduction to the concept that oil and water don’t mix. Show your child that no matter how hard you try these two liquids will avoid each other at all costs! Oil will either float on top or through the watercolors or, if applied to the paper first, prevent the watercolors from absorbing into the paper.
This post contains affiliate links
Materials
- Liquid Watercolors
- Watercolor Paper
- Eye Droppers– we use these all the time- you’d be surprised at how fun they are for art making!
- Cooking Oil
- Trays or plates
- Paint containers
Instructions
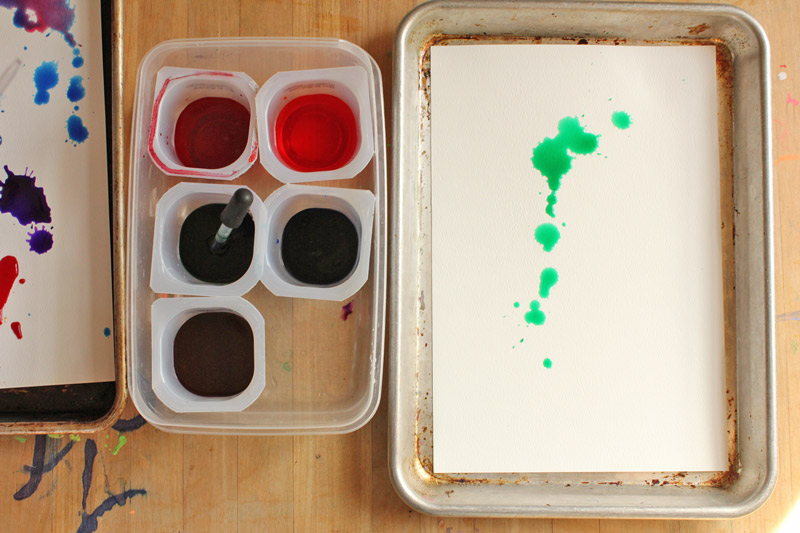
- Step One Mix your liquid watercolors
and water in individual containers. Pour cooking oil into one separate container.
- Step Two Place your watercolor paper in a tray. This project is messy!
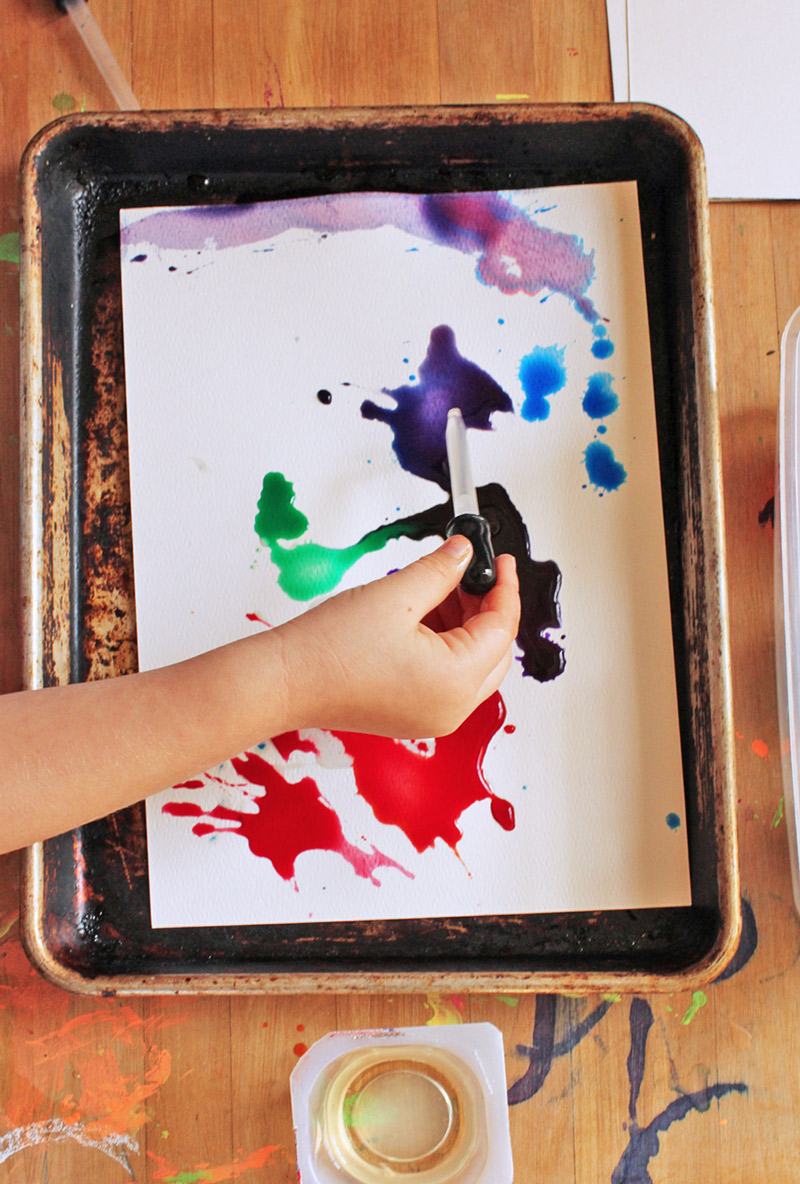
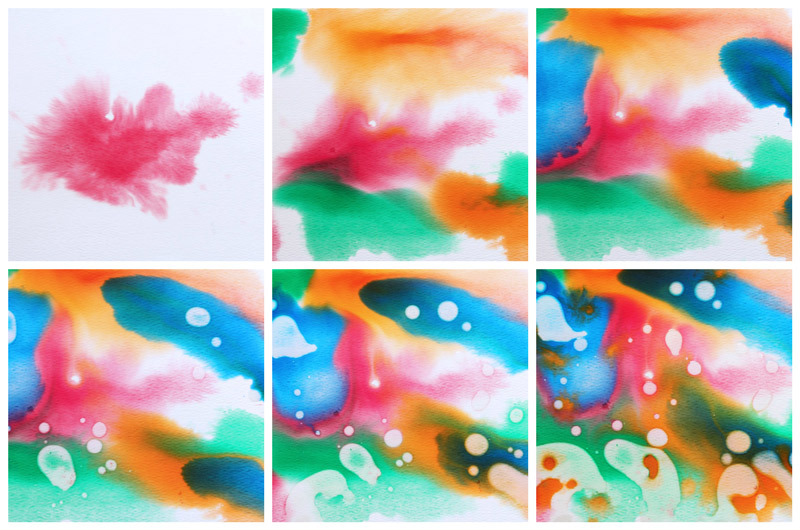
- Step Three Using an eyedropper, drop watercolors on the paper.
- Step Four Using a different eyedropper drop oil onto the paper and watercolors.
- Step Five Repeat these steps as desired. Before the art turns into a mess of brown I suggest limiting the number of time you repeat the process. If your kids are excited to do this, have multiple pieces of paper/trays on hand for them to make more art!
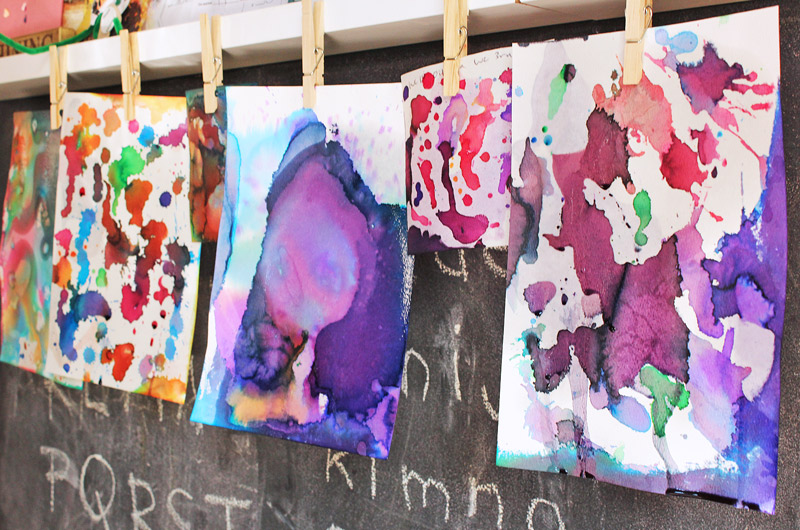
- Step Six Without disturbing the mix too much move to a safe location to dry.
- Step Seven Let dry for several hours or overnight.
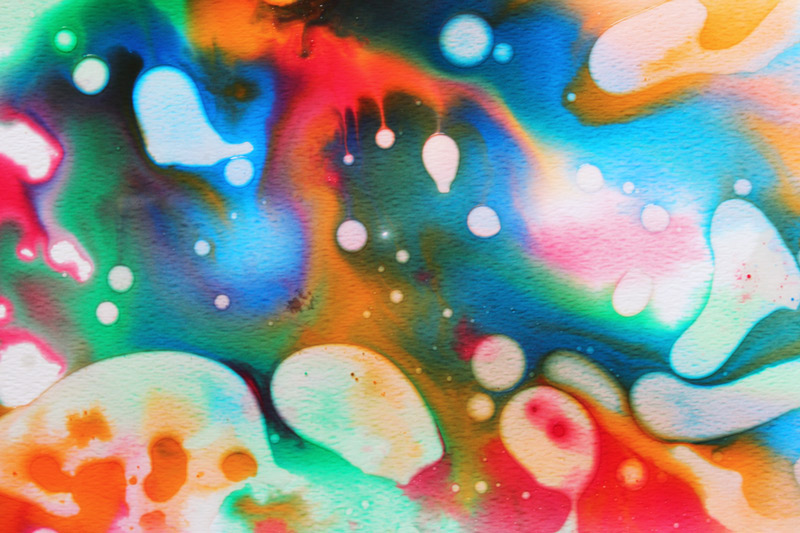
The fun thing about this project is watching how the artwork changes as it dries. The oil punches out the color over time. And in case you are worried about oily art, over the course of a day or two the paper should dry out completely. To hasten the process hang the artwork up to drip dry or move the artwork to newsprint once the watercolors have absorbed into the paper. Now be sure to try the variation on this project below.

Variation
For a wild variation, dip your watercolor paper in water first, and then proceed with the directions above. The extra water will cause the watercolors to flow more easily over the surface of the paper. The downside is that the colors will be more diluted. Here is Clara’s version:
 And Mama’s version….you know I always do these projects myself! C’mon I love making stuff!
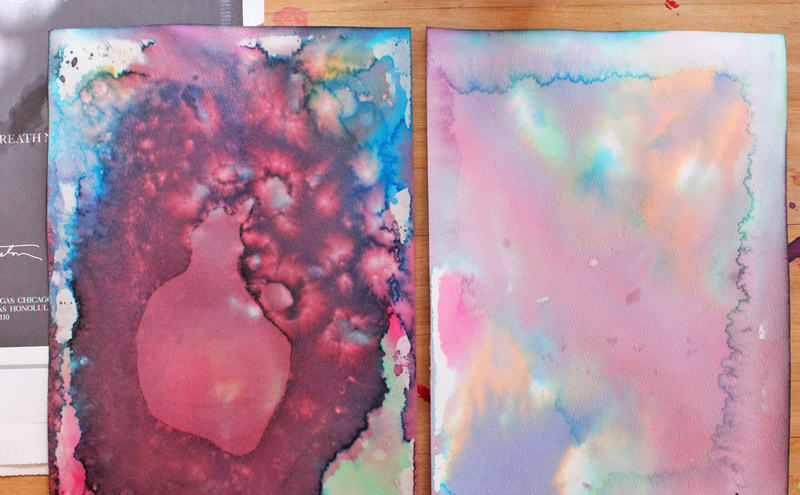
And if you think the oil does’t make much of difference here is a side by side comparison of a version incorporating oil and one with only watercolors (oil to the left, watercolors only to the right):
Looks Like
Georgia O’Keeffe. Georgia O’Keeffe was one of the first female superstar artists I was ever introduced to. My grandmother adored her work and constantly referred to it. Ms. O’Keeffe was well known for her paintings of flowers and the southwest where she lived and worked. But have you spent time looking at her watercolors? The colors are so vibrant, you won’t think of watercolor as a washed out medium ever again. She will always be a hero of mine and I hope you spend a few moments goggling her watercolor paintings, you won’t be disappointed.
Did you have fun?
Adding a little oil to a watercolor painting is an easy art project for kids and way to sneak in a little science. Watching the oil drops move around on the surface of the paintings is a captivating activity in and of itself and the oil really intensifies the color of dried watercolors.
Now it’s time for you to see seven other watercolor projects that will delight you and your children!
- Texture on watercolor projects from Blog Me Mom
- Erupting Watercolor Absorption Art from Learn Play Imagine
- Drippy, Splashy Watercolor Process Art from Artchoo
- Spring Watercolor Flower Art for Toddlers from Meri Cherry Blog
- Exploring Absorption with Watercolors on a Texture Board from Fun At Home with Kids
- Pour Painting with Watercolors from Housing a Forest
- Watercolor Stickers from Willowday
More EASY ART IDEAS to try:

Fill your child’s life with more art, design, science, and engineering!
Subscribe and get our projects delivered straight to your inbox.
back to say this is just so freaking amazing. THE PICS!!!
Thanks Miss Meri!
Would this work on regular white construction paper?
Hi Debbie,
I honestly don’t know…..if you try it on other paper let me know! It should work to some degree but watercolor paper is special because it is thick and absorbent.
Ana
Very interesting — will have to try this with my grandchildren. Thanks
This is just Gorgeous! Need to share and try soon. Take care.
Art meets science! This is gorgeous! We love watercolors in every one of its possibilities, so I think this one will be one of our favourites!
Besitos!
Yay Angaleta!!!!!
I love this, so so much! We have a serious obsession with liquid watercolors and eye droppers right now, I can’t wait until Monday to introduce this to the kiddos! Thank you!
So happy this is right up your alley Raelynn!
me gusta mucho este sitio. el problema es que no se ingles. ¿hay posibilidades la traducción al español?
Google has a great translation tool 🙂
me gusta mucho este sitio. quisiera en español. no se ingles.- por favor español!!!
This is SUCH a cool idea! I’ve added this to our kids’ art summer bucket list!
http://homespunsprout.com/2014/06/kids-art-summer-bucket-list.html
And the fact that it’s science too is a total bonus.Can’t wait to try it out!
Lindsay – Homespun Sprout
We did it!
A lots of fun.
Thanks!
http://www.elhadadepapel.com/2014/07/pintura-y-aceite-colors-and-oil-farben.html
Yay Hilke! Loved how it turned out! Thanks so much for sharing the pics!
Can this be done on a large canvas? I love how this turns out! I am redoing my room and want to paint my own art!
Thanks!
Hi Alissa, I’m not sure….it’s more of a process art oriented project and I’m not sure how it would translate on a large scale. Let me know if you try it!
I love watercolours! They’re always so much fun and seeing as they’re quite messy they’re usually so much space for getting stuff wrong – and things still come out looking good!
Totally!
I have done some of these project with my son, we had amazing time together and I can say that his work is for NYC Art Programs. He is very innovative.
So happy to hear it Julia!
Make sure you buy the exact paint she shows. I spent $40, two trips to the dollar store and Michaels crafts, and ended up with crap. If you live in Canada, the paint in question is $90/set. Regular watercolors (I tried 2 types) DON’T work. Be warned.
Hi Vonalee,
I’m so sorry to hear the watercolors were so difficult to find in Canada! This blogger used a different type of watercolors for a similar project in case that helps others in your dilemma: http://www.hellowonderful.co/post/MARBLED-WATERCOLOR-AND-OIL-PAINTING-WITH-KIDS . Thank you for sharing your experience Vonalee.
Ana
I would have never come up with this activity in a million years if not for your post – that’s fantastic! My daughter will love it. I live in Canada also, so I’ll keep the previous Canadians comment in mind. Thank you for sharing this.
Awesome Ray!