Can you remember your favorite childhood activity? I can distinctly remember mine. My grandfather lived on an alleyway and whenever someone discarded an appliance box he’d grab and it and save it for us grandkids. We’d come over and he’d help us cut out doors and windows and then we’d spend hours decorating it with crayons and making it into our own little house. When he had more than one box and all the grandkids were together, we made a complete village!
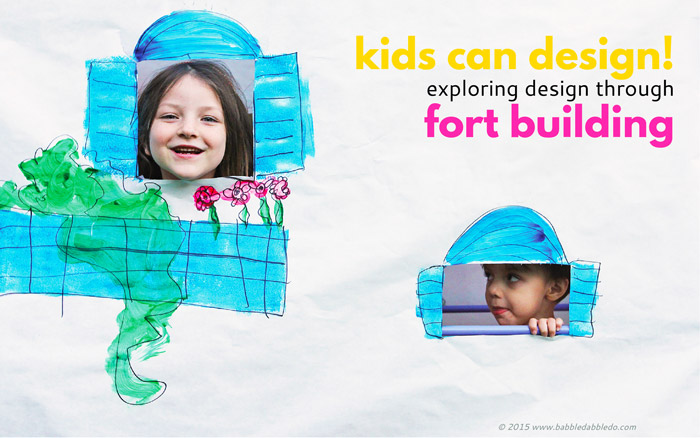

I’m sure it’s the designer in me that remembers this activity so well and I have been itching to recreate this experience with my own kids. Appliance boxes are not the easiest things to come by but luckily we have a wonderful Fort Building Kit by Fort Magic that is perfect for this project and can be used over and over to create and build endless fort variations. So for the past two weeks we’ve been designing, building, and decorating our own slew of forts using the kit, butcher paper, and paint.
Note: If you don’t have this kit you can substitute large cardboard boxes and use the same general directions.
What I love about this project is that it is the perfect introduction to the design process for kids. Growing up with a father for an architect, we talked about the design process a lot. And even though it may seem like a topic beyond the years of young children, the basic tenets of the design process can be applied and introduced to kids through playful projects like this.
We ended up building 3 different forts using the kit, paper, and paint method: One was designed by mom and decorated by my kids, the second was designed entirely by my daughter and the third was a group brainstorming project on a HUGE SCALE! Here’s how we did it and a primer on the design process for kids!
This post is sponsored by Fort Magic. All gushing opinions of their amazing product are strictly my own.
Design Process for Kids
Materials
- Fort Magic Fort Building Kit
or a large appliance box
- Scissors
- Butcher Paper (Optional for cardboard fort)
- Tempera Paint
- Brushes especially mini roller brushes
- Paper and pencil
- Sharpies
Exercise One:
Design a fort from start to finish
In this exercise you’ll challenge you child to design a fort on paper first, then take that sketch into 3 dimensions.
Step One: Define the problem The first step in design is to define the problem you are trying to solve. In the case of fort building the essential challenge is to design a shelter. In this first step you can also establish some simple parameters for the design. We established these:
- It has to be a building.
- It needs 2 windows
- It needs at least 1 door.
- It has to be compact.
- It must be buildable using the existing framework, in this case the kit of parts we are working with.
Step Two: Ideation The next step is the fun part for most kids: Draw it! Once you establish the parameters it’s time to sketch out ideas for what the fort should look like. If you child is intimidated by a blank sheet of paper ask them to design a building type they love, for my daughter I asked her to design a lighthouse. If your child is interested in Minecraft you could tell them you are going to build a life-sized block shelter. If your child likes fairy tales you could ask them to design a gingerbread house, etc. It’s a good idea to have them sketch out different options so you have a few designs to choose from. This also prevents them from getting stuck on creating one “perfect” design.
 Step Three: Idea Selection The next step is to select one design to build from the ideas they have sketched out. As you help them sort through the choices, ask them if each solution meets the design parameters and discard any that don’t. From the remaining solutions I suggest choosing the one your child is most excited about. Enthusiasm for an idea will keep your child engaged in the activity and make it more meaningful for them. And parents please keep your opinions out of the equation here! My daughter’s lighthouse was pink, green and red in her sketch. The adult in me wanted to mention that lighthouses are usually white but I kept my lips sealed. Give your child the chance to explore their own ideas, I mean really, why can’t a lighthouse be pink?
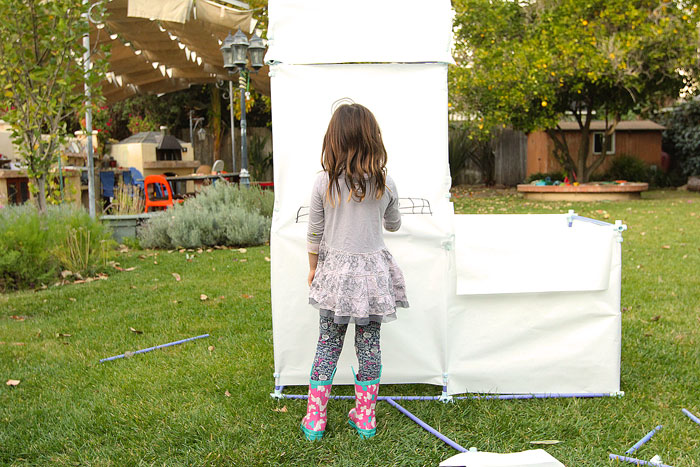
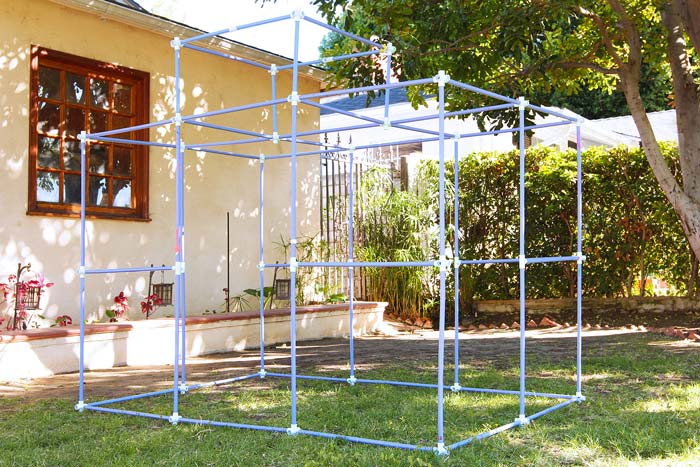
Step Four: Implementation | Structures Time to build! Using your kit (if using a box skip this step) try and replicate your child’s design in 3 dimensions. The tricky part is envisioning the general shape of the fort and building that using your kit. Older children will be able to build the structure for their design without your help but younger children will most likely need an adult to lead the structure building. That’s okay! Building alongside you child will make them feel that their ideas are valuable. I occasionally stopped and asked my daughter to look at her sketch and make sure we were building it correctly. Did I mention she LOVED telling me what to do?
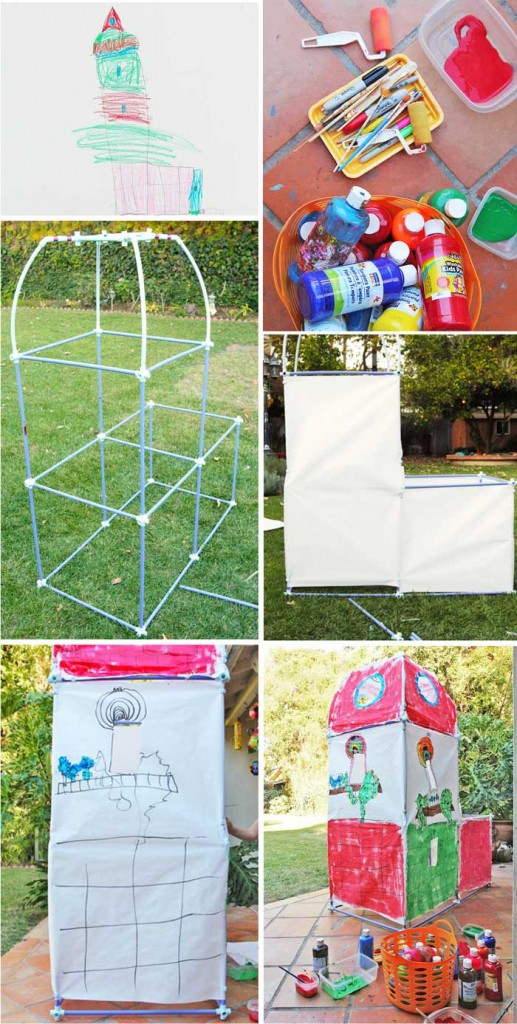
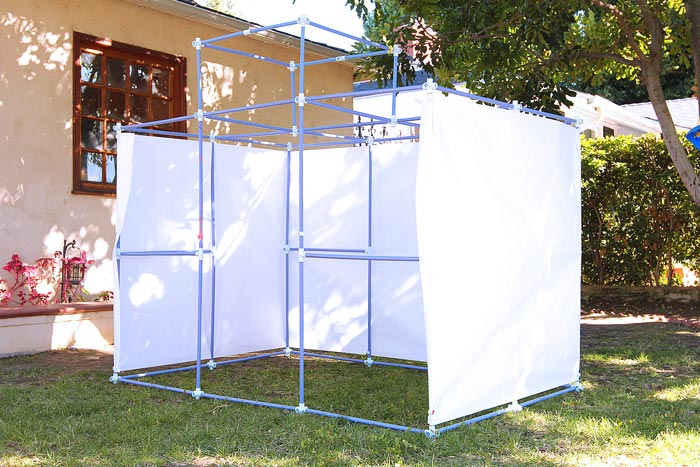
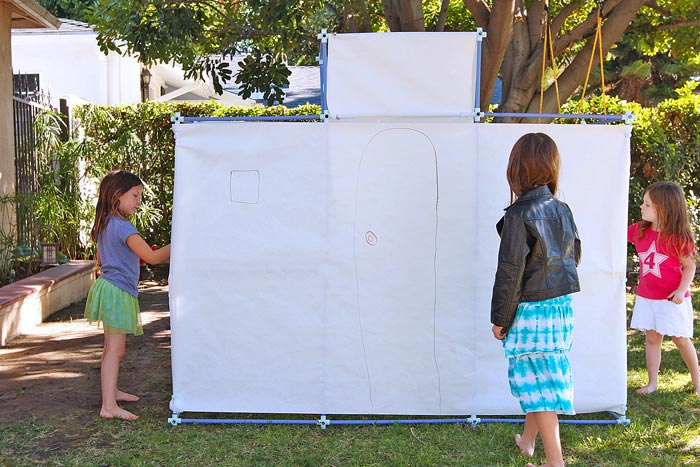
Step Five: Implementation|Building Skin If you are using a cardboard box you will be meeting us here. If using Fort Magicto build your fort, you will need to cut large pieces of butcher paper and cover the structure with it. The Fort Magic fabric clips work really well with paper. Make sure the paper is pulled as taut as possible, when it gets wet with paint later it will soften a bit. Now hand your child a big black marker and ask them to sketch in the locations of the door and windows and any details they might have drawn on the exterior of the building, also know as the elevation. Parents can use an Xacto knife to cut out the windows and doors. I also took this step as the opportunity to discuss architectural details like window frames, materials, and access.
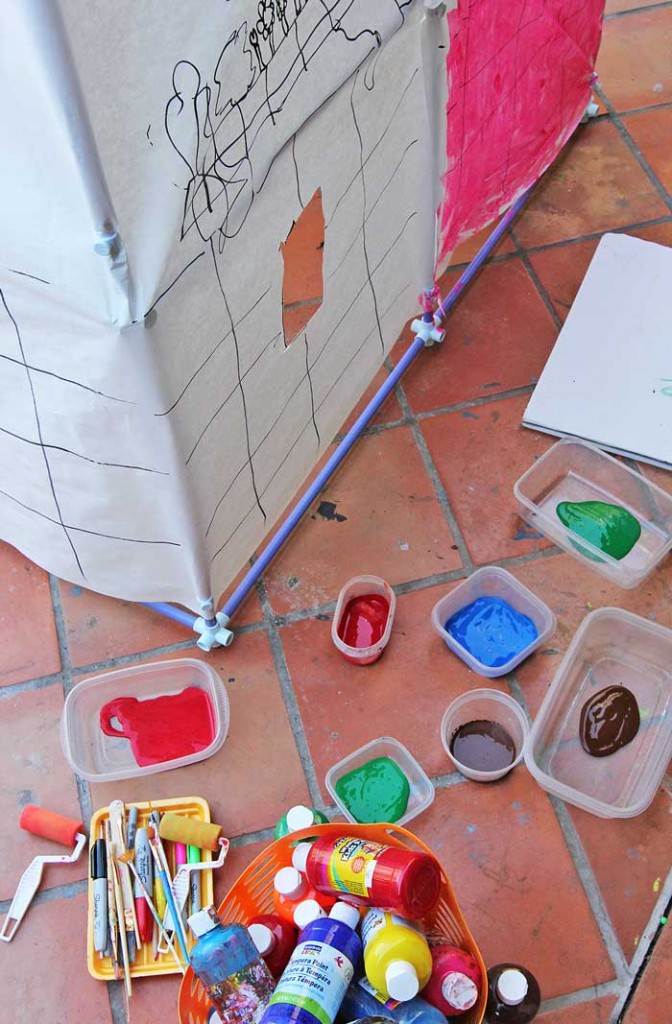
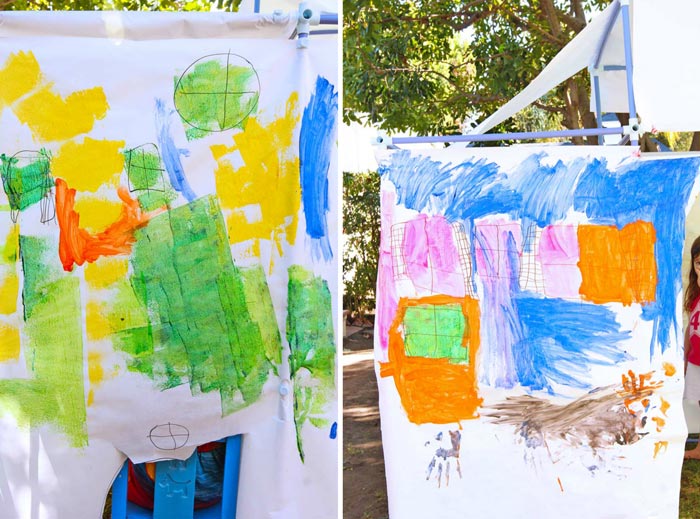
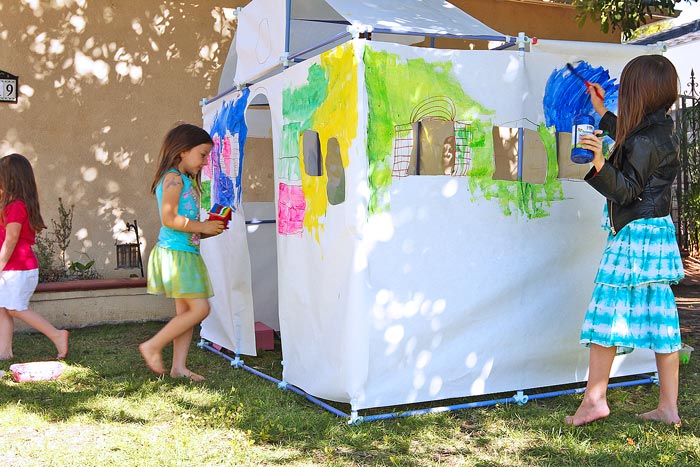
Step Six: Paint! After the details are sketched it’s time to paint! This is the part my kids loved the most, seeing their forts come to life through color. Let it dry and have fun!
Exercise Two:
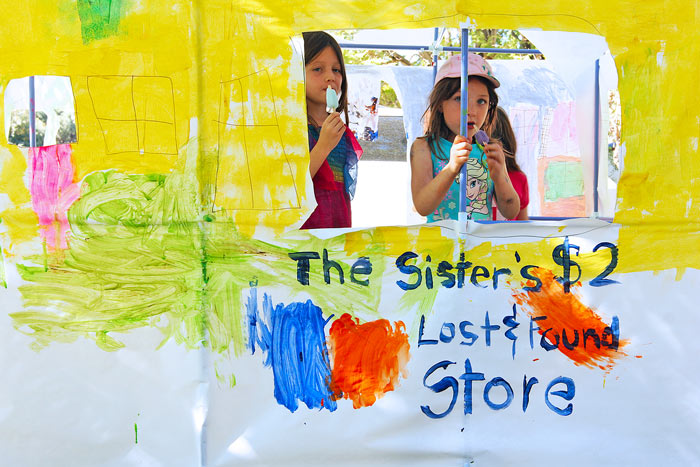
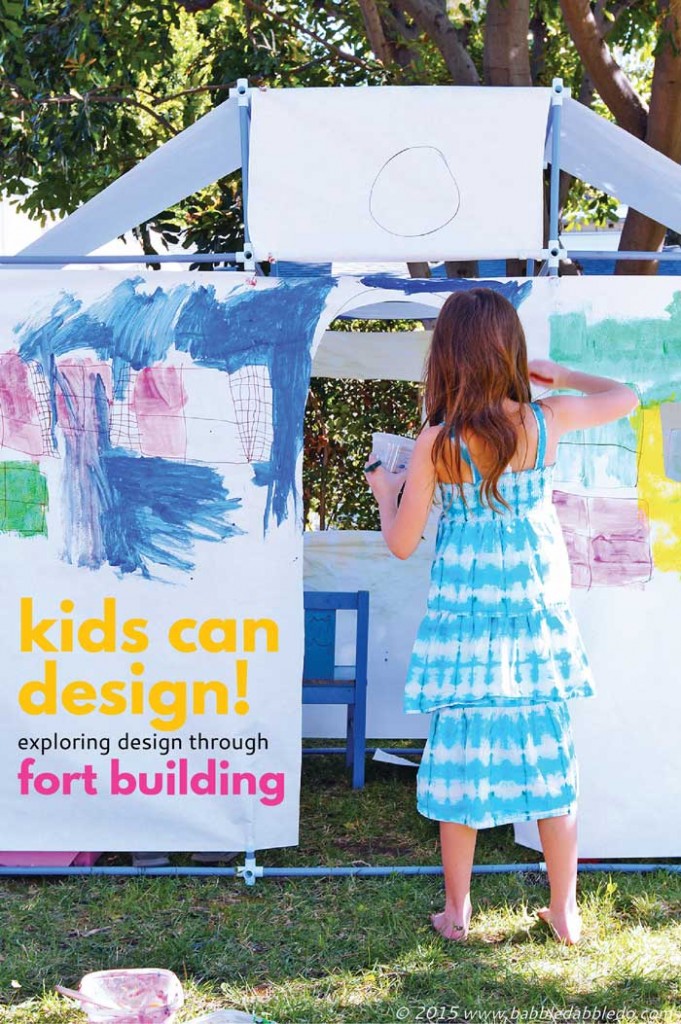
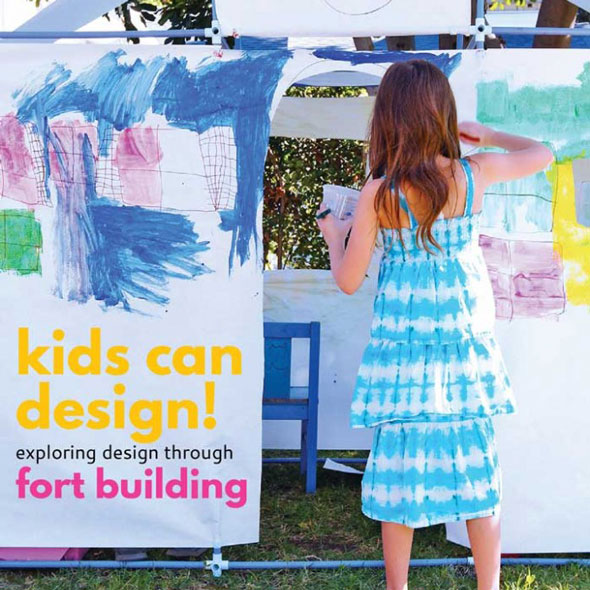
Create a HUGE blank canvas fort
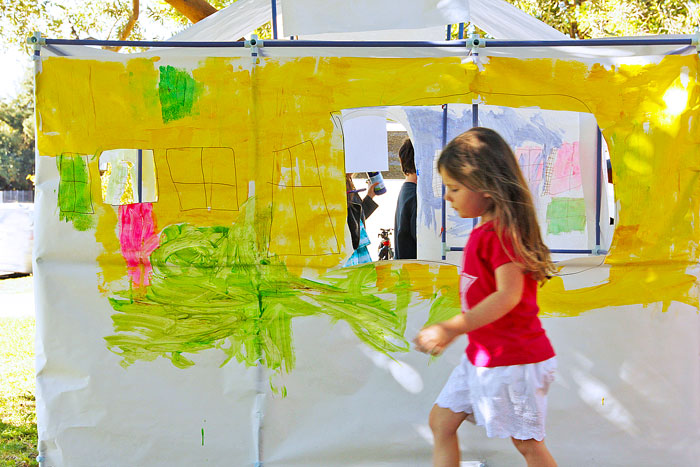
The second way we used fort building to explore design was by creating what I call a huge 3-dimensional “blank canvas”. Whenever I get creatively stuck, I take a break and just make something unplanned. I like to collect a few interesting materials and make a model. It doesn’t really matter what the model is, making something without planning it in advance is a wonderful way free your imagination. I couldn’t resist trying this same idea on a huge scale with a fort.
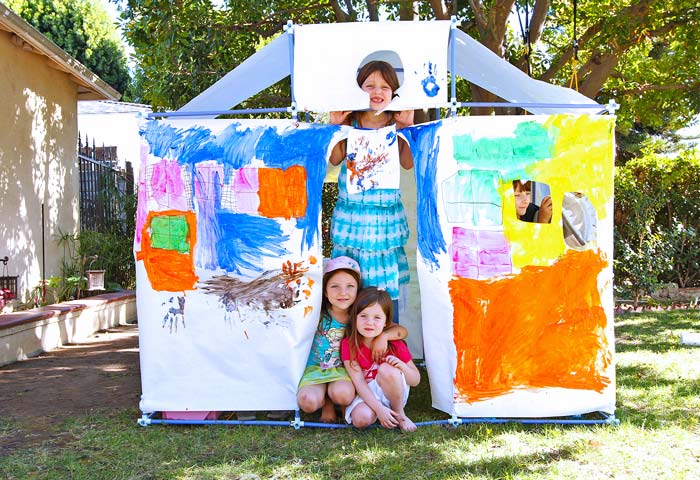
I set this up in our front yard and invited the neighborhood kids to join us in creating it! First I built a simple block structure and then I covered the entire thing in butcher paper. Then I invited everyone over and handed them a marker. The first question I got was, “How do you get in?” to which I replied “I don’t know, where should the door be?” and from there the kids went nuts, sketching out doors and windows and details. I was there to facilitate, cutting windows and pouring paint, but the rest of it was all the kids’ invention. And by the looks of it they enjoyed it!
Looks Like
Don Koberg & Jim Bagnall It’s exciting for me to introduce you to these two fellows today because not only are they authors of a wonderful book written to guide you through the design process, they were professors at my university years ago! My Dad often referenced his favorite book The Universal Traveler while I was growing up (who am I kidding, he still talks about it) a book that outlines the each step in the design process. While the book is a bit advanced for young kids, the basic design process it outlines is not. The way Koberg and Bagnall break down the process into manageable steps demystifies design as this nebulous thing only creative people do and shows you that everyone is capable of learning how to design.
Conclusion
The design process is often thought of as something adults do, but it’s a process kids can easily learn. Fort building is an excellent introduction to how to design and your kids will end up with a structure they love playing with!
You can also see how we used our Fort Magic Fort Building Kit to explore architecture with kids here:
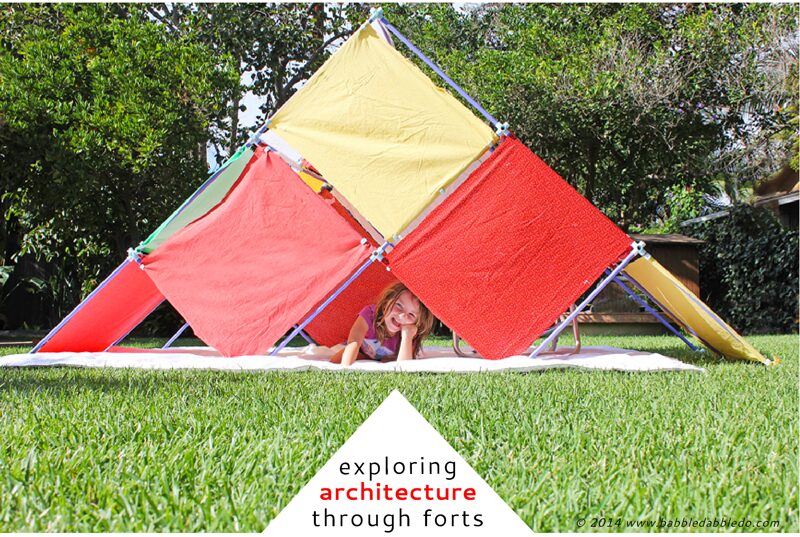
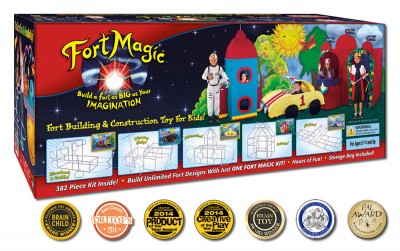
If you like the idea of introducing kids to design though fort building you should absolutely check out the Fort Magic Fort Building Kit. It allows you to make an infinite number of designs and really let your childrens’ imaginations run wild!
More about Fort Magic:
Fort Magic has been awarded 6 top educational toy awards! The 2014 Creative Child Magazine – Kids Product of the Year Award – Builder Construction Products for Kids category, the 2014 Creative Child Magazine – Creative Play of the Year Award – Creative Play Structures category, the PAL Award 2014, Tillywig Brain Child Award 2014, Parents’ Choice Recommended 2014 & the Dr. Toy’s Best Classic 2014 Award – for Creativity, Construction, Educational Value and Activity Play for children!
Fill your child’s life with more art, design, science, and engineering!
Subscribe to our free newsletter and check out our FB page where I share tons more creative ideas and resources from around the web.
Spread Creativity like wildfire: PIN THIS!
 FB Share
Wow! It’s fun to see Fort Magic has so many great options- we’ve been drooling after their forts for a while now. What a great giveaway!
We love the kit!
Enter the giveaway!
Not seeing where to enter the contest for the Magic Fort. I have little ones in my family and circle of friends who would LOVE this if I won.
Hi Jane, If you scroll to the end the post you’ll see a the giveaway lowered by Rafflecopter. Here is a direct link too for your convinience 🙂 http://gvwy.io/kuah19u Good luck!!!
Would love to win the fort! My 10-year-old would be in heaven with this.
What creativity!! Looks fun!!!