I love making homemade Christmas ornaments. There is nothing like filling a Christmas tree with handmade treasures, and making your own ornaments with the kids is one of the best ways to create a tree full of memories. For the third post in our Christmas Sensory Series we decided to do a little embossing. And not the kind of embossing that your kids do when they order each other around….wait…that’s BOSSING….All kidding aside this is so easy! It looks complicated but these Embossed Ornaments can be made in less than 5 minutes. And I’ve got two versions for you, one that is modern and one that looks like vintage tin.


This is the third project in the Christmas Sensory Series for kids that I am a part of along with 5 other amazing blogs: Childhood 101, Picklebums, Toddler Approved, Meri Cherry, and Nuturestore. Each week we are exploring one of the five senses, today we are exploring TOUCH. Last week we explored SOUND. If you didn’t catch parts one and two start here with our Holiday Optical Illusions and links to 5 other fun projects related to the sense of sound and sight.
So why did I chose this project for a week exploring touch? Well, we embossed the ornaments using our fingers. It’s a magical experience to watch an image tucked away underneath a sheet of foil suddenly appear as you burnish it with your fingertip. And if you choose to do the yarn version, coloring in the yarn made lines is great sensory experience. It’s like using a 3D guide to help you contain the color.
This post contains affiliate links.
5-Minute Embossed Ornaments
Materials
- Chipboard
or Cereal box
- Leaves or other shapes cut from chipboard– You can use something like this
to create lovely shapes
- Aluminum Foil
- Jar lid
- Scissors
- Glue stick
- Black paint like this
- Paintbrush
- Paper Towels
Instructions

- Step One Draw a circle on a piece of chipboard using your jar lid. Cut out the circle.
- Step Two Using a glue stick cover one side of the circle with glue.
- Step Three Pres your leaf or paper cut onto the circle.
- Step Four Add more glue on top of the leaf/paper shape.
- Step Five Cut out two pieces of aluminum foil, one slightly larger than your circle and one the same size as your circle.
- Step Six Cover the back of the circle with glue and press the circle sized piece of foil onto it.
- Step Seven Turn over the ornament and press the larger piece of foil onto the leaf. Trim that piece of foil to be roughly ¼” larger than the circle and fold the edges over.
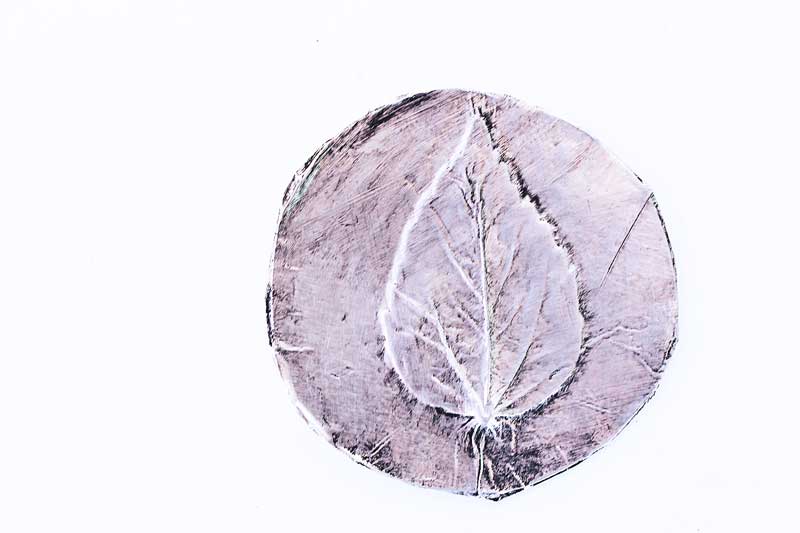
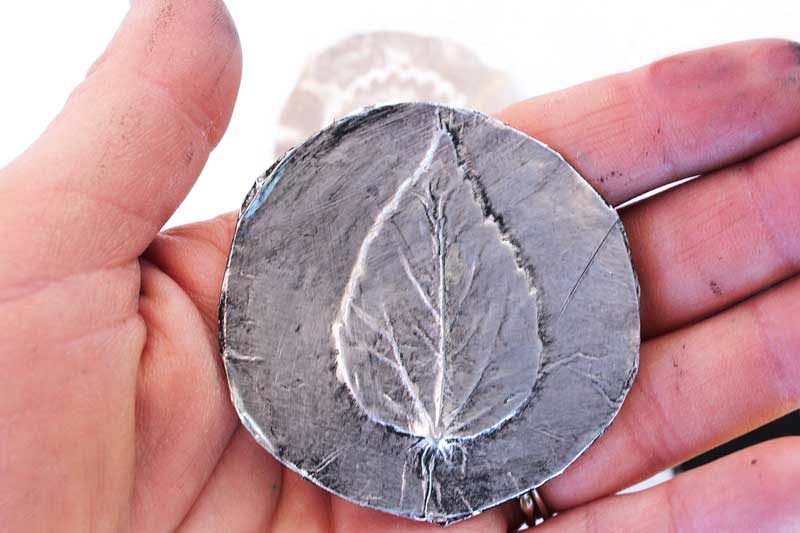
- Step Eight Emboss it! Using your finger press down on the front of the circle to reveal the leaf lines. You will need to really press to see the details. It’s amazing to watch them appear!
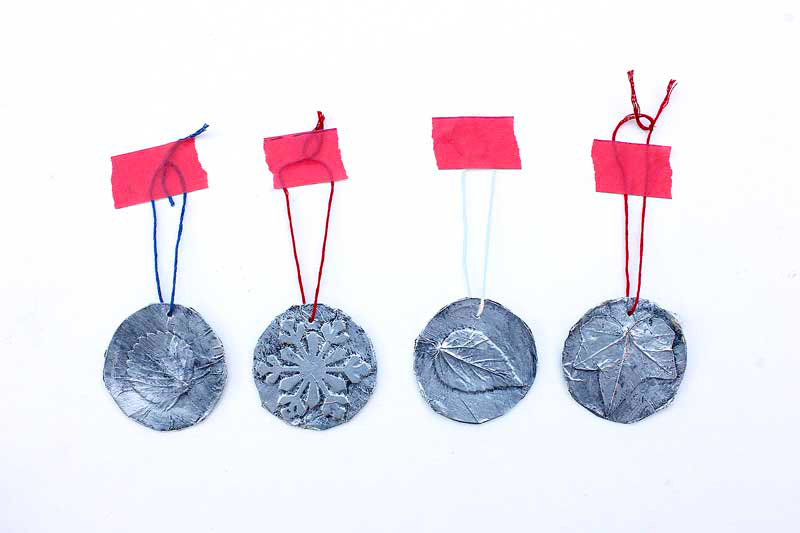
- Step Nine Paint a layer of black paint over the top of the ornament. Then quickly wipe of the paint with a paper towel. It will make the foil look like it has patina. Apply more paint as desired and wipe off. If you have too much paint use a damp paper towel to wipe it off.
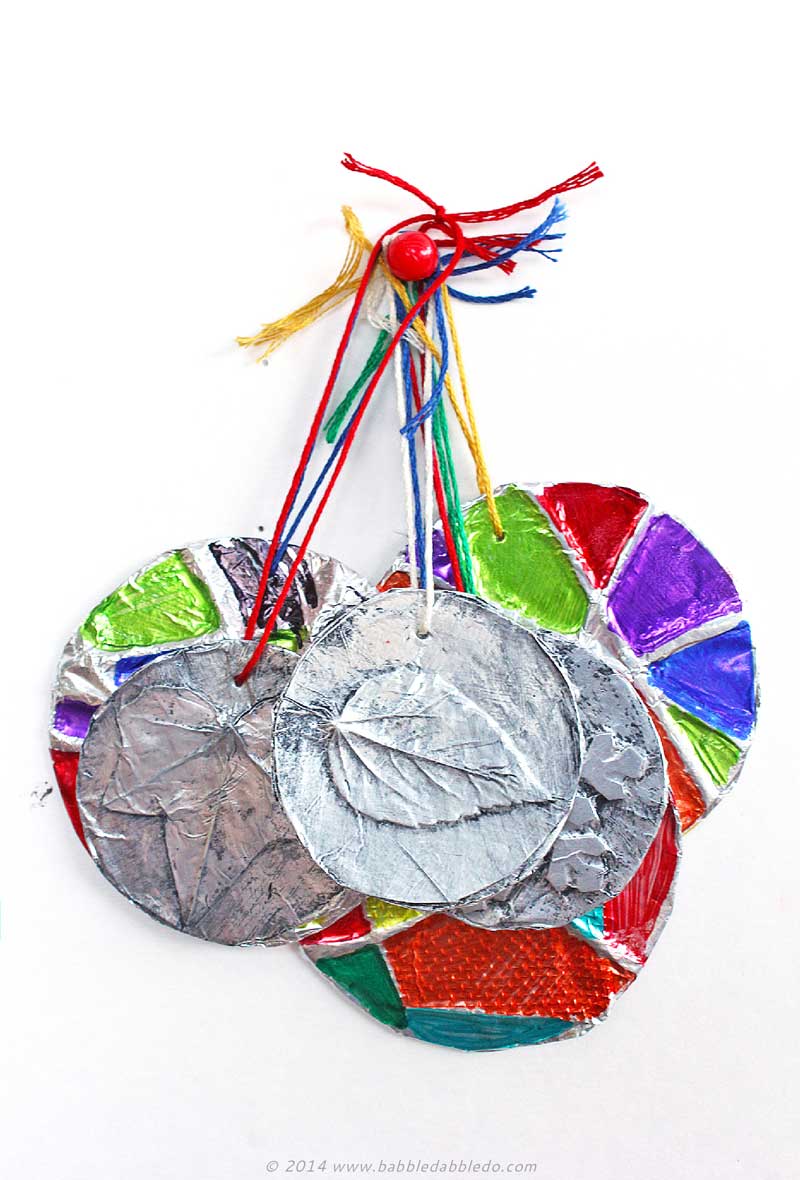
- Step Ten When you are done poke a hole in the top with a large needle, thread with embroidery thread, and hang it from your tree!
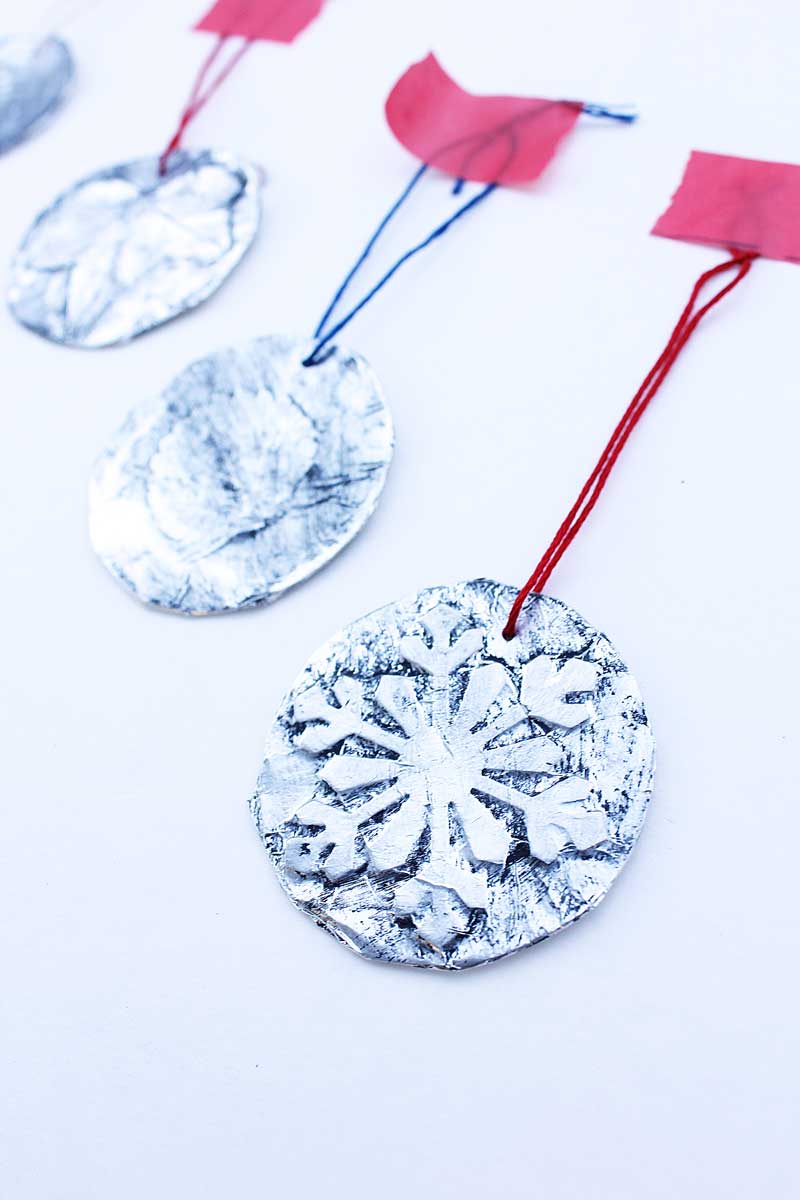
I really like the surprise factor of this project, especially burnishing the foil with your finger to reveal the image underneath. I also loved the way the leaf ornaments look like vintage tin.
Tips
- You will want to use FRESH leaves to get the best impressions. Leaves with some thickness are preferred but be sure remove any stems that are extra thick as they will poke a hole in your foil.
- An alternative to leaves is using paper cut shapes. We used this snowflake paper cut stamp
Embossed Yarn Ornaments
These are easy for kids to make and decorate!
Materials
- Chipboard or Cereal box
- Aluminum Foil
- Jar lid
- Scissors
- Our favorite markers
- Thin yarn or twine
- Glue stick
Instructions
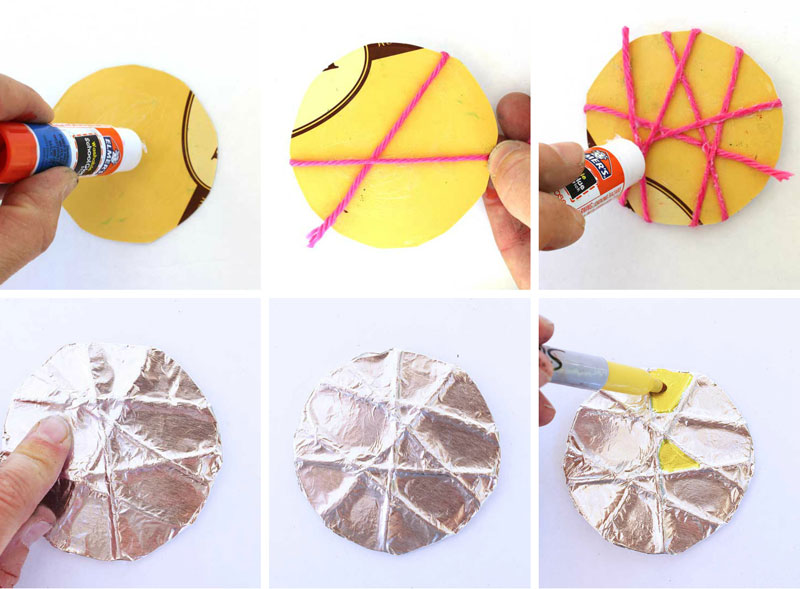
- Step One Draw a circle on a piece of chipboard using your jar lid. Cut out the circle.
- Step Two Using a glue stick cover both sides of the circle with glue.
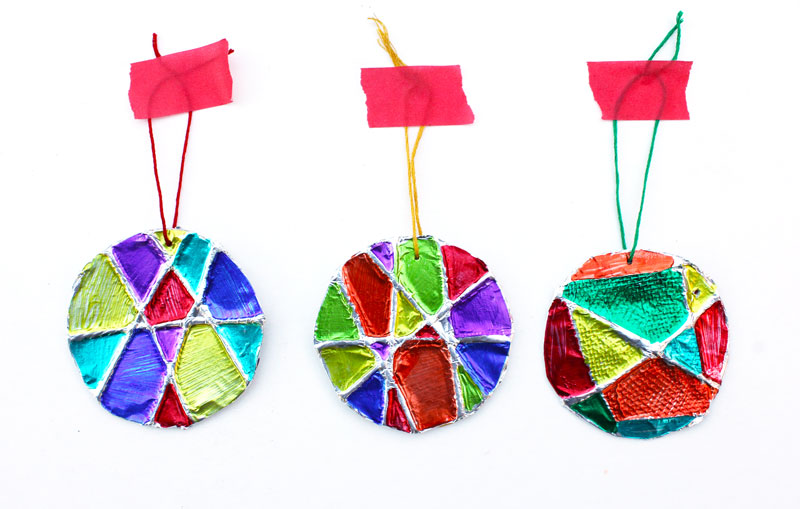
- Step Three Cut an 18” length of yarn. Start wrapping your circle with the yarn to make patterned blocks.
- Step Four When you are done wrapping add more glue on top of the yarn.
- Step Five Cut out two pieces of aluminum foil, one slightly larger than your circle and one the same size as your circle.
- Step Six Press the yarn wrapped circle down on the larger piece of foil then place the circle of foil on the back side of the circle.
- Step Seven Trim the larger piece of foil to be roughly ¼” larger than the circle and fold the edges over.
- Step Eight Emboss it! Using your finger press down on the front of the circle to reveal the yarn “lines.”
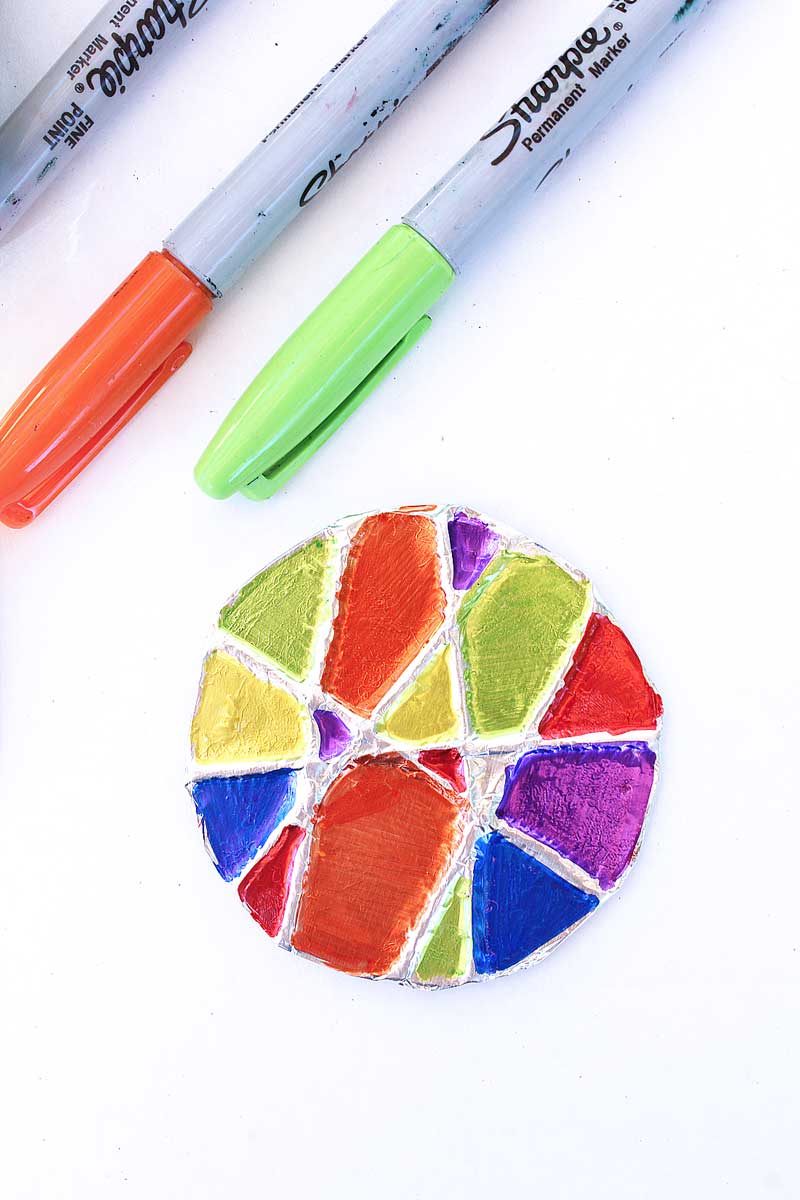
- Step Nine Color in the pattern with sharpies! Use the yarn to guide your pen and stay within the lines.
- Step Ten When you are done poke a hole in the top with a large needle, thread with embroidery thread, and hang it from your tree!
Conclusion
If you decide to make homemade Christmas ornaments this year consider trying a few finger embossed ones, either style or both! They make a lovely addition to a Christmas tree and embossing is a great way to explore the sense of touch.
Are you pumped to see what my fellow bloggers created for their post exploring touch? Here they are:
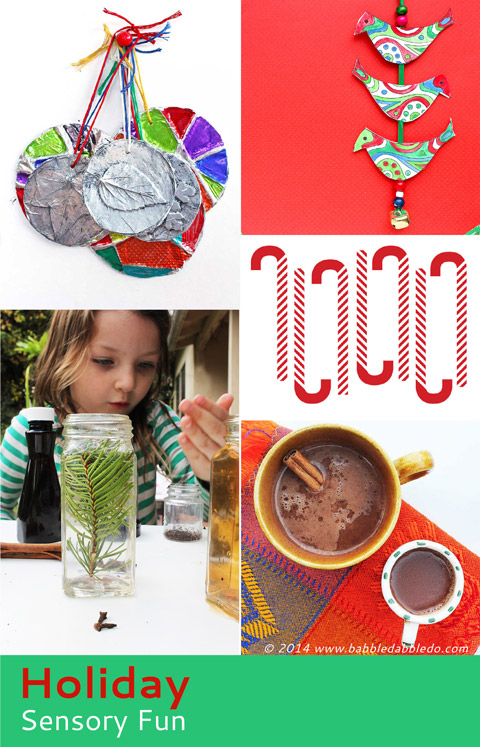
Christmas Sensory Play Series
For more holiday fun exploring sound check out these posts from my fellow series collaborators:
Washi Tape Wall Art from Meri Cherry
Balloon Print Wrapping Paper from Childhood 101
Printable Playdough Mats from Picklebums
Candy Cane Puffy Paint from Nuturestore
Christmas Sensory Board from Toddler Approved
See the series round-up here:
You are so boss. I love these ornaments a ton, and they look like once you start them you’d think of a million other things to do- oooooh I’m inspired.
These turned out amazing! I’ve been trying to think of something easy my kids could do as Christmas presents for family members. This is absolutely perfect! Thank you!
Ana, you have sent me back 40 years! I remember doing an art project in primary school this way and it became an addictive craft. This is so effective and makes a perfect gift to put together for children as they can work with it independently. Thank you for your inspiring posts.
Thank YOU for reading!!!
I wish there was a “printable” link to click on. Am I missing it?