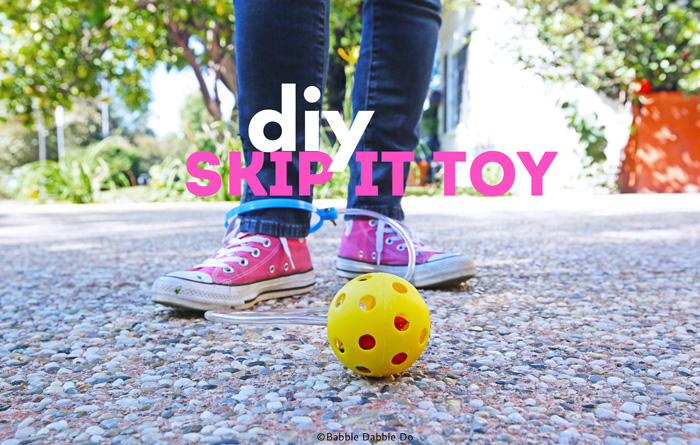
Want to make a super easy homemade toy that will get your kids exercising and learning about physics???? I thought you’d never ask…today we are recreating another classic toy from the 90s: Skip-It!
Skip-It was originally released in the 1980’s but had a revival in the 90’s when a counter was added to keep track of how many time is spun around. For this reason I was keen on recreating it for 90s week, a fun flashback event I participated in recently with a talented group of creatives!
Now full disclosure here: I did not have a Skip-It as child. I had pogo sticks, stilts, my grandpa even had a unicycle for us but nope, not a Skip-It. Until now that is. And I’m thrilled to share this super easy tutorial for how to make your own version using a few easy to find materials.
This post contains affiliate links to products.
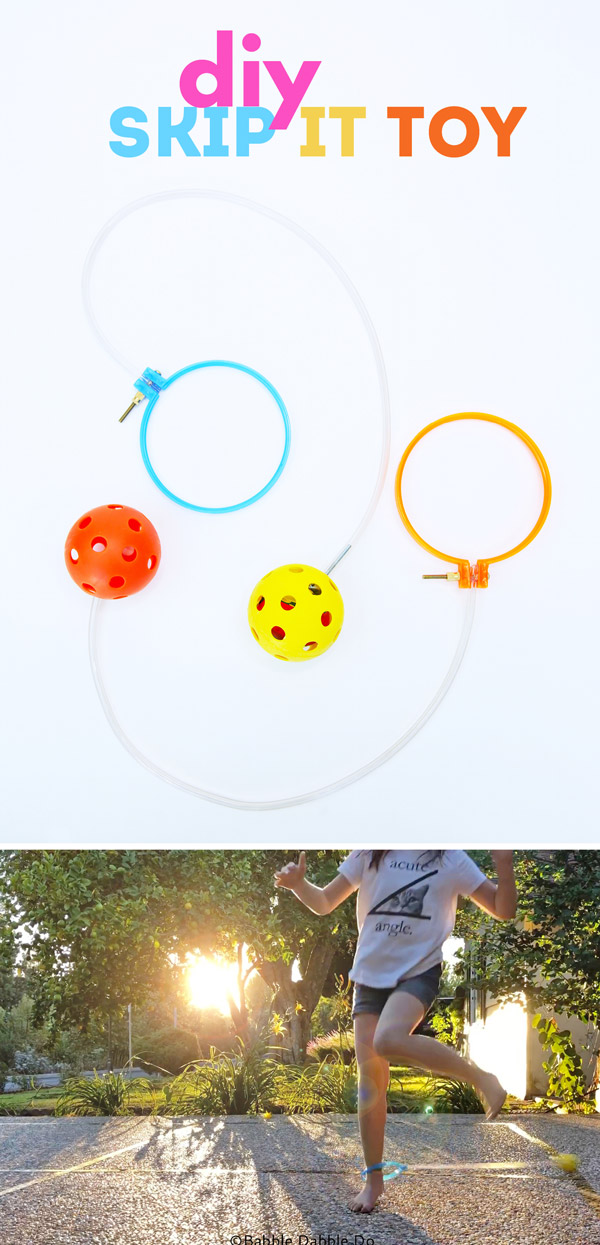
Homemade Toy Idea: DIY Skip-It
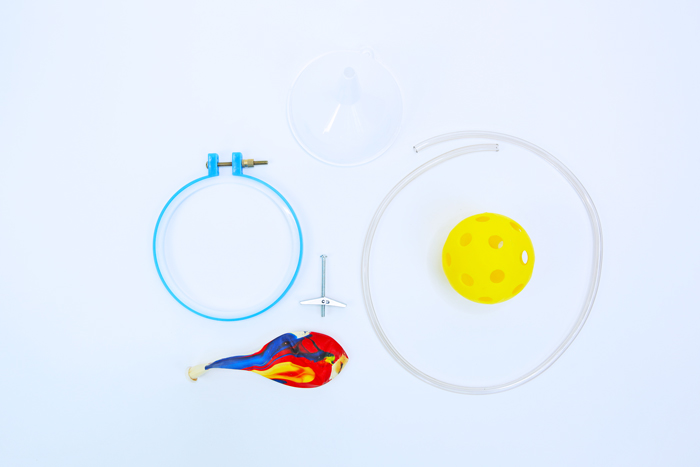
Materials
- Embroidery Hoop Small
- Wiffle Ball
- 1/4″ Outer Diameter Plastic Tubing Available at hardware store by the foot. We used a 22″ length for each toy.
- Toggle Bolt Buy in singles at hardware store. The toggle bolt should fit very snuggly in the tubing.
- Optional: Balloon and funnel
- Water
- Xacto
Instructions
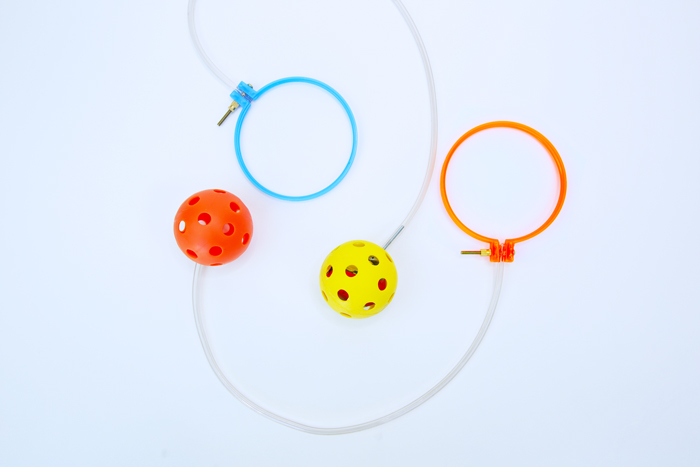
- Step 1 Cut a small through hole in one end of the tubing using an Xacto knife.
- Step 2 Open the embroidery hoop and set aside the inside circle. Push embroidery hoop bolt through hole in tubing, making sure the tubing is wedged between both tabs of the embroidery hoop.
- Step 3 Secure the tubing in place by tightening the embroidery hoop nut.
- Step 4 Place the toggle bolt in other end of tubing. Make sure the “wings” are moved to the head of the bolt.
- Step 5 Push toggle bolt through hole in wiffle ball to secure in place.
Optional; Add Weight to Ball
- Step 6 Stuff a balloon into the wiffle ball.
- Step 7 Place a funnel in balloon neck.
- Step 8 Add water and tie off balloon. Tuck the ballon end into the wiffle ball

TIP: The balloon step is optional. We found that the more weighted the ball the easier it was to get started. That said, once we got the hang of the movement involved in rotating the Skip-It we easily used the unweighted version.
You’re done!
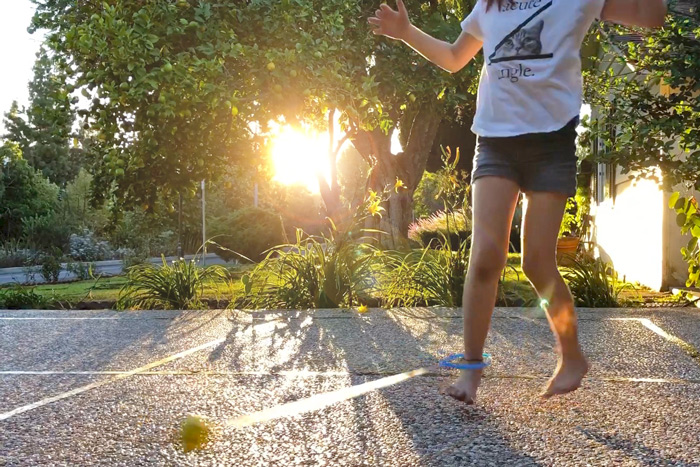
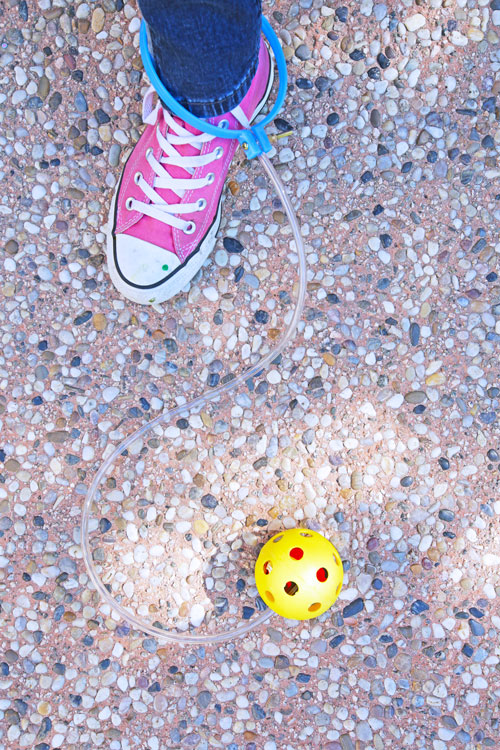
How to Use Your DIY Skip-It
This was the hardest part for us to figure out but once you get the hang of it it’s easy, just like riding a bike.
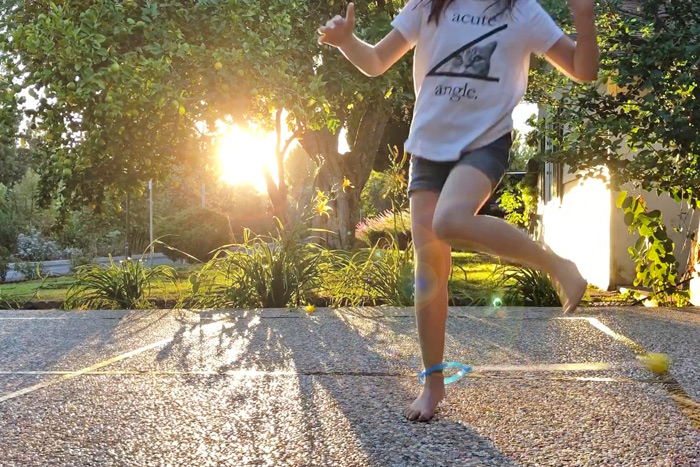
To start place the hoop around your foot. Swing your leg with the Skip-it attached in a wide circular motion to get the ball flying outward. It may take a couple tries. Once the balls is moving in a circular motion, hop over the tubing with your free leg, like jump rope. Keep going as long as you can!
Let’s Talk STEAM
The Science (Physics)
This homemade toy is the PERFECT way to demonstrate centripetal force. Centripetal force is a force that causes a body to follow a circular path. The force is always orthogonal to the fixed center. As the object moves, centripetal force pulls the object towards the center point, causing it to move in a circular path. Common examples of centripetal force are playground swings and tether ball. In the case of our DIY Skip-it, swings and tetherball, the tether keeps the object held in place along the circular path. Gravity can also act as a ”tether” of sorts. For example, in space gravity acts as the tether that causes the moon and satellites to move in a circular path around the Earth. Read more about Centripetal Force here and here.
The Engineering
One of the reasons I love making our own toys is because it gives you the chance to explore how products are engineered and designed. And this homemade toy is chock full of ways to explore engineering! Here are some engineering challenges to incorporate into the project:
- How does the ball weight affect the toy’s ease of use? As I mentioned earlier, we initially tried this project without a weighted ball and it was more difficult for us to get the motion right. Try making three different versions of this toy: One without a balloon inside, one with a balloon half filled with water inside, and one with a balloon filled as much as possible with water. Weigh each ball and then test them in action to see if the movement is easier or harder with a weighted end.
- How does the tether length affect the toy’s movement? Try cutting several different lengths of tubing and experiment with how easy and hard the toy is to use based on the length of the tether. What is the perfect length for you?
- What alternative materials can you use? Try some alternative materials for the different components. What other objects could be placed on the end of the tubing in lieu of a wiffle ball? How will you connect them to the tubing? Can you use a different material that the tubing? How does that affect how the toy works? We tried using an elastic cord in lieu of tubing and the toy was much more difficult to use.
More
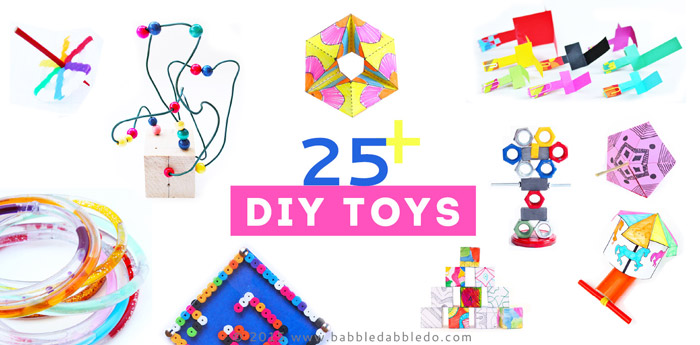
If you loved making this homemade toy I have many, many more for you!
Check out this round-up of 25 homemade toys you can make using easy to find materials!
We also had this toy in the 1960’s only it was called a Footsie. I had one and loved it. I had forgotten until seeing this post. I’ll have to make one for the grandkids. Thanks for the tutorial… and the memories!