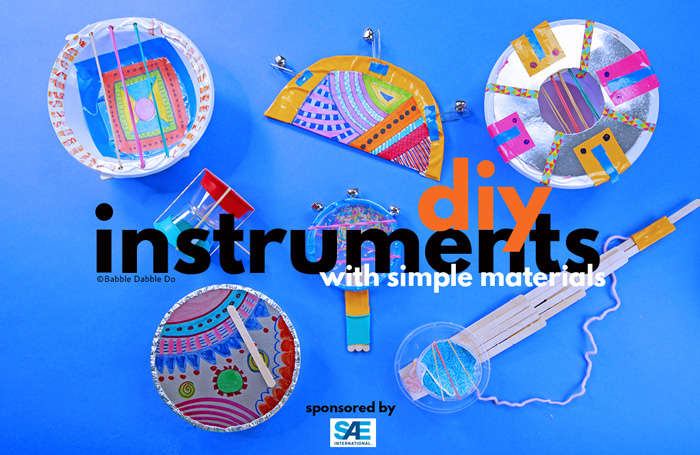
In today’s engineering challenge for kids, we are going to do 4 sound experiments and then use what we learn to make DIY instruments out of simple materials.
This project is sponsored by SAE International’s A World In Motion® (AWIM) STEM program.
My youngest son is a musical fanatic. He has always been sensitive to sounds and music and asked us at age 5 to start taking piano lessons. His holiday wish list included a snare drum (which my neighbors may still be bemoaning) and cymbal. We have been happy to oblige his fascination with musical instruments because of the benefits of being able to read and play music, and because it’s just plain fun to hear him perform!
If you have a musical child at home today’s challenge is for them. On second thought, ALL children will love this challenge but it will be especially well received by kids with a love of music. Case in point: My son has been walking around the house with a tuning fork all week!
Psst…AWIM is giving away one of their Making Music complete kits! Scroll down to enter!
Today’s sound science experiments and project are adapted from SAE International’s A World In Motion® (AWIM) Making Music Classroom Kit and the associated online module. I am very excited to be partnering up again with SAE AWIM on this fourth and final engineering challenge. You can see the three previous challenges here:
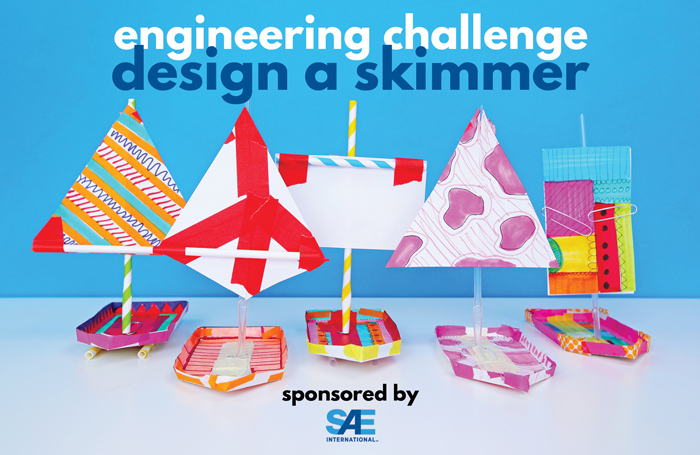
- Skimmer Engineering Challenge
- Make a Paper Parachute Toy Based on Nature
- Easy {and offline} Coding Games for Kids

AWIM developed a special at-home module to accompany this project. It’s called A World of Sounds and you can see it here. The module includes games, videos, and interactive online sound experiments that kids will love! I suggest using it alongside and in addition to today’s project.
About AWIM

AWIM has been providing hands-on STEM experiences in classrooms around the globe for over 30 years, enabling students to develop the 21st century skills needed to succeed in real-world work environments and connect classroom learning with real-life application. Supported by the generous donors of the SAE Foundation, they have reached more than 6 million students worldwide and engaged more than 30,000 STEM industry professionals as volunteers.
For Parents: As we continue hybrid and distance learning, SAE has been generously sharing their educational resources online for families at home. The program is called SAE STEM@Home and the resources include digital storybooks, a curated selection of engineering projects, and learning modules to go further in your at-home explorations. See the resources here.
For Educators: It’s been a big challenge to incorporate enrichment activities into hybrid and distance learning school days. But that doesn’t mean it can’t be done! Consider using a challenge like today’s DIY instruments project as an optional engineering activity students can try at home. You can learn more about their classroom based programs here.

The Challenge:

Like earlier challenges, today’s project is presented as an engineering problem. To start, your kids will read the letter below (included in the printable) from a fictitious toy company:
Dear Students:
We need your help! The mission of EarthToy Designs, Inc., is to develop and promote toys that are fun and exciting. EarthToyDesigns is creating a new music makers kit. We want to create a kit that will allow young people to make a musical instrument. The goal of the instrument is to:
- Create music with 3 different sounds
- Have a way to tune or change the sound
- Make noise that is loud enough to be heard from across a room.
Our EarthToy engineers are seeking fresh ideas from kids like you. That’s why we need your help! We need you to investigate how sounds of different things are made and how sound can be made louder. We suggest that your teams take the following steps to help us:
- Learn how sound travels.
- Conduct experiments to figure out how different sounds are made.
- Design a musical instrument that meets all of our needs.
This project is presented in 2 parts:
First we will conduct 4 simple sound science experiments to understand how sound travels and how to amplify it. Then we will use that knowledge to design DIY instruments using simple materials.
PART 1: Simple Sound Science Experiments
To help us design our own DIY instruments, let’s experiment with how sounds travel and how to make it louder. First let’s learn what sound is.
Sound is an audible vibration that moves in waves through a medium such as air or water. The following 4 experiments will explore different aspects of sound.
Materials
NOTE: For 2 of the 4 experiments you will need a tuning fork. You can find them fairly inexpensive online here and they are worth having!
- A tuning fork/small mallet
- Bowls
- Water
- Plastic wrap
- Rice
- Rubber Bands
- Geoboards OR plastic cups
- Styrofoam Cup
- Slinky
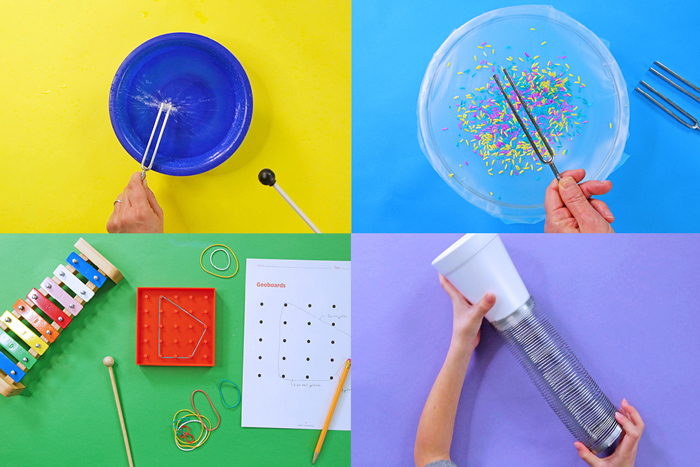
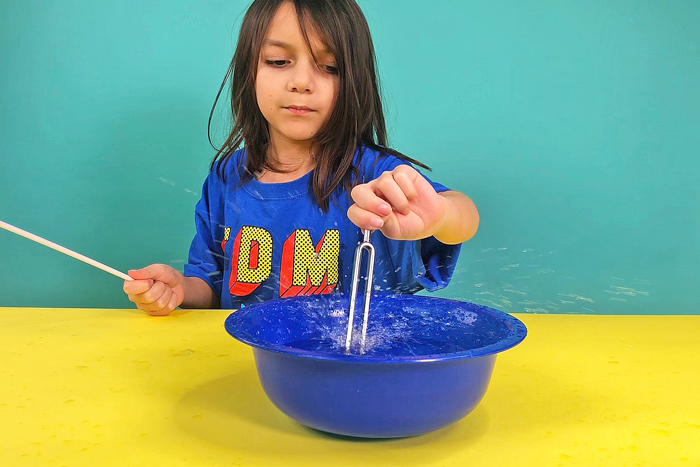
Experiment # 1: How Does Sound Move?
In this experiment kids will “see” sound as it moves through a thick medium of water.
Materials: Tuning fork/mallet, bowl, water
Instructions:
- Add water to a bowl on a waterproof surface (trust me!)
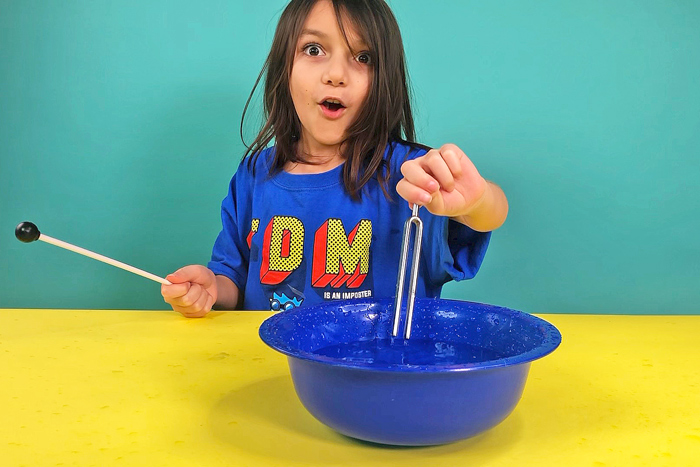
- Hit the tuning fork with a mallet. Place it near your ear to hear the sound it makes. Hit it again and touch your fingers to the fork to feel the sound vibrations.
- Hit the tuning fork with the mallet and gently lower it into the bowl of water. The sound waves will be transferred to the water and make it splatter!
What is happening: Sound is a vibration that travels in waves. The waves cannot be seen but they can be detected by our ears. Sound is transmitted through air, water, and solids. When you hit the tuning fork with the mallet, invisible sound waves move out from the fork. When you lower the fork into the water the sound waves are transferred to the water, causing it to splatter!
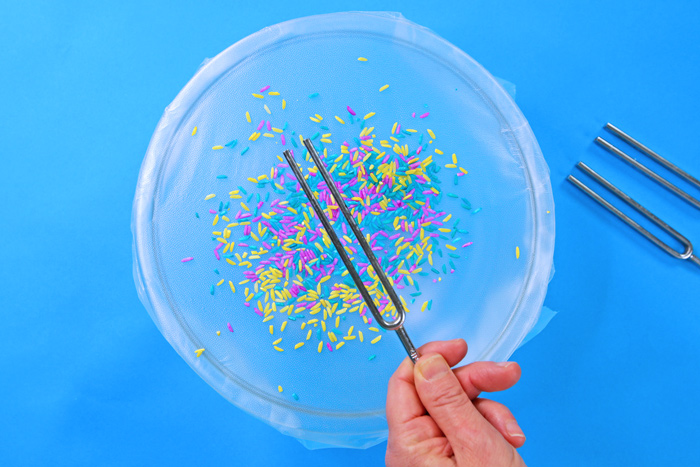
Experiment # 2: There’s a Drum in My Ear?
In this experiment kids will learn how our ears hear by making a replica of an eardrum.
Materials: Tuning fork/mallet, bowl, plastic wrap, rubber band, dry rice
Instructions:
- Cover the bowl with plastic wrap or cling film. If it’s not sticking to the rim of the bowl, secure it in place with a rubber band. It must be taut.
- Sprinkle some grains of rice on top of the plastic wrap.
- Hit the tuning fork with the plastic mallet. Hold it on its side and gently touch it to the plastic wrap. The rice will jump up!
What is happening:
When sound enters our ears it is funneled down the ear canal to the eardrum. The eardrum vibrates and causes bones in the inner ear to move, stimulating receptor cells which then stimulate the brain.
Sound is a type of energy that causes air particles to vibrate and bump into each other. As the air particles collide, the sound moves through the air. When you hold the vibrating tuning fork to your homemade “drum,” the energy of the sound waves is transferred to the top of the drum, causing the surface to vibrate which in turn causes the lightweight rice to jump up in the air!
Experiment # 3: Stringing it Along!
In this experiment kids will learn about frequency and pitch by plucking different lengths of stretched rubber bands.
Materials: Geoboards or plastic cups, rubber bands, toy xylophone (optional)
Instructions:
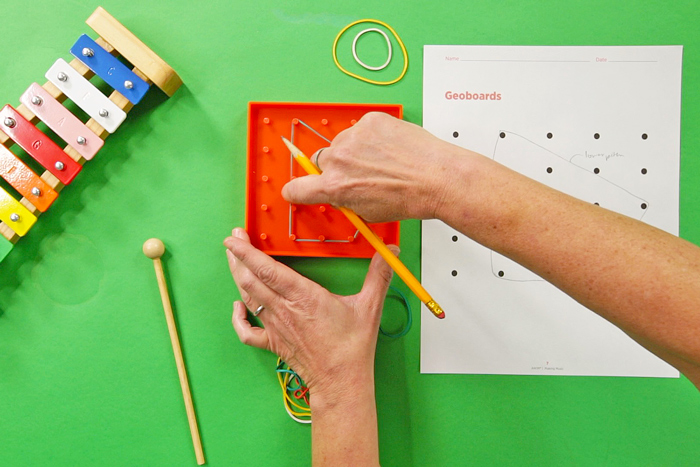
- If you have a toy xylophone, start by demonstrating what pitch is by playing the notes up and down the xylophone. Note that the length of the bar determines the pitch of the sound.
- String a rubber band on the geoboard in a shape with unequal edges.
- Pluck each side of the shape and listen carefully to the sound it makes. How does the length of the rubber bands change the way it sounds?
- Make a drawing of your shape on the template and note which sides have low, medium, and high pitch.
ALTERNATIVE: If you don’t have a geoboard you may use plastic cups as follows: Take 3 small plastic cups and stretch a different sized rubber band over each cup. Pluck each rubber band and listen to the different pitches based on how taut the rubber band is across the cup.
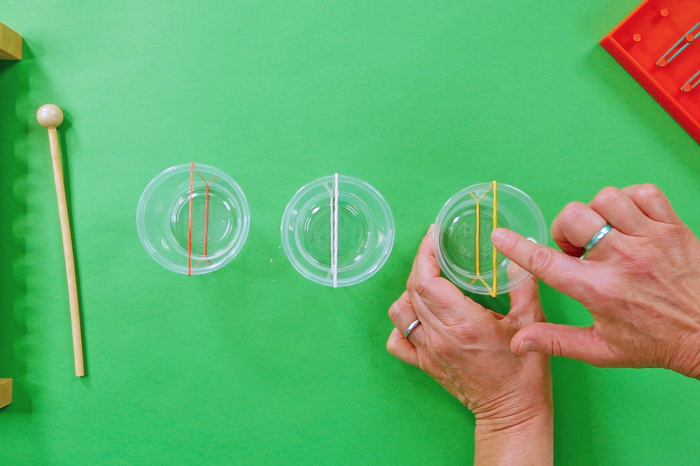
What is happening: Strings of different lengths, widths, and tightness vibrate at different frequencies. Frequency is the number of times per second that sound waves repeat themselves. Pitch is our ears’ response to the frequency of a sound. High frequency sounds are high in pitch and low frequency sounds are low in pitch. As you change the length and tightness of each string it produces a different pitch.
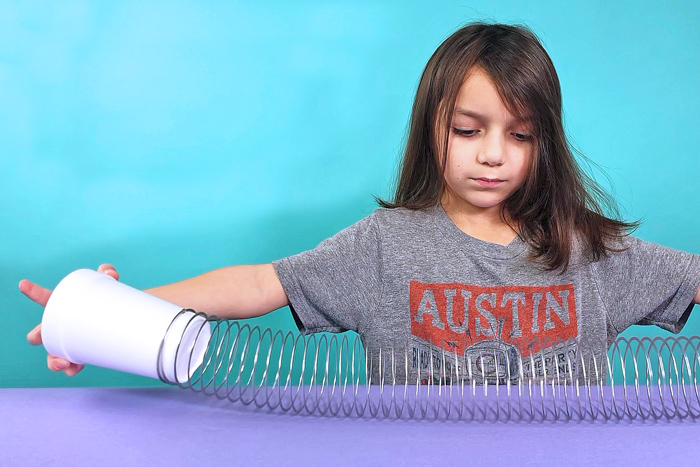
Experiment # 4: Make It Louder!
In this experiment kids will learn how sound is amplified.
Materials: Styrofoam cup, slinky
Instructions:
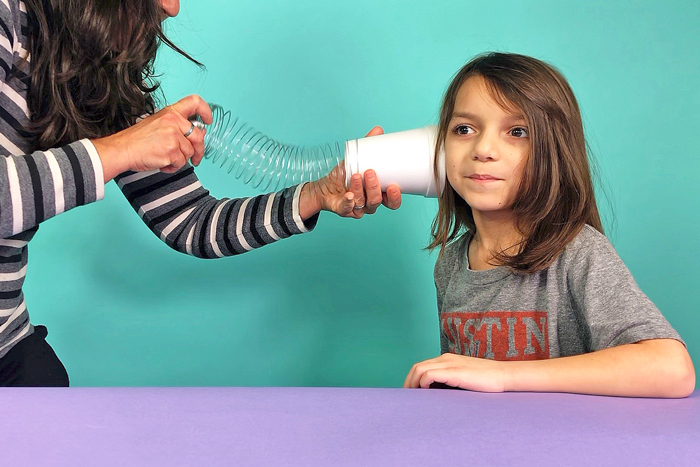
- Place the bottom of the Styrofoam cup into the Slinky as far as it can go.
- Hold the open end of the cup up to your ear.
- Stretch out the Slinky and gently move it up and down. Listen to how much louder the sound is as it moves through the cup.
What is happening: Sound is amplified (made louder) in many different ways. One way to do this is by funneling sound through a smaller area. Another is to use a material that vibrates well. The Styrofoam cup both funnels the sound through its round cylindrical shape and is made from a lightweight material that really channels sound vibrations. When you place the Slinky on the bottom of the cup, move it, and hold the cup up to your ear, the sound of the metal coil moving is greatly amplified.
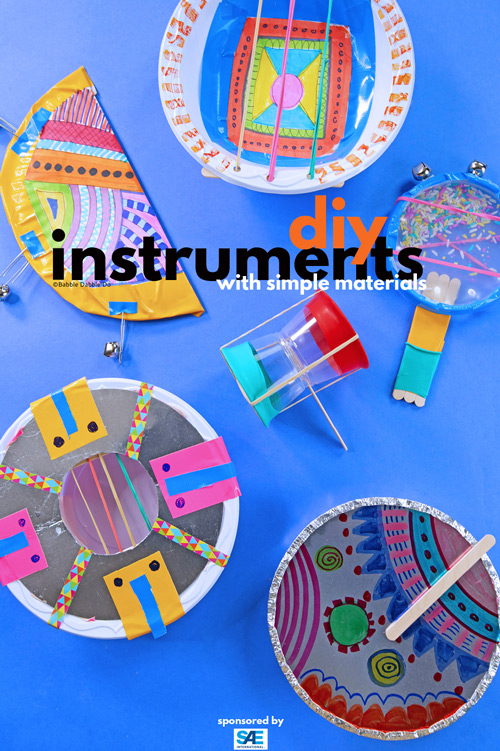
PART 2: Make Your Own DIY Instrument
Now we are going to take all the information we learned from the experiments above and use it to design a musical instrument that meets the following parameters as outlined in the letter from EarthToy Designs.
- Create music with 3 different sounds
- Have a way to tune or change the sound.
- Make noise that is loud enough to be heard from across a room.
Age Appropriateness: 6+
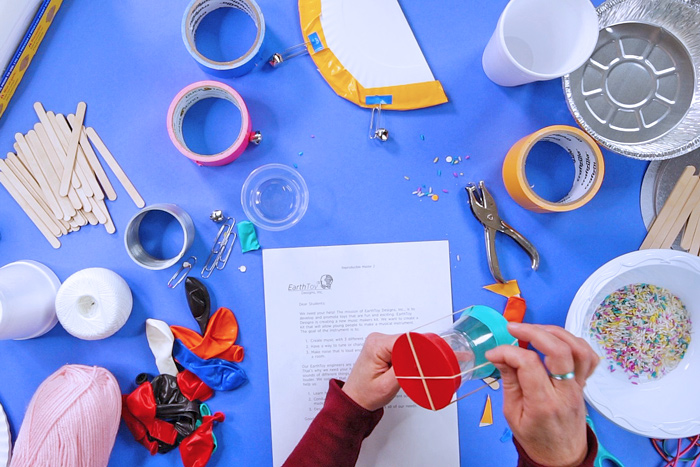
Gather a variety of materials from around the house to make the instruments. We used the materials included in the Making Music Educational Kits and a few extras.
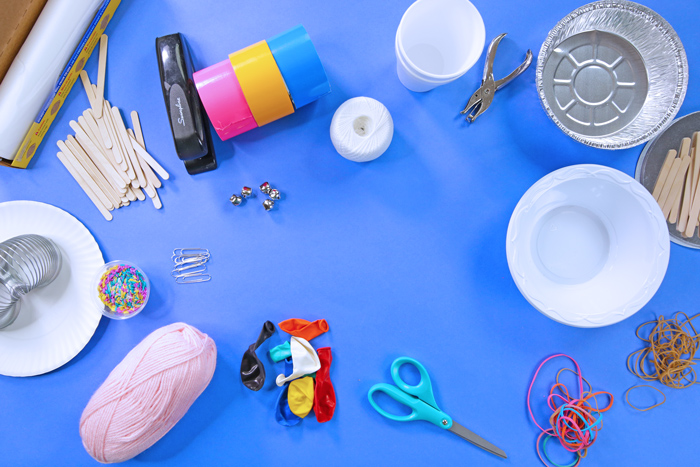
Materials
- Plastic bowls
- Bells
- Paper Clips
- String/Yarn
- Craft Sticks
- Rice
- Rubber Bands
- Paper Plates
- Aluminum containers + lids
- Balloons
- Plastic cups
- Plastic lids
- Duct Tape
- Scissors
- Glue Gun
- Markers
Make a DIY Instrument Instructions
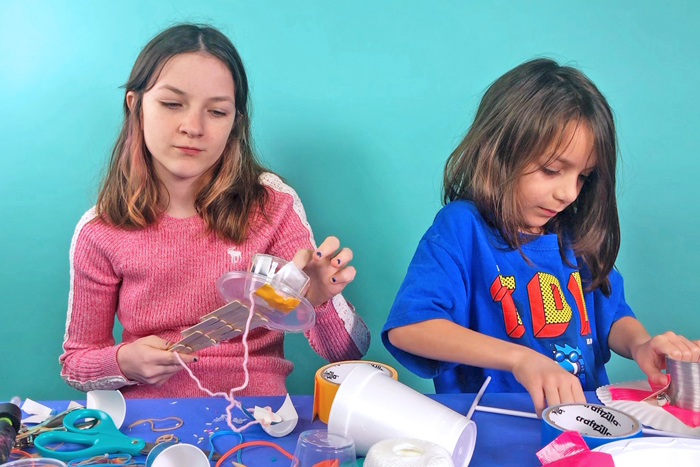
Place the materials on a large work surface. After discussing the challenge with your children it’s time to start experimenting! Have your children begin testing the materials and start designing an instrument that satisfies the design requirements. Give them plenty of room to experiment and play.
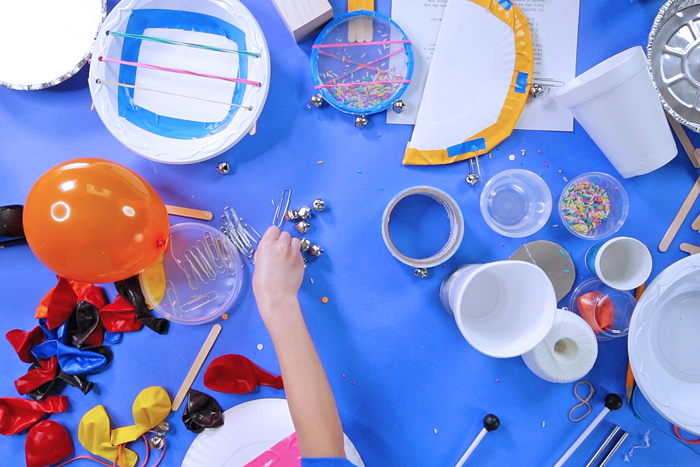
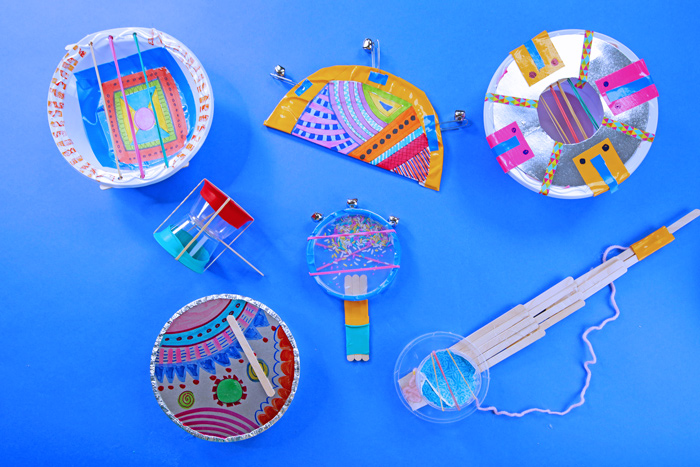
Here are a few combinations we tried:
- Paper Plate + Rice + Paper Clips + Bells
- Plastic Bowl + Rubber Bands + Craft Sticks + Duct Tape
- Aluminum Bowl + Rice + Lid
- Plastic Lids + Ride + Crafts Sticks + Duct Tape
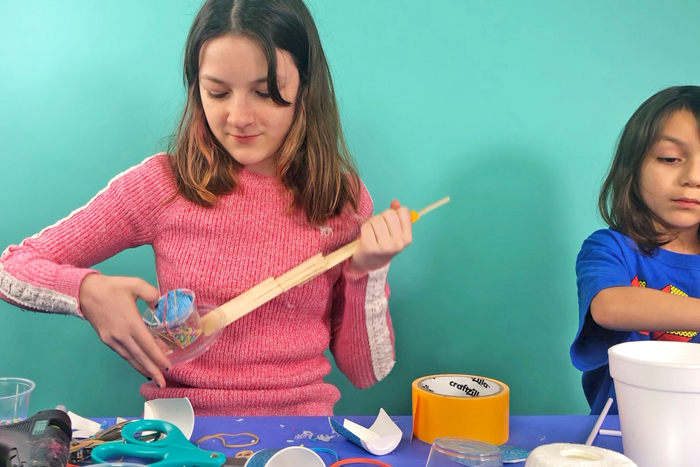
- Craft Sticks + Plastic Cups + Rubber Bands + String
- Plastic Bowl + Paper Plate + Bells
- Plastic Cups + Balloons + Rubber bands + Crafts Sticks
Test your design
Once your children have started working, make sure they periodically test their design. It should meet all the criteria set forth in the letter from EarthToy Designs.
Note: Not all of our designs met the criteria. That’s okay! Encourage mistakes! Designers often come up with wonderful designs that don’t quite meet the criteria. If your child’s design doesn’t meet all the criteria, ask if they can modify it. If they can’t, ask them to use what they learned to make a new design.
When your child has a final design, have someone stand across the room and make sure that the instrument can be heard.
Add some color!
Not only do musical instruments make sounds, many of them have beautiful designs. Add some decorative elements to your instrument and make it fun!
Let’s Talk STEAM
While designing a musical instrument kids will be learning about the related processes taht scientist and engineers use to understand phenomena and solve problems.
Science
Scientists use a process called scientific inquiry when they work. Here are the steps a scientist takes:
- Observation
- Prediction
- Data collection
- Experimentation
- Analysis
- Communication of findings
Engineering
Engineers use a similar set of steps (called the design process) when they work with one key difference. They use the knowledge gained through their experiments to solve a problem. In this case the problem is to make a musical instrument that meets the 3 criteria in the letter.
Here are the design process steps broken down:
- Define the problem
- Conduct Research
- Design and Prototyping: Prototyping is the process by which engineers build different models or samples to test their design.
- Evaluation
- Refinement
- Final Product
Take it further
If your kids enjoyed this I highly recommend you check out the AWIM module A World of Sounds here. There are more games and experiments featuring sound that your kids will love!

Conclusion
I hope your kids enjoy experimenting with sound and making instruments as much as my kids did! I have loved working with SAE/AWIM on the 4 design challenges over the past 6 months and I hope you check out all the other wonderful resources for parents and educators they have here on AWIM’s SAE STEM@Home.
Leave a Reply