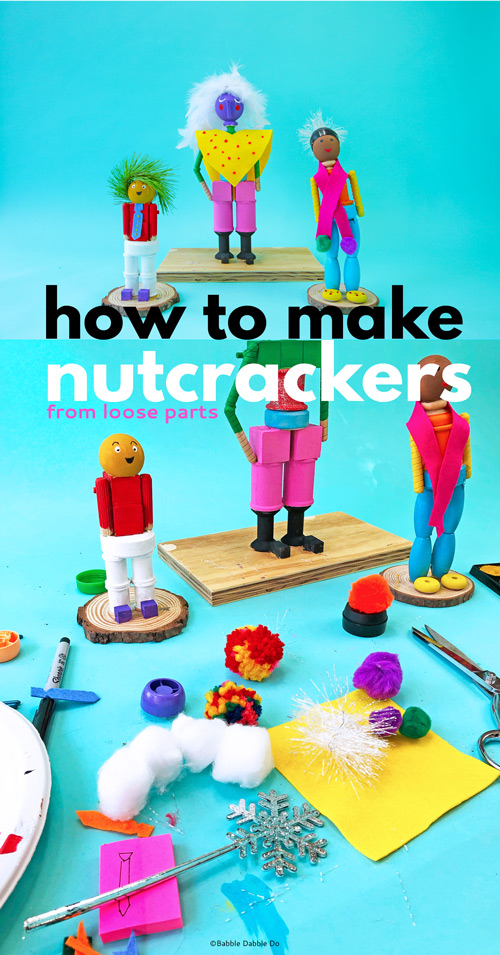
Learn how to make a fanciful DIY nutcracker from loose wood parts. This is a wonderful lesson for kids on structures and storytelling and a great maker skills project!
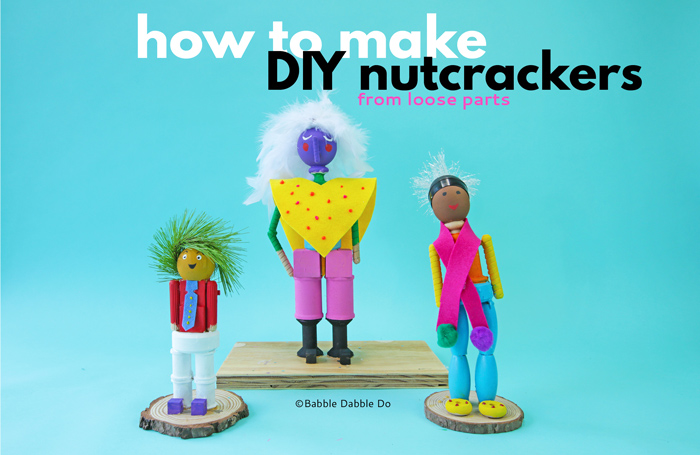
Nutcrackers are a favorite part of our family’s holiday decor, but it wasn’t until we started our After School STEAM classes that I really thought about how to make a DIY nutcracker. After seeing how much our students love working with wood parts I knew this would be a hit and sure enough it was! Wooden nutcrackers are irresistible to make and they showcase many STEAM concepts in one classic holiday project. Keep reading and I’ll tell you how!
This post contains affiliate links to products.
A Nutcracker Primer
Before we get into how to make a wooden nutcracker, let’s have a quick primer on nutcrackers
Does a nutcracker actually…crack nuts? YES! The iron lever nutcracker dates back to the 13th century and was purely functional. In 15th century France, woodcarvers first created nutcrackers out of wood, with the head (mouth) and body fastened together using a metal hinge. To use it, you insert the nut into the mouth, press down, and the force of pressure would crack the nut.
In 1870, Friedrich Wilhelm Füchtner, a German woodworker designed the first lathe created, and eventually iconic version of a nutcracker we all know and love. Initially, nutcrackers were fashioned after figures of authority, such soldiers. Today, they can resemble fictional characters, athletes, rock stars, celebrities, and historical personas – and are strictly decorative.
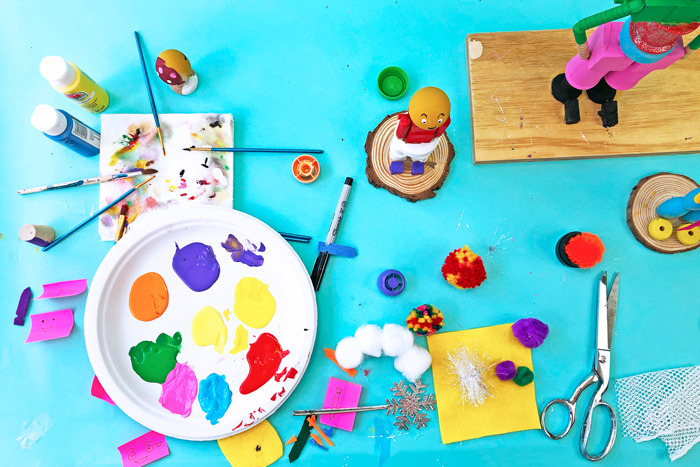
DIY Nutcracker Materials
Building Materials
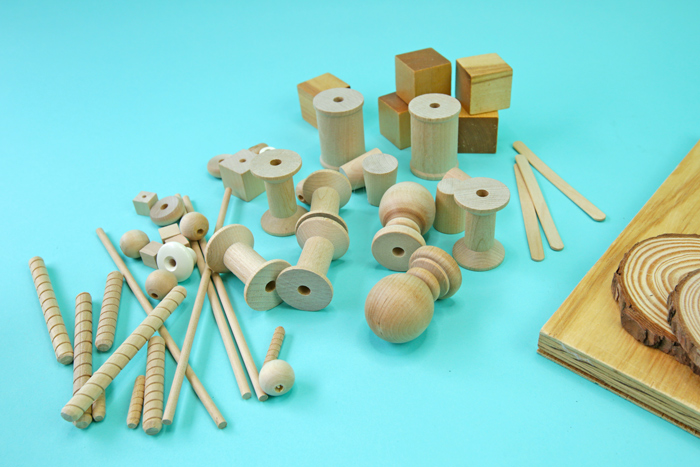
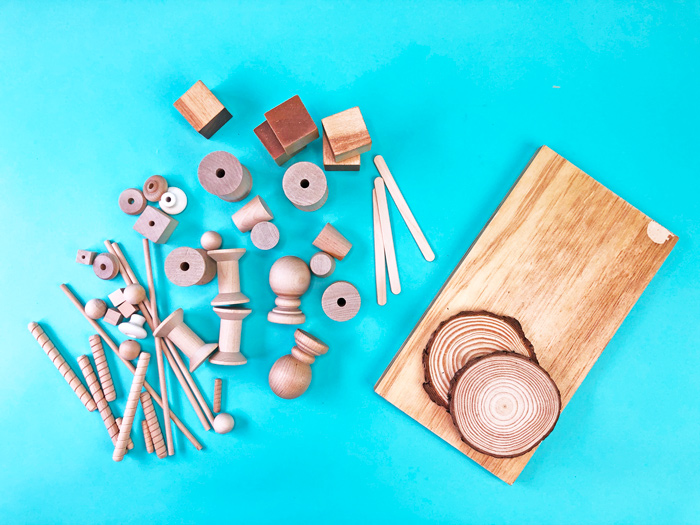
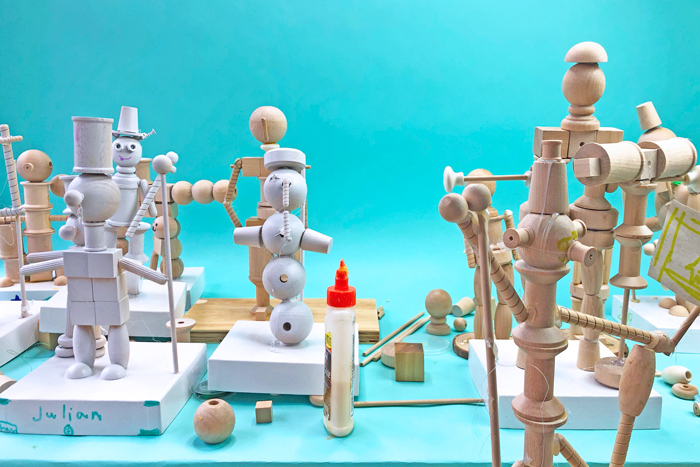
- Wood pieces of various shapes and sizes Knobs, dowels, beads, spools, pegs, discs, wheels, craft sticks, etc. Here are two great sources of wood parts: Casey’s Wood Products and Woodpecker Crafts
- Wood slices or heavy cardboard base
- Wood Glue
- Hot Glue Gun
- Hammer, nails, screwdrivers, screws (optional)
- Primer/White Spray Paint (optional)
Decorative Items
- Acrylic paint ( use tempera with littles as it is washable)
- Paintbrushes
- Scissors
- Permanent markers
- Ribbon, yarn, string, shredded paper
- Beads, sequins, baubles, buttons, gems
- Fabric Felt, tulle, cotton, old t-shirts
- Recycled materials such as bottle caps, plastic lids, paper
How to make a DIY nutcracker
Time needed (not including drying time): 1 hour and 30 minutes.
Learn how to make a nutcracker from loose parts.
- Assemble parts & plan
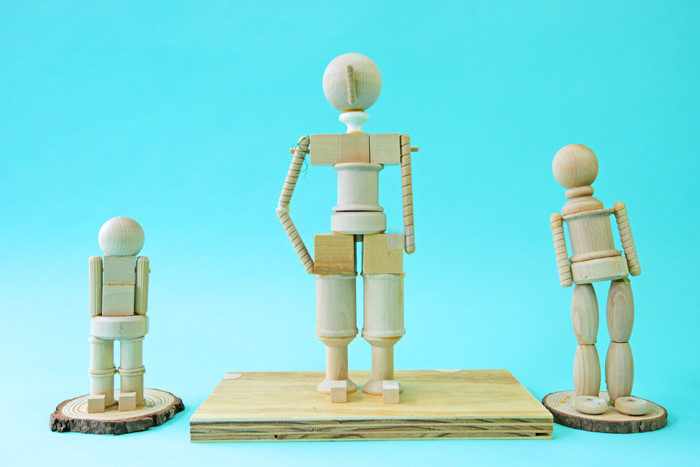
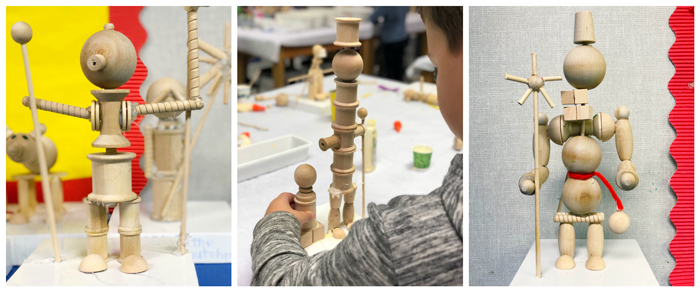
Gather up a collection of wood components and your base. Start stacking and assembling some of the components to see how you might want to build your nutcracker.

- Build your nutcracker
Once you have your design idea start building. Keep in mind that dowels are great for holding stacked materials but you must use wood parts with holes in the center to do this. Continue stacking, gluing, and assembling until you have the nutcracker completed. Let dry.
- Paint your nutcracker
Paint your nutcracker using either acrylic or tempera paint. Note: Tempera is washable but less vibrant. It’s a good choice for smaller kids. Older kids and adults should use acrylic paint if possible. You will most likely need 2-3 coats of paint. Let paint dry before adding decorative items.
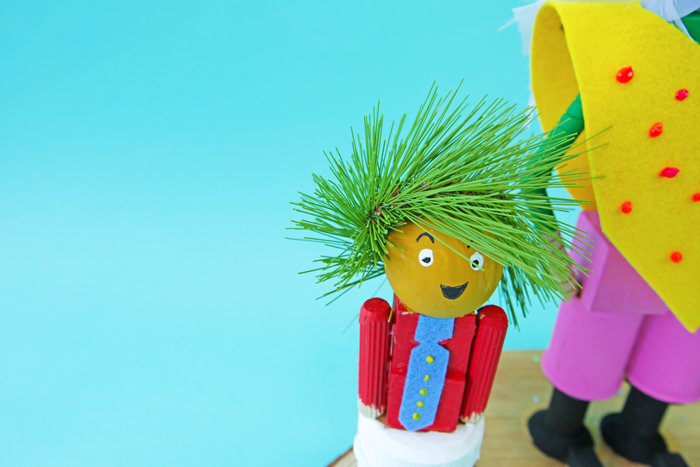
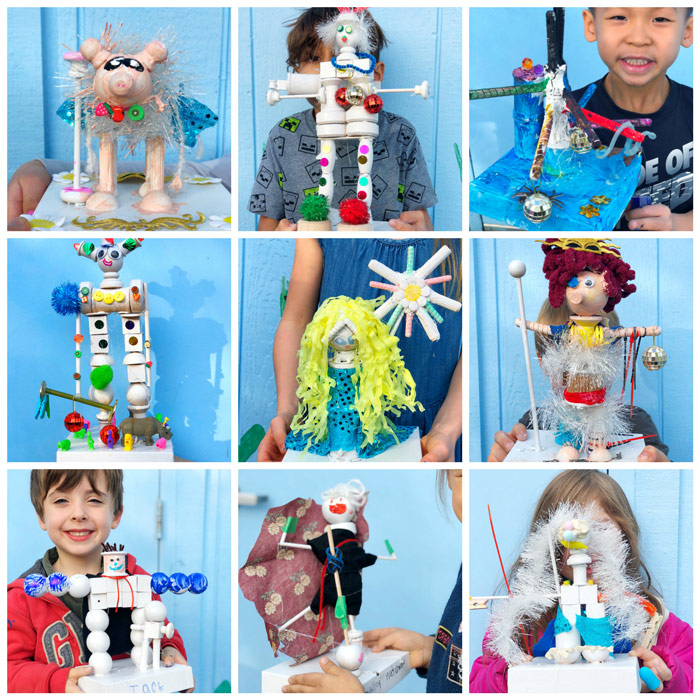
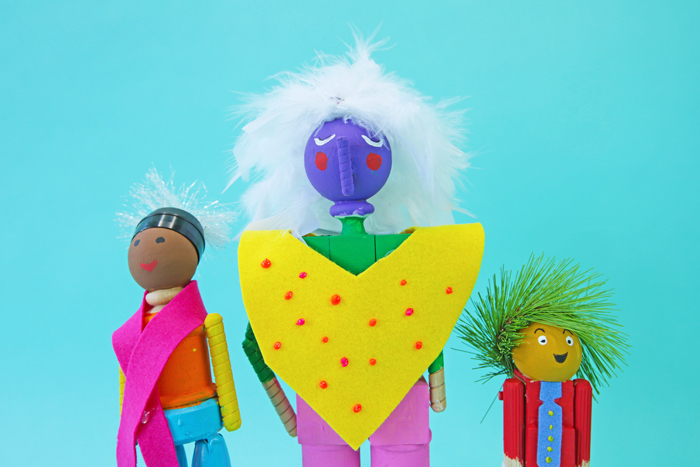
- Decorate your nutcracker
This is where the storytelling fun begins! Who is your nutcracker? What do they wear? Where do they live? Pick a theme for your nutcracker and develop the decorations around it. Add fabric scraps, felt, yarn, and other loose parts to create character and identity for your nutcracker!
- Add finishing touches
Add hair and a face to your nutcracker. Think about their expressions and what they says about the character you have created.


Tips
- Wood glue dries stronger than hot glue however it takes 30 minutes or more to completely dry. For this reason we used a combination of the two. Sometimes our students tacked pieces together using hot glue and if possible added wood glue to make a more permanent bond.
- To make the wood glue easy to apply, pour a small amount in a paper cup and use a coffee stirrer or craft stick to apply it.
- If your wood glue drips, wipe away the excess glue using a damp paper towel. Any drips left to dry will harden up and be really hard to remove.
- Supportive pieces will help structurally! Our students wanted to have arms projecting outward and often they would collapse. Simply adding a support underneath the arms made them stable.
- You may want to prime your nutcrackers first to help seal the wood. We did this with our students’ work, but I skipped this step for the nutcrackers I made at home. Unsealed wood will take more coats of paint because it will absorb into the wood. I used 3 coats on our nutcrackers.
Let’s Talk STEAM
Science
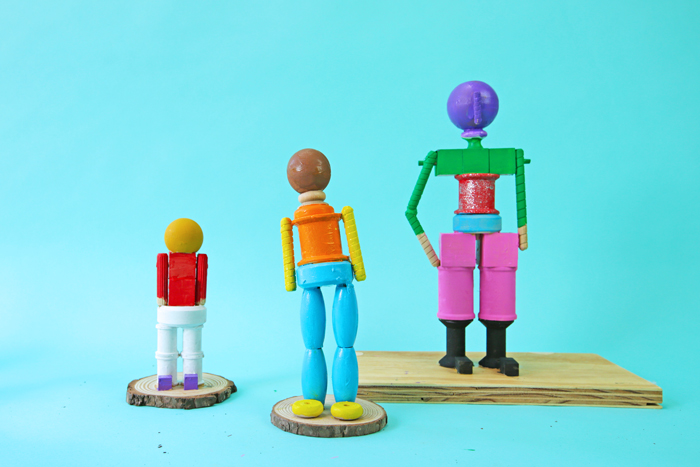
As our students learned how to make a nutcracker we used it as an opportunity to talk about the human body and its different components from feet to legs, torso, arms, neck and head. We pushed our students to recreate the different major parts of the body in their nutcrackers.
Technology
It’s hard to believe that not all technological advances are electronic. Technology encompasses the design and use of tools to make our lives easier. Classic nutcrackers served a very basic purpose, but the tool itself was quite innovative. While our nutcrackers weren’t functional we did challenge students to see if they could make one with a mouth that opened and closed and a few of them rose to the challenge!
Engineering
Creating a DIY nutcracker is a wonderful lesson on structures! Stacked parts are not easily held in place without something to bond them together. Wood glue dries really hard and is a good material to use to make a permanent bond. Adding a dowel down the center of the pieces increases the stability exponentially. It also replicates how modular building materials are often held together. Concrete block walls have steel rebar that runs down the center of the blocks to both hold them together and increase their strength in tension.
Art
Storytelling is an aspect of this the nutcracker that actually dates back to 1835. Jacob Grimm, of the famous Brother’s Grimm, included wooden nutcrackers in his essay on Germanic mythology: Nutcrackers symbolized good luck, and were figures of strength protection. Showing bared teeth was meant to scare off bad spirits. Our students developed all kids of personalities and backstories for their nutcrackers. We had a 70s rock star, a fancy pig, movie star, a muscle man and a ballerina to name a few!
Another fun art aspect of this project is fashion design! Creating clothing and costumes for your nutcracker is an entree into the world of costuming and fashion. Felt is a good fabric for kids to work with because it can be cut easily and shaped .
Maker Skills
What is a “Maker Skill?” Maker skills are the hands-on techniques – or skills – that are essential to creating, building, designing, and DIYing. Not only are they important in trade and craft, they are also fundamental in the development of fine motor skills.
Maker Skills Mastered in this Project:
- Design
- Gluing
- Hand tools (screwdriver, hammer if used)
More
If you enjoyed learning how to make DIY nutcracker from wood parts, here are some more ideas for working with wood blocks:
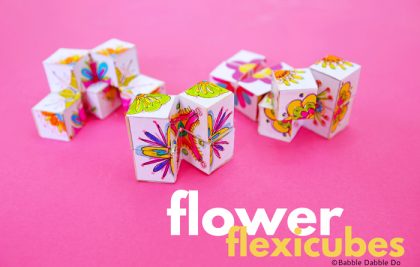
Make a Flower Cube Puzzle
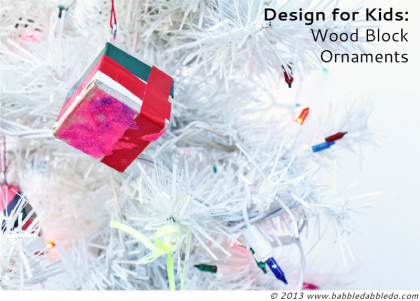
Make Wood Block Ornaments
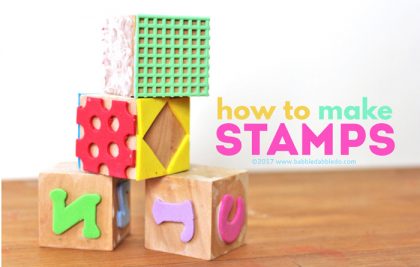
Make DIY Stamps
Are you passionate about raising creative kids?
Join over 22,179 parents and educators who want connect with kids and nurture their creative process through magical, easy projects you can do TOGETHER.Subscribe to our email list to receive project ideas as well as offers for some our creative products.If you want to read our privacy policy before subscribing, hop over here.
These nutcrackers look fantastic! What a great activity!
Thank you!
I don’t have the glue gun now. Is it possible without the gun?
Sure! It will take longer to dry but wood glue works best in any case.