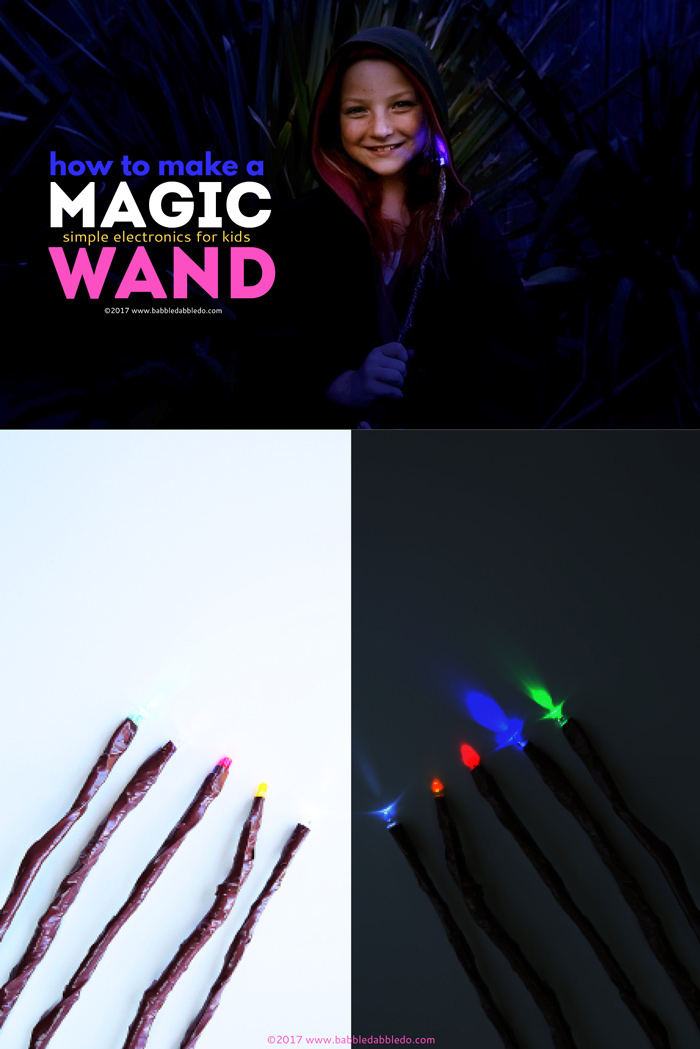
A Harry Potter electronics project: Learn how to make a magic wand that lights up!
When did you become a Potterhead? When I talk to most adults they tell me they read the books when they first came out and were Potterheads ever since. Kids on the other hand are just discovering the series as they grow up and get old enough to begin reading the series. And then there are a few folks like me, those who never understood what the fuss was all about until they started reading the books… In fact I only started reading the series at the request of a reader who asked me for some Harry Potter themed projects. So I dug out the copy the The Sorcerer’s Stone that I had bought for my son and decided I better give it a read before trying to come up with a magical activity…fast forward a year and 7 books later…I’M HOOKED!!!!! I’ve never been so enthralled wth a series as I was with the Harry Potter collection. NEVER. It’s literary magic….


This post contains affiliate links to products
“Lumos!”
But I digress…you are here for the Harry Potter themed activity and I’m happy to oblige! Today we are making a magic wand and using it to cast the “Lumos” spell as first used in The Chamber of Secrets. Today’s post is part of the Potter Hop I have collaborated on with two other Potterheads. We are bringing you a collection of educational activities to pair with each of the books in the series. Check out the full list of activities here.

Now, let’s learn how to make a magic wand with a light at the end. Electronics and magic all wrapped up in a fun little DIY. 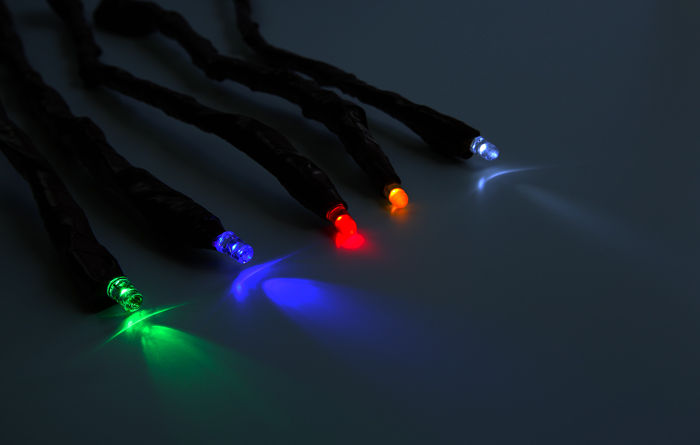 If you have wanted to try some simple electronics projects with your kids this is a great project to begin with. Essentially we will be making a very simple circuit connecting an LED with a battery/battery pack and switch and taping the whole thing to a stick. I dabbled with electronics as an art school student and I learned that it’s one of those skills that will come in handy in life. You will feel so empowered once you understand a little about it! Because it’s one of those subjects that seems really intimidating, I want to do more electronics projects on Babble Dabble Do, so that kids and adults can get comfortable creating their own simple circuits and begin incorporating that skill in making and tinkering.
Simple Electronics: How to Make a Magic Wand
SAFETY NOTE: Coin cell batteries are extremely harmful if swallowed!!! DO NOT do this project with any child who is prone to putting things in their mouth OR if you have sibling in the home who might put battery in tier mouth. For this reason I have used a battery pack with this project and secured it in a manner that the battery is completely taped inside the final project. Even so, please be aware of the risks associated with using coin cell batteries.
Materials
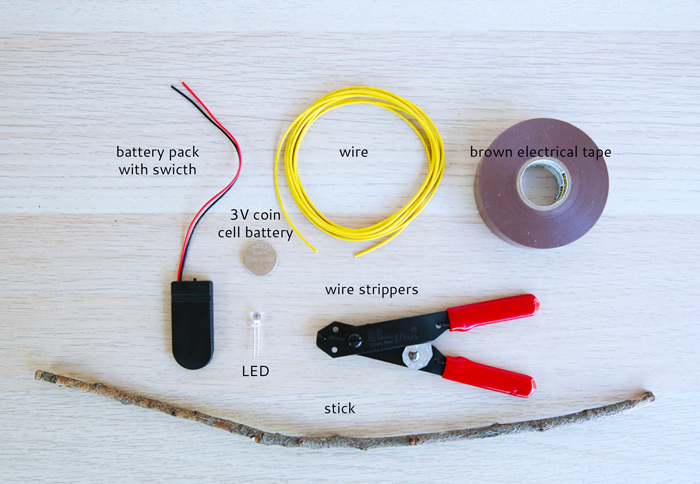
- LED
- 3V Coin Cell Battery
- Wire
- Wire strippers
- Brown electrical tape
- Battery Pack with switch
- Scissors
- Stick
- Masking Tape
- Recommended: Alligator clips for testing
Tips before you start:
If you are new to electronics projects I have one piece of advice: Test, test, and test your connections. I mean at every step. You can’t see electricity move so when you build a simple circuit and flip the switch only to find it doesn’t work you want to be able to narrow down where the connection isn’t being made. If you test each step you can rule out trouble spots. I also recommend using red and black wire. It’s easier to keep track of your connections. Red typically is used to connect to the positive side of your power source and black is used for the negative side.
Instructions
Wire the LED
- Step One Test the LED & battery. Place the longer LED “leg” (that’s the positive side) on one side of the coin cell battery and the other leg to the negative side. The LED should turn on.
- Step Two Cut a length of red and black wire. Strip the ends using a wire stripper so that you have some of the metal wire exposed.
- Step Three Connect the positive lead of the LED to one side of the red wire. Wrap the wire around the LED “leg” and cover the connection tightly with electrical tape to secure.
- Step Four Repeat Step Three with the other LED leg and the black wire.
- Step Five Test the connections! Press an exposed section of the unconnected end of the red wire to the positive side of the coin cell battery and the end of the black wire to the negative side. Make sure your LED turns on. If it doesn’t check your wire connection to make sure they are secure.

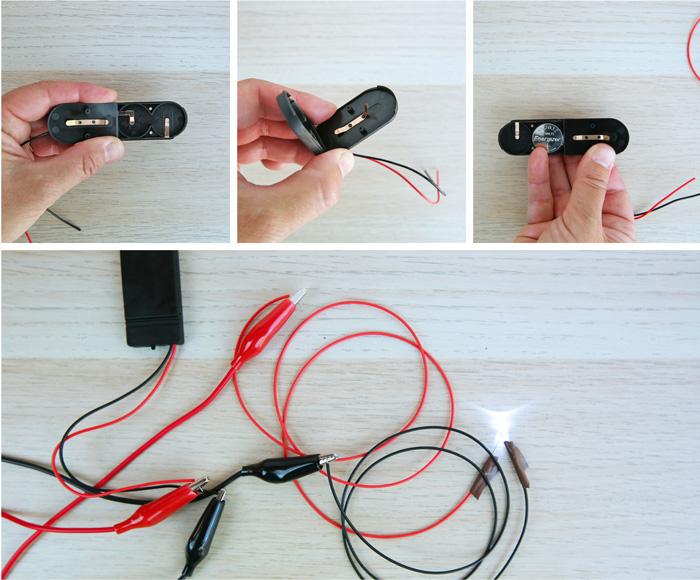
Modify the Battery Pack
This will allow you to use only one 3V battery for this project. I was unable to find a single 3V battery pack with a switch. If you have one you can skip this step.
- Step Six Bend the lead inside the battery pack down. When you close the battery pack the copper leads in the empty cell should touch. Add the battery to the cell closest to the switch, close the pack and test the circuit. Tip: Alligator clips come in really handy for testing circuits. Connect the clips to the black and red wires coming from the battery pack and the wires connected to the LED. Turn on the switch and make sure the LED turns on. If it doesn’t check to make sure the leads inside the battery pack are touching when closed.
Attach Everything to the Stick
- Step Seven Tape the LED to the top of the stick. Begin taping the wires to the stick.
- Step Eight Temporarily tape the switch to the other end of the stick using asking tape. You want the on/off switch to be on the bottom of the stick when finished.
- Step Nine Connect the switch wires and LED wires together: red to red and black to black. The best way to connect them is to take the exposed ends and twist them together. You may need to trim your wires to so you don’t have lot of excess wire. Cover connections with electrical tape to secure.
- Set Ten Cover the rest of the stick and the wires with tape.
- Step Eleven Tape the switch to the end of the stick with electrical tape. Completely cover the switch with tape except for the on/off switch. This will make the entire battery pack really hard to open. This is good way to secure the coin cell batteries inside.
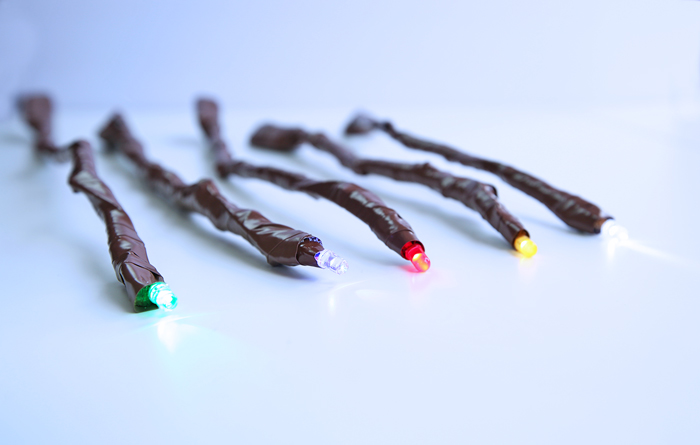
 And now the moment of truth, say the magic word “Lumos” and turn it on! Try it at night and watch it light up!
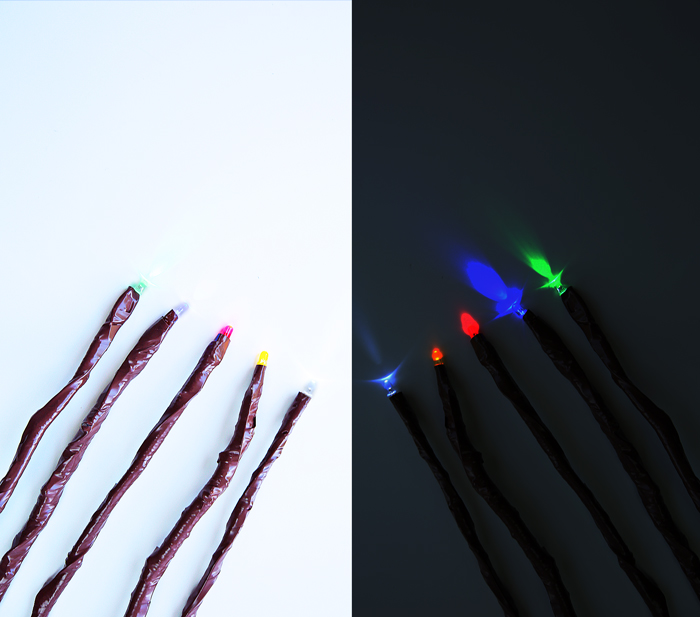
A little bit about electronics
- Electricity is the flow of electrons from a power source to something to be powered such as lights and motors. The movement of the electricity through a wire is called current.
- In small electrical circuits batteries are the typical power source. Batteries come in different voltages, which is the amount of power they can provide. When building a simple circuit your power source voltage must match the power required for the object you want to move or light up. So if you are using a 3V LED you must use a 3V battery OR (2) 1.5 volt batteries connected together.
- Electrical current flows in one direction. That is why it is so important to make sure you are connecting the wire to the correct side of your power source.
- Switches interrupt the flow of electrons. When switched off the circuit is broken and the electron flow is stopped. When switched on the electrons can flow through the circuit.
Conclusion
So now that you have learned how to make a magic wand that lights up are you excited for more electronics projects? I know I am! Electronics is a wonderful component to work into STEAM projects and it’s my goal to bring you more electronics ideas this year so your family can start dabbling with projects that move, shake, light up and more! And lastly I just want to thank Lazy Panda for the challenge. She may have forgotten about the request but I am now a HUGE Happy Potter fan because of it!
Check out more of the Harry Potter themed educational activities featured in our Potter Hop here:
Day 1 Activities here:
Troll Bogeys (Magnetic Slime) | STEAM Powered Family
Glowing Invisible Ink Secret Messages| Teach Beside Me


This is a nice way to learn about simple electronics. Used to tear apart a flash light just to see what makes it light. lol