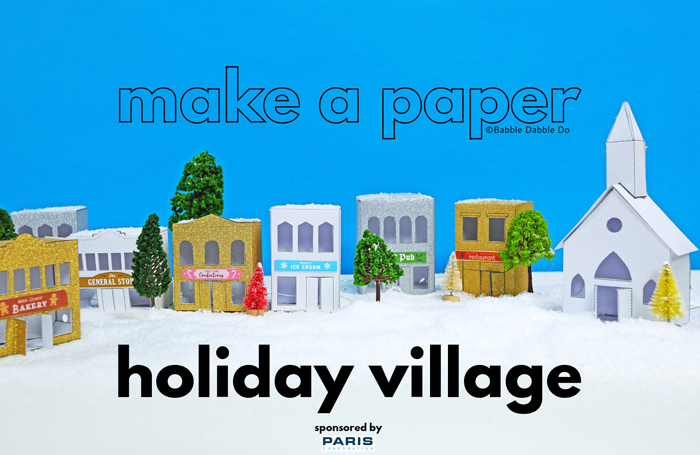
If you love miniatures you will love this DIY paper Christmas Village!
Who’s ready for the holidays?
Some of my very favorite holiday decorations are the miniature holiday village scenes that people create. My cousin has an elaborate holiday village she puts up that gets bigger and bigger every year. And as a child I remember visiting family in Spain and loving the table top sized nativity scenes people create there in lieu of Christmas trees.
This post is sponsored by PrintWorks Paris Corporation. All opinions are my own.
In our house we have a number of different miniatures we display each year, from nativity scenes to a Snoopy village and this year we are adding this glittery holiday village!
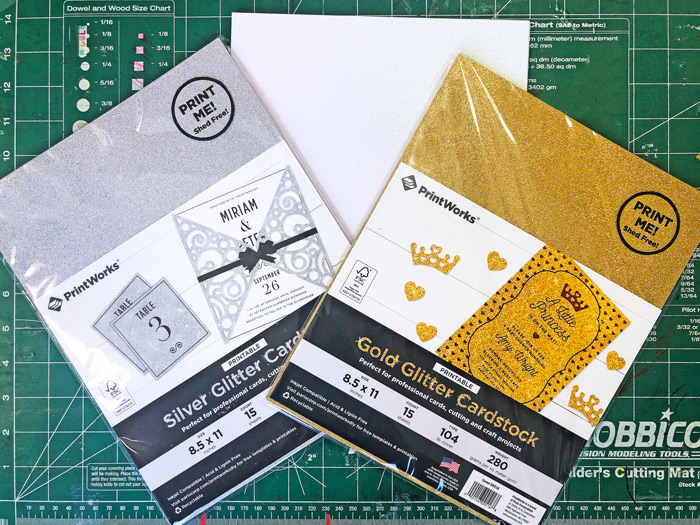
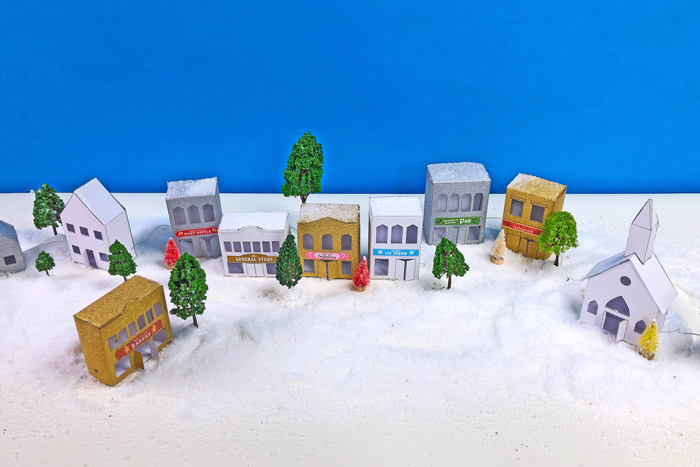
I am very excited to bring you a whole holiday village scene you can make out of glitter cardstock this holiday season. PrintWorks has three types of glitter cardstock that makes this paper village extra shimmery and festive. Add some fairy lights and mini trees and you’ve got your self the loveliest little winter scene!
Below the materials list is a resource list with links to where you can find PrintWorks Glitter Cardstock online. And if you have Cricut we also have SVG files you can download as well to make it extra easy.
This post contains affiliate links.
Materials


- Cardstock
- Glitter Cardstock for the buildings- see resource list below
- White Cardstock print signs on white cardstock or white glitter paper
- Scissors
- Xacto
- Straightedge/Cutting Mat
- Hot Glue Gun
- Hole Punch
- Tape
- Fairy Lights
PrintWorks Resource List
Glitter Cardstock on Amazon
Glitter Cardstock on Paris Corporation
Paper Christmas Village Instructions
Time needed: 30 minutes.
Make a magical paper village for the holidays!
- Print Templates
Print out the templates as follows: Print Page 2 on white cardstock or white glitter paper. Print pages 3-10 on glitter paper.

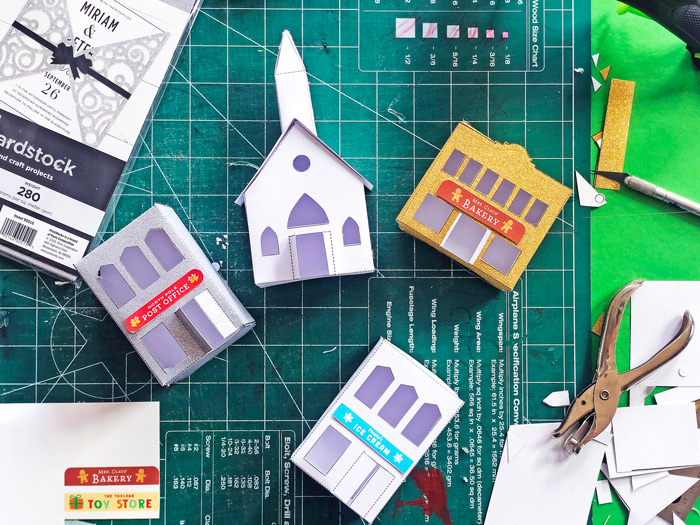
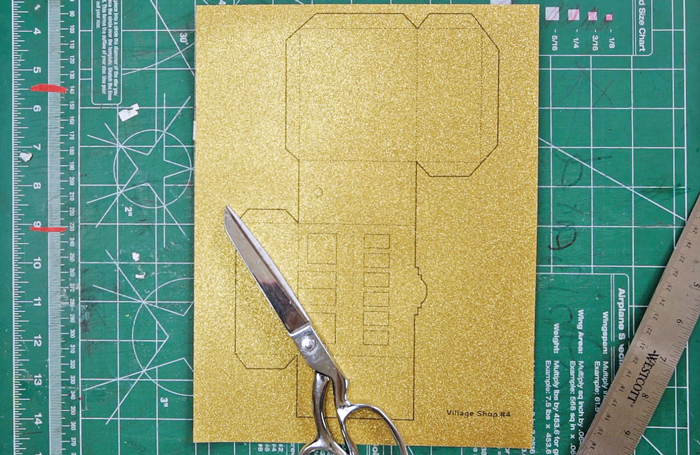
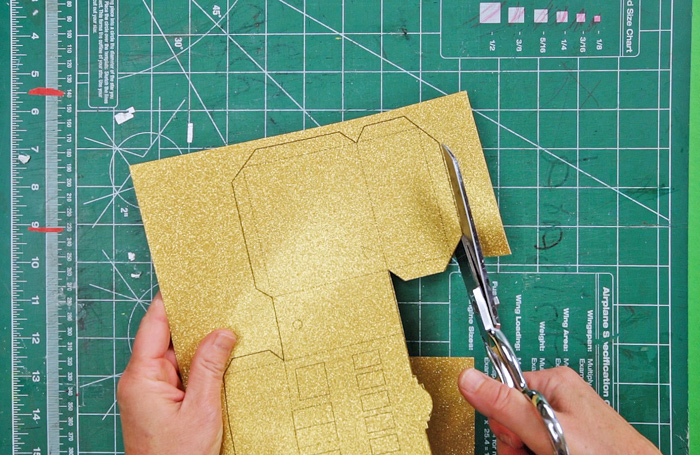
- Cut out template
Cut out template along the thick solid lines.
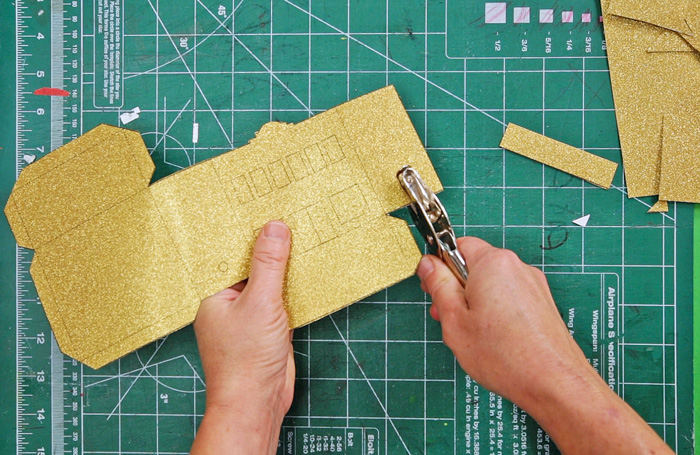
- Punch holes
Punch holes on the building sides as marked.
- Cut windows and doors
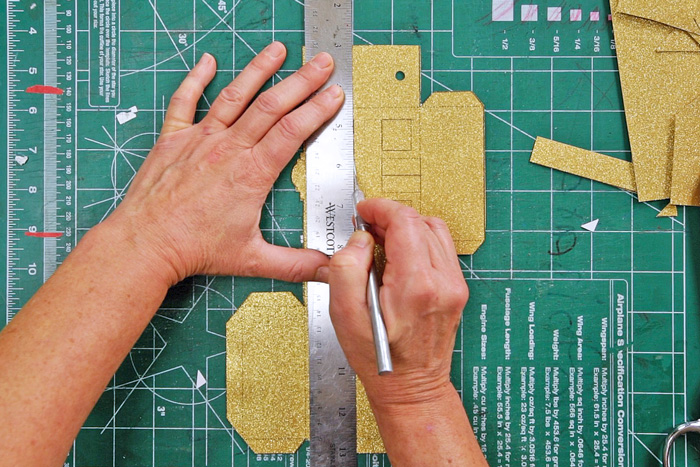
Cut out the solid lines (windows/doors) with an Xacto knife and straightedge.
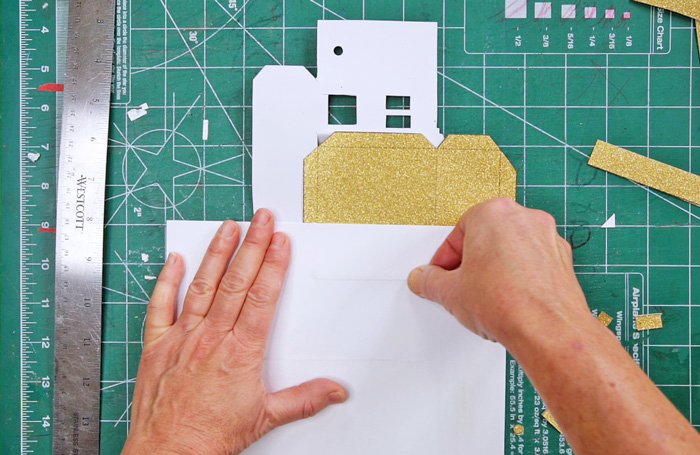
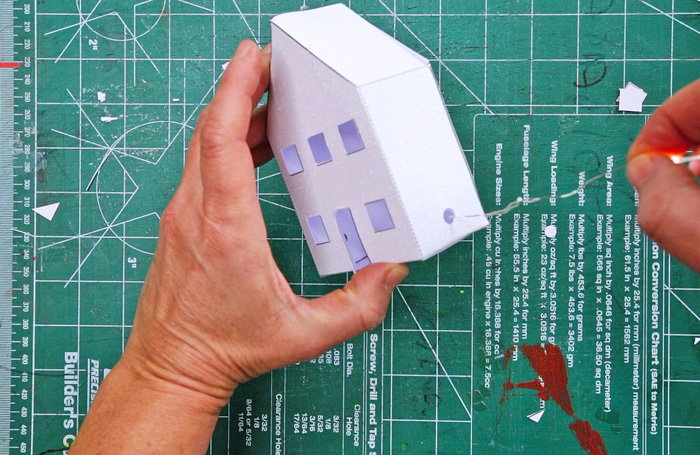
- Fold template
Fold template along dotted lines. Tip: To get a crisp fold place a piece of card stock over the folded glitter cardstock and drag the side of a coin over the paper/fold.
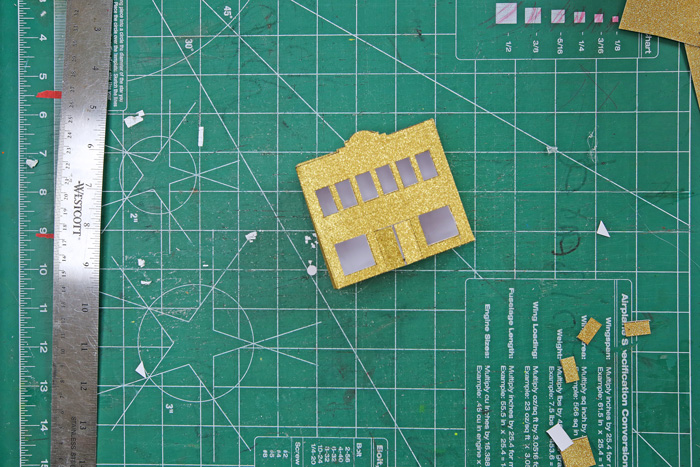
- Glue tabs
Tape or glue the tabs to the template. You will need to use hot glue when using glitter paper.
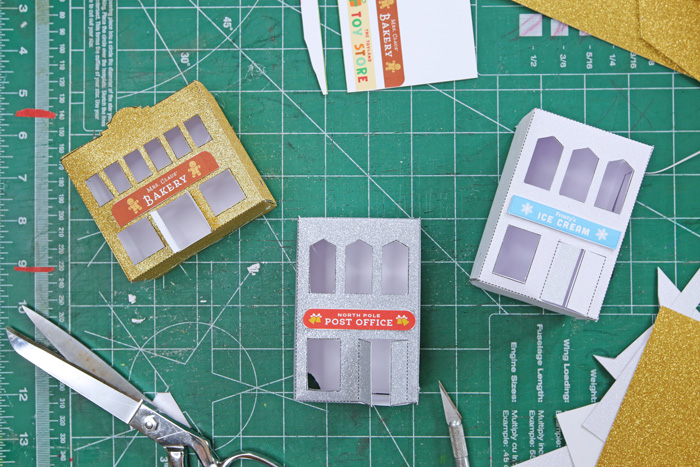
- Add signs if desired
Cut out signs. Hot glue signs to the front of buildings if desired
- Add fairy lights
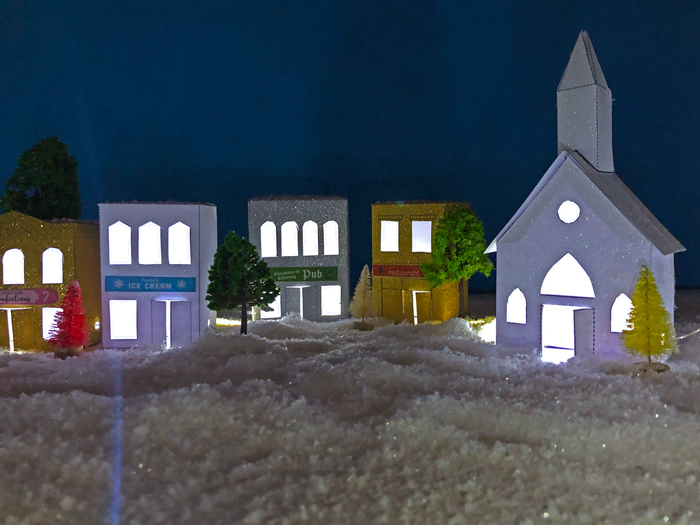
Thread fairy lights through the holes in the sides of the buildings to light up your village!
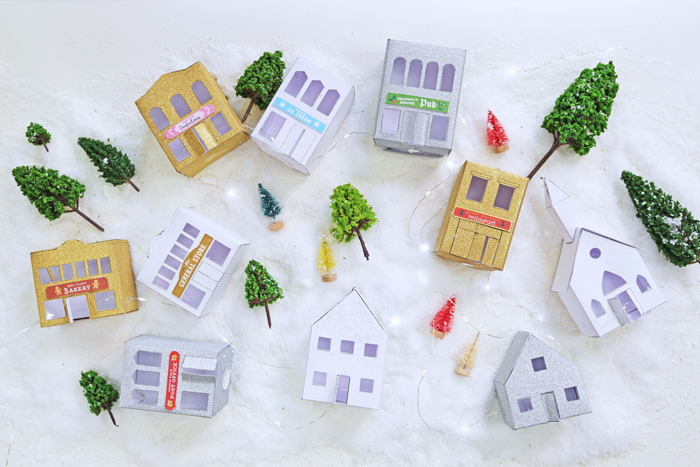
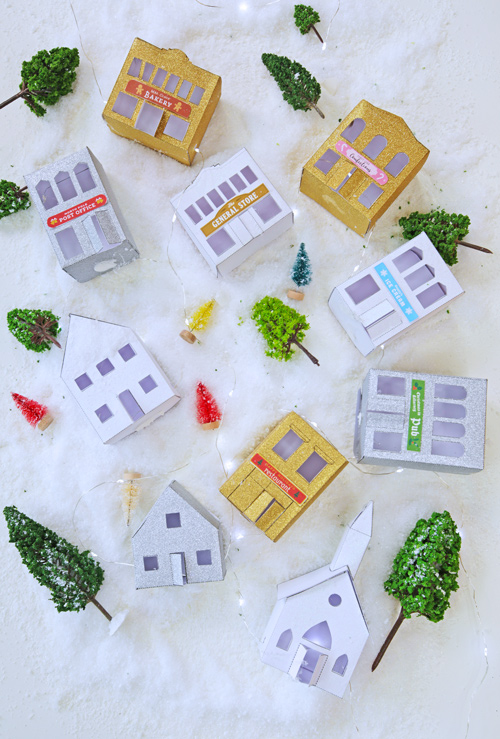
Turn it into a village
Turn your templates into a magical Christmas village with these steps:
- Select small table in your home where you can create the display.
- Cover the table with white paper or a white cloth.
- String fairy lights through the paper buildings in the order in which you want them to be laid out in the village.
- Add some miniature trees and cars.
- Sprinkle fake snow on top!
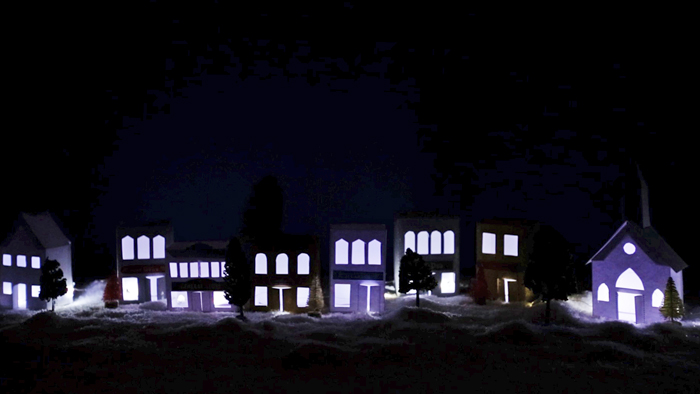
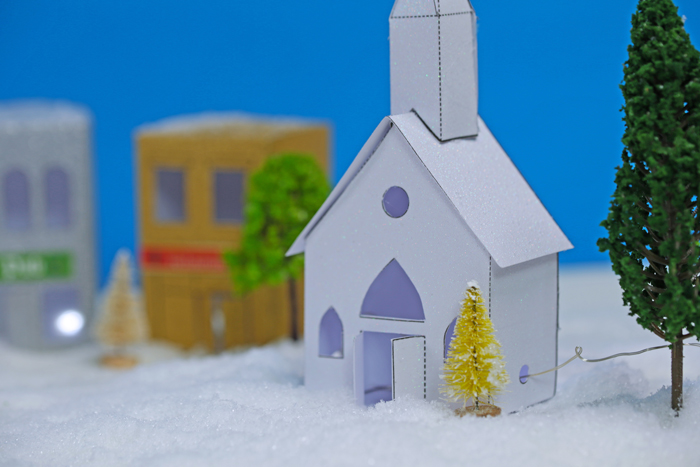
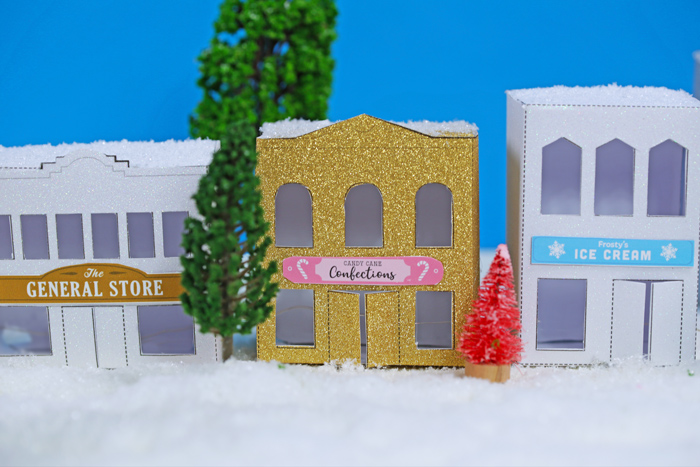
Here are some close-up images of our Christmas village:
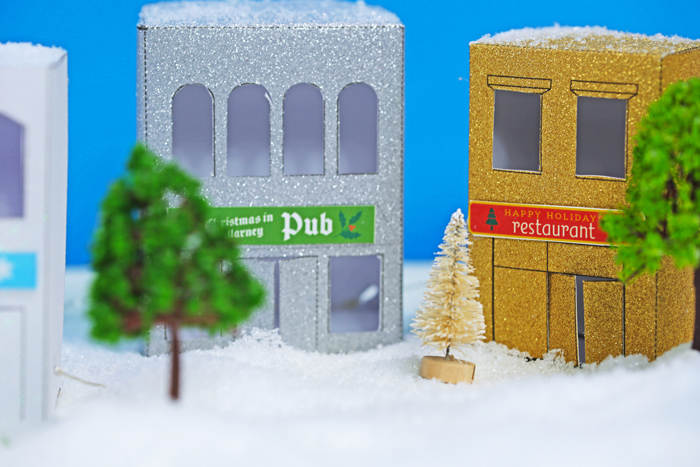
If you add this lovely paper village to your holiday decorations this year be sure to share a picture on Instagram and tag @printworksdiy!
More
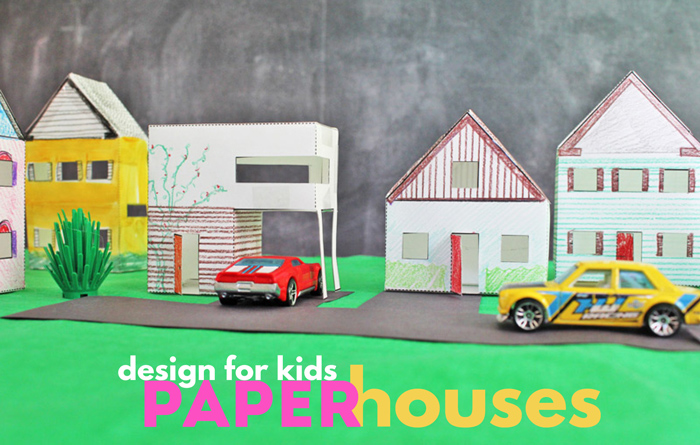
If you enjoyed this be sure to check out our Paper House project here:
Leave a Reply