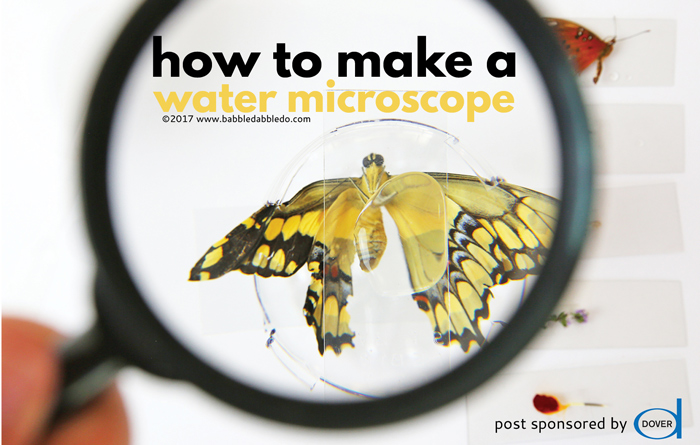
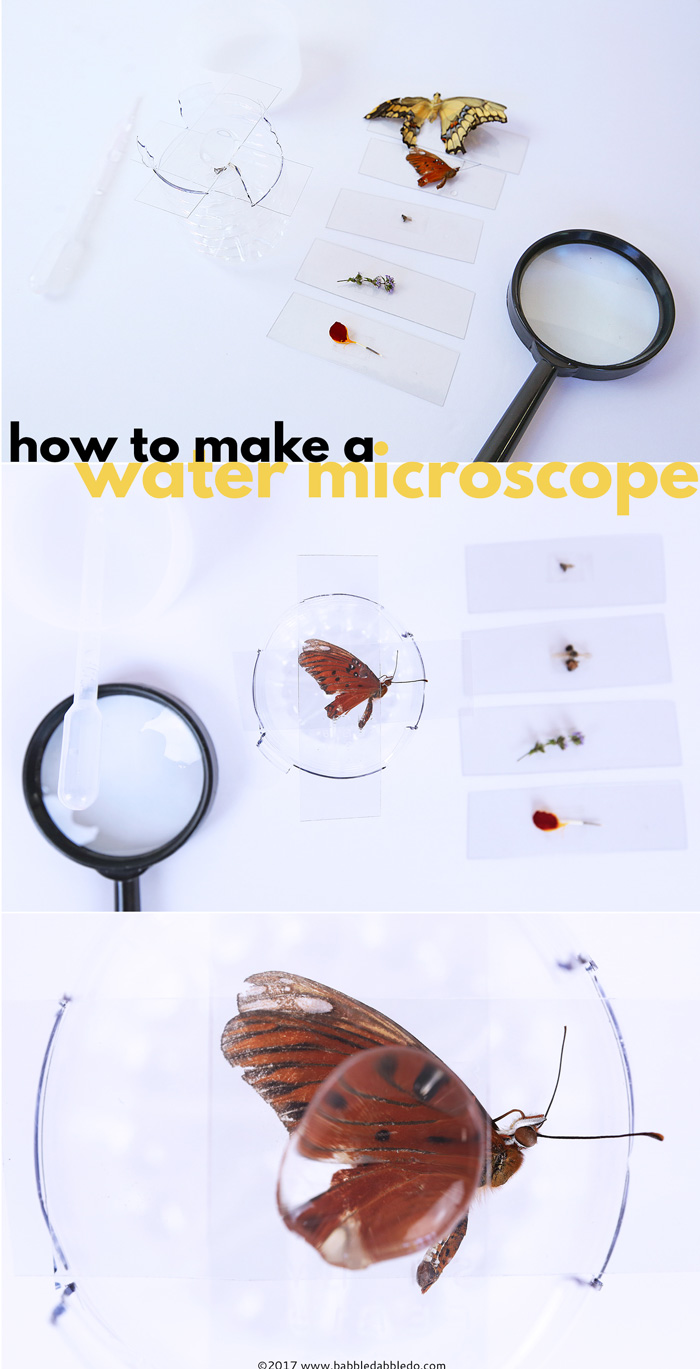
Today we are going to learn how to make a microscope using a few recycled items and water!
One of the traits I believe parents should foster in their kids is a DIY mindset. I believe kids should have confidence in understanding how things work and use their knowledge to solve problems. Making your own tools and materials is a wonderful way to nurture this trait and gives kids a hands-on understanding of the components that make up some everyday items.
This post has been sponsored by Dover Publications
This project is from The Science of Light one of three books in the Tabletop Scientist series by Dover Publications. Dover Publications has sponsored this post and I’ve had a wonderful time exploring their science book collection for kids. The Tabletop Scientist series is perfect for school age kids who love to know how things work, they cover projects like homemade hydraulics, a barometer, wind turbines and more. All the projects use recycled and easy to find materials. Psst…keep these on the radar when science fair season rolls around…
Part of the fun with today’s project is not only seeing things magnified but learning how a microscope actually works and why. So let’s start exploring!
This post contains affiliate links.
How to Make a Microscope with Water
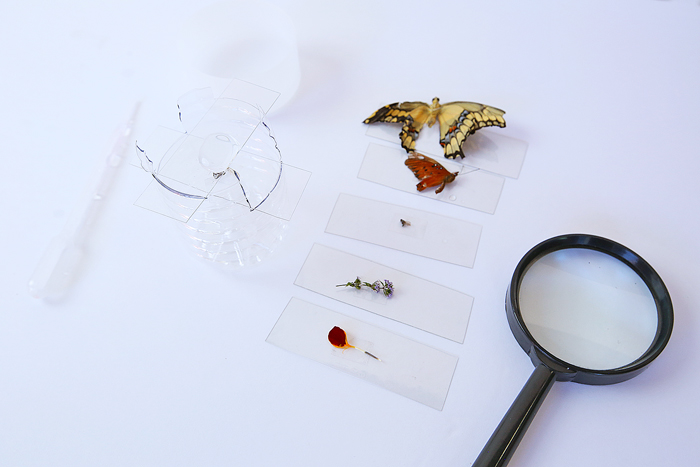
Materials

- Water bottle
- Recycled plastic lids
- Scissors
- Magnifying glass
- Double sided tape
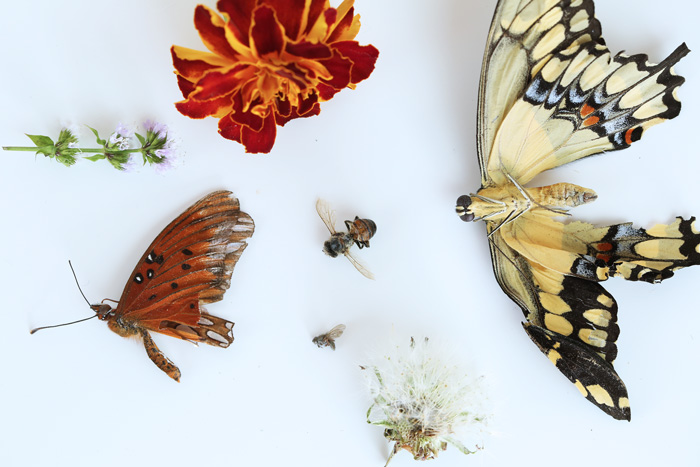
- Specimens Collect dead bugs and small flowers from your yard
- Pipette or paintbrush
- Sharpie
Instructions
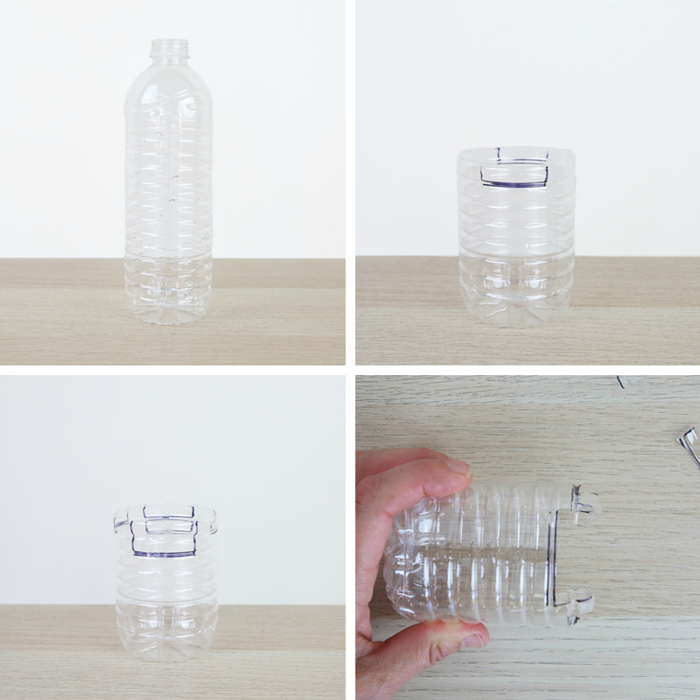
Make the Viewer
- Step One Cut a plastic water bottle in half
- Step Two Sketch two notches opposite each other on the bottle
- Step Three Add two deeper notches opposite each other in between the first notches
- Step Four Cut out notches with scissors
Make the Slides
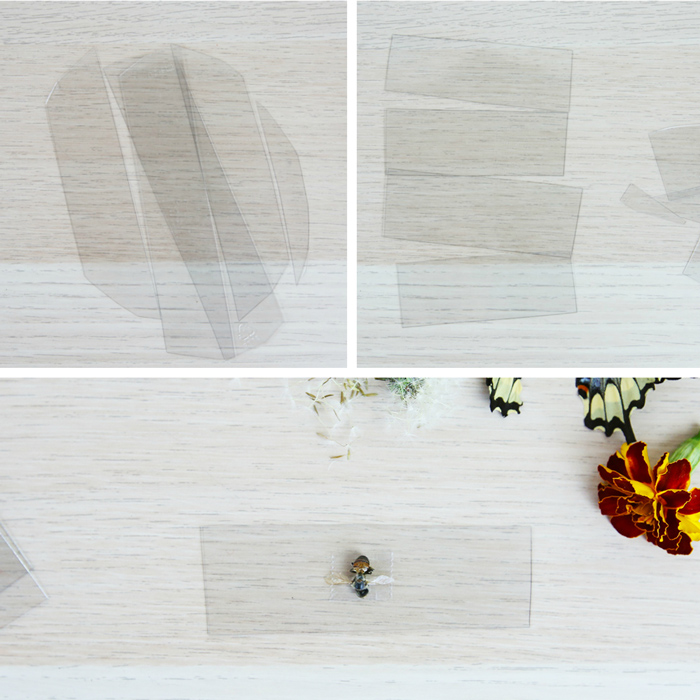
- Step One Cut a flat recycled plastic lid into strips to make “slides”
- Step Two Place a strip of double sided tape at the center of a slide
- Step Three Gently press a specimen onto the tape (a pair of tweezers will come in handy for this)
- Step Four Save one blank slide to make your water drop lens
Use the Microscope
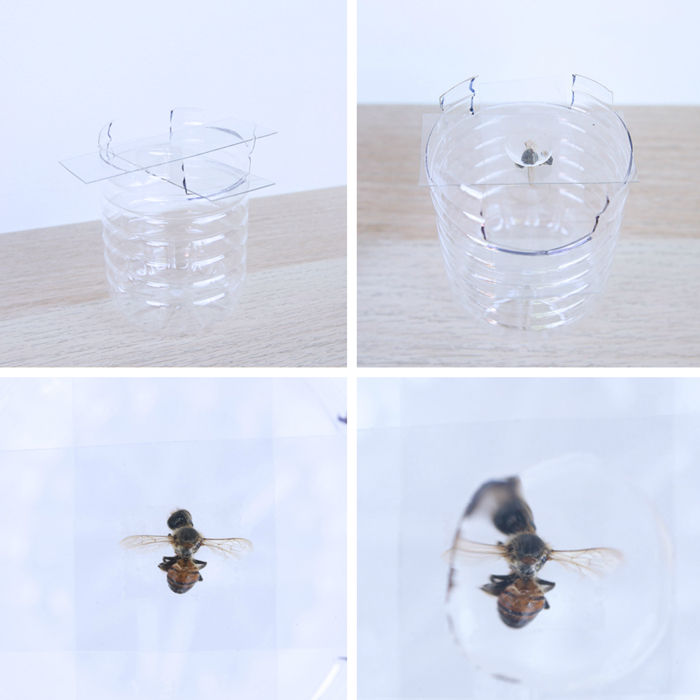
- Step One Place a slide on the lower notches
- Step Two Place a blank slide on upper notches
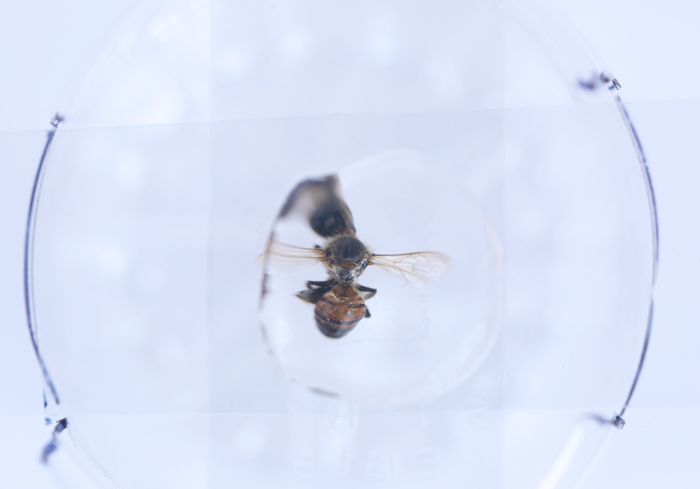
- Step Three Place a large drop of water on the blank slide; the water drop enlarges the image.
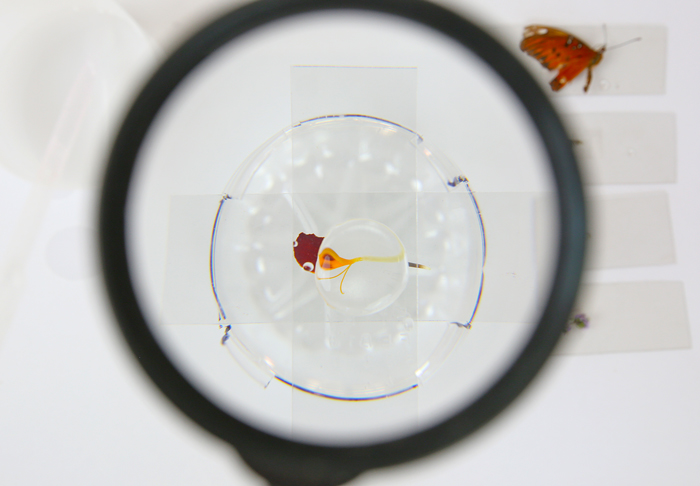
- Step Four Use a magnifying glass to further enlarge the image


Tips:
- The lower notches should be an inch or so below the upper notch both for ease of use and to help magnify items.
- Be sure to do this project in a well lit space, the light that underneath the specimen is crucial for viewing the magnified image.
- Have fun finding items to magnify! Dead bugs will now become treasures once your kids can see them up close!
How a Microscope Works
Now let’s take look at what happens inside a microscope.
First you will need to know that there are two types of lenses: convex and concave. A convex lens is thicker in the middle and magnifies things. Concave lenses are thinner at the middle and make things viewed under them smaller. A microcope is made using two convex lenses, one in the eyepiece and one closer to the specimen being viewed. In our DIY microscope we use a drop of water as a lens. It’s convex shape magnifies items viewed through it. To magnify the image even more, we use a magnifying glass which acts as the eyepiece lens.
Experiment with moving the magnifying glass closer to and farther from the water drop lens. Does the image get more or less magnified? Also take a look at the first magnification using only water. Can you tell how much more the image is magnified? Hint: it helps to have a large specimen to view so that you can see part of it magnified and part of it at its normal size.
More
Feeling empowered after learning how to make a microscope? I love turning everyday objects into something magical and useful and this simple science project does both. Plus it was wonderful excuse to collect tiny little plants and bugs from around the house and yard.
I had no ide Dover makes such amazing educational books. We’ve been investing a lot of time at home doing STEAM activities so this one will be a superb addition! Thanks Ana?
Another engaging project! We invited the neighborhood kids over to make this one and they were happily working for hours. Thanks once again, Ana! Also, thanks to Dover.
I’m so happy to hear it!!!
I am super excited to make the microscope! Thank-you so much! I would also love to be able to do the science projects described in the Dover books, especially “Science Magic Tricks” By: Nathan Shalit! Thank-you for such wonderful insights and opportunities!
I have that one! It’s good!
I have used several of Dover’s books for my STEM activities. They have wonderful activities for kids. Thank you.
That’s so nice to hear! I love their collection and you can find some gems in some of the classic books too!
My son has begun taking a keen interest in Science lately. So Science of Light will be a great resource!
Yay! That’s wonderful to hear 🙂
Anything that makes use of waste and engages children with the natural world is a winning project to me. Thanks for the tutorial!
Agreed! 🙂
I love the Maker Movement and the back to the basics approach used here. This should be a must do project before children use a microscope as it will give them a better understanding of why it works.
Agreed!
Hi Ana, thanks a lot for the post. My daughter is a hands on learner and hates science but when I showed her this post she was all excited and can’t wait to make it. We are going to try it soon. Having a book of our own would encourage her to try and learn new things I hope. Would love to try the science of light book first.
I love hearing this!
I’ll be teaching an after school class, Human Body, starting in November, with 1st-2nd graders. How Your Body Works looks like a great book! I’d use it with my grand kiddos too! I’m thinking of using this microscope with water idea with my class too. Thanks!
I teach STEM for grades kindergarten through 3rd and am always looking for ways to generate more enthusiasm; “Science Magic Tricks” looks like just the ticket! Thank you!
They are all so good, can’t decide on any one of them!