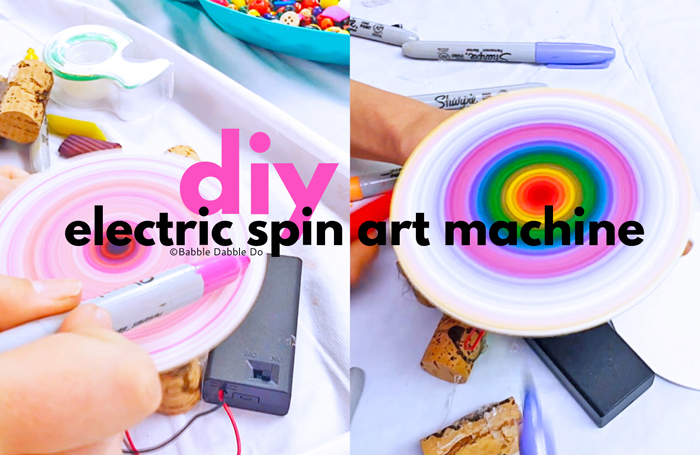
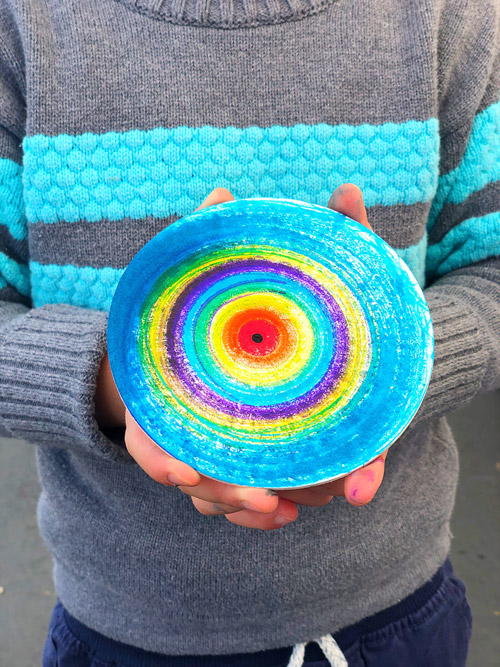
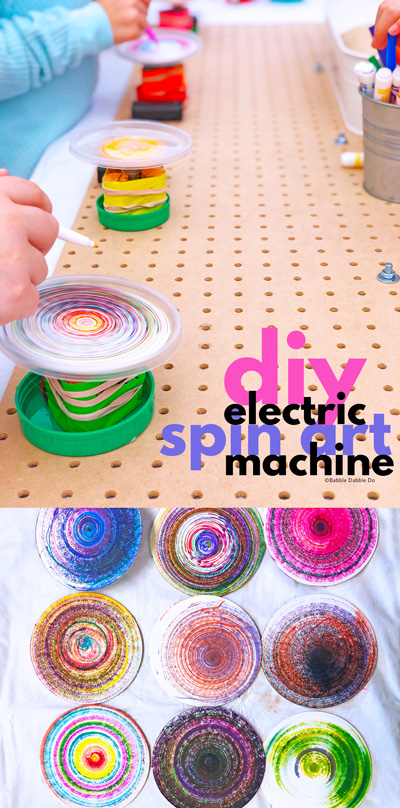
Today we will learn how to build a mini electric spin art machine and then use it to make colorful art!
This post contains affiliate links.
I first read about making a spin art machine in one of my favorite books for makers: Tinkering by Kurt Gabrielson.
It got me thinking about some of the common electrical components we use to make bots and how they might be configured differently to create a spin art machine. So I tinkered with a few materials and came up with this design that’s easy for older kids to make themselves.
In fact when our classes were in session last year before the pandemic we challenged our afterschool students to make these and then we set them up for a school wide event! Even though we definitely had some ups and downs (hobby motors aren’t really supposed to last hours on end) it was a fun way to showcase our students’ work and to have a fun art based activity for kids to try. I’ll share more about how I set it up in this capacity later in the post.
How to Make a Spin Art Machine
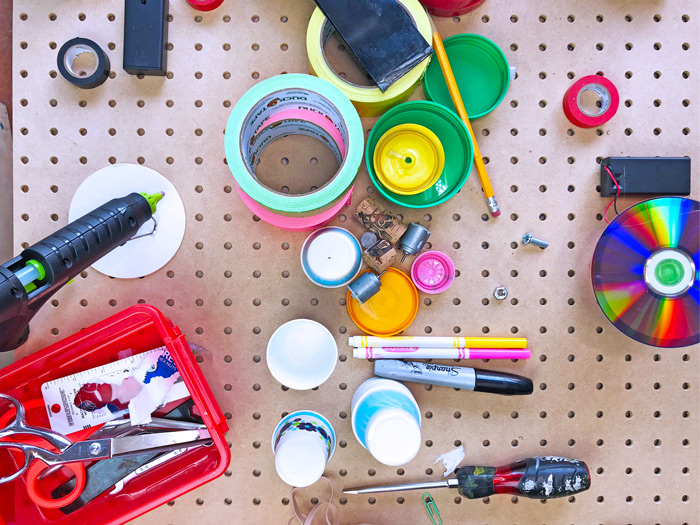
Materials
- AA battery pack with switch
- 2 AA batteries
- 1.5V-3V hobby motor
- Wire strippers
- Electrical Tape
- Corks
- Hot Glue gun/glue
- Duct Tape
- Rubber Bands
- Plastic lid (playdough caps work great!)
- Coasters or cardboard
- Markers
Mini Spin Art Machine Instructions
Time needed: 25 minutes.
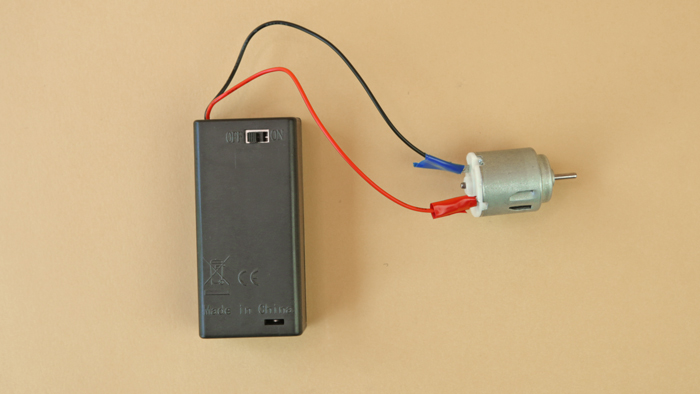
- Connect the motor to the battery pack
Strip the ends of the red and black wires on the battery pack to expose about ½” of metal wire. Turn the battery pack on and touch the exposed ends to the leads on the motor. The leads look like two U’s. The rotor on the motor should spin once the leads touch the wires. Turn the battery pack OFF and then thread one wire through one motor lead and secure in place with electrical tape. Repeat with the other wire for the second lead. Turn the battery pack on and make sure the rotor spins.

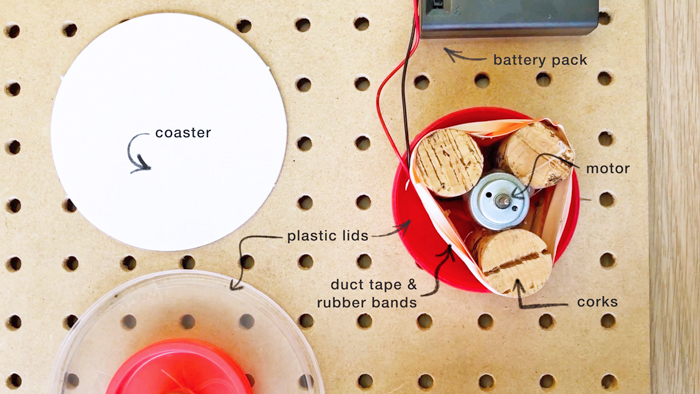
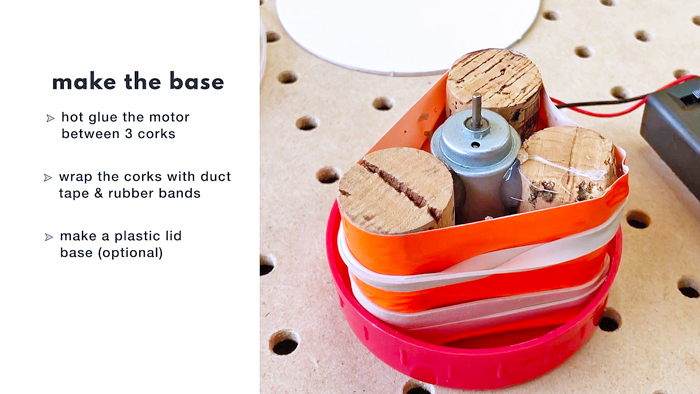
- Make a cork structure to hold the motor
Gather 3 corks and hot glue the motor in the center of the corks so that the rotor is projecting above the corks and can spin freely. Then tightly wrap duct tape around the corks. Secure in place with rubber bands. As the motor spins, it heats up and the hot glue will soften which is why the duct tape/rubber bands are so important to add.
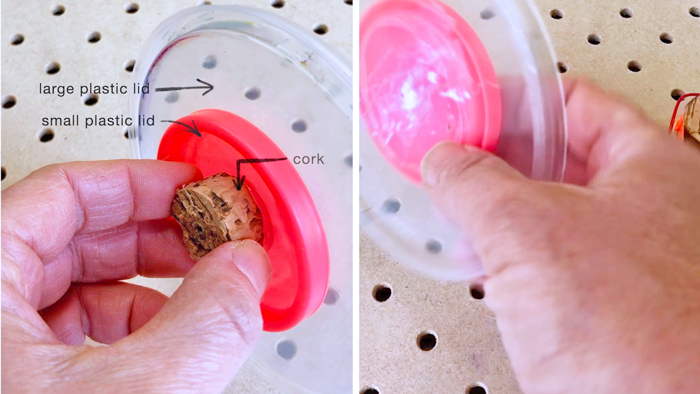
- Make the spinner
Adults only: Slice off a section of the cork using an Xacto. Hot glue a small plastic lid to the cork. Next glue a second larger plastic lid on top of the small lid. You now have a basic spinner!
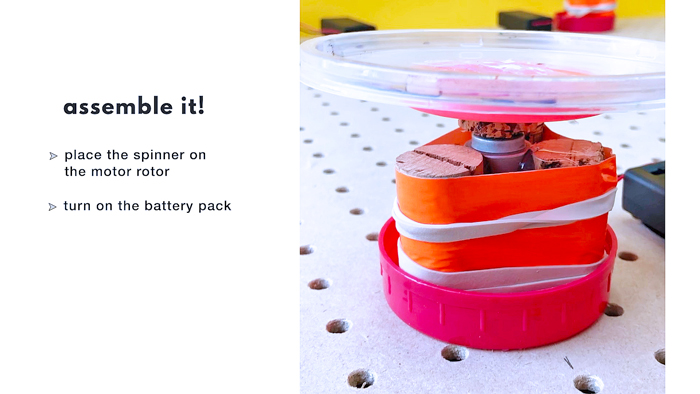
- Assemble your spin art machine
Carefully press the cork on the spinner into the motor rotor to create a secure connection.
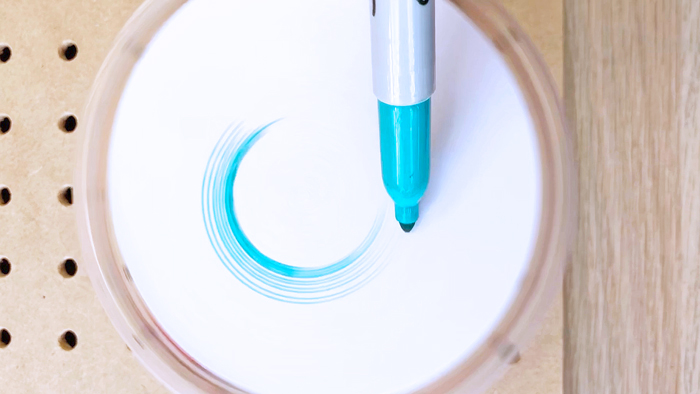
- Add the coaster
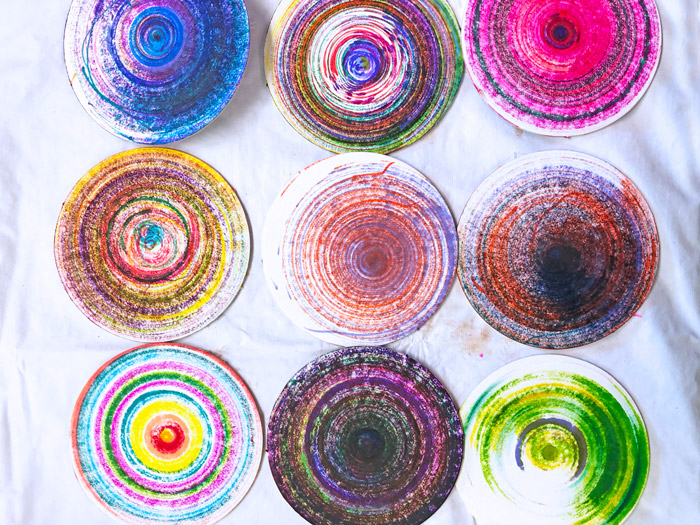
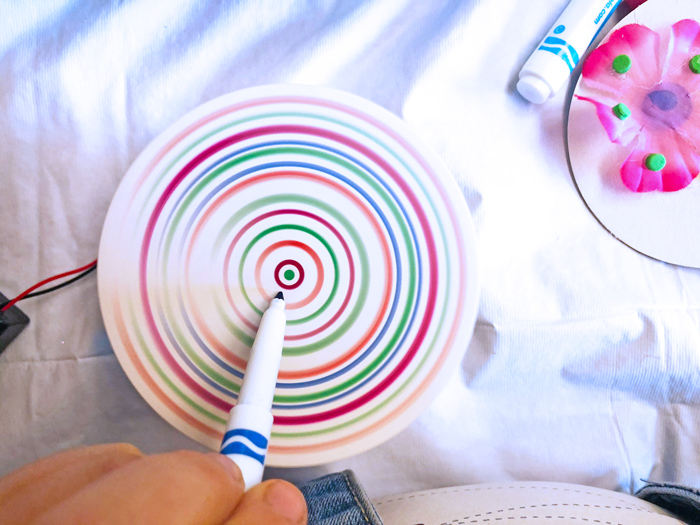
Tape a coaster or round piece of cardboard to the large plastic lid. Turn on the spinner. Hold the cork base with one hand. With your other hand gently touch a marker to the coaster or cardboard as it spins. You will have lovely spin art!
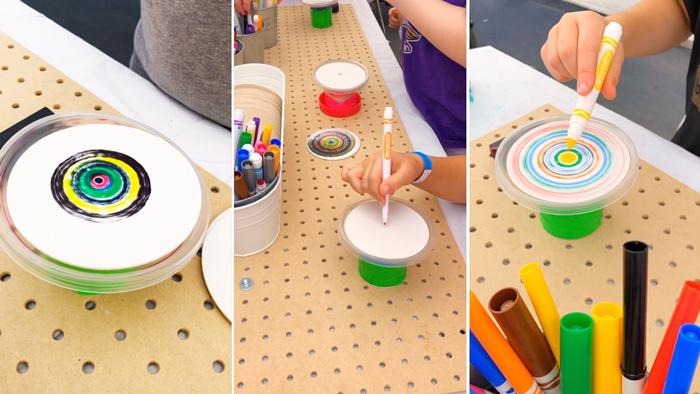
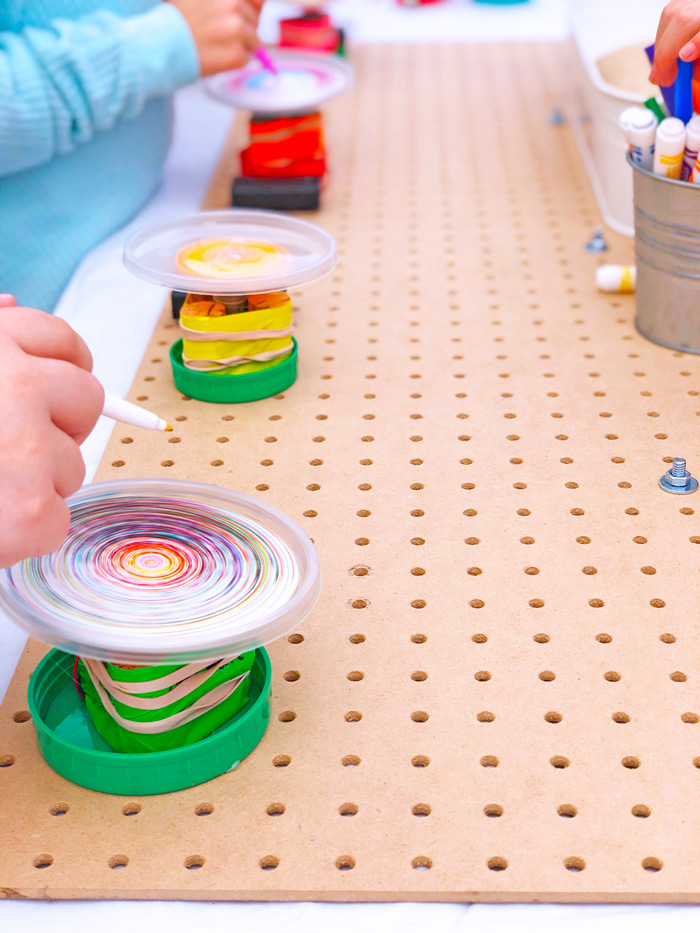
Turn it into an Spin Art Machine Installation
Let’s now turn this into a more permanent installation! This is great if you want to make these for an event or station within a classroom or makerspace. Here’s how we did it.
Materials
- Pegboard
- Nut and bolts
- Sturdy plastic lids
- Drill
Instructions
- Poke a hole in the center of a plastic lid using a drill.
- Choose the location of your spin art machine on the pegboard. Thread a bolt from the underside of the pegboard, then thread the plastic lid onto the bolt. Add a nut to secure it in place.
- Hot glue the cork “feet” of one of your spinner machines onto the plastic lid. Tape or glue the battery pack to the pegboard
More
If you enjoyed making spin art machine, check out these electronics projects for kids:
Leave a Reply