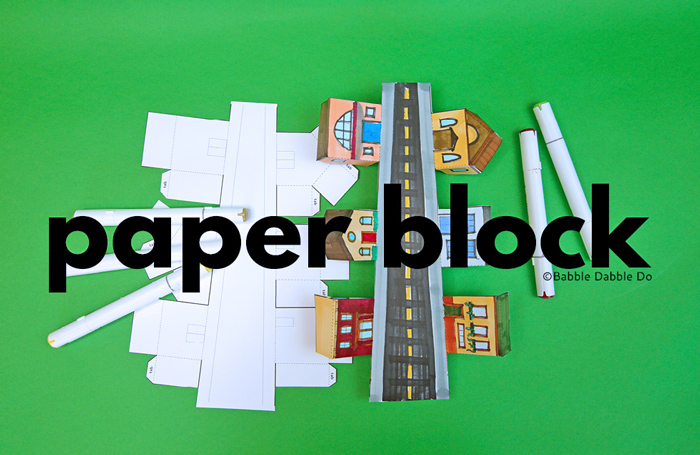
Create your own paper neighborhood block and learn about perspective in this fun printable activity! Today’s project asks children to observe the details of their own neighborhood and the buildings around them.
I have always loved buildings. Maybe it’s because my Dad was an architect and we talked a lot about them, but I also used to just love walking around the neighborhood with my mom and picking out the great details on homes we loved. Eventually I also became an architect and even though I am no longer in the profession I’m still obsessed with buildings. You can see my Spaces Pinterest Board here.
I still love walking around my neighborhood and local shopping district and looking at the colors, materials, details, fenestration (big word for openings) and the “curb appeal” of homes, stores, public buildings and more.

I created this printable activity to give kids the same opportunity to start noticing the physical spaces and places around them. Before you do this, go on a walk with your kids (safely with a mask please!) and talk about some of the design elements you see on the buildings: paint colors, materials, types of windows and doors, awnings, porticos, porches, marquees, landscaping, signage and more.
You can also talk about the types of buildings in the neighborhood: homes, stores, schools, the library, bank, movie theater, restaurants, churches, apartment buildings. It’s a good idea to take pictures of elements you like to remember them for later!
When you start this activity, ask kids to use some of those elements and building types in their paper neighborhood. As they fold this they will also notice the paper block is made using forced perspective. You can read about perspective after the project instructions.
This project was created for HP’s Print & Learn Initiative in Summer 2020. You will be directed to HP’s website for the template download.
Make a Paper Neighborhood

Materials
- Template
- Markers or Colored Pencils These alcohol based markers are wonderful! They bleed so place paper underneath them.
- Pens These are my favorite markers for adding details.
- Scissors
- Glue Stick

Instructions
Time needed: 20 minutes.
Make a paper neighborhood block and learn about perspective.
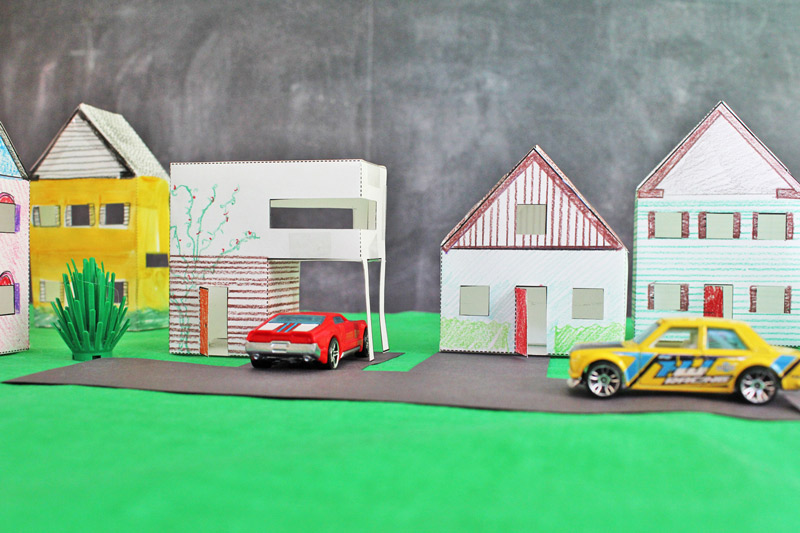
- Decorate the buildings with details
Decorate front and side of each building with pens.
NOTE: The front of each building has a door on it.
- Add color
Add color to the buildings. Add color to the sidewalk and street if using the uncolored template.
- Cut out template
Cut template along thick solid lines.
- Fold the template
Fold along dashed lines including the tabs.Fold buildings along “sidewalk” to make them stand up.
- Glue tabs
Add glue to tabs and assemble 3D buildings.
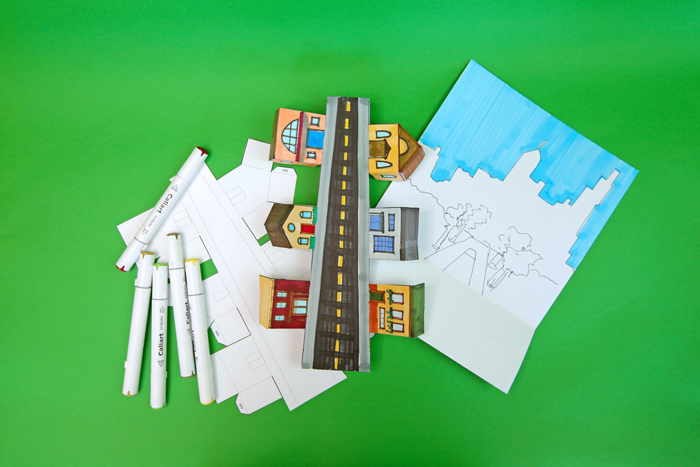
- Add a back drop (optional)
If desired use an additional sheet of paper to draw a backdrop scene to place at the end of the block.


What is Perspective?
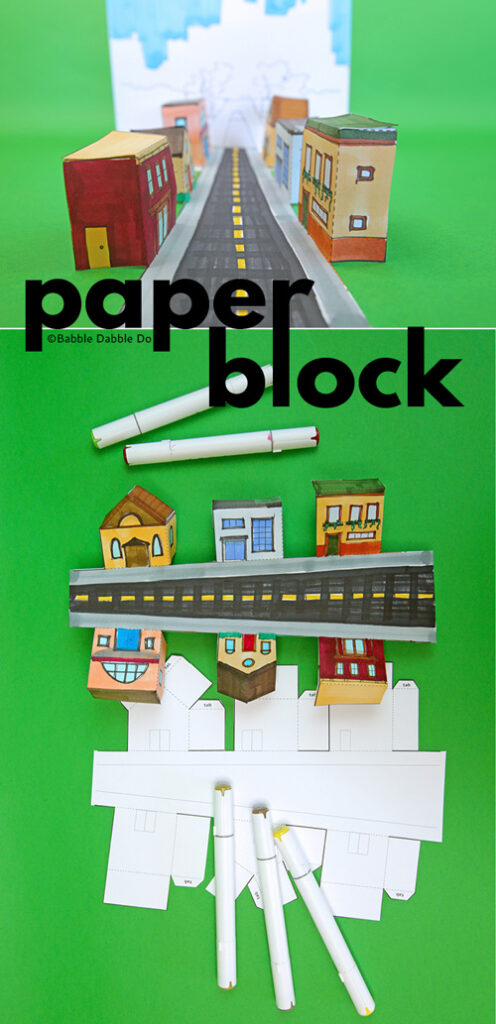
Perspective is a method of creating a scene through drawing that replicates how it looks in real life, with closer objects larger in scale and distant objects smaller. It uses a vanishing point to create an illusion of depth.
This perspective paper block is created so that if you look at it from the front the block, it appears to converge in the distance.

More
If you enjoyed this paper architecture activity, check out these projects:
Make a Paper Holiday Village

Paper Houses
Paper Village Templates

Leave a Reply