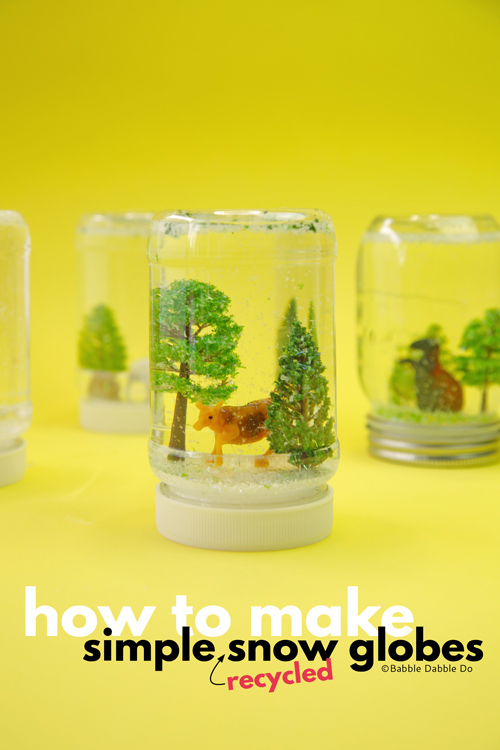
Learn how to make a snow globe with recycled materials. This is a super simple STEAM craft that kids and adults will love!
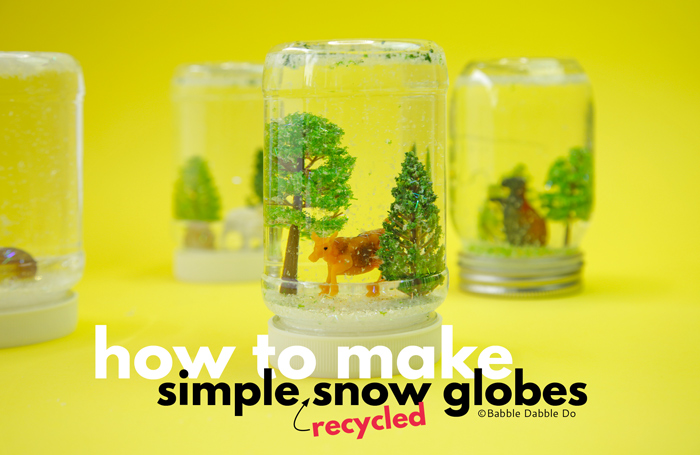
What do you get when you take all the components of a well-known, whimsical collectible, throw in a STEAM-filled lesson on viscosity, and let a group of kids design their own wintry scene? Simple (recycled) Snow Globes!
Snow globes have been around for decades, and we all have at least one! In the early 19th century, an Austrian man named Erwin Perzy, tasked with making the lightbulb glow brighter for a hospital’s operating room, accidentally discovered that a glass dome filled with water and semolina flakes resembled snowfall when the flakes “drifted” throughout the dome. From that moment on, the snow globe made its way to the mantles and bookshelves across the world…and in our After School STEAM class! These were such a hit I potted one of our students bringing his back to school the next day to share in class!
This post contains affiliate links to products.
A snow globe’s SECRET ingredient
Though snow globes appear simple in appearance, you can’t just sprinkle glitter into a jar of water and expect it to do more than float right to the top. What you need is an additional liquid – but not just any liquid will do: you need a liquid with high viscosity. Why would that matter in regards to a snow globe? Because it’s the added viscous liquid that ensures the glitter flows and drifts slowly through the water mimicking snowfall. What is this magical ingredient that will do this? Vegetable Glycerin! To learn more about viscosity see the STEAM section below.
You can buy glycerin at the grocery store or a craft store like Michaels in the baking section. I bought a HUGE bottle that has lasted quite some time on Amazon here for $11.
How To Make A Snow Globe
The best thing about this project is that it uses recycled and easy to find materials you probably have on hand (minus perhaps the glycerin)!
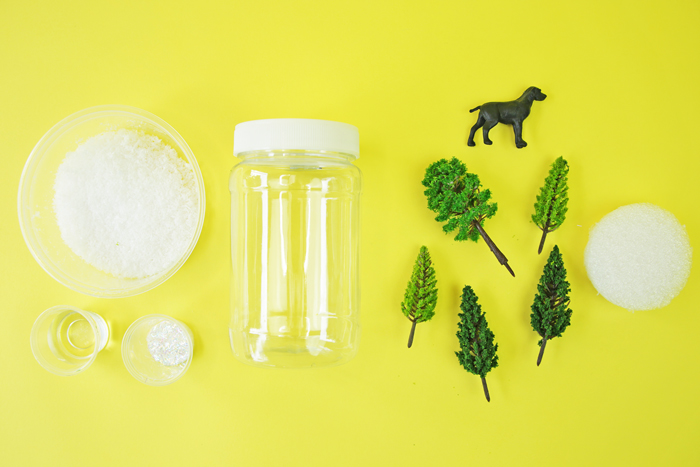
Materials
- Recycled Mason Jars (if making these with a group you can get plastic jars here)
- Packing Foam/Styrofoam (I used some from an old computer box)
- Mini Animal Figurines (old toys work great)
- Miniature Greenery (take a few springs off a plastic wreath or old holiday ornament OR grab a small twig from outside)
- Vegetable Glycerin Buy it here on Amazon
- Artificial Snow/Glitter This biodegradable glitter is beautiful.
- Water
- Measuring Spoon
- Hot Glue Gun
- Optional: beads, rocks, sea glass, moss, marbles
A Glitter PSA
Glitter and fake snow are fun to work with but not good for the ocean. I am trying to move away from glitter in our projects, however I still use it sparingly when it can be contained and disposed of properly. Here’s what you can do to use these craft materials more responsibly:
- Use glitter/fake snow sparingly.
- Use eco friendly, biodegradable glitter if possible.
- Never dispose of water containing glitter down the drain. Strain using a fine mesh sieve and dispose of the glitter in the trash.
- Wipe your hands/objects with a cloth to remove glitter before washing them in sink.
How to Make a Snow Globe
Time needed: 20 minutes.
Learn how to make a snow globe from a few simple recycled materials.
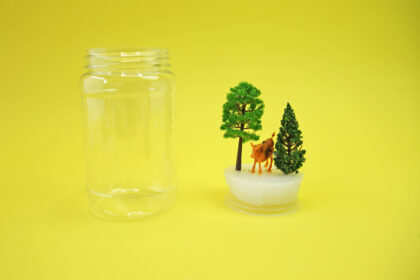
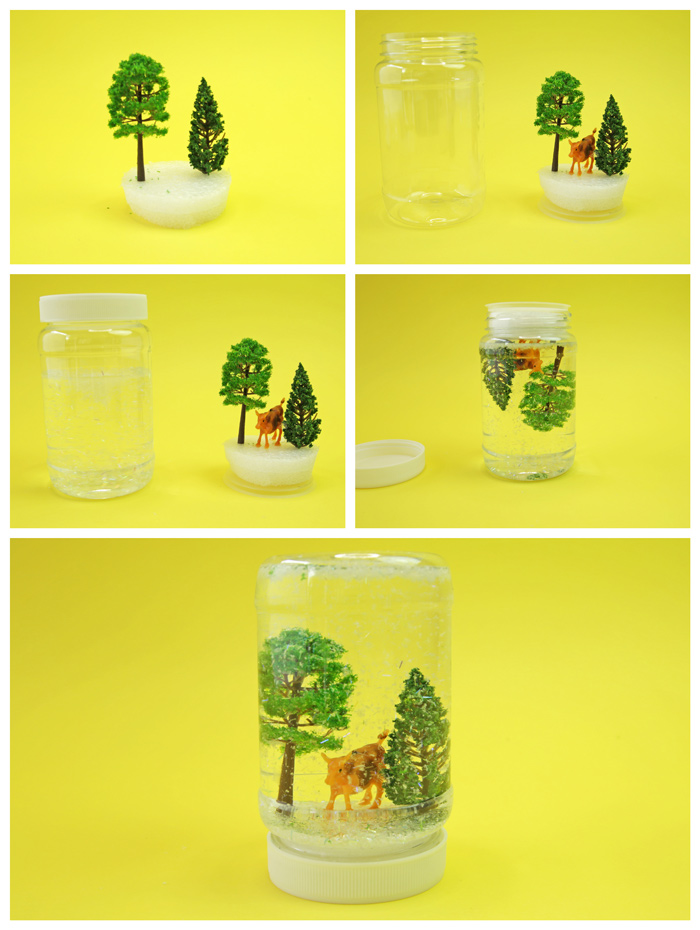
- Cut Foam
Cut a circle out of the foam roughly the size of the interior lid of the mason jar. You want to make sure the lid will close easily. Hot glue the foam onto the lid of the plastic insert. This will be the “stand” for your scene.

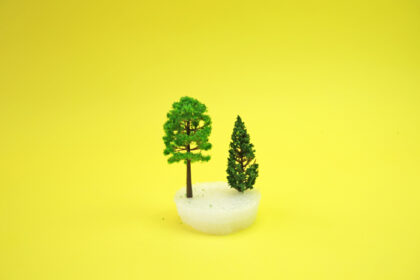
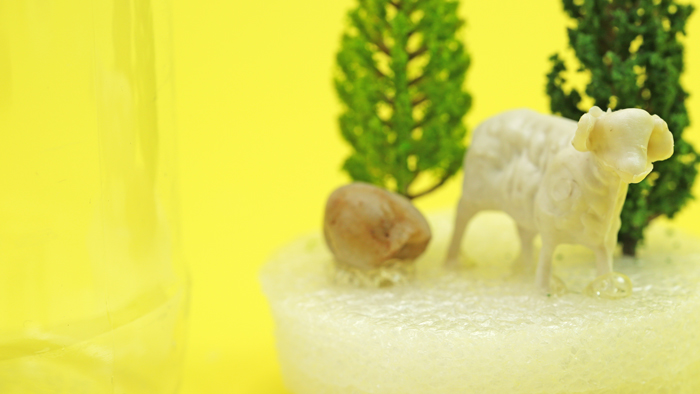
- Create the Scene
Using the miniature greenery, animal figurine, and decorative accessories, design your snow globe scene. Using your pincer fingers, insert the figurine and greenery into the styrofoam circle. Secure with a dab of hot glue. The decor shouldn’t extend past the outer rim of the styrofoam circle. Set aside.
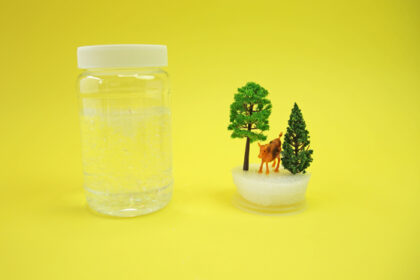
- Add & Mix Liquids
Add a pinch of fake snow and glitter into the mason jar. Pour 2 tablespoons (1 oz.) of vegetable glycerin into the jar. Fill the jar about ¾ of the way with water. Screw the lid onto the jar and shake it up! Swirl it around! Pssst…you might even see a tornado! Make sure it’s nice and mixed up.
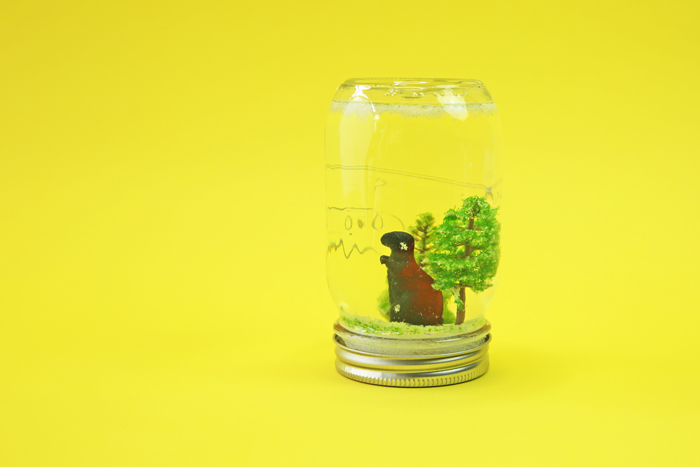
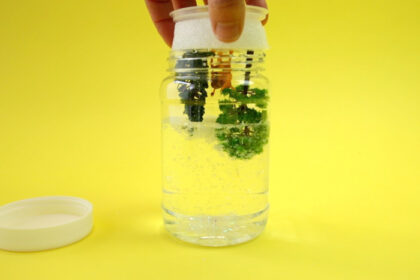
- Combine everything
Remove the lid from mason jar. Carefully place your “scene” upside down into the water/glycerin filled jar. You may have to do some finagling here, to make sure the scene you’ve created remains intact and doesn’t bump the lip of the jar as your submerging it into the water. Screw the lid on tightly.
- Flip it!
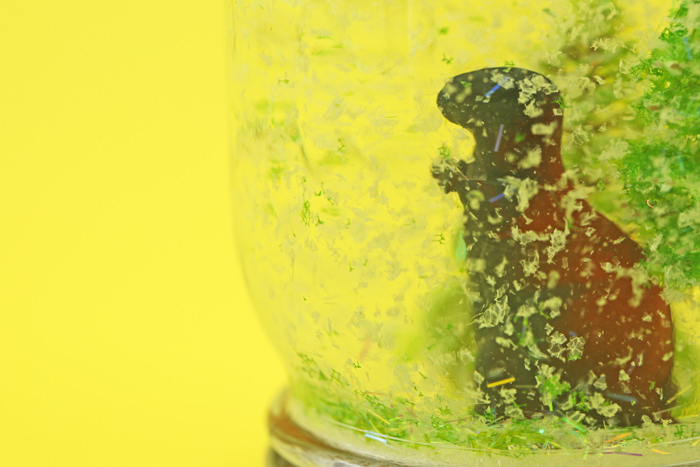
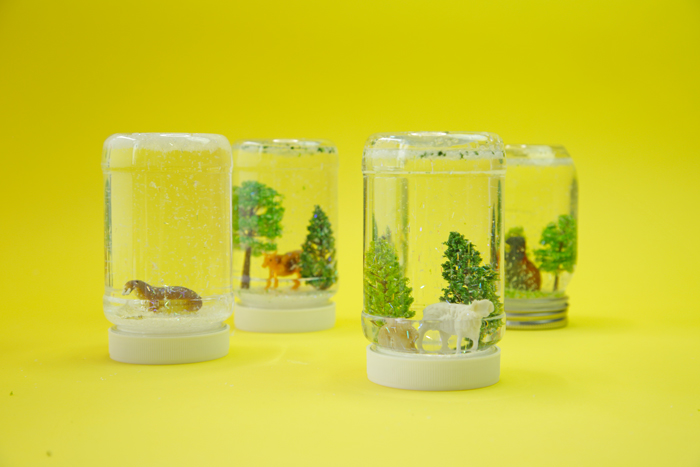
Flip your jar over and shake. Check out the flow of the liquid and watch how the fake snow and glitter travels through the water.
Tips
- Choose greenery wisely. Some greenery falls apart when left in water for a long time. We had mixed results with the miniature trees we used for this project. Some of the trees lost their leaves within a week and the greenery started floating around with the snow. When possible use only plastic greenery that is not held in place with glue.
- Don’t shake too hard! Heavy objects added to the scene like pebbles and fake glass may become dislodged if the globe is shaken too vigorously. Encourage kids to give it a gentle swirl rather than a huge shake when they want to see the snow move.
- Skip glass with littles. Use plastic jars with little ones who might drop their globe. Clean nut butter jars are perfect for this project.
- Substitute corn syrup for the glycerin. We haven’t tried this yet but if you don’t have glycerin available try using clear corn syrup. A reader also suggested filling your jar about 2/3full with clear hand soap and 1/3 water in lieu of glycerin. We haven’t tried this.
Let’s Talk STEAM
Science
Viscosity is the measure of friction in a liquid. In simple terms it describes how fast a liquid moves. Water has a low viscosity and flows quickly while thicker liquids like honey, corn syrup, and molasses have a high viscosity and move slowly. When we add glycerin to the water we increase its viscosity, allowing the glitter and fake snow to float around more slowly, reminiscent of the way snowflakes fall.
Engineering
Making an object of value out of old materials is called upcycling and it’s something that kids and crafters should do more of! It’s vitally important to teach kids how to make use of old materials instead of always throwing things away. There is value in finding new uses for old materials and objects. Kids love to reinvent things and teaching them how to make something more valuable out what others consider trash or broken toys or toys parts is a critical lesson.
In engineering and architecture there is name for converting old buildings to new uses, it’s called adaptive reuse. Instead of tearing old buildings down, many designers and cities have decided instead to preserve and convert. This means less of an environmental impact than constructing a new building and it breathes life into wonderful old structures. This concept needs more emphasis not only in the built environment but in smaller things we do.
Art
Making snow globes is change to talk about scale with kids. Scale refers to the proportion of an object relative to another object. Most commonly we think of an object in relation to the human body. When you create your snow globe think about the scale of the objects you are including relative to the animal figure you have chosen. Do the sizes make sense? How do they change with the figurine chosen? A pebble may look like a boulder next to one animal and a rock next to another.
There is a long history of miniatures in art. From intricate engravings to tiny paintings, there is something magical about seeing objects at a small scale. It’s an art form that is particularly fascinating for kids. How many of you poured your time and energy into dioramas as kids, marveling at recreating a scene at a small scale?
Math
Ratios are similar to scale but are used to describe numbers or amounts. For instance in this project we are using rough ratio of 1 ounce of glycerin to 12 ounces of water. That is a 1:12 ratio of glyercin to water. If you have enough glycerin on hand, experiment with different ratios in different jars to see what makes the best viscosity for the snow.
More
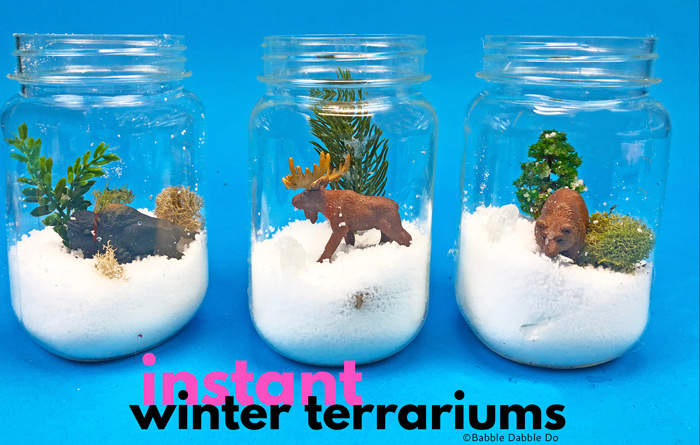
These snow globes are the perfect intro to more in-depth lessons in STEAM Jars a project collection we are working on now! Last December I showed you how to make Winter “Terrariums” using instant snow a project we used as an opportunity to teach our after school students about ecosystems!
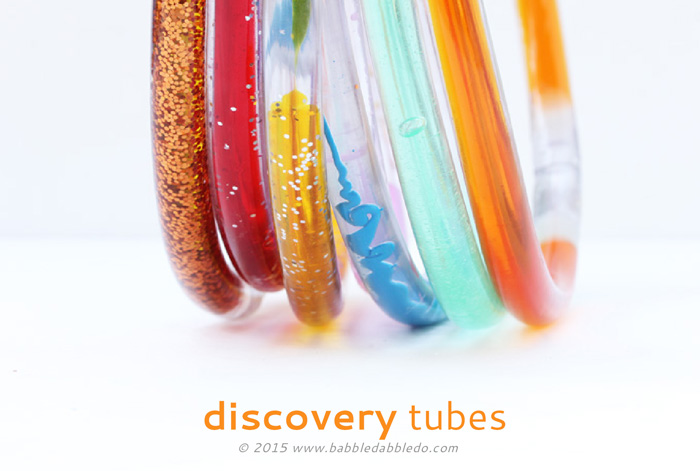
Another crowd pleasing viscosity experiment is making slime (spoiler alert: slime is HIGHLY viscous)! You can read about the science of slime here and see 50 slime recipes here. Another fun way to visualize viscosity is by making Discovery Tubes.
Are you passionate about raising creative kids?
Join over 22,179 parents and educators who want connect with kids and nurture their creative process through magical, easy projects you can do TOGETHER.Subscribe to our email list to receive project ideas as well as offers for some our creative products.If you want to read our privacy policy before subscribing, hop over here.
Lovely! Using about 2/3 clear hand soap and 1/3 water gives sensory bottles a slow flow, so that would probably also work well in these snow globes, if one couldn’t find glycerin.
Thanks for the tip! I’ll add it to my post!