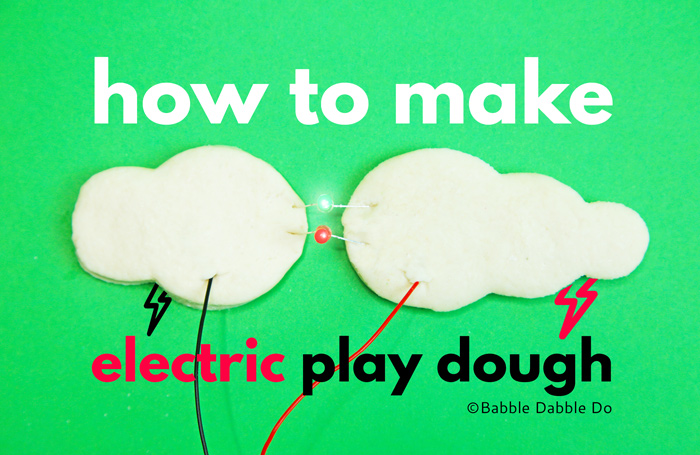
You did read that right, today we are learning how to make electric play dough. In this shockingly quick & easy project we are turning play dough into an electric circuit. Imagine what Ben Franklin would think!
Earlier this year I showed you how to make salty circuits. Today’s projects featuring playdough circuits makes an intro to electronics a little more hands-on!
Before we start I have a disclaimer: THERE IS NOTHING SPECIAL ABOUT THIS DOUGH. In fact most play doughs conduct electricity and there is a simple reason for it: Common play dough recipes contain salt. And salt conducts electricity. We’ll get more into that later in the post but suffice it to say this electric play dough recipe is no different than the basic playdough recipe here, the only difference is I sized it down for an individual batch.
If you would like to hear more about Squishy Circuits who first popularized the idea of using play dough to conduct electricity go here to get their recipes for both conductive and insulating dough. As I mentioned above the recipe we used is our basic play dough recipe which also conducts electricity.
How to Make Electric Play Dough
Safety First!
- Make sure battery packs are in the OFF position when not in use. The leads can heat up and shock you if left in the “on” position.
- This play dough recipe uses hot water. Please handle carefully!
- LED’s have pointy ends and can be sharp.
- Always supervise children when using batteries.
This post contains affiliate links.
Electric Play Dough Materials
The recipe below is for one individual batch of electric play dough. This is the recipe we use for each student when we make this in a classroom setting.
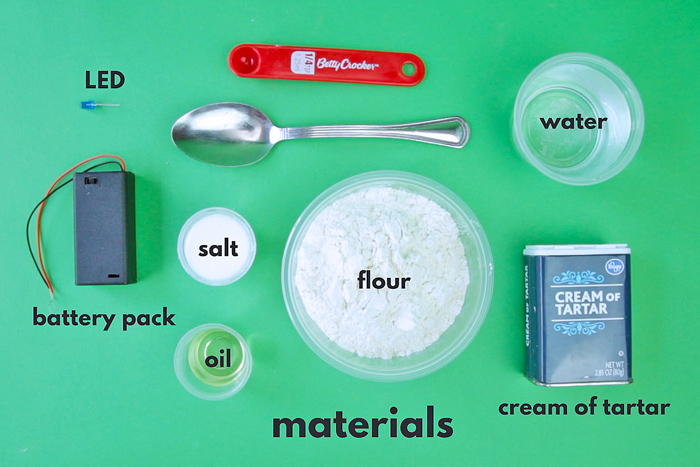
For the play dough
- 1/4 cup (2 oz.) Hot Water
- 1/2 Cup (4 oz.) All-Purpose Flour
- 2 Tablespoons (1 oz.) Salt
- 1/2 Tablespoon oil (coconut or vegetable works fine!)
- ¼ teaspoon Cream of Tartar
- Food coloring
- Mixing bowl
- Measuring spoons & cups
Electrical components for the project
- LEDs
- Battery Pack (+ batteries) Use one of the following: 1) A 2 battery pack for a total of 3 volts. 2) A (4) battery pack for a total of 6 volts. 3) A 9-Volt Battery with a Battery Connector. A higher voltage will make the LED’s shine brighter.
- Wire strippers
- Optional: Buzzer (For the buzzer use a 9V battery and 9V Battery Connector)
NOTE: In advance of the project, strip the ends of the wires on the battery pack to expose about 1/2″ of metal wire. Place batteries in the battery pack and make sure the pack is OFF.
Electric Play Dough Instructions
Time needed: 15 minutes.
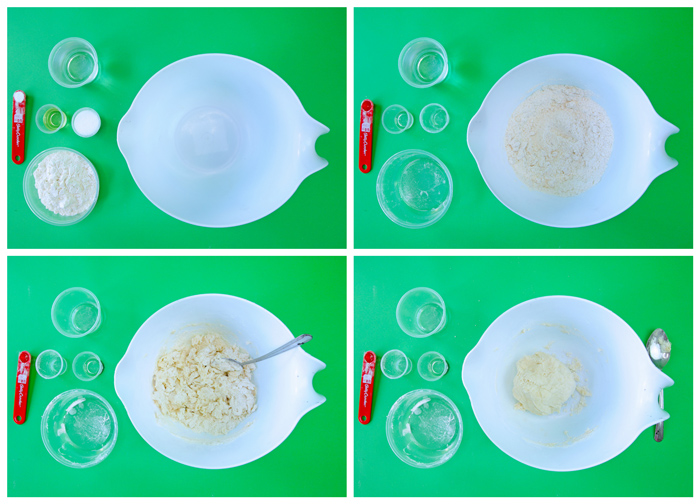
- Mix ingredients
Mix flour, salt, cream of tartar, and oil in a large mixing bowl.
- Add water
Slowly add the hot water. If adding food coloring you can either add it to the water before pouring or you can add it after the water is poured. Stir until the dough starts solidifying.
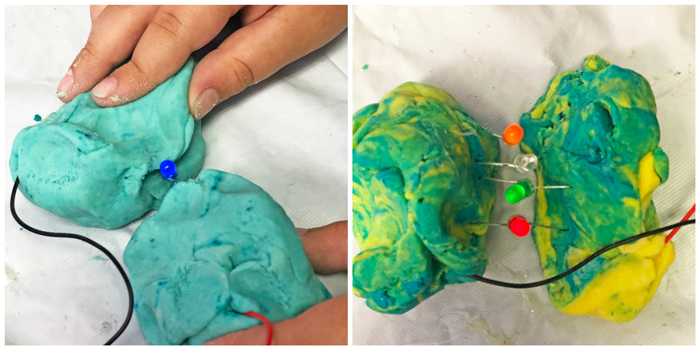
- Knead it
Once it’s cool enough to handle, remove the dough from the bowl and begin kneading it. Knead the dough until it loses its stickiness, adding more flour (but not too much) as needed. If it’s too dry add a little bit of water.
- Electrify it!
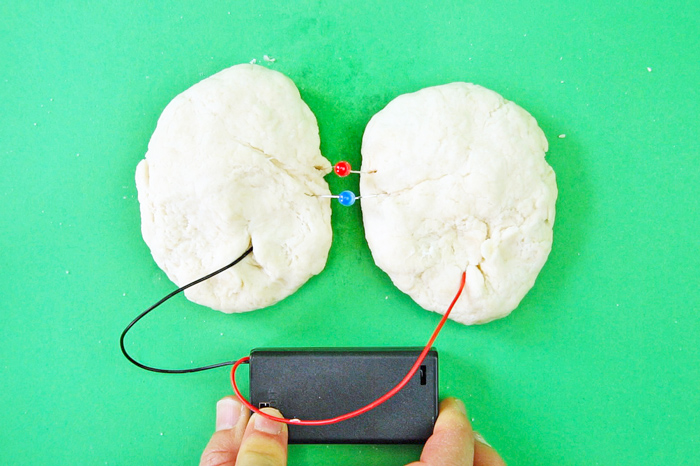
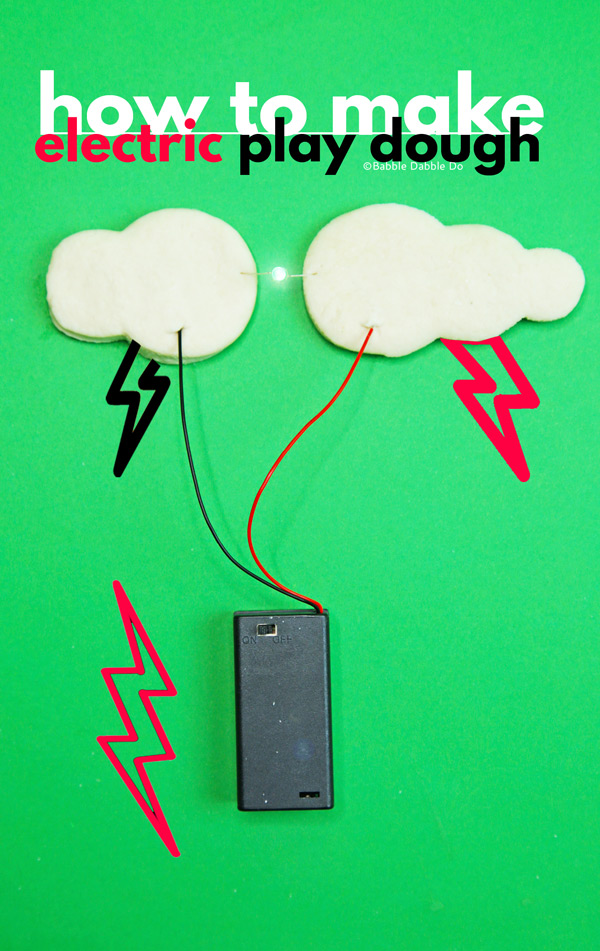
Roll the play dough into two equally sized spheres. Place the balls near to each other but not touching. Place one lead from the battery pack into one sphere and press into dough. Repeat with the second lead in the other dough sphere.
- Add light
Spread the LED legs open. The longer lead is the POSTIVE side of the LED. Place the long LED leg in the dough sphere with the red wire embedded in it. Place the other leg in the dough with the black wire.
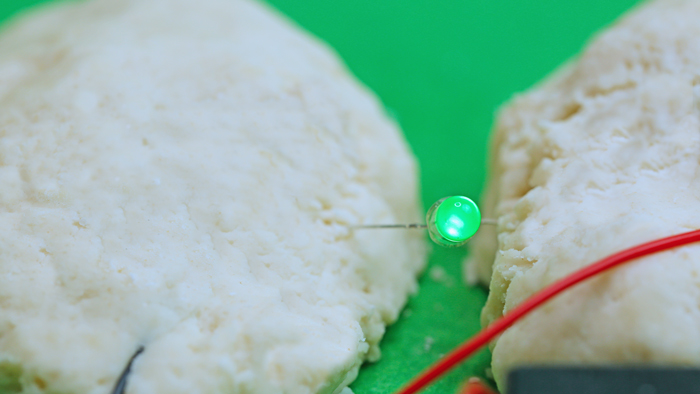
- Test your dough
Turn on the battery pack on. The LED should light up! You now have a complete circuit!
Experiment!
- What happens when the balls of play dough are touching? Does the LED turn on’?
- Will the LED light up if the balls of play dough are rolled into dramatically different sizes?
- Can you light up two or more LEDs at the same time through the play dough?
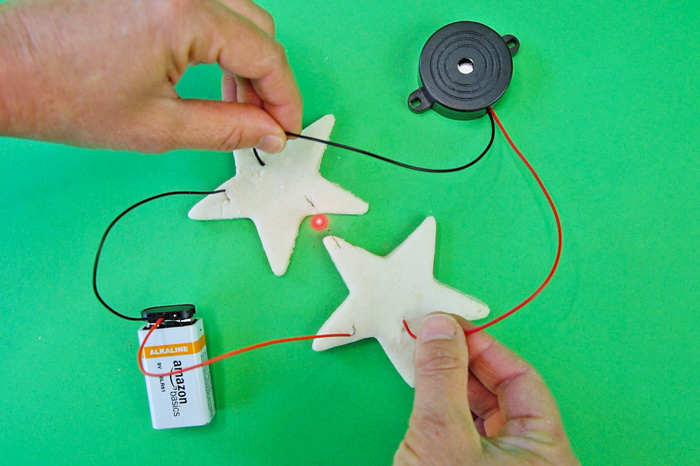
- What other electrical components can you power? Hint: Buzzers work well with play dough circuits but motors do not.
- Important: You may need more voltage but don’t overdo it! Our playdough circuits work at a minimum of 3V of power to light up one or two LEDs. You may use 6V (a 4 battery pack) to light up more LED’s and get a brighter light. We also tried a 9V battery to power a buzzer and an LED at the same time, however be careful of providing too much power. LED’s are typically 2-3V so providing one LED with 9V of power can burn it out! There does appear to be a voltage drop as the current flows through the playdough but just be aware of the voltages you are pairing up.
Troubleshooting Electric Play Dough
If your LED doesn’t not light up try the following:
- Change the direction of the LED legs.
- Make sure the exported ends of the wires are embedded in the play dough
- Swap out batteries for fresh batteries.
- Change the LED for one of a different color. LED’s have different voltage ratings.
- Dim the room lights. This swill help you see the LED’s glow.
- Try a higher voltage. If you are using double battery pack swap it out for a 4 battery pack.
How to set this up in the classroom
In a classroom setting here’s how you can do this project:
- Review the concept of electrical current with students first. Let them know that it flows in ONE direction. See the STEAM section below for more information on current.
- Have each student student make their own individual batch of play dough.
- Once the electric play dough is mixed adults can walk around with a battery pack and LED and help the kids test their dough.
- Have the student divide their dough into two spheres and place the battery pack leads into one sphere each.
- Have the children place the LED legs into each side of the dough. Resist correcting them if they place it in the wrong direction. If they do ask them to switch the LED direction once the battery pack is turned on.
- Ask the student to turn the battery pack on.
- Recommendation: We recently did this in a class of 25 kids and had 4 adult facilitators. That is a good ratio of students to helpers.
Let’s Talk STEAM
Science
Chemistry: The interaction between the proteins in the starch (the flour) and the hot water creates the pliable mass, the salt adds body, the oil binds, and the cream of tartar adds a bit of elasticity (while also acting as a preservative!) When all of that is combined, the act of kneading is what makes the chemical reaction take place and turns the mixture + the solution into this magical substance we all know & love.
Technology
Electricity: Current is the flow of electrical power from a source (a battery) to something that needs power (a motor or a light). Current in a DC circuit it flows in one direction. That’s why it’s important that the positive end of the LED is connected to the positive (red) wire.
Experiment with parallel and series circuits and watch what happens to the brightness of your LEDs. The video here by Science Buddies has a great discussion about both types of circuits.
Conductive materials: Current flows through materials called conductors. Not just anything can conduct electricity, but as luck would have it, salt is an excellent conductor and the salt in play dough makes this a recipe for electricity. Other excellent conductive materials are metals, particularly silver and copper, salty water, and acids like lemons. Your body can also conduct electricity because it is 60% water. To see more materials that make good conductors (and those that don’t which are called Insulators) go here.

Math
We don’t often think of cooking (or in the case of this project, “no-cook cooking”) as being super math involved, but from start to finish – measuring quantities, converting temperature & amounts, mixing and cooking times – math shows up in almost every aspect of cooking & baking.
To really emphasize the math in electric play dough use a 2 ounce cup for all the measurements. Kids will have to calculate how many cupfuls of flour, salt, oil, and water they will need based on the one measuring 2 oz. cup they have. This is a great opportunity to do unit conversions. You can also talk about matching power source voltage to the the LED voltage as described in our experiment section above.
Art
Mixing colors, rolling and forming shapes – are techniques that artists and sculptors (and bakers) use all the time. Also be sure to get creative with the play dough shapes. Have kids roll the dough flat and use cookie cutters to make different shapes. Can they crate a story or scene with the dough shapes, background, and LED?

Maker Skills
What is a “Maker Skill?” Maker skills are the hands-on techniques – or skills – that are essential to creating, building, designing, and DIYing. Not only are they important in trade and craft, they are also fundamental in the development of fine motor skills.
Maker Skills Mastered in this Project:
√ Following a recipe
√ Measuring
√ Mixing
Conclusion & More
In our After School STEAM class we love to surprise the students by taking a super common activity – such as making play dough – and giving it a jump start, and this project is a great introduction to electronics.
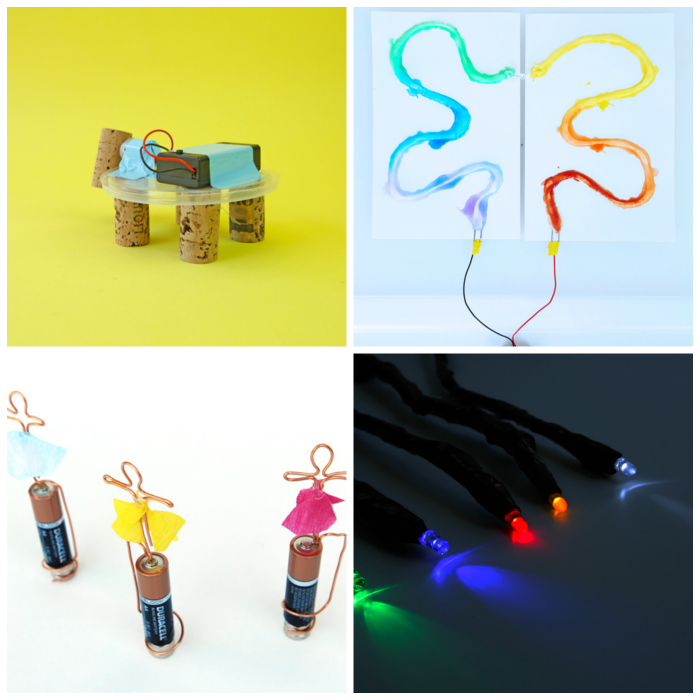
For more electronics projects for kids check out these projects:
Dance Bots
Salty Circuits
Tiny Dancers
Lumos Wand
Are you passionate about raising creative kids?
Join over 22,179 parents and educators who want connect with kids and nurture their creative process through magical, easy projects you can do TOGETHER.Subscribe to our email list to receive project ideas as well as offers for some our creative products.If you want to read our privacy policy before subscribing, hop over here.
Leave a Reply