 Shouldn’t everyone know how to make pom poms? I think so! Listen, as much as I am advocate for process art and STEAM, I still love a good basic, magical craft and pom poms top my list of crafts that everyone needs to know.
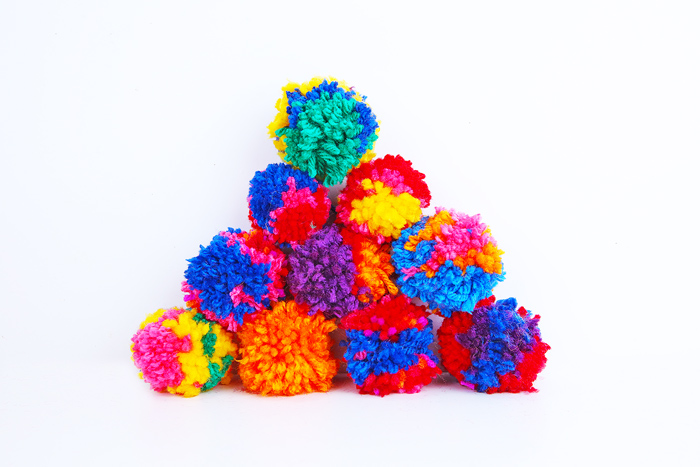
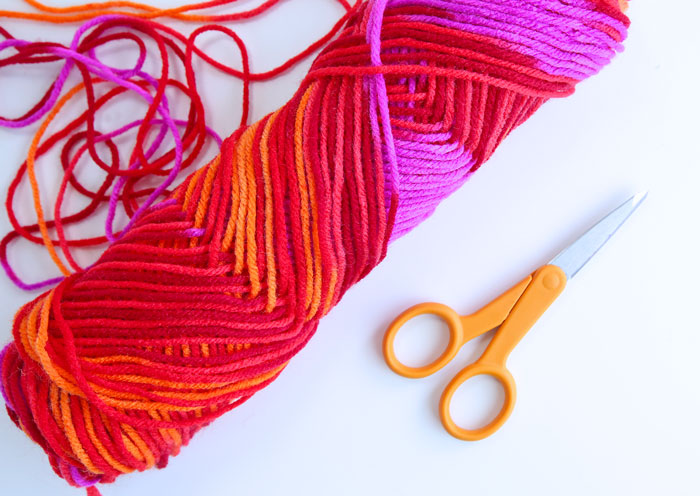
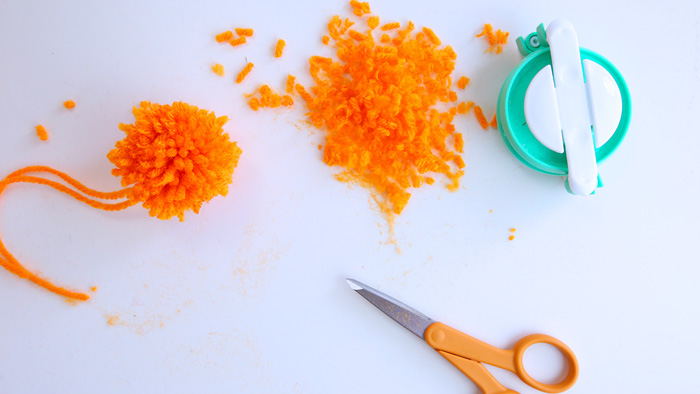
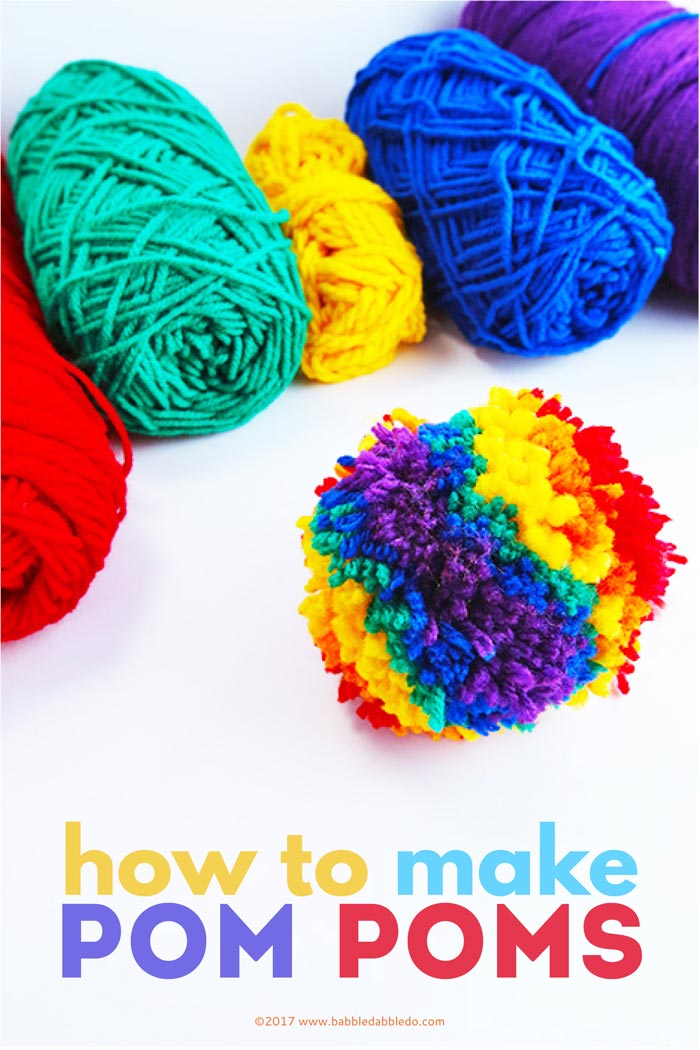
Pom poms are magical because they can be made with the most basic of materials, a spool of yarn and some scissors, and in a few minutes you can have a fluffy, soft, colorful ball perfect for decorations or a gazillion other uses in projects (psst…I have a list of projects just perfect for pom poms at the end of this post).
 This post contains affiliate links to products I recommend to my readers.
As I got into pom pom making for this post, I discovered that there are many, many ways to make a good pom pom. I have always used a technique I nicknamed the Lazy Gal’s Method because you need no special tools and it takes just a few minutes. But I wanted to compare other ways to make pom poms, so I purchased a set of pom pom makers which are pretty cheap either online or at many craft stores.
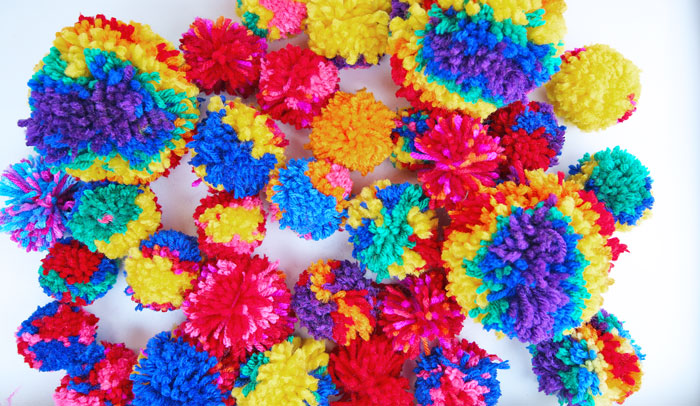
Long story short ,today’s post is jam packed with 4 different pom pom styles made using two different methods. We’ll cover the Lazy Gal’s Method, how to make color burst pom poms, how to use a pom pom maker, and then finally how to make a GIANT Rainbow pom pom that no one can resist….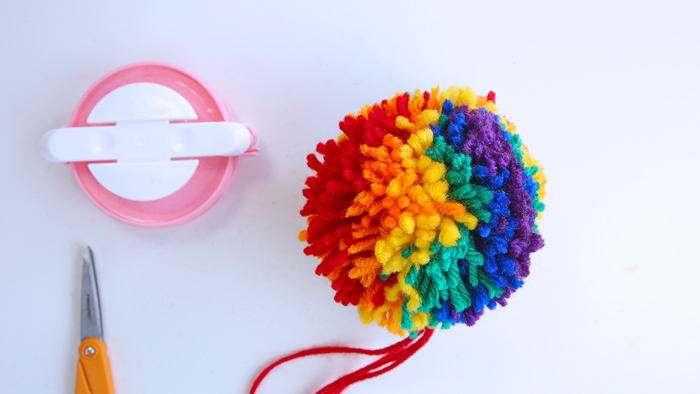
How to Make Pom Poms
 Materials
 Materials
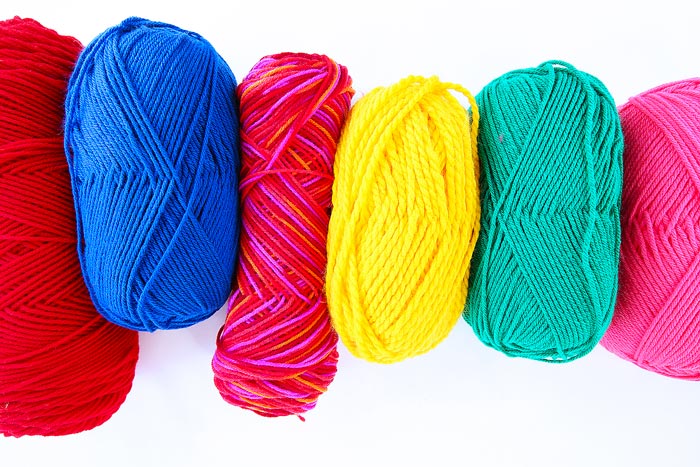
- Yarn
- Scissors I love these small but sharp scissors (adults only on these!) these are great scissors for kids
- Pom Pom Maker– Optional for Methods 3 & 4
General Tips
- The closer you trim to the center, the bushier and tighter the pom pom will be.
- Be careful! If you are using a sharp pair of scissors don’t accidentally trim your finger! Been there, done that. Take your time.
- Kids love the haircutting step! Just be sure to go over scissor safety with them and make sure their scissors aren’t too sharp.
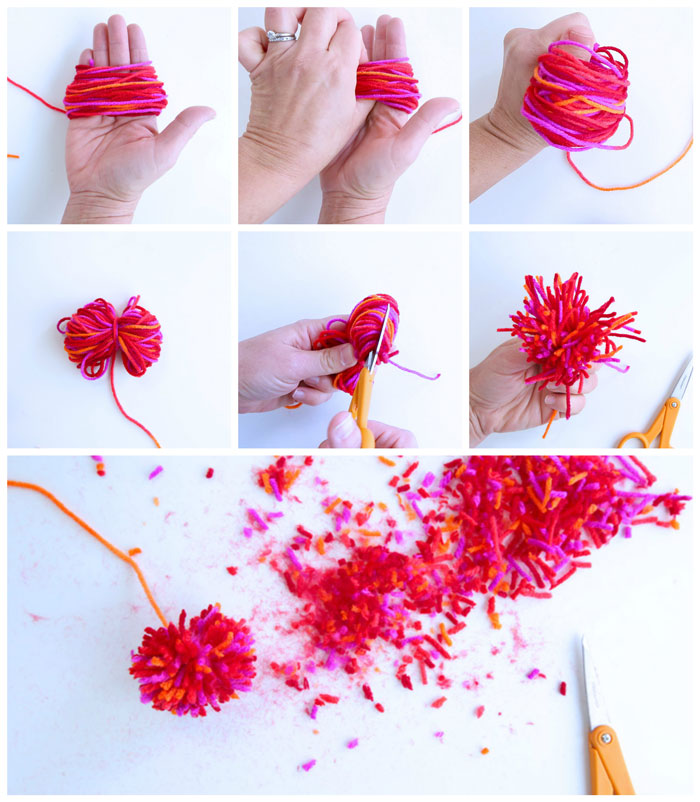
Method One: No Tools- One Yarn
AKA The Lazy Gal’s Method
Instructions
- Step One Take the end of a spool of yarn and place it between your thumb and palm.
- Step Two Being wrapping your fingers with the yarn. Spread your fingers out as your wrap so you don’t loose circulation!
- Step Three Once you have large chunk of yarn around your fingers trim the end, leaving a 12” long tail.
- Step Four Slide your opposite thumb between the wrapped yarn and your palm. Gently slide the looped yarn off your hand.
- Step Five Wrap the yarn “tail” around the center of the looped yarn to make what looks like a butterfly. Pass the yarn underneath itself to tie a knot. Pull it tight and repeat.
- Step Six Carefully cut through the center of the loops (the butterfly wings) on either side of the center point.
- Step Seven Haircut time! Trim the loose ends to create a bushy pom pom.
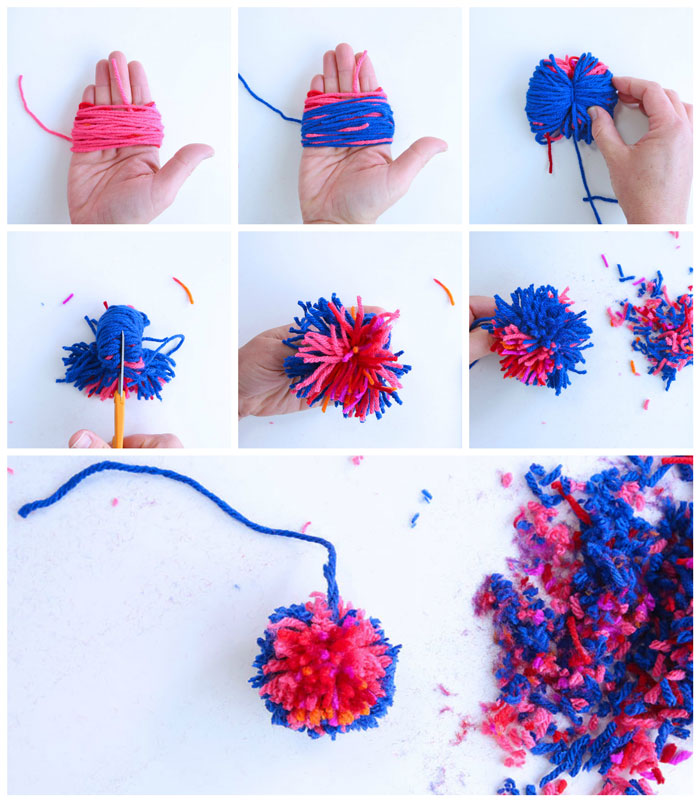
Method Two: Color Burst Pom Poms
Instructions
Note: Have 3 colors of yarn ready.
- Step One Take the end of the first color of yarn and place it between your thumb and palm.
- Step Two Being wrapping your fingers with the yarn.
- Step Three Once you have a small amount of yarn around your fingers trim the end.
- Step Four Repeat Steps 1-3 with a second and third colors of yarn, trying to cover the color before it as much as possible.
- Step Five Slide your opposite thumb between the wrapped yarn and your palm. Gently slide the looped yarn off your hand.
- Step Six Wrap the yarn “tail” around the center of the looped yarn to make what looks like a butterfly. Pass the yarn underneath itself to tie a knot. Pull it tight and repeat.
- Step Seven Carefully cut through the center of the loops (the butterfly wings) on either side of the center point.
- Step Seven Haircut time! Trim the loose ends to create a bushy pom pom.
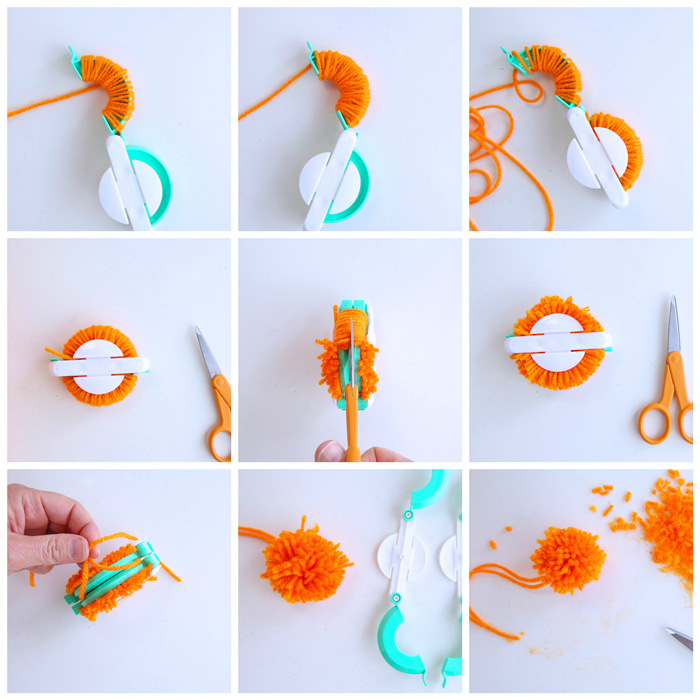
Method Three: Use a Pom Pom Maker
Instructions
- Step One Open one side of the pom pom maker. Take the end of a spool of yarn and place and wrap it around the pom pom maker starting from the center point and wrapping out towards the open end.
- Step Two Once the first side of the pom pom maker is completely covered, close it and open up the second side.
- Step Three Continue wrapping the second half of the pom pom maker until it is completely covered. Trim your yarn and close the maker.
- Step Four Holding the pom pom maker tightly in your hand, cut down the centerline of the yarn on both sides of the pom pom maker. Make sure the maker doesn’t open or the pom pom will fall apart.
- Step Five Cut a 12-18” length of string and pull it through the centerline of the maker. Pull it tight and tie it into a knot.
- Step Six Open the maker and pull the two halves apart.
- Step Seven Give the pom pom a “haircut” as needed.
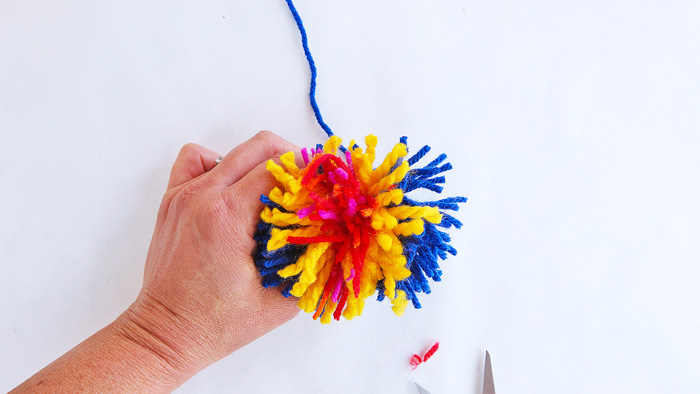
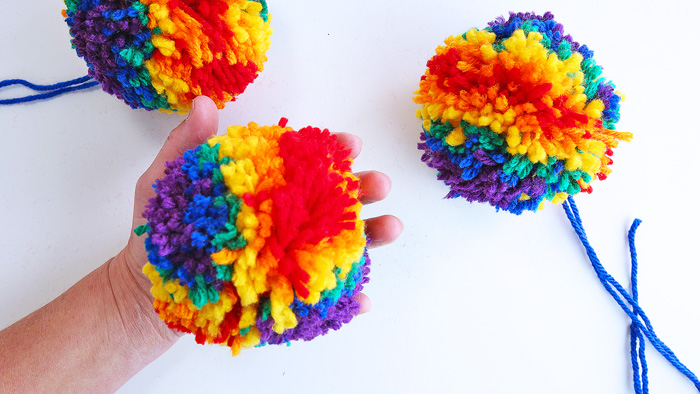
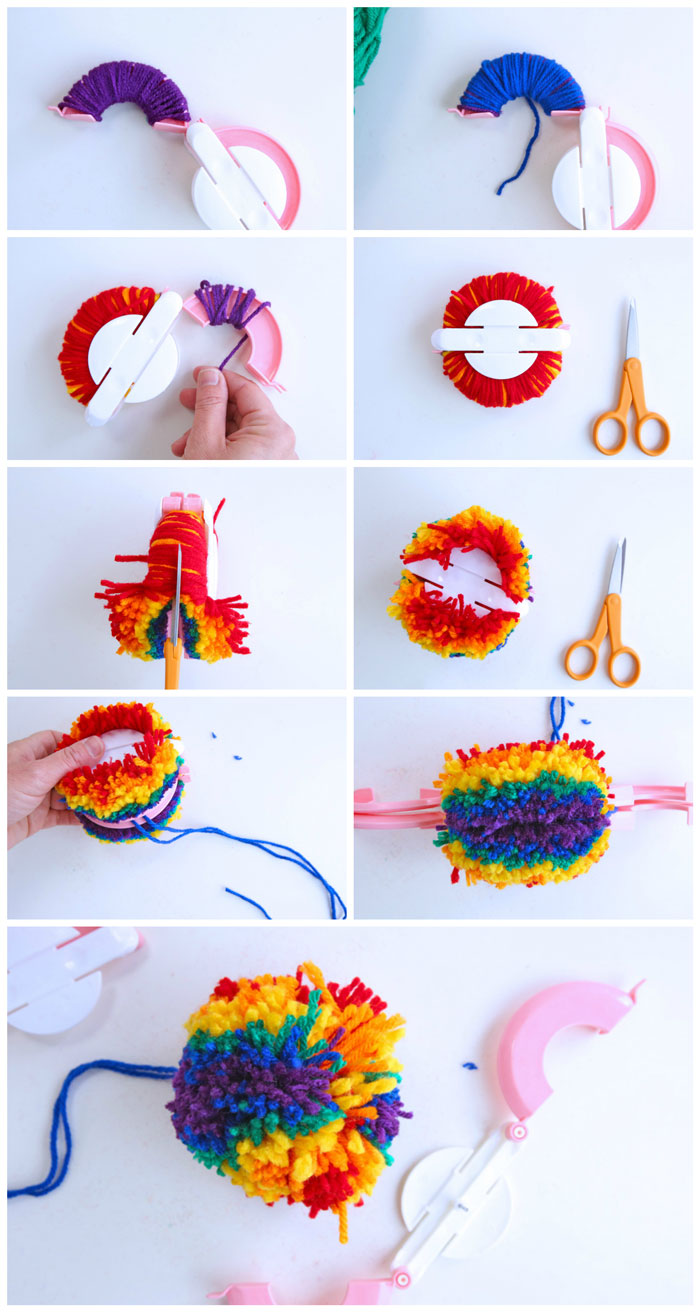
Method Four: GIANT Rainbow Pom Poms
 Notes:
- Be sure and use the largest pom pom maker you have!
- You will need to have yarn in each color of the rainbow
Instructions
- Step One Open one side of the pom pom maker. Take the end of a spool of purple yarn and place and wrap it around the pom pom maker starting from the center point and wrapping out towards the open end.
- Step Two Once the first side of the pom pom maker is covered, trim the purple yarn and wrap the same side with blue yarn.
- Step Three Continue wrapping the first half of the pom pom maker with yarn in the different colors of the rainbow: green, yellow, orange, and finally red. It will be thick!
- Step Four Trim the end of the red yarn, close the maker and open up the second side.
- Step Five Repeat steps 1-4 on the second half of the maker. Trim your yarn and close the maker.
- Step Six Holding the pom pom maker tightly in your hand, cut down the centerline of the yarn on both sides of the pom pom maker. Make sure the maker doesn’t open or the pom pom will fall apart. Also be sure to completely cut through all the yarn or you won’t be able to tie it through the center.
- Step Seven Cut a 12-18” length of string and pull it through the centerline of the maker. Pull it tight and tie it into a knot.
- Step Eight Open the maker and pull the two halves apart.
- Step Nine Give the pom pom a “haircut” as needed.
What Can you make with pom poms?
Once you learn how to make pom poms I’m sure you are going to ask yourself what the heck you can do with them! Well here is a slew of ideas to get you started:
- Use it as a gift topper instead of a bow
- String them together into a garland
- Use them as holiday ornaments
- Use pompoms backpack hangers
- Hang them from a branch for a wall hanging
- Get crazy and make a pom pom chandelier
- Get crazy and make a pom pom rug
- Glue them onto the end of skewers to make a pom pom flowers
- Sew them onto throw pillows
- The GIANT rainbow pom poms would make an awesome ball for toddlers and babies
Are you pumped to make pom poms?
Seriously you can’t make just one… And if you have a cool use for pom poms that I didn’t cover, leave a comment below.
Are you passionate about raising creative kids?
Join over 14,890 parents and educators who want connect with kids and nurture their creative process through magical, easy projects you can do TOGETHER.
Send me awesome creative project ideas!
Leave a Reply