I love homemade books. I’ve labored weeks on a handmade portfolio and tried my hand a variety of bookbinding techniques over the years. Lately I’ve been trying to get my kids interested in making books. Dexterity wise they are still a little young to actually cut, fold, and make books, but they are definitely ready to fill them with content!
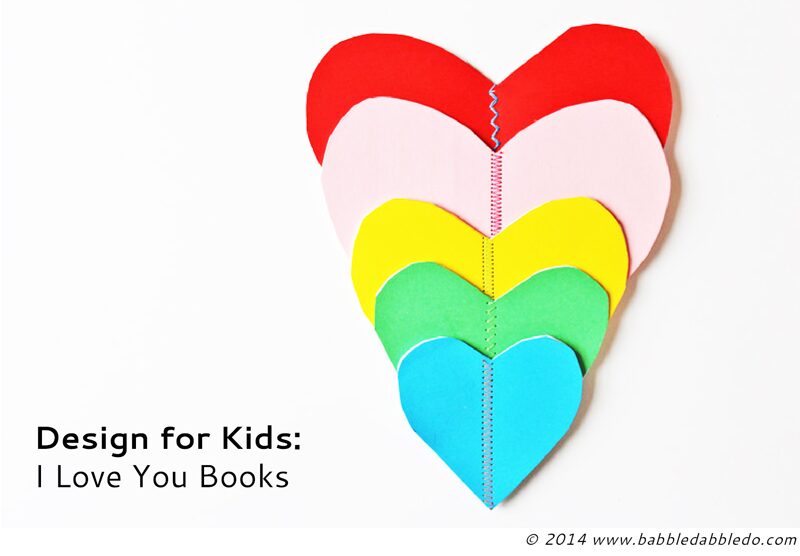
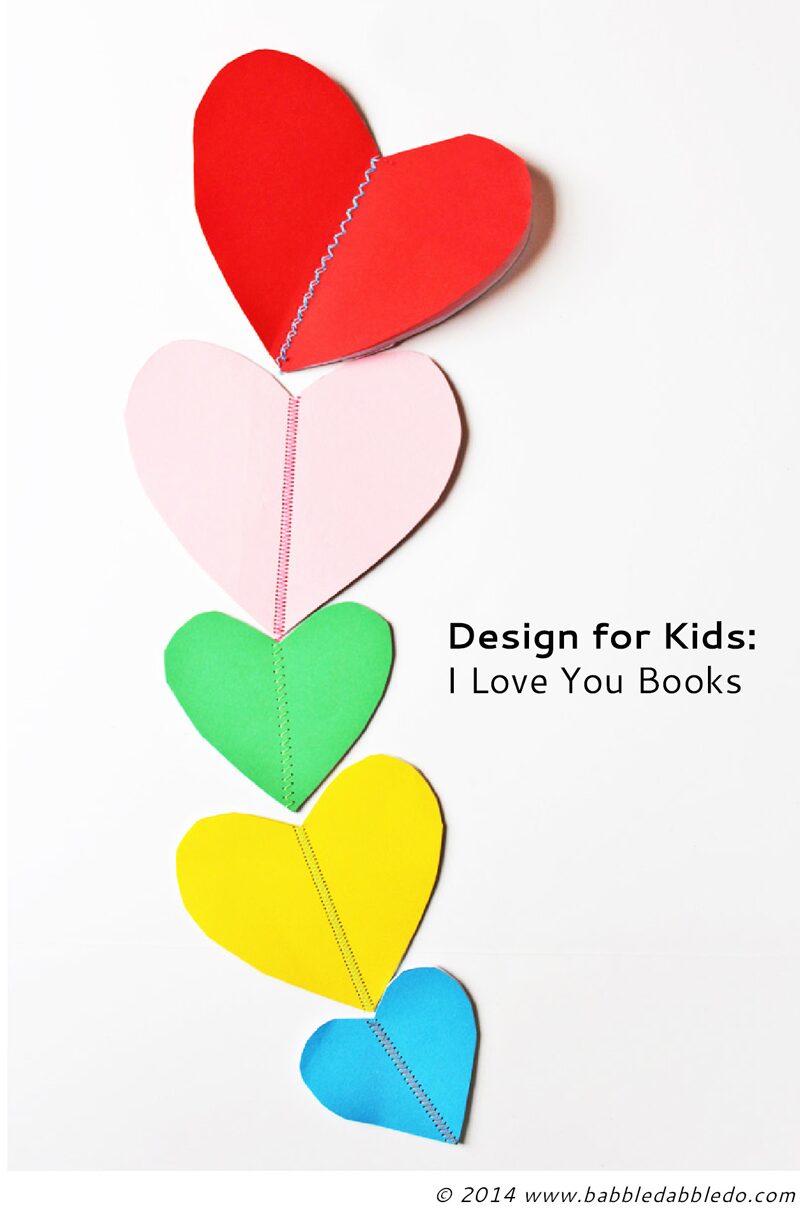
With Valentine’s Day quickly approaching I made these colorful little “I Love You Books” and have asked the kids to fill them with drawings of people they love. So far my daughter has started hers and added in marker drawings of our family members. Today I’ll attempt to get my son to start on his book! Anyhoo, these are super simple to make and fun to draw in and if you have an older child who can sew a straight line they can make the whole thing themselves. Here’s how it’s done!
Pssst…a template for the books is included in our Valentine’s Day Activity pack:
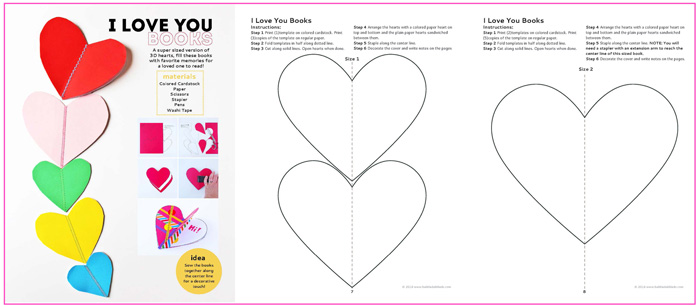
I Love You Books
Materials
- Colorful Paper or Card Stock
- White Multi-purpose Paper
- White Glue
- Colorful Thread
- Scissors
- Sewing Machine OR Stapler*
*If you don’t have a sewing machine, simply staple the books down the center and cover the staples with a colorful piece of washi tape.

Grab the template in our activity pack here:
Instructions
- Step One Make a heart template. Fold a piece of paper and sketch half a heart shape using the fold as the heart’s center to create a symmetrical template. Cut.
- Step Two Assemble base book. Sandwich several sheets of white multi-purpose paper between two sheets of colored card stock.
- Step Three Stitch paper together. Thread your machine and bobbin with a colorful thread, select a decorative stitch, and sew a straight line of stitching down the center of your layered paper. Try not to use too tight a stitch as you are perforating the paper with the needle and the tighter the stitch the more perforations and possible tearing. I used a large zig zag stitch.
- Step Four Copy template to book. Place your heart template over the stitched book, aligning the heart’s center points along the line of stitching. Trace template onto book.
- Step Five Cut heart shaped book. Using sharp scissors or an Exacto knife, cut out the heart shape out from the stitched book. If I had a Silhouette Cameo I would probably have tried cutting it on that for nice crisp edges.
- Step Six Secure stitching with glue. Turn the book over and run a layer of white glue along the back stitching to secure the threads in place and prevent unraveling. Let dry.

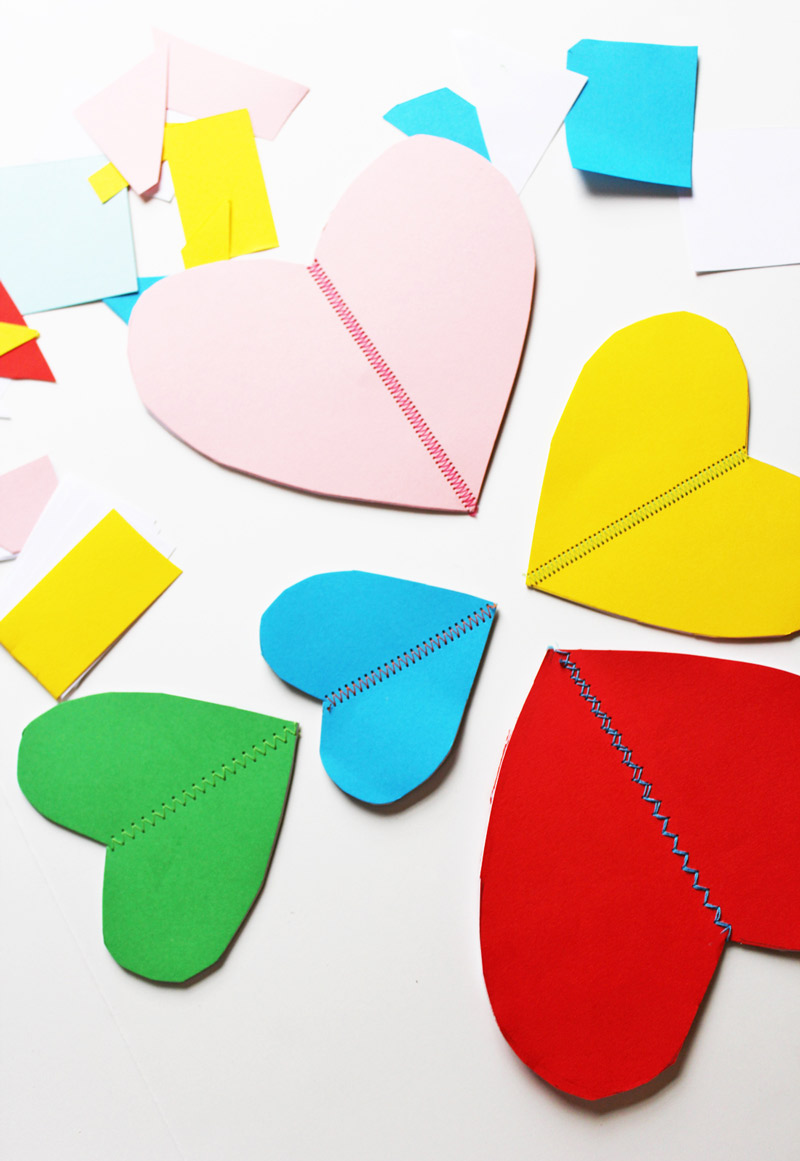

You’re done! I got a little carried away with these….they were so much fun to make with different colored paper and thread….
I could also see making simple Valentines with these by just layering two pieces of paper together and sewing them together. Here is how my daughter Clara has started filling her book:

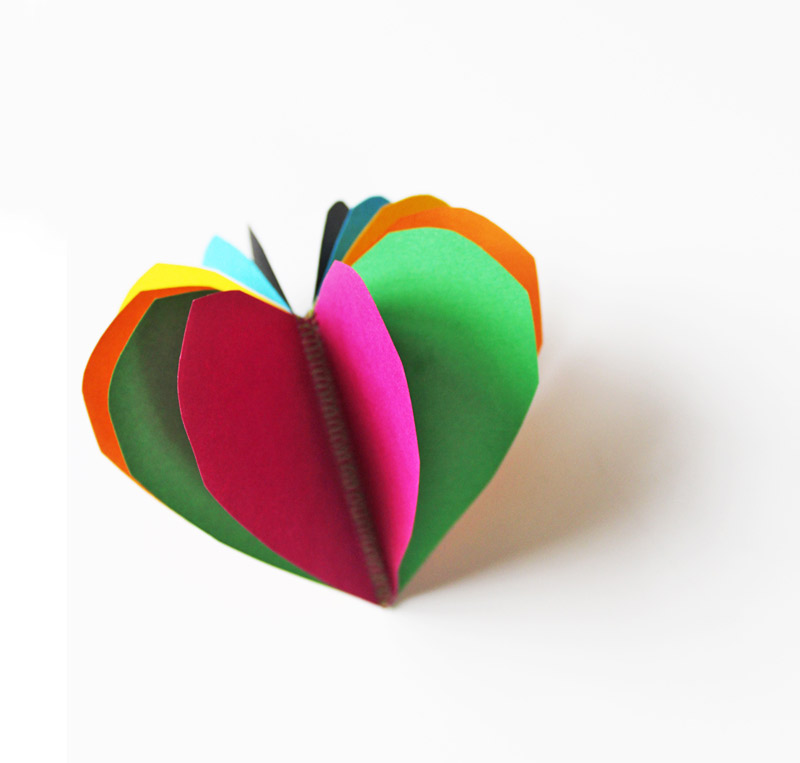
And then, just when you thought this tutorial was over……as I was putting away my camera and supplies it occurred to me to flip open the entire book make a 3D card/decoration/heart/whatever….it’s so pretty! So I layered a few sheets of colorful card stock, stitched them together and viola! A 3D colored heart. Enjoy!

Oh my goodness are these EVER cute! My daughter would *LOVE* them!!! I’d have to make a bunch though because she’d want one for all her BFFs! Pinned!
Awesome! I think these would be perfect for school age girls!
So cute, I love the hearts all together!
Thanks Kristy!
oh i really love these! soo sweet! I wish I could stitch but i cannot accept for holes lol pathetic at sewing…dont know how to use the machines either! my teen does, she will have to do the sew part for me so the youngest can have a few of these lol
thanks for sharing ;D