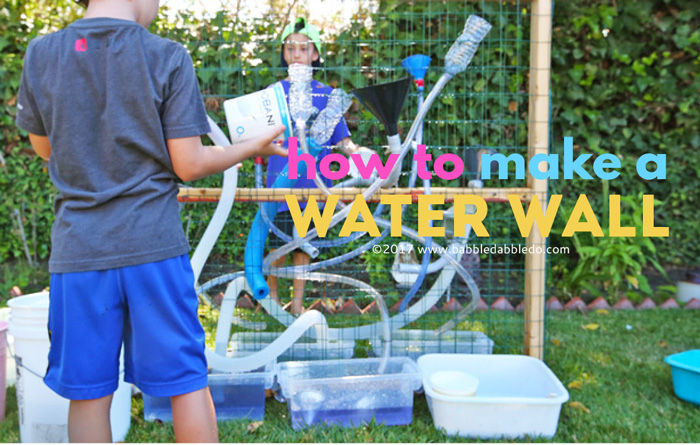
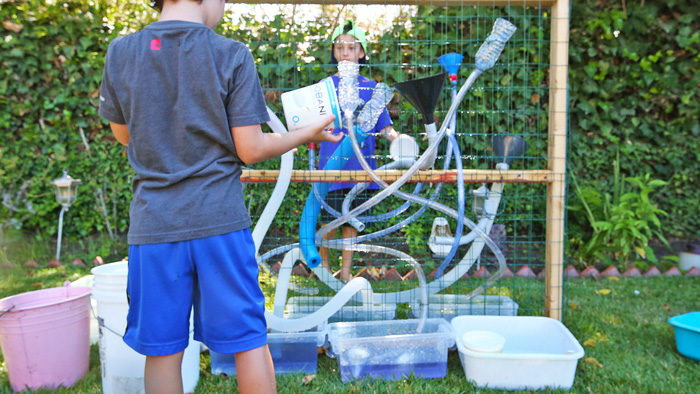
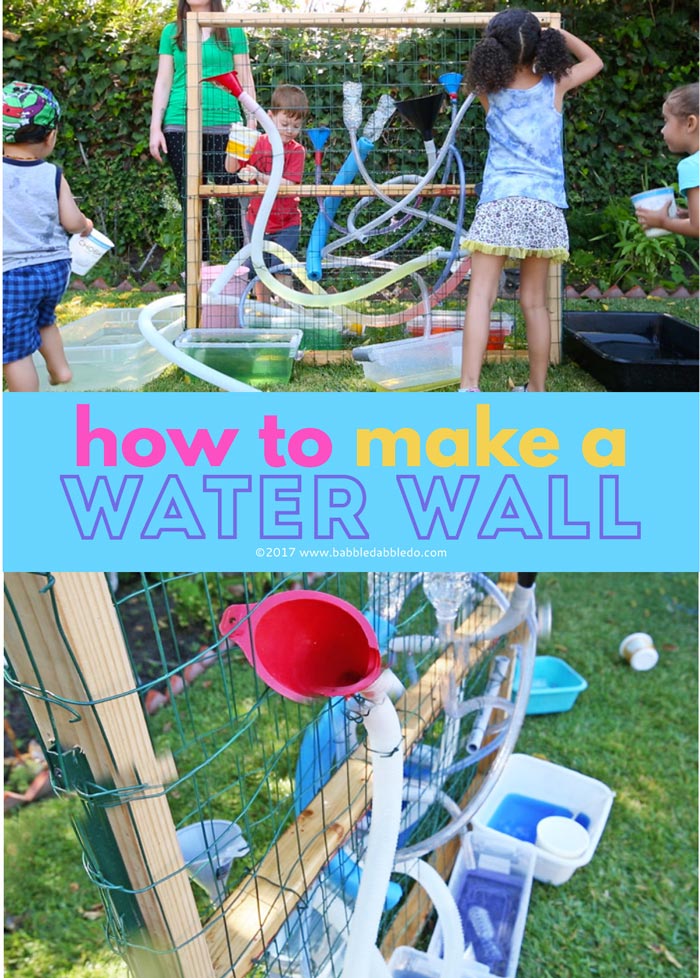
A DIY water wall is a kid magnet, especially on hot summer days. Seriously, who can resist the invitation of funnels, tubes, and water? I love this as a STEAM activity, it incorporates engineering, physics, problem solving and play and I have had children ages 3-10 all dart over to this kids water wall and spend some time pouring and rearranging the tubes.
 Last summer I had some leftover lumber from a garden bed project and one day I decided to use it to make a DIY water wall. I had always wanted to make one for my kids but we don’t have an uncovered chain link fence or accessible wood fence on which to build one so it would have to be freestanding and uncomplicated (I mean I had to squeeze this project into a couple hours of free time while my kids were at a playdate). Anyhoo, if you know how to use a drill you can make this!
This post contians affiliate links.
DIY Water Wall
NOTE: Buy the materials at your local hardware store! I have included Amazon links so you can see what I am referring to but these items will be half or a third of the price at your local store than on amazon.
Materials
- (3) 8’-0” long 2 x 3 pieces of lumber Cut in half to make (6) 4’-0” long pieces- Places like home depot wil cut it for you if you tell them the size.
- (2) Metal Fence Posts Here’s a pic– they are $5 at my local Ace hardware
- 25’ roll of 24” Wide Coated Welded Wire Mesh Here is the product but I recommend getting it at your local hardware store. It will be cheaper.
- Drywall Screws
- Coated Garden Wire
Tools Needed
- Rubber Mallet If you don’t have one of these handy you have to buy this one!
- Drill/Drill bits
- Wire Cutters These will come in handy
- Staple Gun (Optional)
For the Kids Water Wall
Get creative!
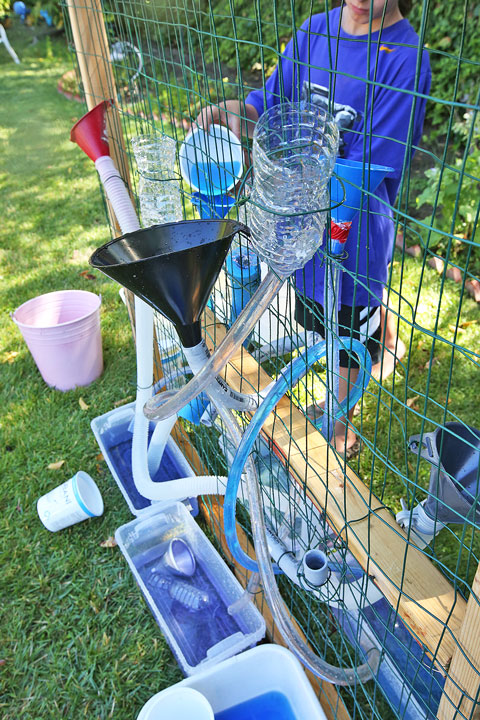
- Recycled plastic bottles (Cut off the bottom to make a DIY funnel)
- Funnels
- Clear tubing, electrical conduit, PVC pipe
- Plastic containers
- Leftover tubing of any kind
- Pool noodles
NOTE: If you want your DIY water wall to be weather resistant you will need to apply a coat of weather seal to all wood sections. We did not do this and our wall has held up well for over a year.

- Step One Place (1) 2×3 on a flat work surface. Place one garden fence post on top of the 2×3. Align the top of the two bottom flanges with the bottom of the 2×3. Screw the post to the top, bottom, and middle holes of the post. Repeat this with the second post and a second 2×3.
- Step Two On a large flat surface arrange (4) 2x3s to make a frame. The two pieces that have the garden posts screwed to them will be the sides. Add in a 5th 2×3 in the center of the frame parallel to the top and bottom chords. Screw the frame together at all joints to secure
- Step Three Place the frame in the location you want and use a rubber mallet to pound the two sides/stakes into the ground.
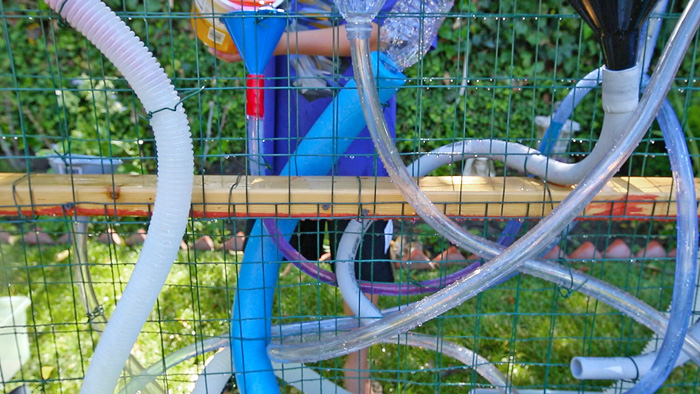
- Step Four Cut a section of wire mesh to be twice the width of your wall plus 6 inches for the sides. Place one end on the side post and screw into place. Wrap the wire mesh around the entire wall. Secure in place with screws as necessary. Repeat with another section of mesh to cover the top portion of the wall.
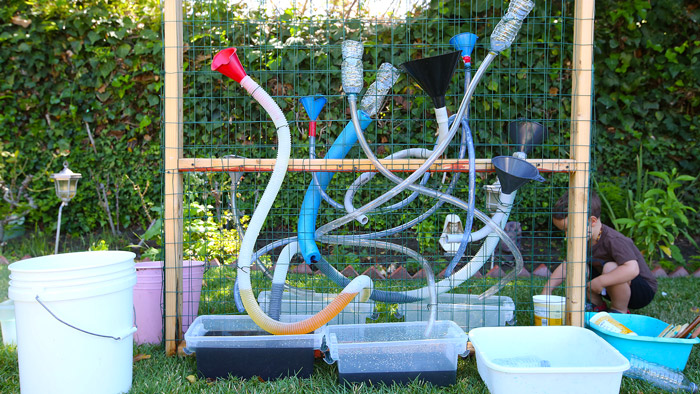
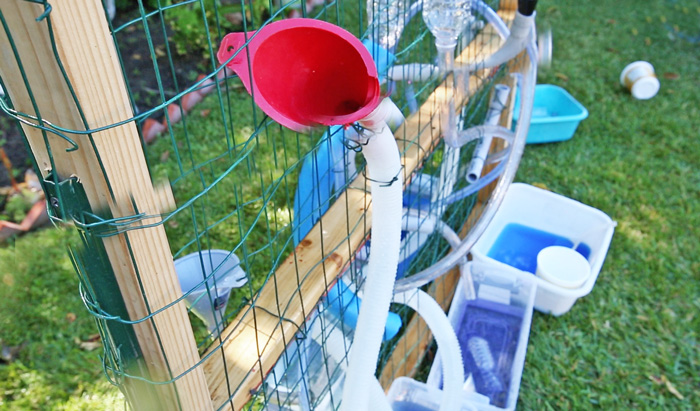
- Step Five Add in your water play elements! Tubing and plumbing components are great adds. Secure funnels and other water wall elements using sections of garden wire. Be sure to leave some sections free to be moved around so kids can experiment with the placement of the tubes.
Kids Water Wall Tips
- Have large buckets of water near the kids water wall for refilling
- Place large Tupperware containers along the bottom edges of the wall to catch the water as it flows out of the tubes.
- Use large cups or recycled plastic containers to fill the various tubes. We placed a bunch of them in the buckets.
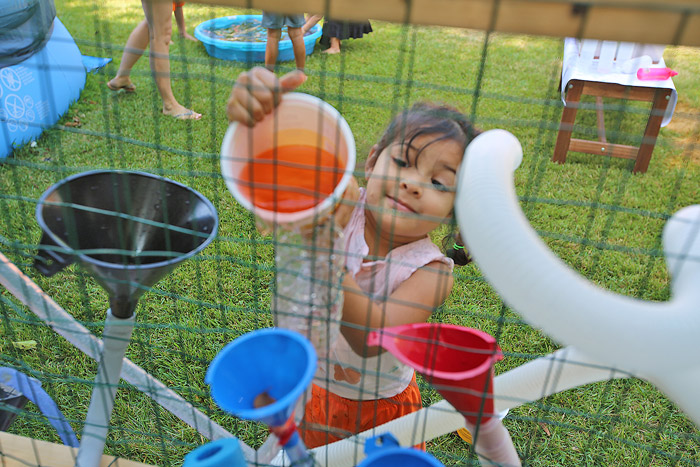
- Color your water with food coloring. Colored water is easier to trace through the tubes and adds an extra layer of visual interest.
- Be sure to drain all water from the tubes after each use. Water that is pooled in the tubes can get funky.
- Move it! To move it to a new location have two adults pull on the sides to remove the stakes from the ground. Easy peasy.
STEAM Challenges
Your DIY water wall is perfect for STEAM challenges!
Challenge 1:
Place the tubes and funnels next to the wall and let kids add all the sections on their own. This is great lesson on what does and doesn’t work with respect to water flow. We had some kids really complicted roller coaster style arrangements only to discover water doesn’t like to flow up…It’s great hands-on engineering lesson.
Challenge 2:
Place loose recycled parts nearby the wall with some age appropriate cutting tools and allow kids to make their own elements like funnels from plastic bottles or yogurt conatiners. Challenge them to figure out what water wall elements they can make from common household items.
Challenge 3:
Have bowls/buckets filled with red, yellow, and blue colored water. Challenge kids to use the DIY water wall as a GIANT color mixer! See how many other colors they can make by pouring the primary colors down the tubes.
Inspired or terrified?
Okay, now if you love this DIY water wall idea but have no energy to put one together don’t be dismayed! If you have an open section of chain link fence in your yard you can do the same thing just by threading tubing in and out of the fence. If you have wood fence Tinkerlab has an easy DIY tutorial here. No matter how you build it I can guarantee it will be a hit with the kids this summer!
More Water Activities for Kids
Kids love playing with water! Here are more water based activities for kids with a STEAM focus:
And if you need more screen-free STEAM activity ideas for summer hop over here:
Are you passionate about raising creative kids?
Join over 14,890 parents and educators who want connect with kids and nurture their creative process through magical, easy projects you can do TOGETHER.
Send me awesome creative project ideas!
Love this! A Water Wall is a great channel for kids to learn new things in an interesting and entertaining way. Even me, as an adult, find this curiously interesting. LOL! 🙂