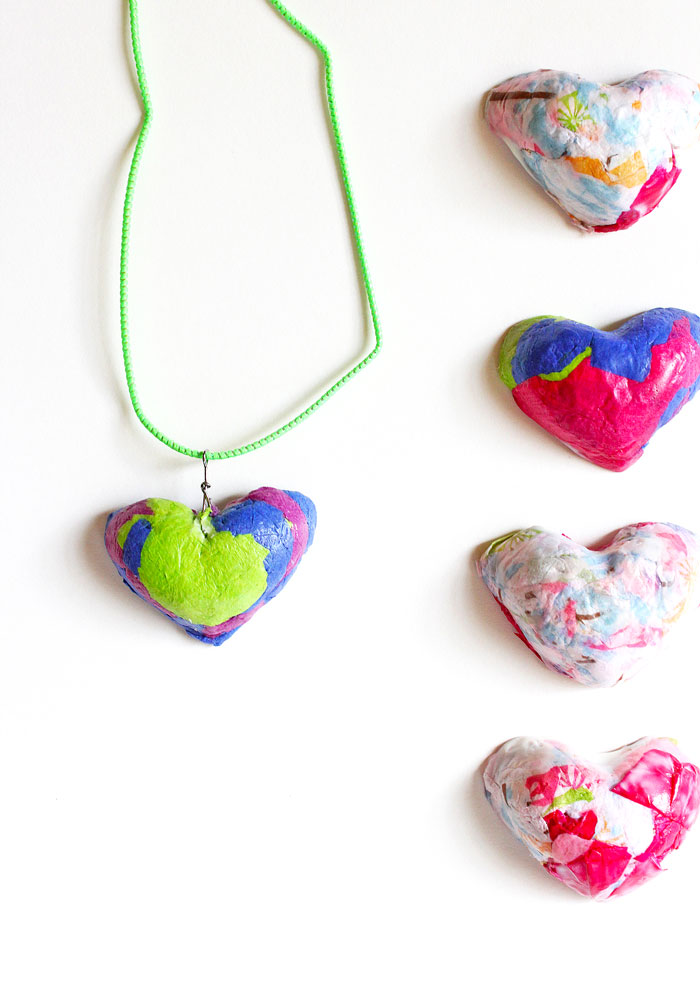
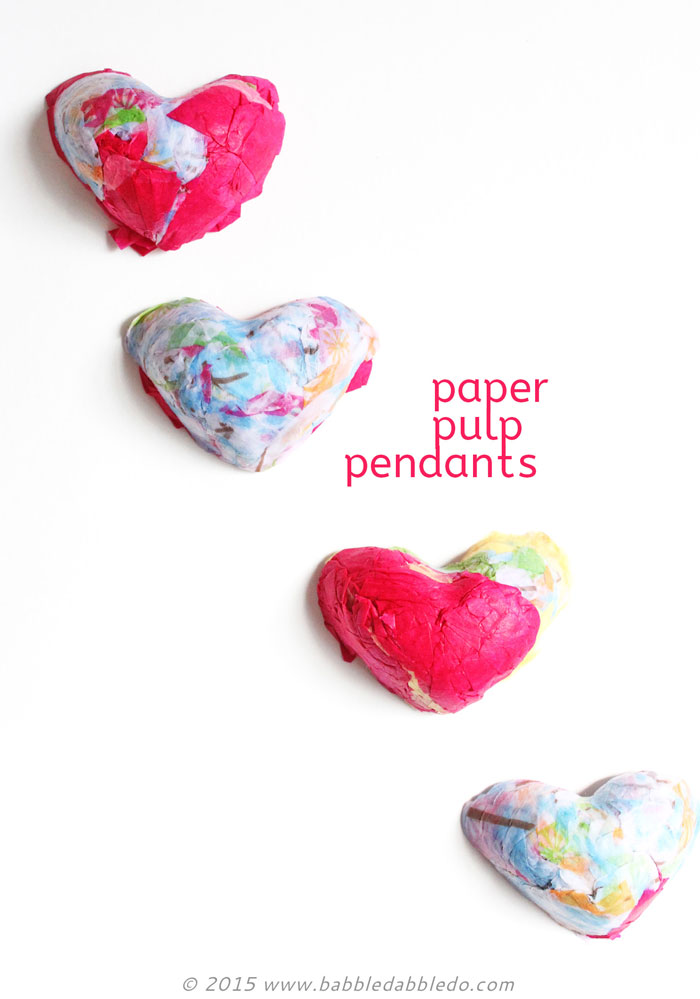
When most people think of paper crafts they automatically think of cutting, folding, gluing, etc. but how often do you think of crushing paper? Today’s project is a novel way to create with paper with surprisingly strong results. Paper Pulp Pendants are made from mashed up tissue paper (you can also use crepe paper streamers) and water. That’s it.
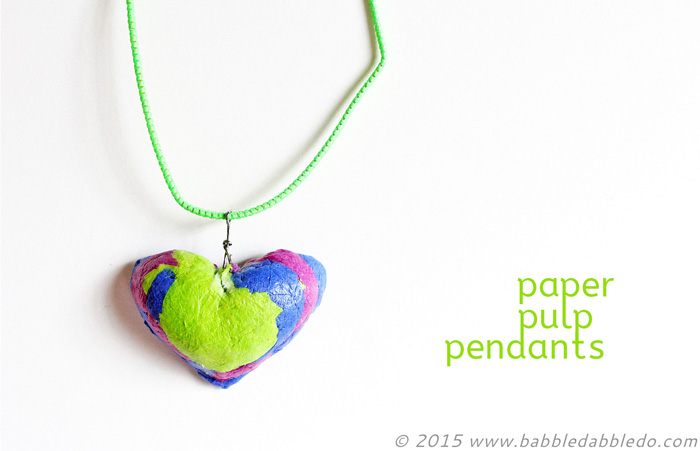
These are really durable. I did add Mod Podge to make them more water resistant and bind them together for a long time but this project shows that the humble material paper (and better yet leftover crumpled paper) can be turned into something beautiful!
This post contains affiliate links.
How to Make Paper Pulp Pendants
Materials
NOTE: You can use other silicone candy mold shapes for this!
- Tissue Paper or Leftover Crepe Paper Streamers
- Scissors
- Bowl
- Heart Ice Cube Mold
– I bought mine at IKEA
- Water
- Mod Podge
- Paintbrush
- Pushpin
- Metal Eye Jewelry Pins
- Needlenose Pliers
- Elastic Cording
Paper Pulp Pendant Instructions
Make your paper pulp heart
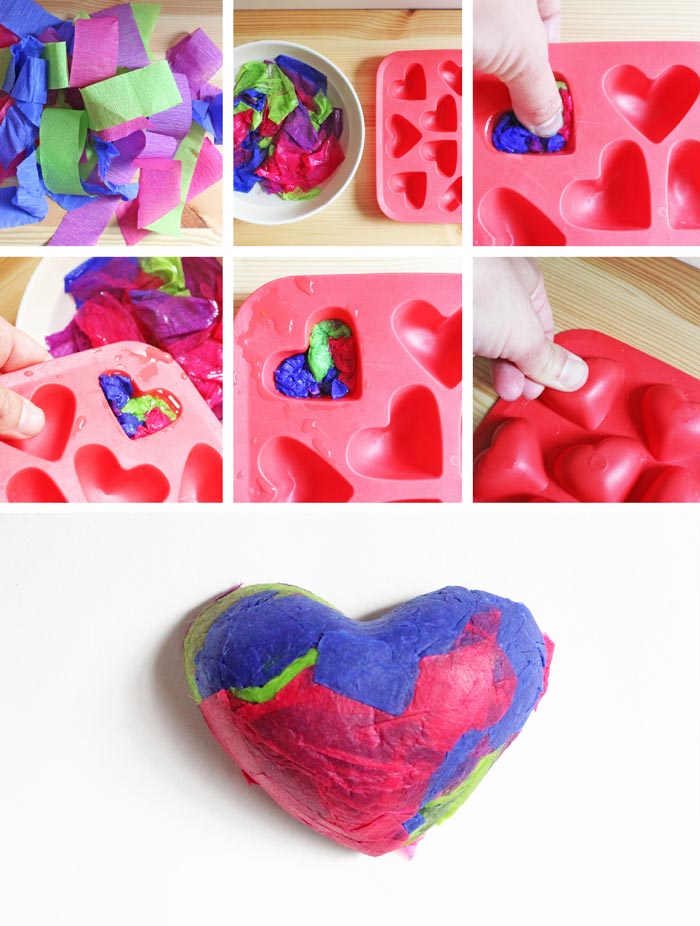
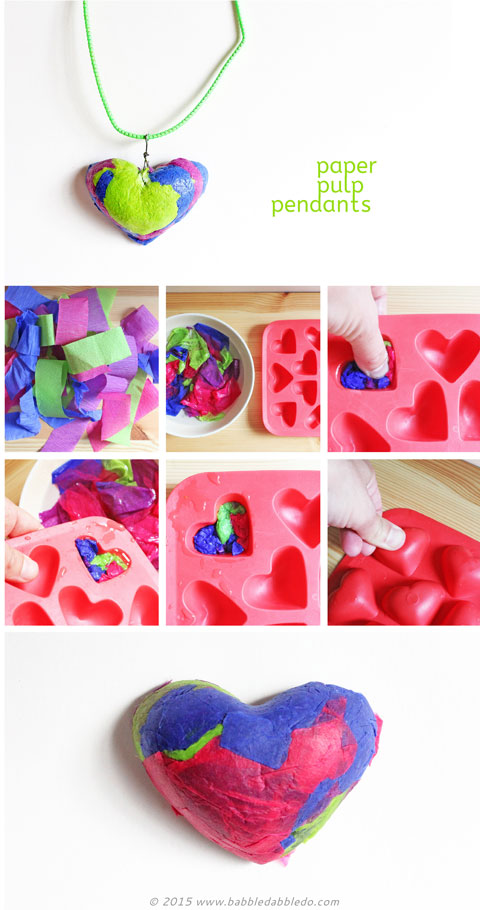
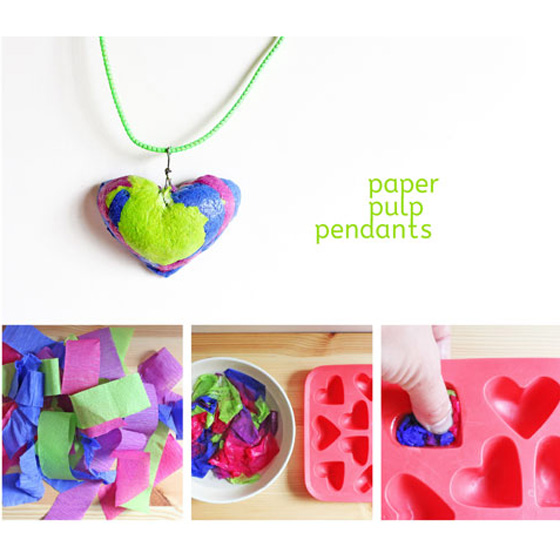
- Step 1 Cut your crepe paper or tissue paper into large pieces.
- Step 2 Soak the paper scraps in a bowl of warm water for several minutes.
- Step 3 Remove a handful of wet paper, gently squeeze some of the water out, and begin pressing the paper pulp into one of the ice cube tray molds. As you push the paper into the mold excess water will rise to the surface. Dump the water back into the bowl.
- Step 4 Continue pushing the paper down into the mold to squeeze out as much water as possible.
- Step 5 Add more paper pulp into the mold. Continue squeezing out the water as described above.
- Step 6 When your heart is the thickness desired, gently turn over the tray and press on the outside of the mold to pop out the heart.
- Step 7 Let your heart dry out. This will take 1-2 days.
- Step 8 Once the paper pulp heart is dry, clean up the edges as necessary with a pair of sharp scissors.
- Step 9 Paint the entire paper heart with Mod Podge Paper formula. Let dry.
Make your necklace
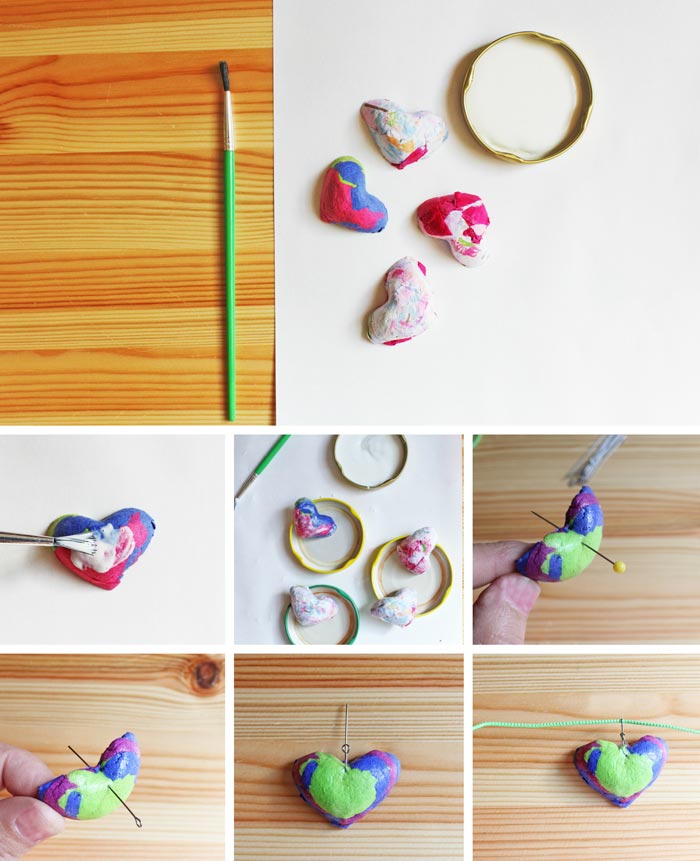
- Step 1 Once your pendant is dry make a hole through the heart near the top center dip using a long push pin.
- Step 2 Push a metal eye pin through the hole and twist the end of the pin around itself using an all-in-one jewelry tool. Clip off any pointy metal edges.
- Step 3 Trim a piece of lanyard or cord, and thread it through the eye of the metal pin. Tie a knot in the end of the cord and trim the ends as necessary.
Looks Like
Sergio Bustamante. Sergio Bustamente is a Mexican artist famous for his paper mache sculptures. I know his work well because my grandparents loved his art and collected it! We had a life sized paper mache alligator hanging in our home when I was growing up. Though he also works in metal I found a parallel between his work and this project because of the use of paper.
Paper is an incredibly strong material in its pulp form and made even stronger when combined with an adhesive like glue or paste. Though most of us associate paper with flimsiness it really has the potential to carry incredible loads. Check out our post on paper building blocks here to see how strong it can be and find out about paper buildings!
Conclusion
The next time you are tempted to throw away all that used tissue paper wrapping or streamers from your last party, save them and try making paper pulp. It’s a wonderful display of the inherent strength of fiberous materials like paper and an example of unique paper crafts!
Spread creative ideas like wildfire: Pin this!
Ooh! This is right up our alley and even better is that I already have a little heart mold! Awesome project.
Thanks mama! I think everyone and their mother has this mold 😉
These look gorgeous! We made pictures from paper pulp recently which was so much fun 🙂
Wow! Popping over to see them now!
Genius! I love this idea. So going to try this.
Love your blog.
Niamh Osborne @ Simplyearnest.com
Thank you so much Niamh!
So cute! Thanks for ideas 🙂
Thanks for stopping by Karla!
Ana, these are gorgeous! We did the pinwheels today too and are still working on Macaroni Challenge!! We will continue to do so even after the contest closes because I have SOO many more ideas for pasta as an art tool!
Sounds great Jeanine! I can’t wait to see what you make!
I am doing these this year! I know I have molds somewhere too. Such a great and easy idea!!