What could be better than turning a classic pinecone craft into a bot? Today’s project is not only hilarious, it’s a great way to introduce kids to electronics and circuits.

This post contains affiliate links.
Before we get started turning the classic pinecone craft into an electronics project, let’s review just what a “bot” is:
What is a bot?
A bot is similar to a robot but with one important distinction: Bots have no decision making capabilities. True robots are machines with some form of artificial intelligence. True robots can take in information or input and use that to make decisions based on choices determined by a programmer. Bots are machines that move around but they have no thinking capabilities.
Bots are the perfect STEAM project!
When kids make bots they learn the following STEAM skills:
- The science behind electricity.
- The technology used to build a working circuit.
- How to engineer a chassis that can withstand movement.
- How to personalize their bot with artful designs.
- Use math to calculate battery voltage and match it to their motors.
Bots also teach these developmental skills:
- Cognitive Skills & Problem Solving: Electronics projects always include a round of troubleshooting!
- Maker Skills: Kids will learn how to strip wires, connect electrical components and wires together, and use hot glue gun safely.
- Fine Motor Skills: Bots help kids practice their fine motor skills through stripping and twisting wires, gluing small components together, and in modifying the battery pack.
- Receptive Language Skills To properly get a circuit working kids will need to follow precise step-by-step instructions.
- Social Emotional Skills Once the back bot structure is complete, kids can will turn their bot into a creature. Have kids introduce their bots to each other and have the bots interact. When we did this with our students there was lot of giggling watching the bots bump into each other and move around. It was a great ice breaker for some of our quieter students.
If you guys enjoy this project beside to check out the Bot Book t the end of the post!

SAFETY NOTE:
Coin cell batteries are extremely harmful if swallowed!!! DO NOT do this project with any child who is prone to putting things in their mouth OR if you have sibling in the home who might put battery in tier mouth. For this reason we use a battery pack with this project- it should be closed at all times you are not modifying it. Please be aware of the risks associated with using coin cell batteries.
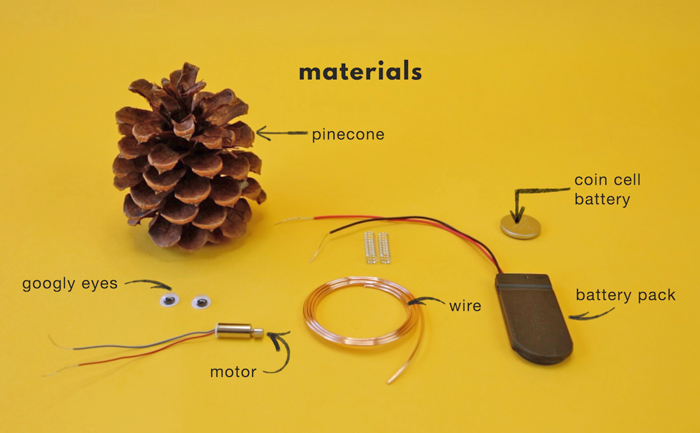
Materials
- Pine Cone
- Battery Pack
- Vibrating motor
- Coin cell battery
- Copper Wire
- Wire Stripper/Cutter
- Electrical Tape
- Hot Glue Gun/Glue
- Googly Eyes
- Pom Poms
- Springs (optional)
Pinecone Craft Bots Instructions
Learn how to turn this classic craft into a moving bot!
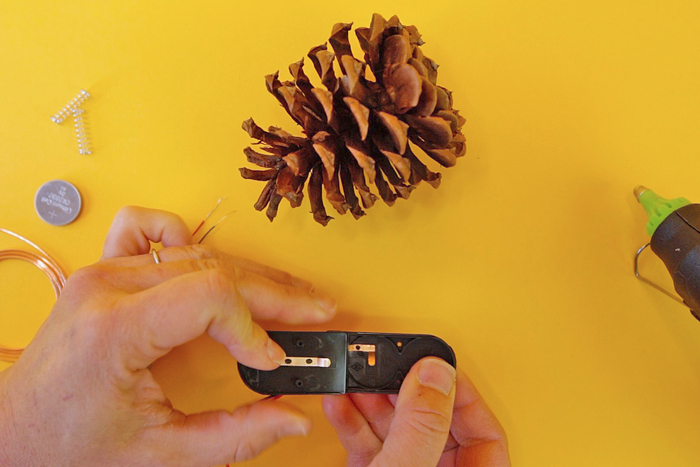
- Prep Battery Pack
Open the battery pack and bend the copper lead in the second battery slot down so that when it’s closed, the copper connections meet. This will allow you to use the battery pack with one single battery.

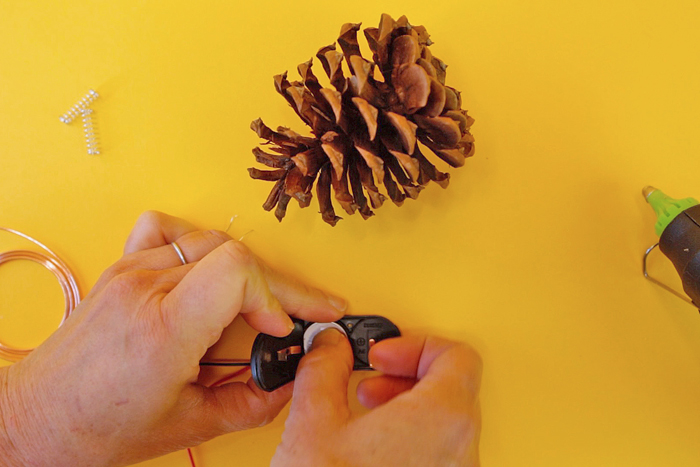
- Add the battery
Add the coin cell battery to the side closest to the hinge. Close. To verify the connections work, turn the pack “on” and hold the exposed ends of the wires from the battery pack to the exposed ends of the wires on the motor. Match red to red and black to black. The motor should turn on if the battery pack connections are working. If the motor doesn’t turn on, open up the battery pack and check the connections again.
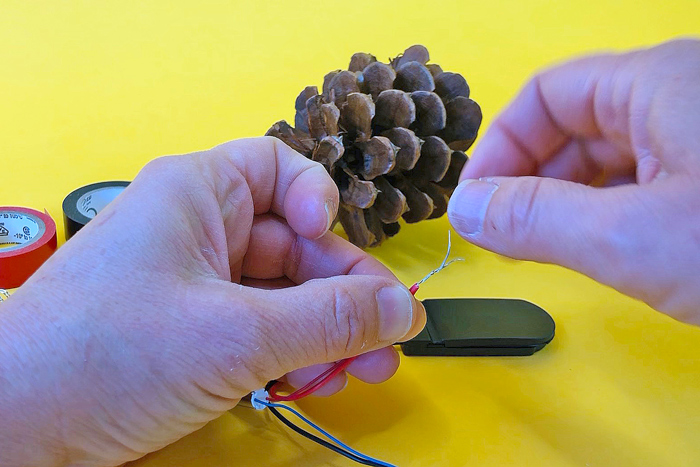
- Connect the red wires
Note: You need about 1/2″ of exposed wire on both the battery pack and motor. If there is less than that use your wire strippers to strip off the plastic coating on the ends of the wires. Hold the exposed ends of the red wires from the battery pack and motor together. Twist to connect. Secure with electrical tape.
- Repeat with black wires
Repeat the steps above with the black wires. Once the connections are made, turn on the battery pack to make sure the motor vibrates.
- Glue the motor to the pinecone
Glue the motor to the wide end of the pinecone with the rotating element sticking out.
- Glue the battery pack to the pine cone
Tuck the wires underneath in the open end of the pinecone and then hot glue the battery pack in place over this area.
- Add wire legs
Cut (2) 3″ lengths of copper wire and bend them into a “U.” Hot glue them to the underside of the pinecone.
- Test the bot
Tune the bot over and turn it on. Make sure it moves. You may need to trim the copper wires so that they are about even. If it’s not working see our troubleshooting section below.
- Turn it into an animal!
This is the fun part! Add flair to you pinecone bot with pom poms, googly eyes and more. Mini springs are a fun addition.


You’re done! If you make this pinecone craft in a class or with your family, have a pinecone bot dance party!

Troubleshooting
If you bot isn’t working, here are some things to check:
If the motor isn’t working:
- Check all your connections. Start with the wire to wire connections. These sometimes get pulled apart as you make the bot.
- Check the battery pack connection. Make sure the copper leads are hitting each other when the pack is closed.
- Check the battery direction. Make sure the battery is facing the right direction when inside the battery pack.
If the motor is working but the bot isn’t moving:
- Make sure the legs are all touching the table. If a couple legs are longer than the others they will prevent the bot from moving.
- Try moving the motor. Reposition it on the back of the pinecone. Make sure the rotating element is facing out and is free to rotate but is also in a place where the vibrations cause the entire pinecone to vibrate. Those vibrations are what makes the bot move.
- Make sure the motor is securely attached to the pinecone. If the motor is flopping around the vibrations won’t move the pinecone.
- Place the bot on a smooth surface. The vibrations that make the bot move aren’t strong enough on surfaces with a lot of friction. Avoid placing the bots on paper or fabric surfaces and instead opt for a smooth tabletop or floor.

More about electronics
- Electricity is the flow of electrons from a power source (battery pack + battery) to something to be powered such as lights and motors. We call the movement of electricity through a wire the current.
- Batteries are the standard power source for small electronics projects. Batteries provide different amounts of power called voltages. When building a circuit, make sure that your voltage matches the power required for the motor or LED you are using. In this case we use a 3V coin cell battery to power a 1.5-3V vibrating motor.
- Electrical current flows in one direction. That is why it is so important to make sure you are connecting the red to red and black to black wires together.
- Switches interrupt the flow of electrons. In the off position, the circuit is broken and the electron flow is stopped. In the on position the electrons can flow through the circuit.
More
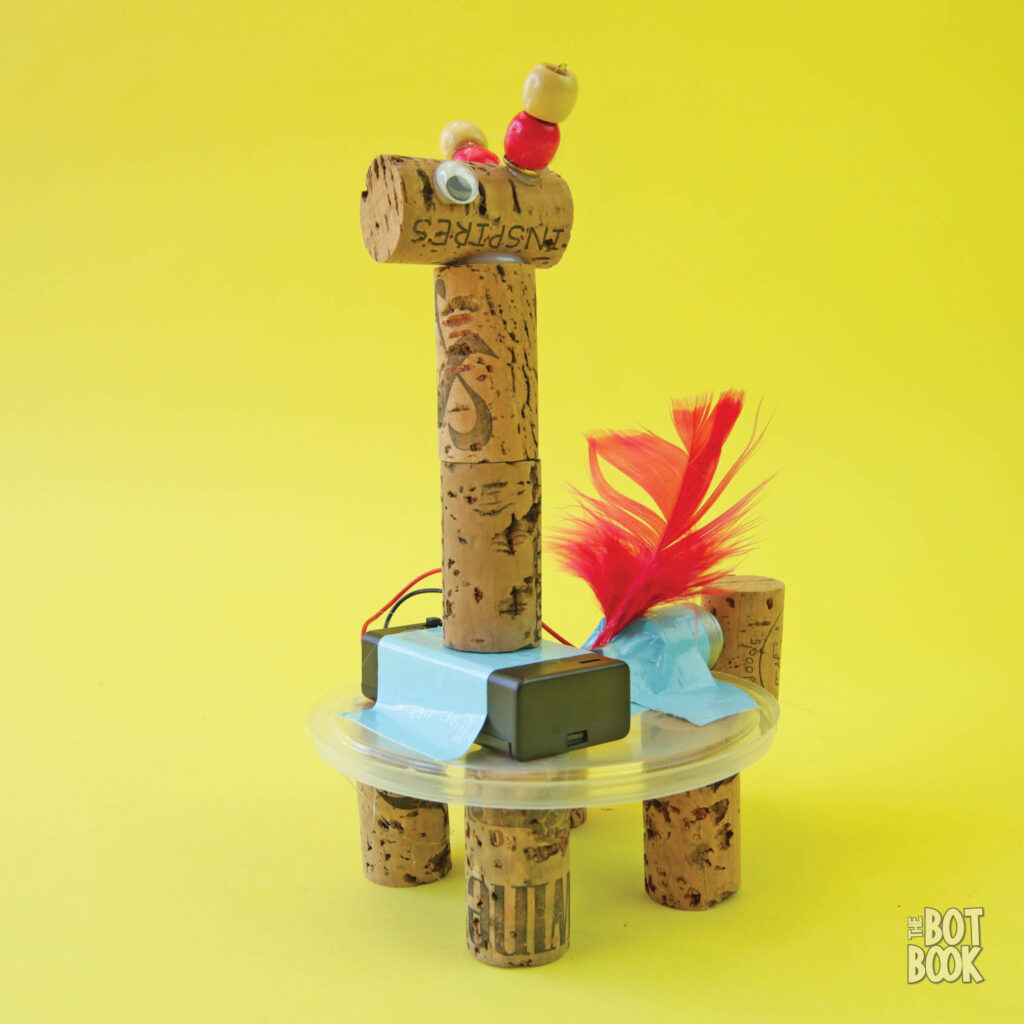
Here’s is another fun bot to make using recycled materials: The Cork Bot!
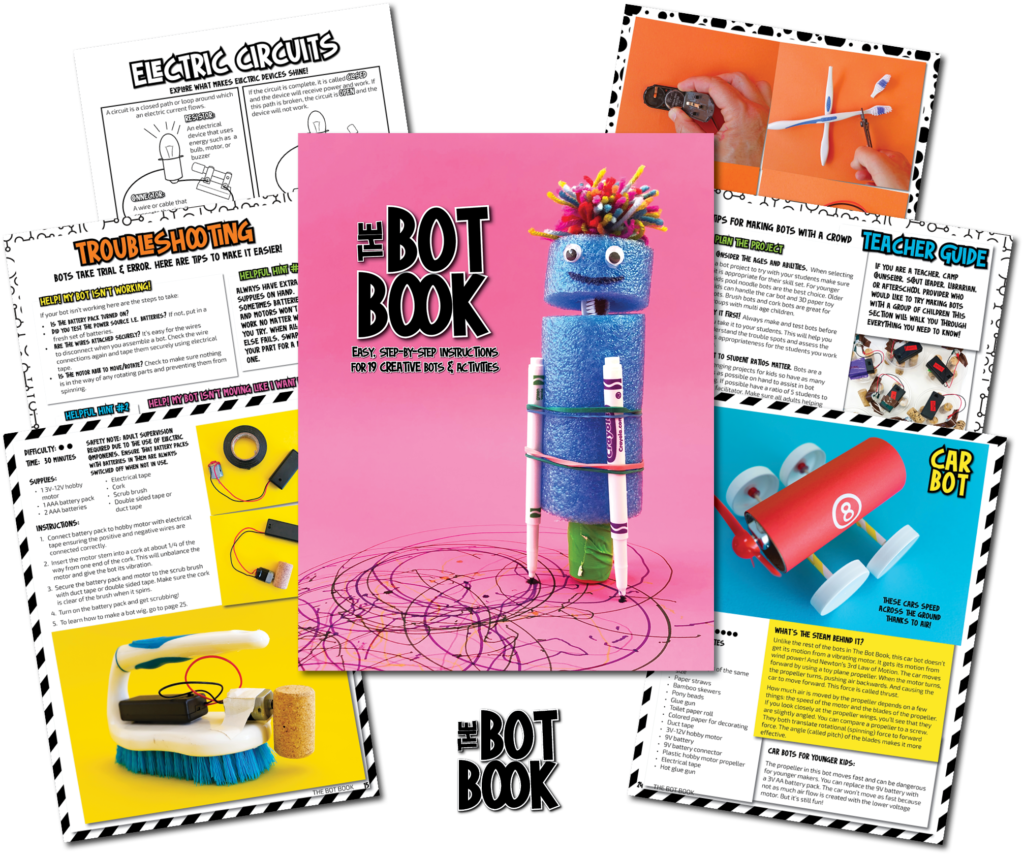
If your kids become obsessed with bots after this pinecone craft, check out the Bot Book! This is an eBook I created with my friend Anne from Left Brain Craft Brain and it contains 14 DIY bots for kids to make.

Leave a Reply