Since projects typically get a lot of attention in our home I sometimes like to step back and just fool around with process rather than product. Enter process art. If you aren’t familiar with process art head over to this post by process art master Meri Cherry. Process art focuses on the experience of making rather than the outcome of the final project.
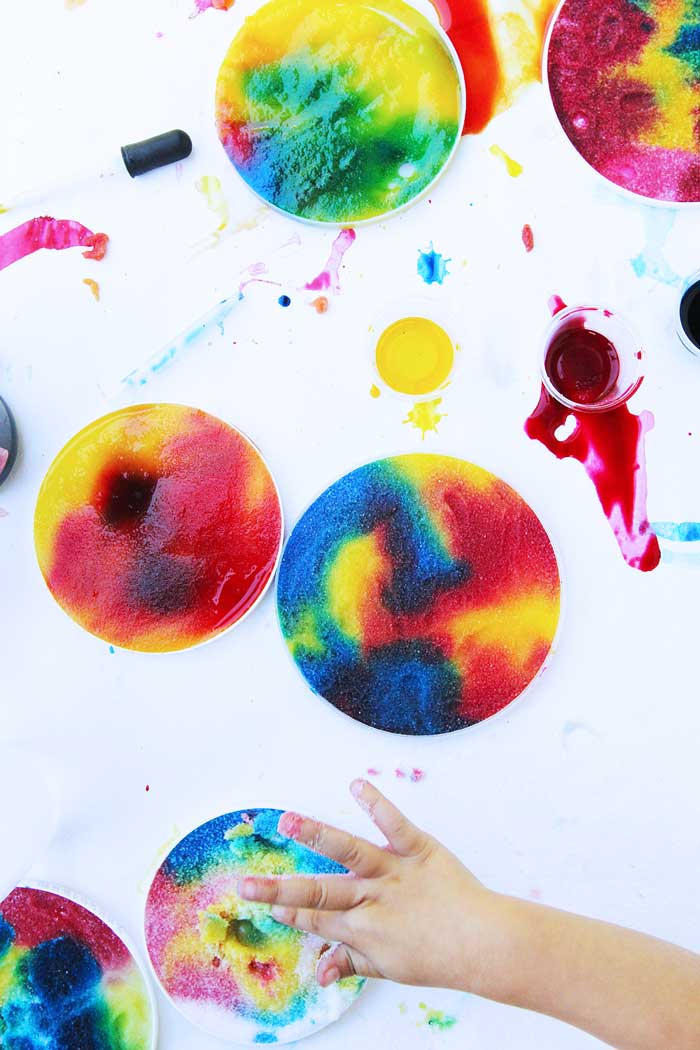
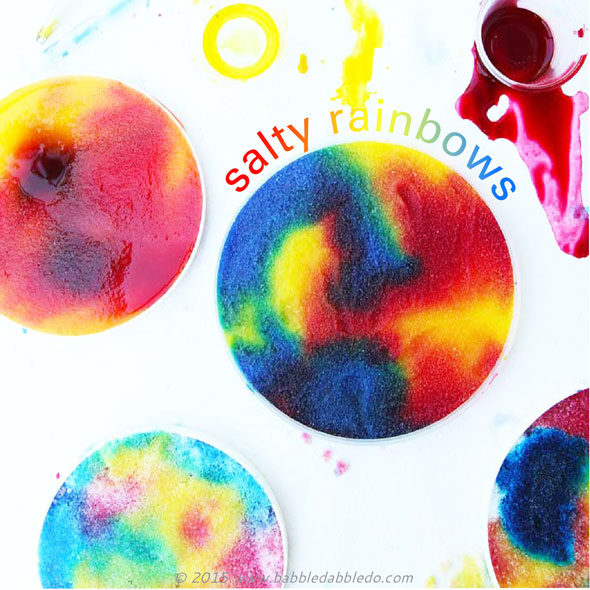
Salty Rainbows don’t last long but are a tempting and lovely project to watch and make. My daughter and I came up with this project together. Initially I thought they might make pretty suncatchers but when I saw how much fun she had simply dropping and swirling color on salt I decided that THAT was the real heart of the project.
Bonus: You can actually “lift” a print from these and make suncatchers, but like the project, they are ephemeral, lasting only a couple of days before curling up. But we found the process of making both the art and lifting print engaging and fun!
This post contains affiliate links to products I love and recommend to my readers, plus it keeps this little blog o’mine afloat! Thank you!
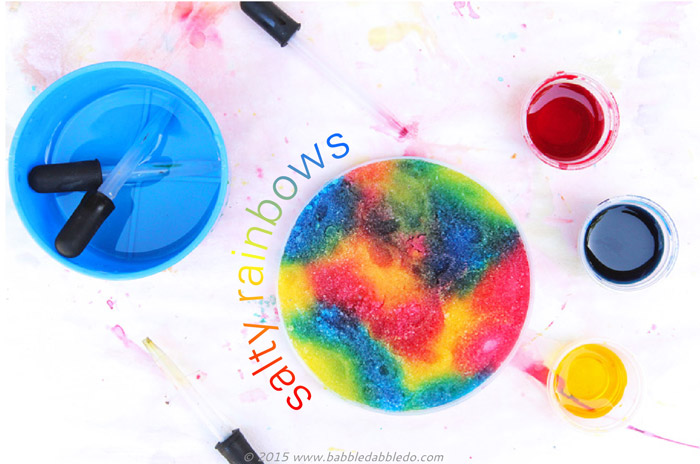
Process Art Idea: Salty Rainbows
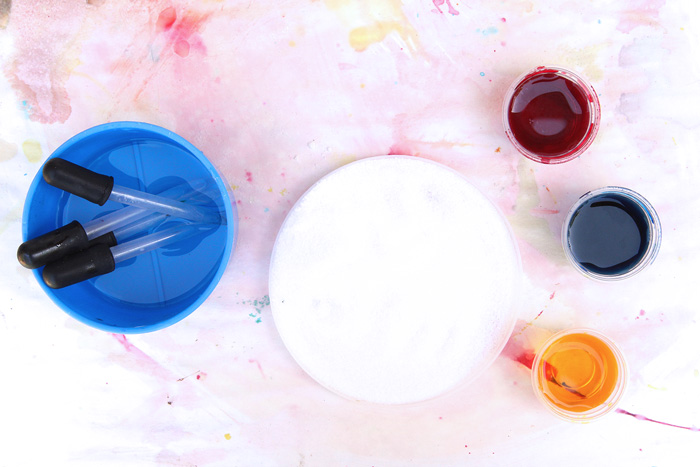
Materials
- Salt
- Red
, Yellow
, & Blue
Liquid Watercolors. You can also buy this set of six
at a discounted rate per bottle
- Water
- Eye Droppers
- Small Plastic cups/containers
- Recycled plastic lids
- Glue You may want to consider investing in a 1 gallon jug
Ours has lasted a long time!
Instructions
- Step One Prepare your paint by mixing about 1 tablespoon of water with 5-6 drops of liquid watercolor. You want a strong solution of paint. For blue you will only need about 3-4 drops.
- Step Two Sprinkle a thick layer of salt in your plastic lids and shake to spread evenly.
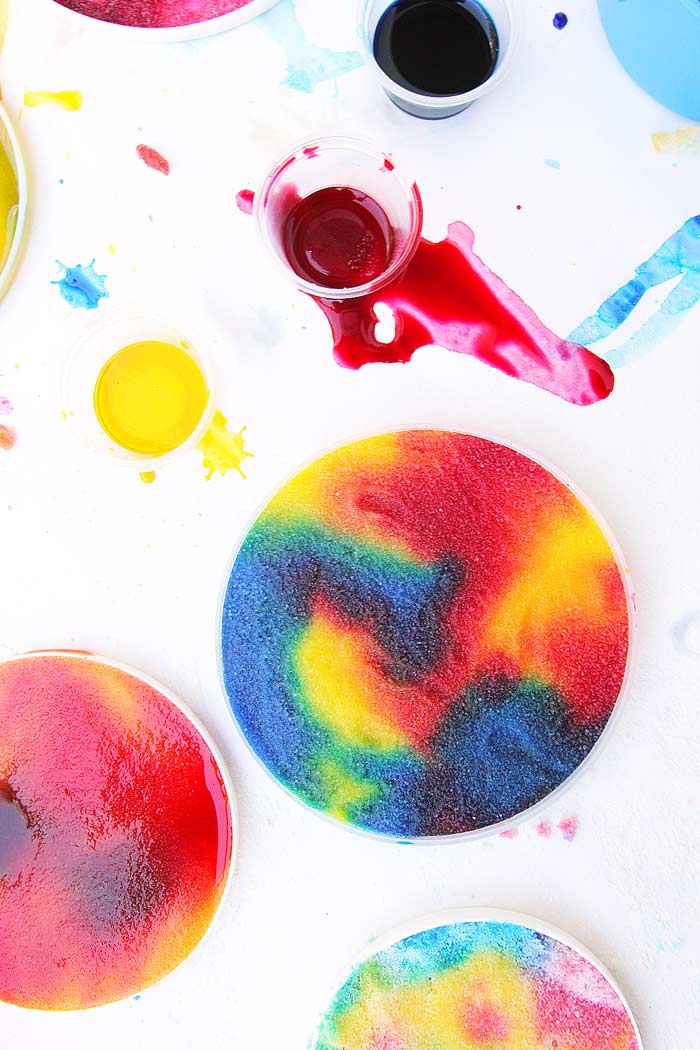
- Step Three Use your eye droppers to drip paint into the salt
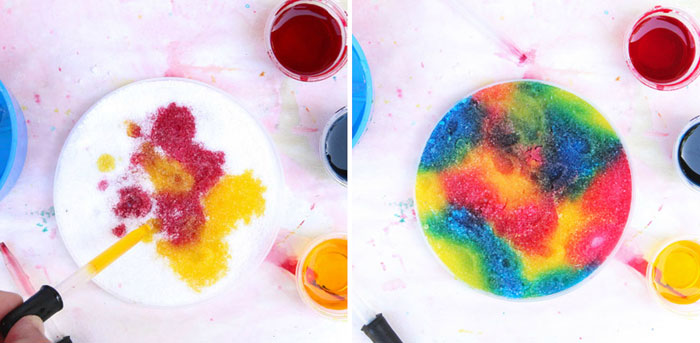
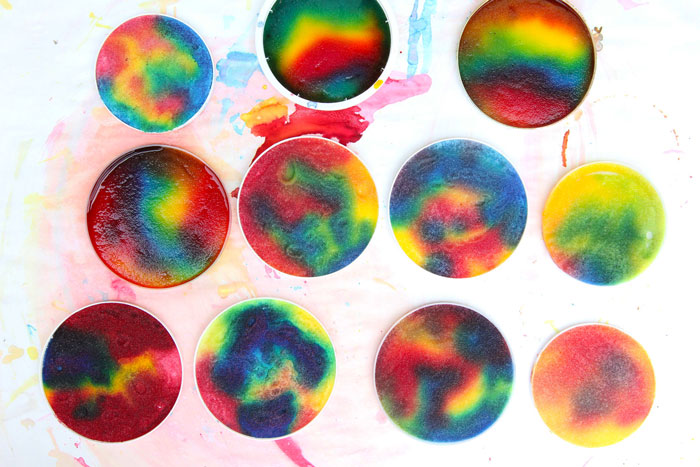
That’s it! By limiting yourself to red, yellow, and blue, you can explore color mixing and watch as the primary colors combine to form secondary colors and “rainbows.”
You can also try this with Epsom salt!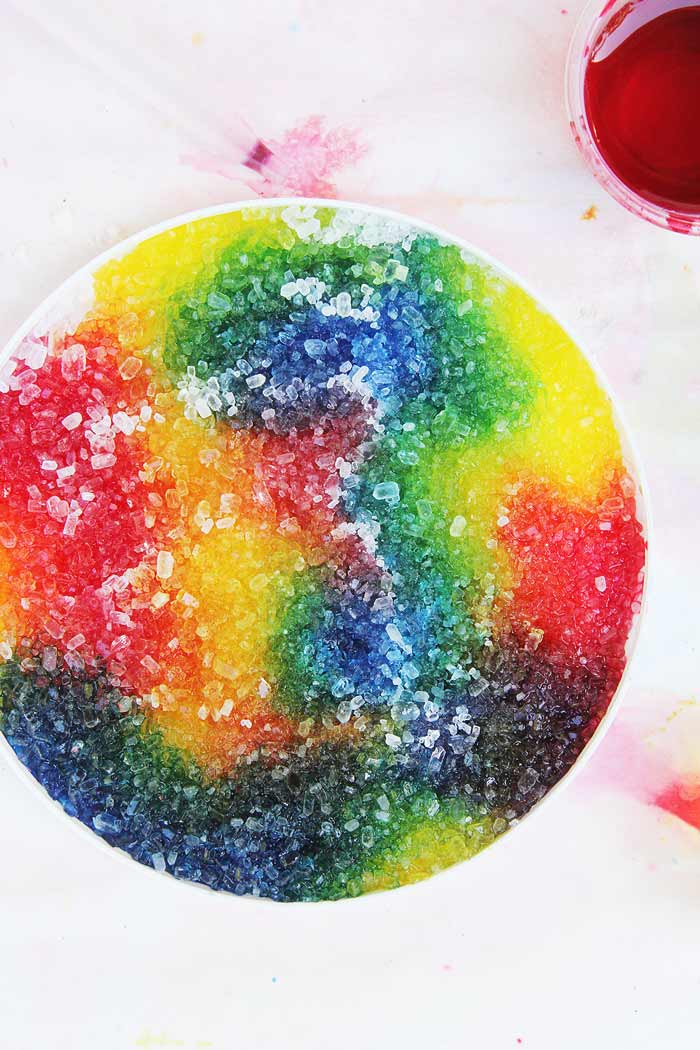
Bonus Step: Lift the print
- Step Four Let the salt and watercolors sit for a few hours or overnight.
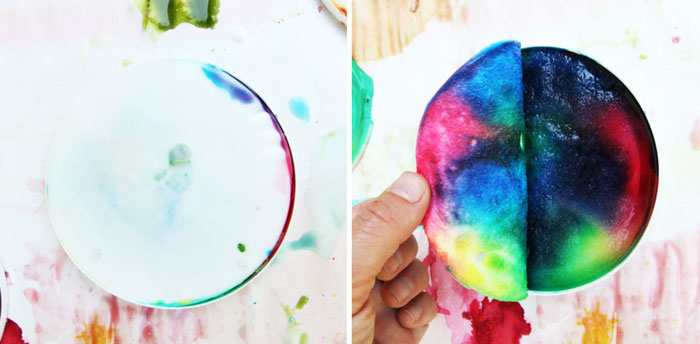
- Step Five Pour a thick layer of glue on top of the colored salt. Be sure not to pour too much or it will spill off the lid.
- Step Six Let the glue dry for a couple hours.
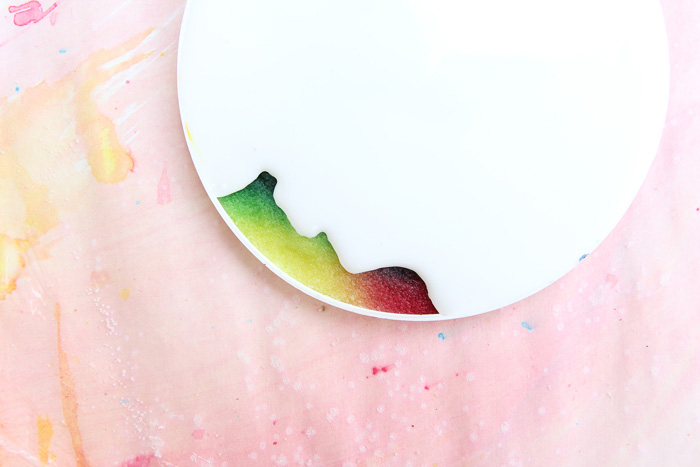
- Step Seven When the glue starts to set it will begin curling up at the edge. You can now gently lift it off the salt. Turn over and let dry.

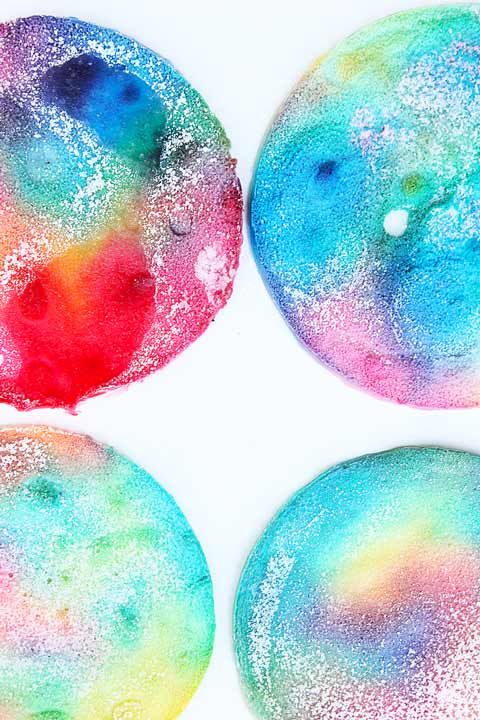
NOTE: These only last a couple of days! After a few days the salt will begin to dry out the glue and begin to shrink, crinkle and crystallize. Still it’s fun to lift the print for a temporary art experience! This is what they look like after a few days.
Looks Like
Mark Kurlansky. Mark Kurlansky is an award winning author who has chosen to focus his history books on some rather offbeat topics; two of his best selling books are Cod: A Biography of the Fish that Changed the World and Salt: A World History
, which is why I thought of him here today. I love his unique perspective on the world told through the history of specific foods and how they shaped events and even civialtzions. We don’t typically think of history authors as necessarily creative people but I think his thought provoking subjects prove that there is room in every profession for out of the box thinking.
Conclusion
 One of the reasons I love process art is because it allows kids and adults to create without critique. When you step back and simply enjoy making something without worrying about how it looks you are really opening up your creative mind. In fact my #1 creative tip says just that. So if you or your kids struggle with self-doubt or a lack of confidence in art making, try folding in some process art projects. You’ll find that taking the pressure off yourself to make something “pretty” frees you up to just have creative fun!
More
If you enjoyed working with salt and watercolors check out these Painted Salt Sculptures from Fun At Home with Kids!
We also had fun coloring salt and making a Salt Pendulum.
And for more Easy Art for Kids hop over to this post
Fill your child’s life with more art, design, and science:
Subscribe to our free newsletter and check out our FB page where I share tons more creative ideas and resources from around the web.
Spread creative ideas like wildfire: Pin this!

Share on FB

How about taking a print using a piece of paper and gently pressing it down on the wet colorful salt? That could then be hung in a window. Would it work or does the colored salt design become to dry to print from?
Not sure but it’s worth a try!
I love this process project. The glue prints sound like a great idea, I can see coffee filters being printed too for wonderful projects later. You have amazing photos!!
If you do this with coffee filters, they can be gathered in the middle with a little string and glued to clothespins to make lovely butterflies – a great spring project!
That’s a cool alternative!
Can you use diluted food coloring instead of liquid water color paint?
I haven’t tried that but it should work 🙂
what kind of white containers did you use to hold the salt?
We sued yogurt lid tops 🙂
i really want to try this
do it!