I’m not sure who loves this sand and water play idea more, me or my kids, but this is my go-to sand box activity on the hottest of summer afternoons! And the best part? Your kids will be getting a hands-on engineering lesson while they cool down!
There is so much STEAM in this sand and water play activity and we have tried this in our backyard sandbox, the sand area at our preschool, as well as at the beach. If you have a sandbox or sand area that drains you have to do this engineering activity for kids!
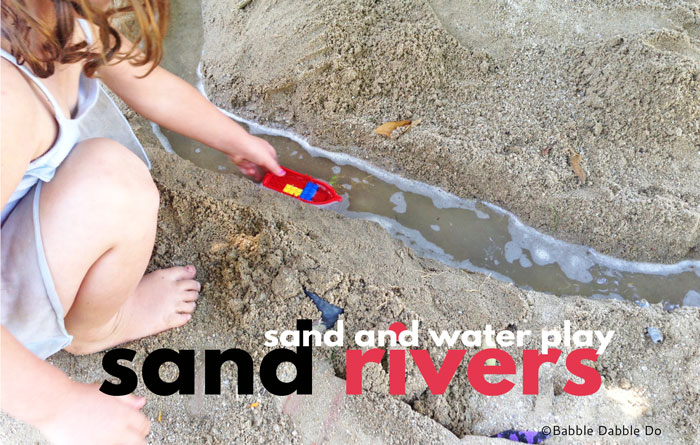
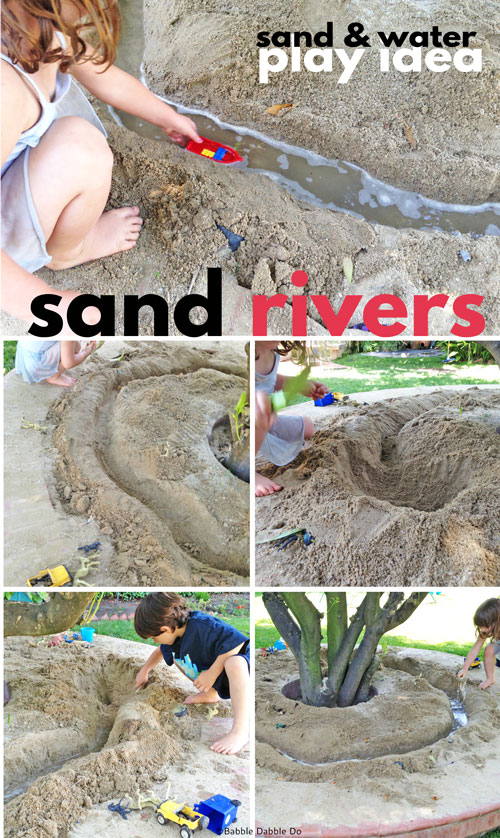
Sand And Water Play Idea: Make Sand Rivers
NOTE: This activity is only suitable for sandboxes that drain!
This post contains affiliate links
What you’ll need:
- A sandbox that drains. You can use a sand table or do this at the beach too!
- Digging tools
- Access to water. If you are at the beach bring along a bucket
- Things that float! If you have boat toys bring them here or make your own out of polymer clay.
- Play animals and people
How to To Build A Sand River:
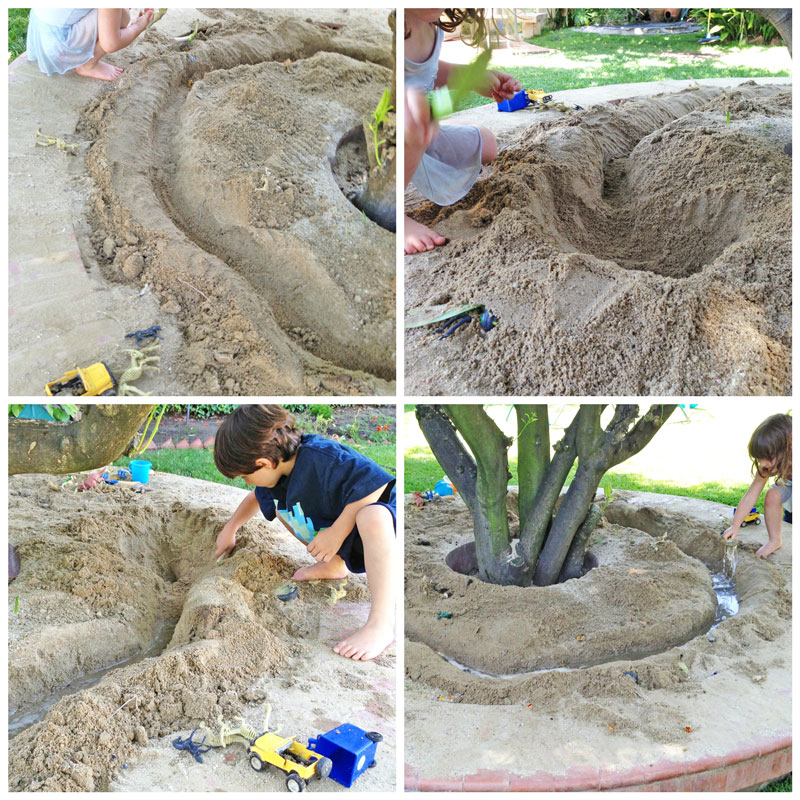
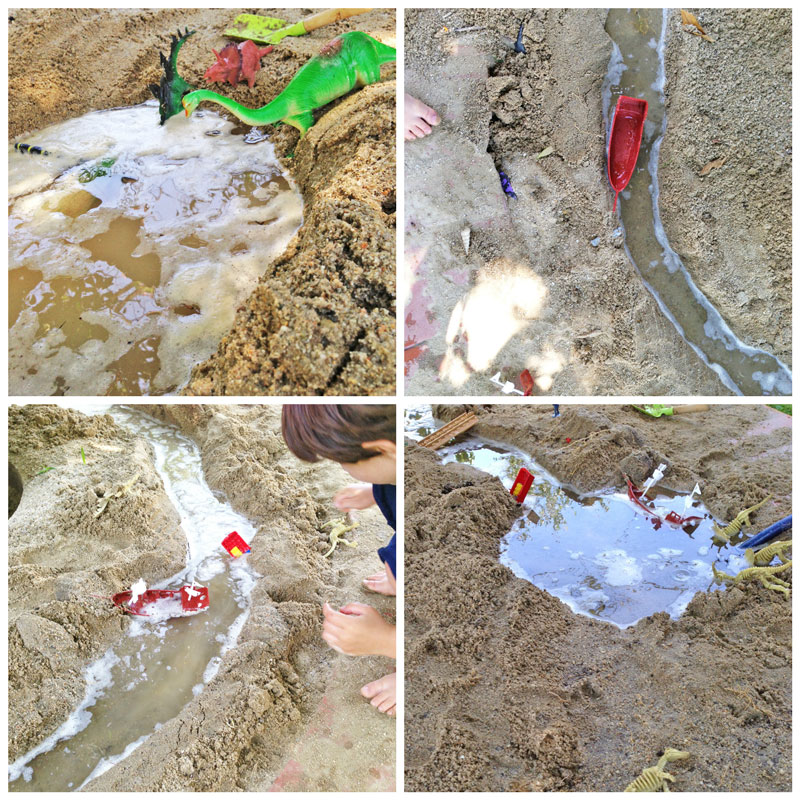
- Asses the topography: Plan your river making sure that there is a point with a slightly higher elevation at the start of the river and a slightly lower point at the end. If you have a flat sand box or sand table make sure to build up the starting area with a little extra sand to raise it up. Trace your proposed route on the sand using a hand trowel. It’s extra fun if you make it long and twisty!
- Start Digging: Start digging the channel through the sand. Once the route is constructed, dig out “lakes” at each end of the channel. Depending on how deep your sandbox is you can even add a waterfall cascading into the lower lake.
- Prepare for Water Once you have created the lakes and channel pack down the sand so the sides don’t immediately slide inward once water is added. If you have rocks or pebbles add them along the banks or at the bottom of the lakes.
- Add water When you’re done creating the river, pull a hose around to the top lake, bury it for added effect with the end of the hose pointing into your lake, then turn on a slow trickle of water. It’s hard for the kids to resist turning the hose on really high but a slow trickle will let the water slowly fill the lakes and percolate into the sand. Within a few minutes the river will start flowing! Add boats, plastic animals, toy soldiers, bridges, matchbox cars, whatever you can think of. My daughter usually follows up this activity by sitting in one of the lakes, I guess she’s the “giant” downriver!
Here is my son’s “River Tour.”
About our sandbox: We have a pretty neat sandbox set-up at our house; the former owners of our home had put in a large planter/bench around one of the orange trees. The planter was filled with some languishing heather plants when my dad had the brilliant suggestion of turning it into a sandbox. I relocated the plants, we purchased a pick-up truck load of sand from a local building materials warehouse and the rest is history! It’s great because it’s up off the ground and shaded, plus it drains.
How to build a river at the playground
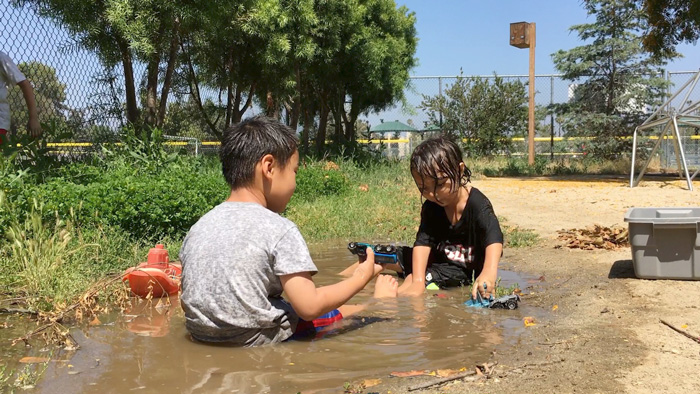
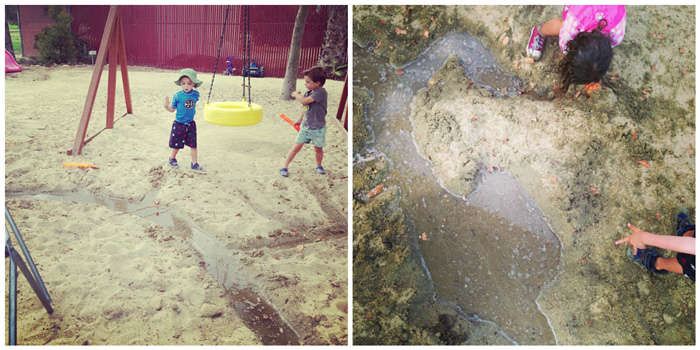
If you are tackling this sand and water play idea on a large scale on a school play area substitute kids shovels for the hand trowels and enlist a group of children to dig the channel. If there are any natural dips or low areas in your playground use them to your advantage. At our camp location there is a natural drainage point that gets muddy and the kids loved it both for floating boats and well…getting muddy!
How to Build Sand Rivers at the Beach
The best place to build a sand river at the ocean is in the stretch of wet sand. Beach sand rivers actually flow upstream since your goal is to connect an upper “lake” with the waves rolling in.
Bring a shovel and start with your lake, then dig a channel all the way to the water. As the waves roll in they will periodically fill the river and if you are lucky you can get it to flow all the way up to the lake. You can also fill the lake and river with seawater using a bucket. This can be a bit time consuming but can definitely enhance a beach sand river.
What’s the STEAM?
This sand and water play idea is full of science and engineering concepts!
The Science
Hydrology
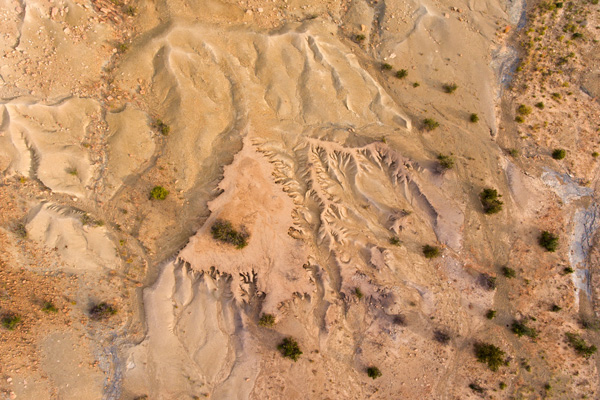
Hydrology is the branch of science that studies water, including its movement, quality, and distribution. Sand rivers are a hands-on demonstration of the forces and constraints in effect as water flows.
Gravity
Gravity is the force that pulls objects towards the earth’s center and keeps objects on the ground. Gravity is also a factor in how water flows. Rivers and streams start as snow and ice in the mountains that melts and begins to flow down the mountain in channels. The water flows down the mountain via gravity and continues to flow downward in elevation until it reaches an end or low point, which is typically a lake or the ocean.
Erosion
Erosion is the process by which land is worn away by wind, water or ice. As water flows it erodes or breaks away the soil along its path carving a wider channel until it reaches capacity. The sand rivers will illustrate this phenomenon as they flow. After awhile the banks of the rivers will be eroded by the water flow and the sand will begin to move around forming a wider channel.
Tides (For the beach rivers)
If you build your sand rivers at the beach you’ll get a bonus lesson on tides. The sea level rises and sinks throughout the day due to the gravitational pull of the moon and sun as the earth rotates.
Depending on the time of day when you build your sand river you may find that the tide is either going in or out. If you build it as the tide is going out you’ll find your river will fill up less and less as the tide recedes. If you build it as the tide is rising your sand river will fill up more and more and may even be washed away at some point! You can check your local tides here.
Engineering
Many branches of engineering use or focus on water related projects and designs. Three that come to mind are civil, environmental and naval engineers. Check out all the engineering for kids that is part of this sand and water play idea:
Water Power
Flowing water is powerful and engineers have utilized this power in different ways to convert it to energy for use in other applications. A simple water powered machine is a water wheel. Water wheels convert the water flow by using it to turn a large wheel, which then turns other gears to perform work. A common historical use was to set up a grinding stone near the water wheel and use it to grind grain into flour.
In modern times hydroelectric power has come into use. Dams are created and some of the water is diverted into turbines (rotating wheels), which convert the energy into electricity.

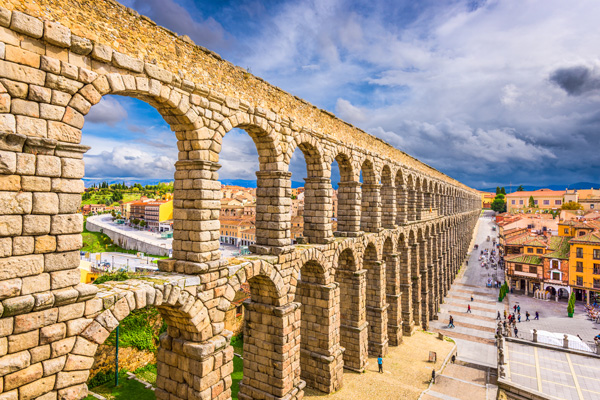
Aqueducts
An aqueduct is an artificial channel used to carry water over distances. Irrigation is the process of supplying land with water artificially.
One of the most famous and controversial aqueducts in the US is the Los Angeles Aqueduct which channels water from the Owens Valley (an area with runoff from the nearby Sierra Nevada Mountains) and diverts it 400 miles south to the metropolis of Los Angeles which is by nature arid and dry. This massive civil engineering project has vastly changed ecosystems in both locations; it effectively ended farming in the Owens Valley and allowed Los Angeles to flourish with a regular water source. The environmental effects of diverting so much water have been at the heart of its controversial nature. From an engineering perspective it has proved how effective irrigation and water transport can be but has illustrated how much this can change ecosystems for better and worse.
Another very famous system of aqueducts was built by the Romans throughout Europe. This section below in Segovia, Spain is famous for the incredible bridging used to support it across the town.
Buoyancy
If you chose to float boats or other objects down your sand river you are getting a lesson in buoyancy. Buoyancy is the ability of objects to float in the water. The buoyancy of an object is determined by its density and by how much water it displaces.
When an object is placed in water, the water pushes upward on the bottom of the object with a force. When the weight of the object is equal to the weight of the water being pushed aside by the object, the object has reached an equilibrium and floats. Buoyancy is also affected by the density of an object. The denser an object is the more likely it is to sink, the less dense it is the more likely it is to float.
More
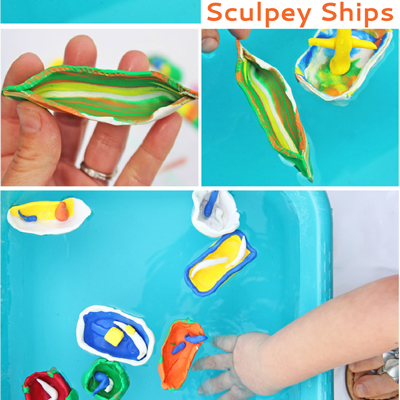
Pair this sand and water play idea with our Sculpey Ships project! The rivers would be a great place to test out ship designs!
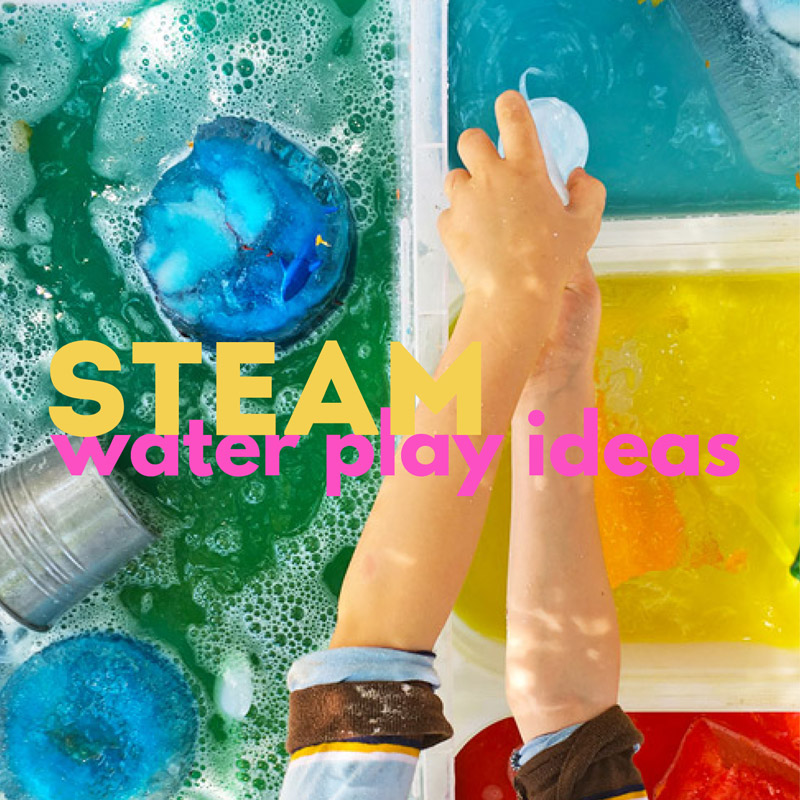
And if you need more cool down STEAM activities check out our post with 10 Irresistible STEAM Water Play Ideas
Conclusion
Did you have any idea there was so much STEAM in this fun project? Not only does sand and water play have so much to teach kids about engineering and science there are also sensory, language development and social skills to be learned from this type of play. Read more about the importance of sand and water play in child development here. And the bigger the rivers, the more of a team effort you need which allows for classroom and sibling teamwork!
Are you passionate about raising creative kids?
Join over 22,179 parents and educators who want connect with kids and nurture their creative process through magical, easy projects you can do TOGETHER.
Subscribe to our email list to receive project ideas as well as offers for some our creative products.
If you want to read our privacy policy before subscribing, hop over here.
A great way to play on these hot summer days! Thanks for sharing in our 100 Days of Play! Your post is now linked and has been shared! Happy to have you joining in the fun!
Thanks so much Rachel!