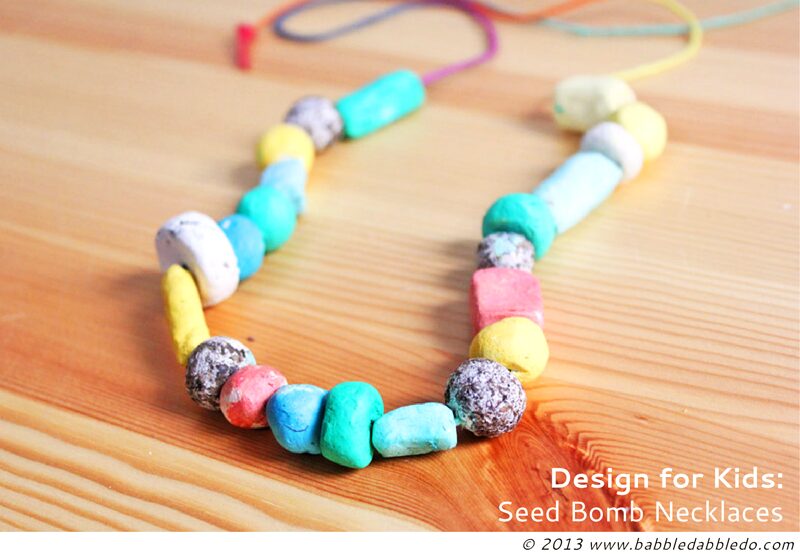
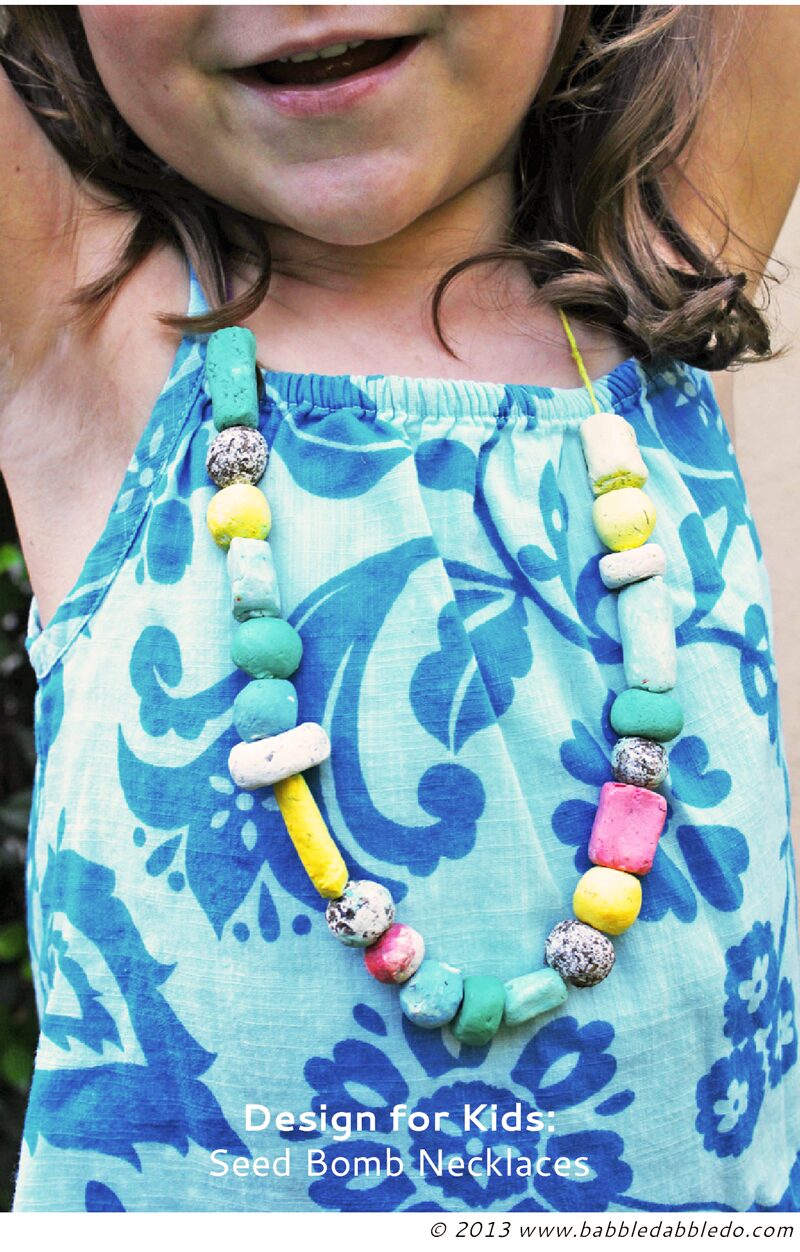
We’re going cross disciplines again with a science and fashion project for kids: Seed Bomb Necklaces. Today we are going to do a project featuring seeds: Make mini seed bombs into beads! Use them for bracelets, necklaces and more.
I am a big fan of guerrilla gardening, which means cultivating gardens on unused, often unsightly parcels of urban land. Imagine secretly scattering wildflower seeds in that dirt lot you pass by every day….One tool of guerrilla gardeners is the seed bomb which I’ve been itching to make for a long time. Seed bombs are little seed balls you can easily throw around town; the ball contains all the necessary ingredients for a plant to start growing once water hits it: seeds and compost.
So why haven’t we made then already? Well, I have have never been a fan of the word bomb. Of course my 6-year-old Battleship loving son begs to differ, he loved the idea of seed missiles. Enter the idea of making seed beads: same idea, but much prettier and more “peaceful” for this modern hippie mother! Plus this project is all about cradle-to-cradle design! What is that you say? Read on!
Note: This post contains affiliate links to products.
Seed Bomb Necklaces
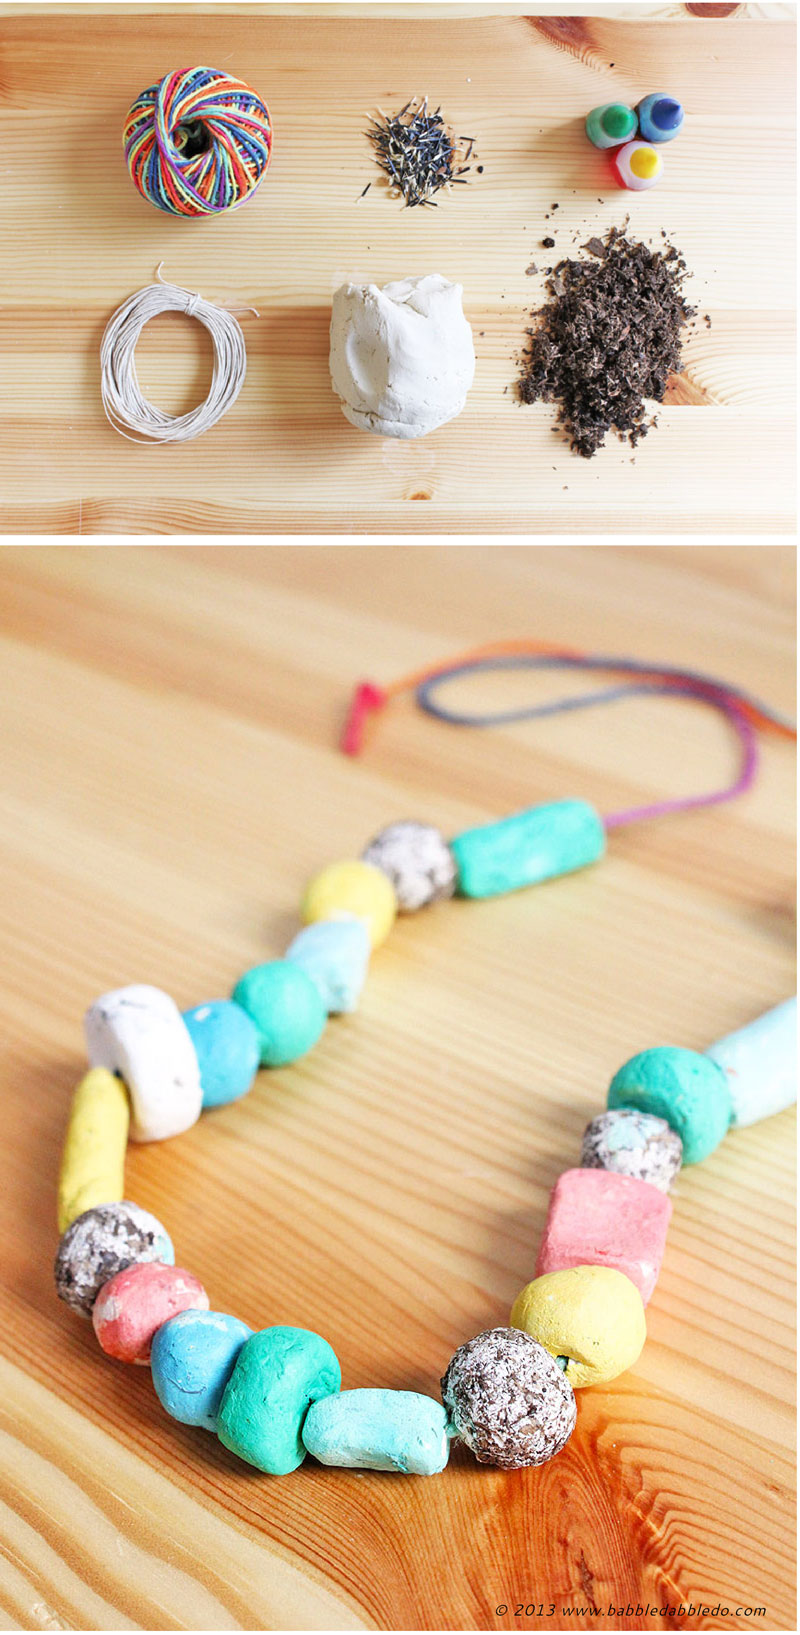
Seed Bomb Materials
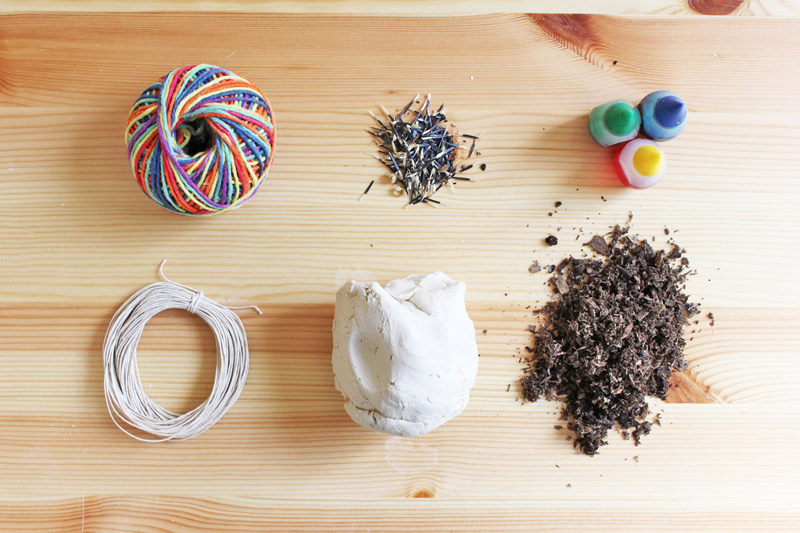
- Air Dry Clay
- Seeds
- Compost
- Bowl
- Toothpicks
- Hemp Twine
(can be found in jewelry making section of craft stores)
- Food coloring
- Paintbrushes
- Glue (optional)
A note on compost: I used compost I purchased at our local garden store. It does contain chicken manure among the other ingredients. I would suggest that if you have a child that puts things in their mouth to avoid using compost that uses any type of manure or animal droppings in the mix. I also suggest children handling or wearing the finished necklaces wash their hands thoroughly prior to eating.
Seed Bomb Instructions

- Step One Place your clay, compost, and seeds in the following ratio (roughly): 5 parts clay + 1 part compost + 1 part seeds
- Step Two Knead together the ingredients to thoroughly mix them up.
- Step Three Start rolling chunks of the seed mix into large bead sized balls. You can also mold the beads in any other shape desired.
- Step Four Using a toothpick pierce a hole completely through the center of each bead. As necessary pat down the end of the hole to smooth it out. If desired you can roll a few of the finished beads in compost to give them a nice little textured surface.
- Step Five Let the beads dry out over 2-3 days.
- Step Six If you want to color your beads, paint them with undiluted food coloring. The food coloring will seep into the clay and the color will mellow as soaks in so do not dilute it with water. Let dry
- Step Seven Cut a length of hemp cord to the necklace size you desire. Knot one end. Depending on the type of cord you may want to dip the open knotted end in glue to form a rigid section that can be easily threaded through the beads.
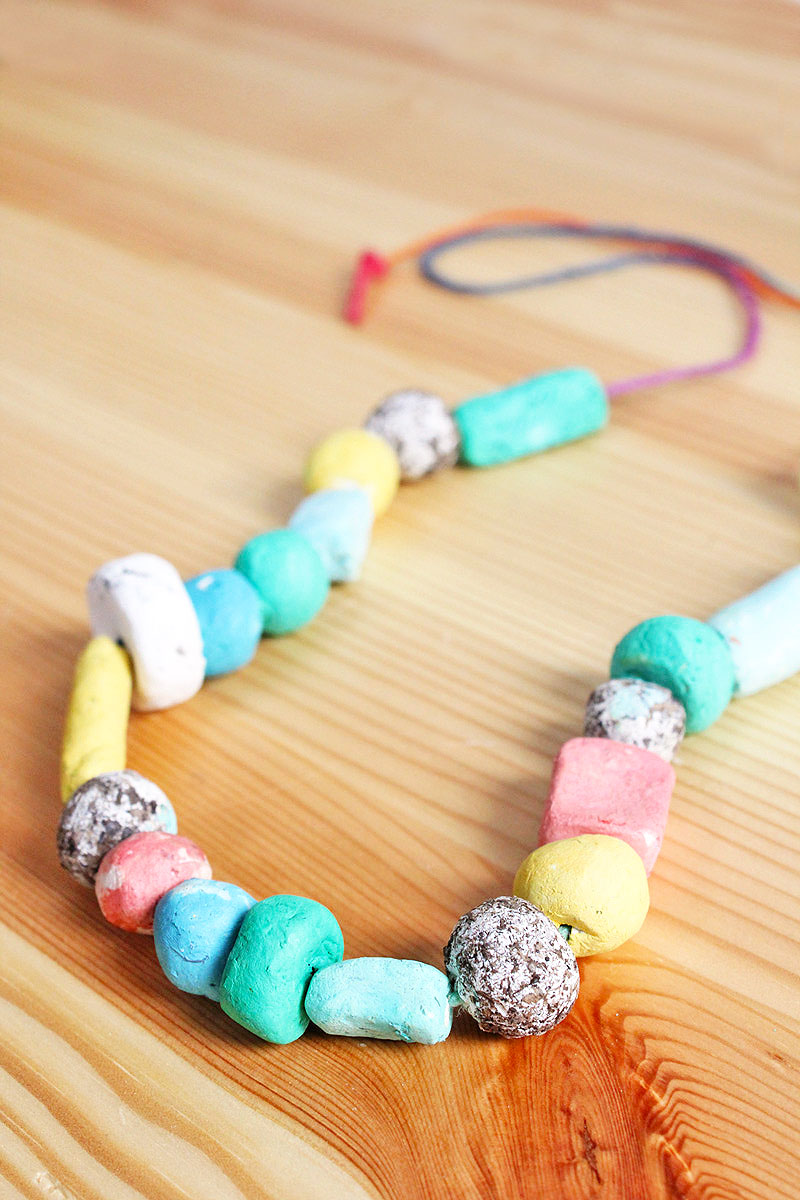
- Step Eight String as many beads as desired onto your necklace. Knot and trim the cord as necessary.
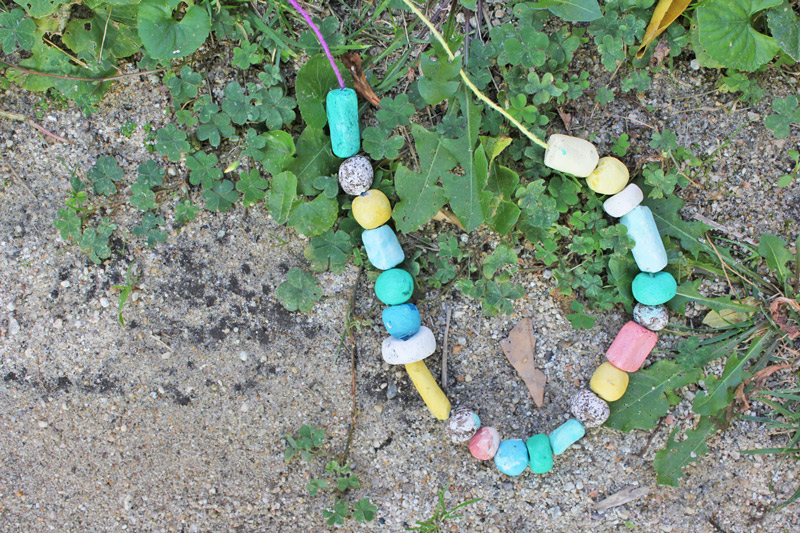
You’re done! When you’re ready to plant the seed bombs simply drop or bury the necklace outdoors. Now truth be told we have thus far only made the necklaces and I have yet to see if they will indeed sprout! I will keep you lovely readers posted on that!
Looks Like
Cradle-to-Cradle Design If you aren’t familiar with this concept it’s the idea that all products should be designed to be reused or recycled in some fashion when people are done with them. That may mean a chair that is designed to be easily disassembled and its parts/materials recycled for use in new products. This concept was all the rage in design school ahem…. 10 years ago, yes I just dated myself…… in fact my entire graduate thesis revolved around it. If you’re inspired to know more you must read Cradle to Cradle: Remaking the Way We Make Things by William McDonough. This book started the revolution!
Our seed bomb necklaces are designed with the cradle-to-cradle concept in mind. When you are tired of them simply toss them in your garden and they will decompose AND hopefully sprout into plants! Even the hemp cord is completely biodegradable. Pretty cool, huh?
More
Want more recycled design projects for kids? Try making some paper or a recycled Birdfeeder Mobile! When you’re done with them, toss ’em on the compost pile. And if you adore the mix of science and fashion don’t miss our Totally Tubular Glitter Bracelets!
So lets start a revolution both in cradle-to-cradle projects for kids and in guerrilla gardening with a fashion twist!
Awesome little necklace, I simply love the colors and shapes!
Thanks Meeha! I love your style so I’m really flattered by your comment 🙂
I love this project so much! My daughter and I have gathered the materials and are going to make some of these this weekend. Just wondering if you did indeed plant yours and if anything sprouted?
Thanks so much for sharing this.
Hi Anna,
I did scatter them around our yard but am unsure if they sprouted. I did it at the wrong time of year too. Keep me posted if yours sprout!