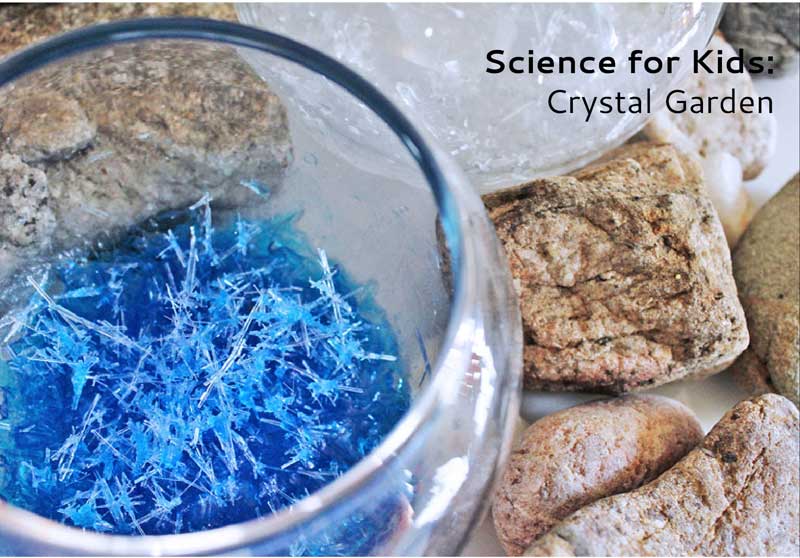
Want to learn how to how to grow salt crystals overnight using easy to find materials? Of course you do!
Any exploration of science for kids is not complete without growing some crystals….am I right? In fact, at the science fair this past year crystal growing projects were the project de jour, and I can understand why, growing a Crystal Garden has ranked pretty high up there on my list of fun science experiments since I myself was a kid!
Now one of the big drawbacks to many crystal growing projects is the time involved. I’ll be honest, I am not a patient woman and though I proselytize patience to my kids, I’m not a very good example of this virtue! So days of waiting for a crystal garden to grow pretty much sent this idea to the “someday” list. That is until I discovered Epsom salt crystals….leave them overnight and wake up to magic! Oh how much do I love thee Epsom Salt!
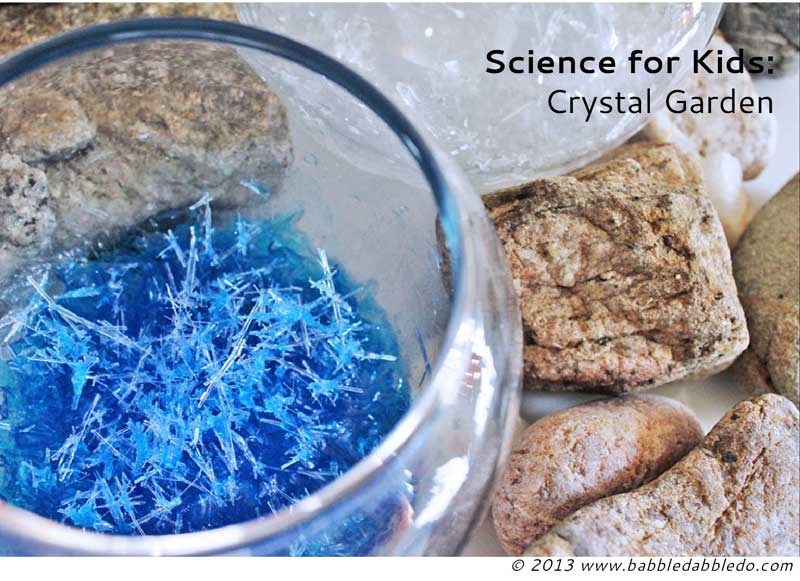
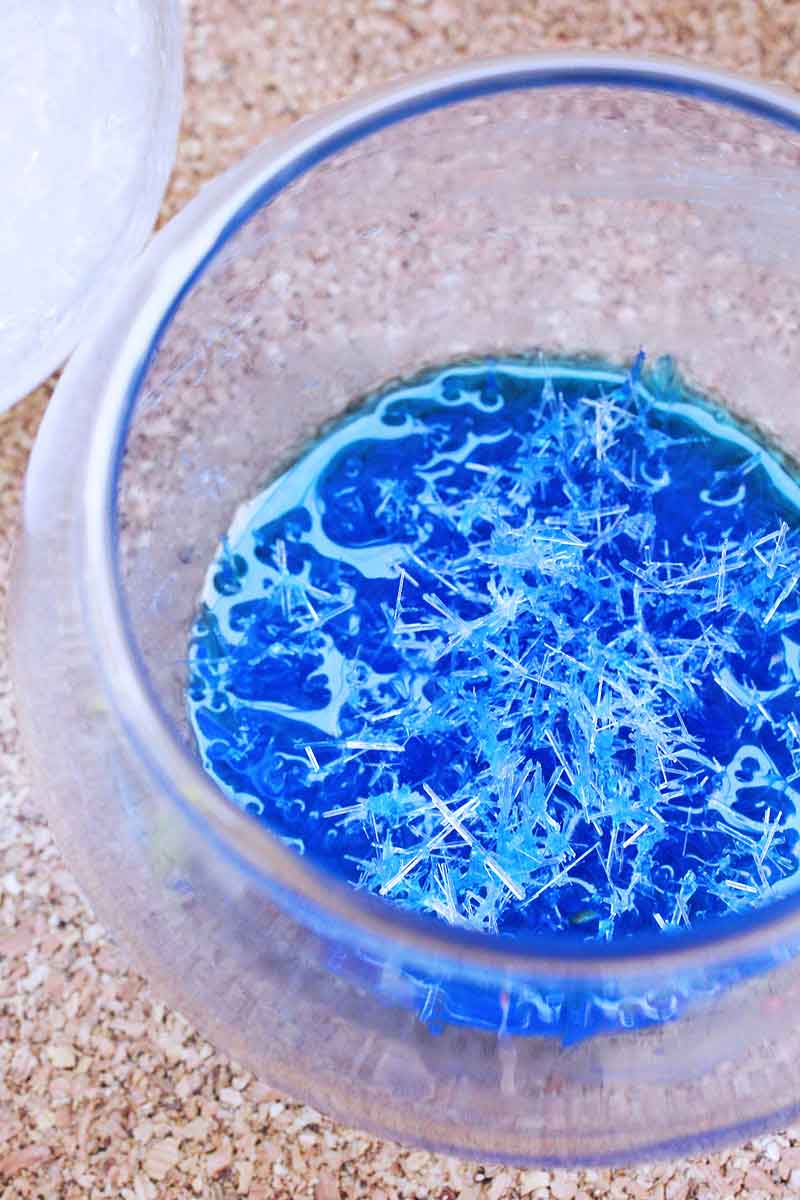
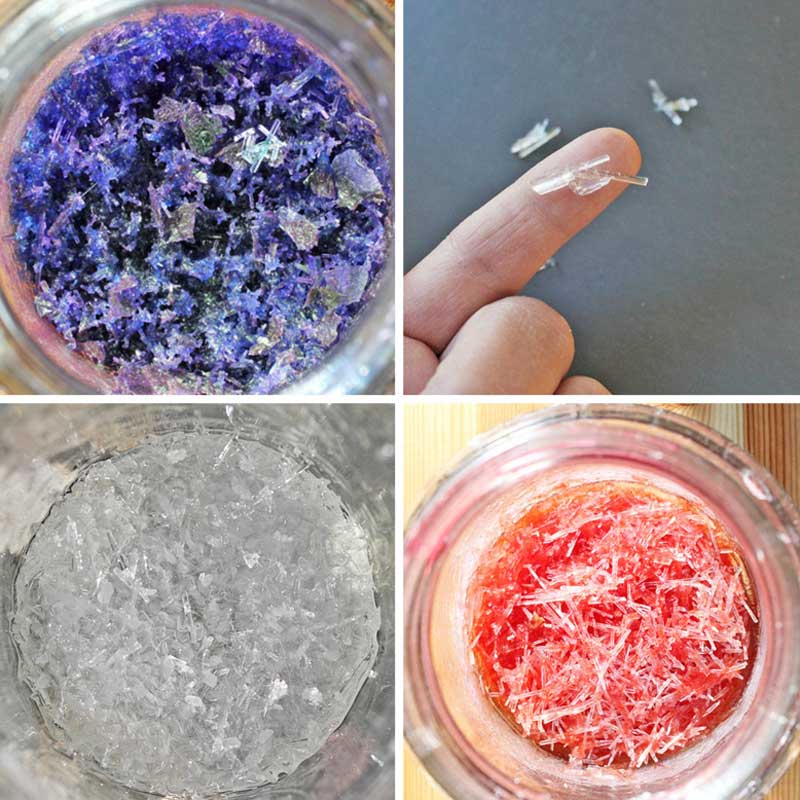
Before we get started let me clarify, growing crystals using Epsom salt will not yield giant geodes bursting with color; Epsom salt crystals are small, delicate, and slivery. Instead of one or two mega crystals this science experiment for kids will give you hundreds of miniature crystals; they look a little bit like shards of glass and if you’re lucky you may get a few that look like snowflakes…
Also plan on making 3-4 crystal gardens. The crystals grow differently, some were delicate and lacy, other were more rocky and gem like. Be sure to make a bunch to delight you and the kids!
This post contains affiliate links to products I love and recommend to my readers.
How to Grow Salt Crystals Overnight
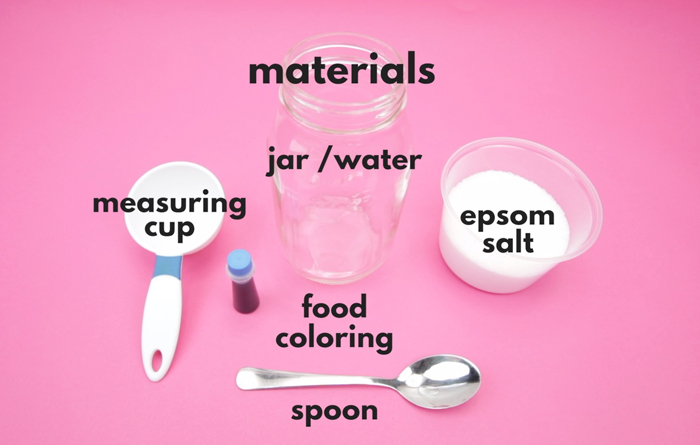
Materials
- Epsom Salt
- Clean Glass jars Buy in bulk here
- Food Coloring (optional)
- Hot Tap Water
- Bowl or glass measuring cup
- Spoon
- Pebble or sand
- Microwave (optional)
- Epsom Salt
Instructions
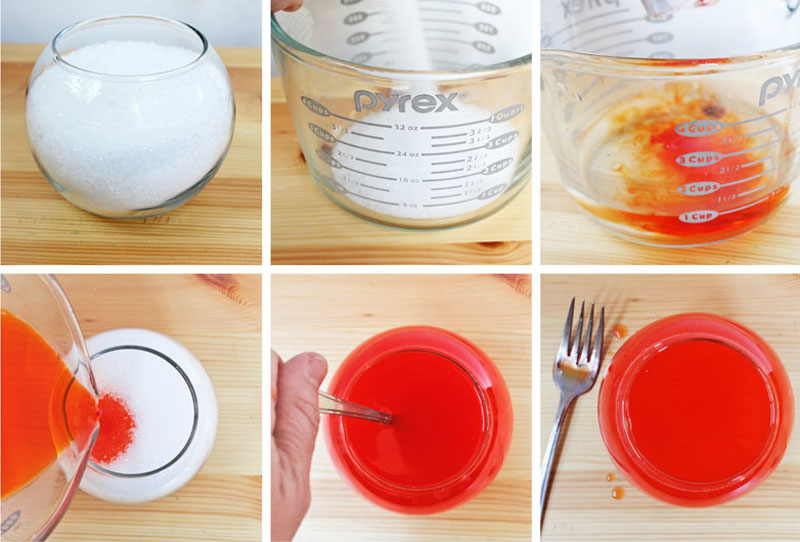
- Step One | Measure You will be using a ratio of 1:1 water to Epsom Salt for this project. Add 1 cup of Epsom salt to your jar/votive. If you are working with larger jars feel free to add more salt but be sure to make a note of how much so you can add the same amount of water.
- Step Two | Heat the Water Add 1 cup of water to a microwave safe bowl. Heat the water in the microwave for 45 seconds. Alternatively use very hot tap water and skip the microwave.
- Step Three | Add Color If you are using color, add a dash of food coloring to the water. Stir.
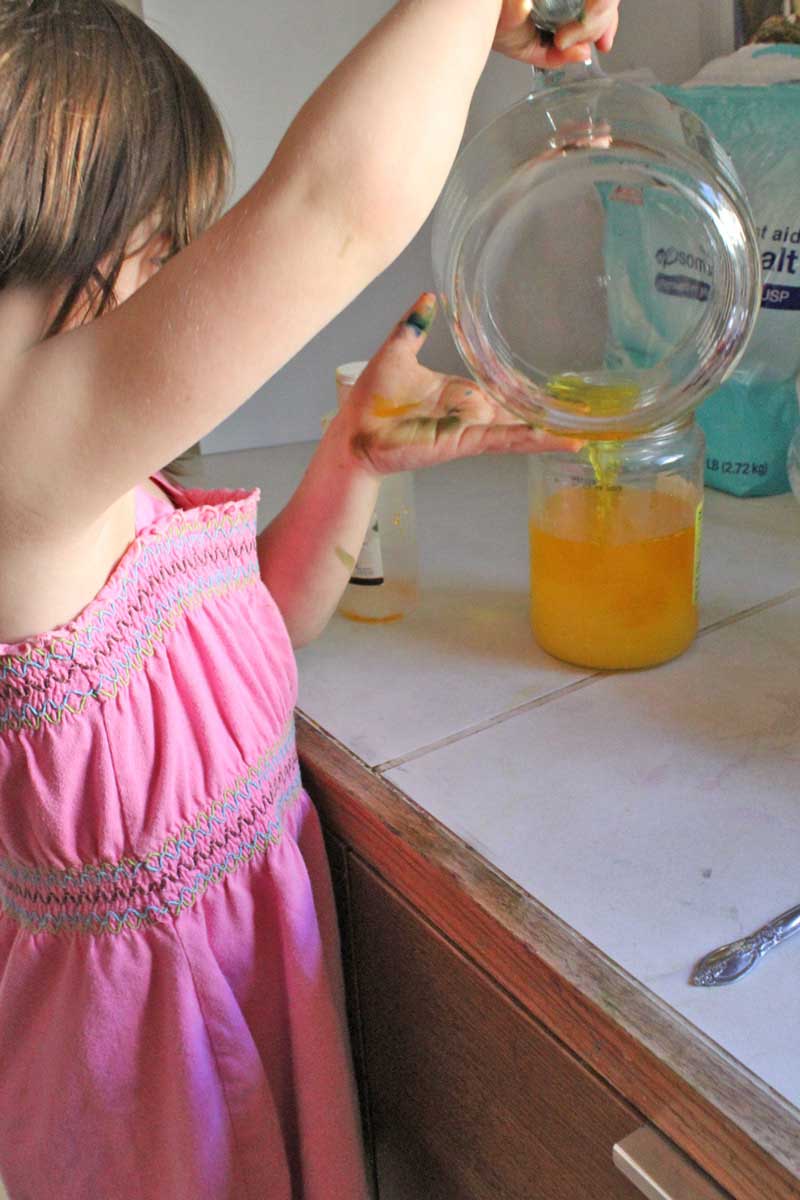
- Step Four | Combine Pour the water into the jar with the salt. Stir the salt and water for 1-2 minutes to dissolve the salt. Don’t worry if some of the salt remains undissolved at the bottom of the jar.
- Step Five | Cool Drop in a pebble or a few grains of sand. Crystals need something to grow on and one little impurity in the water like grain of sand will should help ensure they have a place to nucleate.
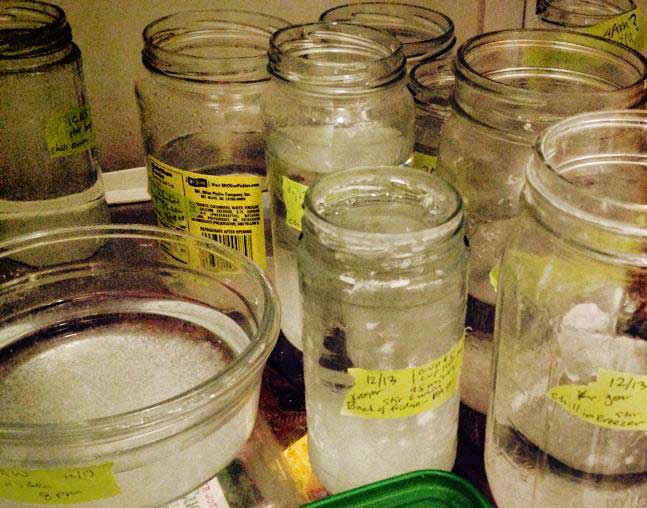
- Step Six | Cool Place the jar in the back of your refrigerator. Alternatively, quick cool the mixture for 10 minutes in the freezer and then move it to the refrigerator. Cooling in the freezer first yielded crystal growth in 90% of our experiments. We had just a slightly lower success rate going straight from mixing to the fridge.
- Step Seven | Let ’em Grow Leave the mixture overnight in the fridge. Crystals may start forming in as little as 3 hours but we got the best results when we made the gardens in the evening and left them to sit undisturbed overnight Bonus: My daughter was excited to wake up and see how they had grown!
- Step Eight | The Reveal Carefully pour out the extra liquid. It’s okay to leave a little liquid at the bottom of the jar. If you colored your water it will be hard to see if any crystals have grown until the excess liquid is removed. Clear water is easy to check.
- Step Nine | Clean Use a wet paper towel to gently wipe away excess salt and color that may be on the upper portion of the jar. This will help you see the lovely crystal garden through the glass. Be careful not to damage any of your crystals!
You’re done! Hand the kids a magnifying glass for additional exploration. My kids really wanted to touch the crystals. That’s okay but let them know they are delicate and break easily.
Tips & Troubleshooting
Science for kids is not without trial and error! Here are some tips I learned after repeating this experiment over 20 times…
- Don’t overheat the water! I know it’s tempting to really heat that water up to make the salt dissolve, but all the experiments we did with really hot water, heated more than 45 seconds in the microwave, failed miserably.
- Stir for at least one to two minutes! This is tough one for littler kids. My daughter was done stirring within a few seconds but you really need to get that water super saturated with salt to make the crystals grow. The less dissolved the salt is the smaller the crystals will be and worst case they may not grow at all.
- Let them grow even longer in the fridge. Leave them in the fridge longer than overnight and they should continue to grow. I left a few in the fridge for a over a week and the results got even better!
- DO NOT let them sit in water at room temperature. Any crystals that have formed will deteriorate in the water at room temp. Once the crystals have formed and you want to preserve them you will need to pour out the water. I had some gorgeous crystals form in the fridge over the course of a week or so and I took them out and left them on the counter in the water. I came back the next morning to find they had flattened out. The one garden I poured the water out of remained stunning.
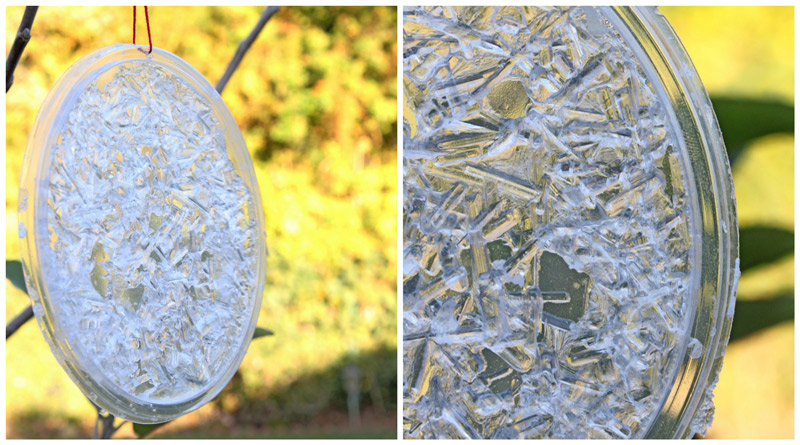
- Make a Crystal Suncatcher with the leftover water!
Let’s Talk Science
Here are a few terms we need to know to understand the chemistry involved in learning how to grow salt crystals:
- Crystals Crystals are a type of material that is formed by patterns of repeating molecules. To the naked eye they have flat surfaces and facets. Crystals form when a liquid cools very slowly and/or when water evaporates from a chemical mixture leaving behind the solute (see below) whose molecules re-form into new geometric shapes i.e. crystals
- Solute A substance dissolves in another substance.
- Saturation When a mineral like salt (the solute in this project) is dissolved in water, the water can only hold certain amount of the solute. A liquid is saturated when the maximum amount of solute is dissolved in it. Hot liquids can hold more solute than cold liquids.
- Nucleation & seed crystals When an impurity is introduced into a saturated solution the solute will begin to recrystallize around that impurity. This is the site of nucleation. Often a large crystal is used to grow smaller crystals, this is a seed crystal. In our experiment the sand and pebbles are acting as the seed crystal.
What is happening in this project:
In our overnights crystals we first mix up a super saturated batch of salt water. As the mixture both cools in the refrigerator and the water begins to evaporate, the atoms in the salt start reforming around the pebbles and/or sand particles causing the salt crystals to reform in new geometric formations.
How to turn this in a Science Fair Project
Let’s turn this topic into an experiment! Here’s how you can take this to the science fair:
- Ask yourself questions Some question ideas: What are the best materials for nucleation? What is the ideal temperature for crystal growth- you can explore the water temperature or the temperature in the refrigerator. What is the ideal salt/water ratio for crystal growth?
- Research Do research online and at the library to try and predict the answer to your question. For instance, research seed crystals, saturation, and the best methods for growing crystals.
- Make a hypothesis A hypothesis is your prediction of the answer to your question based on your research. It may or may not be true.
- Experiment! Test you your hypothesis by testing the variables and documenting them. Be sure to take notes of each experiment and what happens; this is called your data.
Examples:
Experiment with nucleation materials Try crowing crystals using sand, rocks, dust, glitter, etc. as your seed crystal. Does that change the way the crystals form? Does the size of the object make a difference in the way the crystals form?
Test different temperatures Try using different water temperatures to grow crystals. Does that change the way they grow? Try cooling the crystals at different temperatures, i.e. in the freezer, refrigerator, room temperature, and observe what happens.
Find the best salt/water ratio for crystal growth We used a 1:1 ratio in this experiment but what happens if you vary that ratio? Experiment and document the results.
- Draw conclusions Based on your experiments form a conclusion. Was your hypothesis correct?
- Share your findings Create a presentation with your findings. Include your research, hypothese, the data you collected and your conclusions. Be sure to include images and samples
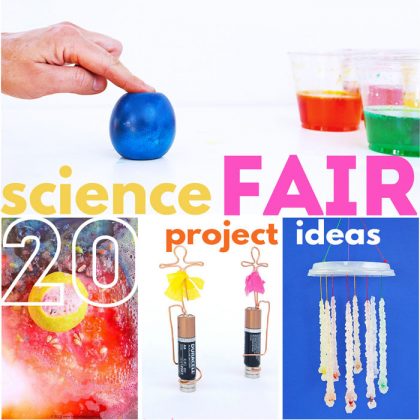
See more Science Fair Project ideas here
Now that you know how to grow salt crystals, here’s a little something you can try with the leftover saturated water: Make Crystal Suncatchers:
learning how to make crystals from epsom salt is really simple and a great idea for a science fair project!
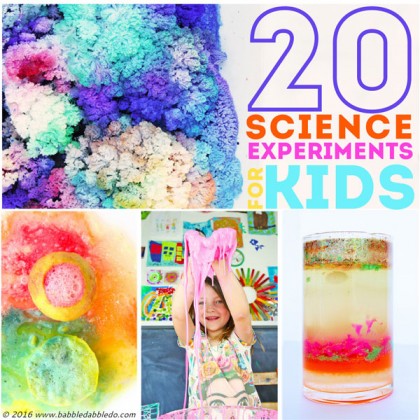
For more fun science experiment ideas for kids hop over here
Are you passionate about raising creative kids?
Join over 22,179 parents and educators who want connect with kids and nurture their creative process through magical, easy projects you can do TOGETHER.
Subscribe to our email list to receive project ideas as well as offers for some our creative products.
If you want to read our privacy policy before subscribing, hop over here.

What a fun idea! I tried this last night and only one of my three jars grew the crystals. I wonder what the secret is? Like you, I thought I did each jar exactly the same way. I think it must have something to do with the heating of the water. We’re excited to try the suncatchers! Just stumbled across your blog yesterday and really like the concept and ideas! My kids and I look forward to trying more of your projects soon. Thanks!
Hi Holly, I’m so glad you tried the experiment! I had some batches with more duds than successes and some batches where all of them grew! I wish I knew a chemist who might be able to illuminate me on why….I agree it must have something to do with the heating and cooling of the water. Did you try quick cooling a batch in the freezer for 5-10 minutes? That seemed to help get most of them growing. Also one more tip: Continue to let any that have crystallized grow in the fridge for at least a week. The crystals continue to grow over time! I left a few in the back of my fridge and checked on them one day and some of them had grown into even more impressive crystals. I’m going to write a follow-up on the post suggesting that too because some of the crystals were stunning!
We did not keep ours in the refrigerator or cold. We did not pour off the water. We suspended a string and paper clip and set them on the table. As the water evaporated more crystals grew.
Ooooh Jan I love this variation! I will have to try it!!! Thanks for the great suggestion!
All I have is kosher salt. Will that work as good as the epsome salt?
Unfortunately not. But Epsom salt is easily found at your local drug store,
this works great I cant wait to do it again i think I have to tell everybody about it
I couldn’t get as many to grow either. Maybe I have to keep them in the refrigerator longer I guess.
Anyways, thank you so much for this tutorial, Ana! Not only is this project fun for kids, but I have to admit that I had way more fun than I should have haha 😉
It was suggested to me to place a small catalyst in the jar, a pebble or something else to give the crystals something to grow on. I also just wrote a new post about Borax Crystals which are super easy to grow: https://babbledabbledo.com/borax-crystal-wind-catchers/
Do you have to keep them cold? Could my kids take them to school to show their class or would they turn to a watery substance like jello….? Thanks!
Hi Adriane,
Once the crystals have formed you can pour out the water and they don’t need to be chilled. Mine have been happily living in our kitchen for several weeks. They will harden even more over time and develop some white edges as they fully dry out. A couple tips: 1) Leave them in the fridge longer than overnight and they should continue to grow. I left a few in the fridge for a over a week and the results got even better! 2) DO NOT take them out and leave them in the water at room temp. They will deteriorate in the water at room temp. Hope that makes sense! 3) When pouring out the water save some for a Crystal Sucatcher.
Take a pic when you have made your garden and post it on our FB page. I’d love to see how they turn out!
Happy Experimenting!
Ana
Ana
will plastic containers work or does it have to be glass?
Thanks for stopping by Nate ! I tried plastic containers but did not get good results. You can try it but I do reccommend glass 🙂
About how hot it the water? I know microwaves heat differently. Thanks.
Hi Christy,
That’s hard to say…..I microwaved mine for 45 seconds but also had luck with piping hot water from the tap. I wish I had a thermometer….I’d try heating water in the microwave for 30-45 seconds for a couple gardens, and the try and some hot tap water with a couple other gardens (inevitably some gardens grow and some don’t).
Hope that helps!
Ana
Sooooo cool!! Totally trying ASAP! I love your science ideas!
I hope you guys enjoy it Stephanie!
Why some were ‘duds:
The secret is that you need a ‘nucleation site’ – a place where the crystals can get together and start forming a big structure. In chemistry labs they often put back in one tiny crystal at the end before leaving it to cool as this will act as a great place for the crystals to start growing from. Normally the crystals find some way to do this anyhow, either using a piece of dust or some other impurity in the water, or from using a scratch or bumpy surface on the glass vessel. In the cases where nothing happened, try adding a tiny epsom salt crystal into the solution and see if that gets it going?
I have been trying to figure it out and this is such a great answer! I will try this and see if this does the trick 🙂 I really appreciate your feedback!
I tried this experiment and it was growing crystals in a couple of days but doesn’t it needs I sponge so it will stick to the crystals. My science teacher said I needed a sponge to have the crystals on it. Can I use the same procedures to make it with a sponge.
Epsom crystals do not require a sponge to grow on but many other crystals do, like bluing and salt crystals 🙂
very very very very very very very very very very very very very very very very very very very very very cool im doing this for a scince fair project
oh I am pinning this idea to do over our summer holidays!! My kids will LOVE this!
Would I be able to take the crystal to school? Or would the crystal start to melt? Please answer! I have science project due!
You can take it to school if you leave it in the glass container. These last a few weeks 🙂
Okay thank you so much!
Wondering if I can use food colours instead of watercolours!?
Yes! You can!
I think the reason you have duds is because you don’t have nucleation sites present in your super saturated solution. If you try again, throw in a few grains of sand or sugar to your cooled mix.
I’m a material scientist… Theoretically this should work 🙂
HI Holly, Another header said the same thing! I will have to try the experiment again with a few grains of sand mixed in. Thanks for deciphering that mystery for me!
Awesomeness
Thank you!
i was wondering if you could eat the crystals
Hi Evan, No, these crystals should NOT be eaten. If you want to make edible crystals I suggest googling rock candy and making those. They are made from sugar 🙂
Hi um I need help because for school we are doing a science project (I’m in 8th grade) and I’m doing it in a group we were going to do this project on the crystallization of salt and I’m doing a research paragraph on why does epsom salt crystallize but I can’t find anything on the subject do you have any ideas i would be very grateful
Hi Kat, This site might have some info or some links to more crystal science info 🙂 http://www.waynesthisandthat.com/crystals.htm
Ok thanks for your help
Thank you soooooo much, science expo soon, had a massive panic as my little girls science experiment wnt drastically wrong. Found this website, mums a hero now. Thanks
lisa
Awesome!!! Post a pic of your crystals to our FB page!
I have found this works better with something to grow on and a supersaturated solution. The grandkids and I made Christmas ornaments with Epsom salts and pipe cleaners.
Thanks for the tip!
A great article. Thank you very much
I just found your site from frugalfun4boys and I’m hooked! Do you know of any early readers for science activities? My son has no interest in reading but loves science…I’m hoping to bribe him to read by experimenting along the way ?
Man how did I miss your lovely comment? Thank you for the kind words!!! I don’t know of any early readers but check out the site What Do We Do All Day. There are excellent book lists on it!
Hi I tried this last night I did a batch with food coloring and glitter and another batch just plain I hanged a string in one and yarn in the other I notice that the ones with the string grew and the ones with the yarn didn’t, I also tried this experiment with iodize salt (not recommended) and also the one with the string grew and the one in the yarn didn’t, what could be the reason ? If anybody knows please let me know
Very interesting observations. I have heard that crystals grow better with an impurity in the saturated solution. Was the yarn cotton or synthetic?
Wow!!! I just finished today and the results were amazing!!! Love the idea! 😛
Woo hoo! Love hearing this!
Can you use food color instead of the liquid water colors?
Yes! Great substitution!
Can I use Iodized salt instead of epsom? It’s all I have.
If I can’t can I use scented epsom salt?
I think scented might work!
Unfortunately you need Epsom salt. But it’s super easy to find in drugstores and large supermarkets in the health/first aid sections. A big bag costs a few dollars 🙂
I made a couple crystal jars. One is actually in a small glass bottle but im wondering if there is a way to get rid of all the water so itll last forever. Any thoughts?
Simply pour off the excess water 🙂 Be careful so you don’t break the crystals
Lise Latour asks????
If I make the crystals in a mason Jar, and the next day,put the cover on tight can I give them as gifts????? Will they always stay As beautiful as they are the first night????
Make sure to drain the water. They should stay as is though keep in mind they can be fragile so if the jar gets dumped a lot some may break.
I love the idea for the sun catcher I think it would be fun to do this with Gson.
Hi, I am wondering if I can use food coloring instead of water coloring? Thanks
It’s a perfect substitute 🙂