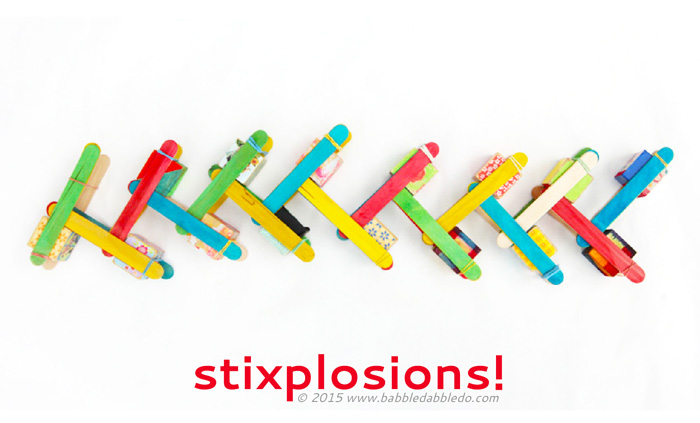
Learn about chain reactions as well as potential and kinetic energy in this “explosive” STEAM project! I’m back today with another project in our collaborative series STEAM POWER: Empowering kids to explore the world through creative projects. Today’s topic is REACT and we are making STIXPLOSIONS!
 REACT can mean so many things; it’s a term often used in chemistry, but we decided to explore chain reactions for today’s project. A chain reaction is a process in which putting certain items together promotes the spread of the reaction. It can also refer to a series of events that start in one place and each build upon the previous event. The easiest example is falling dominoes. I have wanted to try some chain reaction projects ever since I saw this video. Impressive right?
![]()
There are many types of chain reactions and after weighing my family’s attention span with the “wow” factor of the project, I decided to try one of the easiest chain reactions to set-up: Clever Levers or as I call it Stixplosions! My daughter went nuts for this project. We tried it one night and she woke up the next day asking to make more.
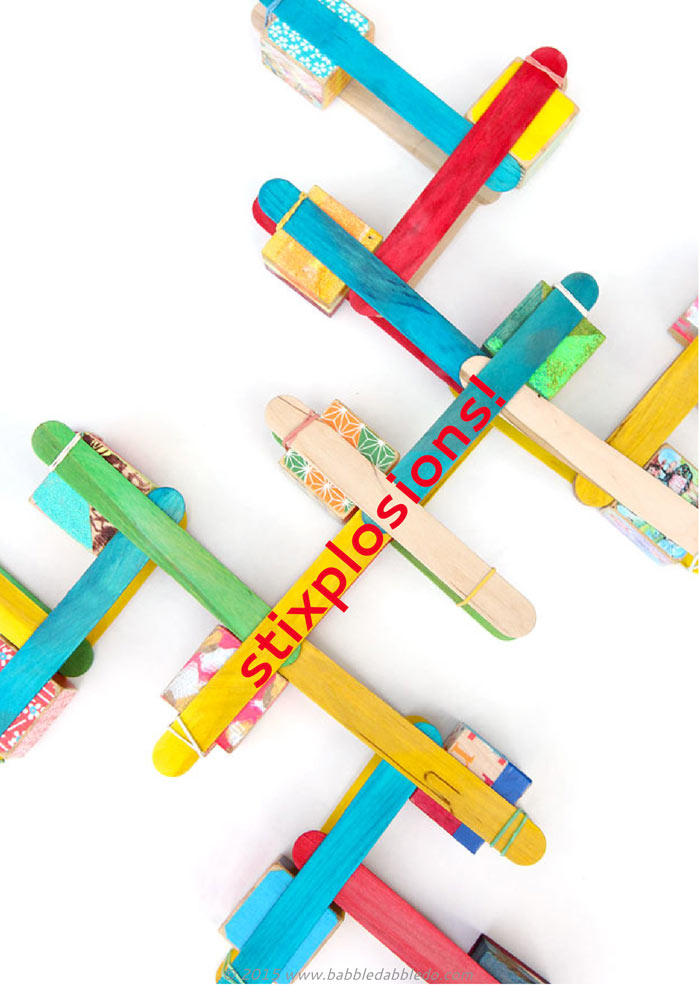
GREAT CHAIN REACTION STARTING PROJECT Clever Levers take a minimal amount of time to set-up and give you a quick powerful “explosion”. They are easy for one person to set-up and are simple enough for kids to make themselves, some of the other popsicle stick reactions require a lot of dexterity and patience when assembling. Clever Levers utilize the stored energy in both popsicle sticks and rubber bands. We’ll tell you all about potential energy and kinetic energy later in this post. This is also a fantastic resource to get you started with stick bombs.
This post contains affiliate links to products.
Chain Reactions Activity: Stixplosions!
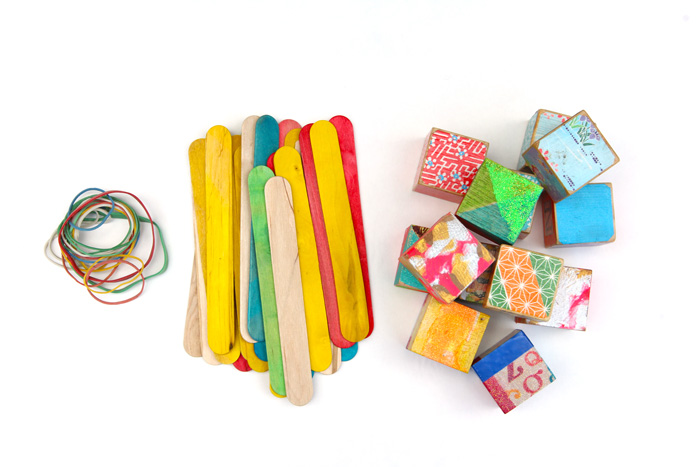
Materials
- Jumbo Craft Sticks
- 1 1/2″ Wood Blocks– we used something like this
but you can also try Duplos or KEVA Planks
or something similar
- Rubber Bands
Instructions
How much time do you have to invest? The stixplosions shown in the video take about 5 minutes to set-up.
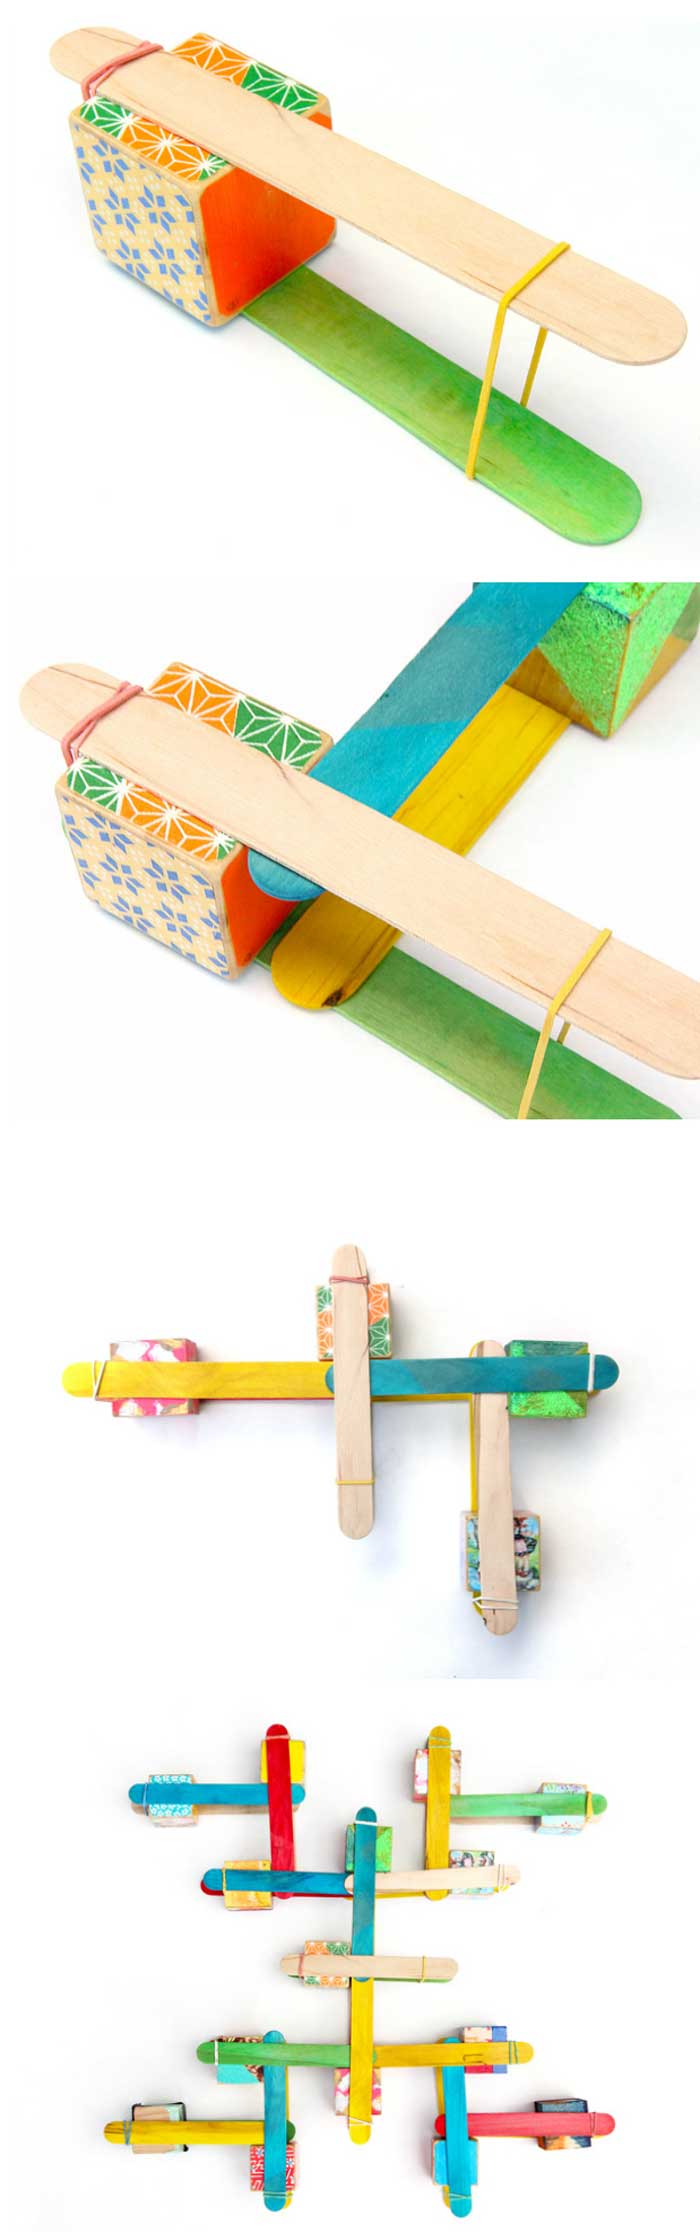
- Step One Make your first Clever Lever. Place two popsicle sticks on either side of one block. The block should be near the end of the sticks. Place a rubber band around the end of the sticks NEAR the block. Now place a second rubber band around the other end of the sticks to hold the lever together. This 2nd rubber band is your DETONATION POINT. Place the clever lever on a table or floor in an open area.
- Step Two Build a second clever lever, omitting the second rubber band. Place the open end of the lever between the sticks in the first clever lever, right next to the block.
- Step Three Repeat Step Two as many times as you can handle it. You can build a quick chain reaction with just a few clever levers but the more levers you add the more power you will get.
- Step Four To detonate your stixplosion remove the rubber band at the DETONATION POINT while pressing down on the free end of the sticks. Now let go!
Boom! The sticks go flying! It’s fast! This is a fun project to try and film with your phone and then slow down the footage. The popsicle sticks are like action heroes falling to the wayside in the midst of big explosions. Can you tell I like MacGyver?
Tips
- To build your chain reactions quickly, make a lot of clever levers at once using a second rubber band to hold each lever together. When you are ready to set-up you reaction, place the first lever at the starting point then add each subsequent lever, removing the second rubber band as you place each lever under the next one.
- If you decide to add additional sticks to your levers (see below) only add them on the TOP of the lever. The bottom sticks stay put during the explosion.
Variations & Experiments
There are lots of variations and factors you can play around with to see if you can get different reactions. Here are few to try:
- Double and triple your sticks Add a second and/or third stick to the TOP of the lever. This will harness a little more potential energy AND make for more flying sticks!
- Double your blocks Making tall levers by doubling the blocks and really expanding those rubber bands gives you a more powerful explosion.
- Vary the rubber bands We used an assortment of rubber bands but I imagine if you use really strong, thick rubber bands only you can make more powerful explosions.
- Add items on tops of the levers We tried adding action figures on the end of our levers to see if we could make them fly. You could try putting things like marshmallows on top of each lever to get more flying action.
What’s happening?
Chain reactions When the first clever lever explodes it pushes on the sticks in the next lever and each subsequent lever does the same thing, creating a chain reaction. It’s a very fast!
Stixplosions also demonstrate two physics concepts: Kinetic and Potential Energy.
- Kinetic energy is the energy of an object in motion. Think of a bowling ball flying down a lane, once it’s rolled, it has a lot of energy that it uses to knock down the pins. In our experiment the kinetic energy is the energy of the moving sticks as they fly away.
- Potential Energy is stored energy. Objects may be motionless but have the potential to be very powerful. In our experiment the clever levers have a lot of potential energy stored in both the stretched rubber bands and the popsicle sticks held in tension.
Looks Like
Tim Fort. Tim Fort is an American maker/artist who pretty much is the expert on stick bombs. He has written a fabulous article on the history of stick bombs you can see here. He creates huge installations of chain reactions for art installations and his work falls into the category of Kinetic art. Kinetic art is art that relies on motion for its effect, think of mobiles and moving sculptures. Painters like Jackson Pollock are considered kinetic painters because they applied paint in an action based method rather than a deliberate planned application.
If you are salivating to try more chain reaction projects you should definitely see some of Tim Fort’s videos for inspiration.
Conclusion & More
Ready for more reactions? My fellow bloggers have done a wide variety of REACTIONS project you have to check out!
Hop over and see these posts:
Glowing Hands – All for the Boys
Rainbow Reactions– Lemon Lime Adventures
Smoosh Paintings – Meri Cherry
Rube Goldberg Machine – Tinkerlab
Colorful Chemical Reactions – Frugal Fun For Boys
Color Changing Chemistry Clock – Left Brain Craft Brain
Inertia Zoom Ball – What Do We Do All Day
![]() To see more posts in our STEAM Powered series hop over here:
To see more posts in our STEAM Powered series hop over here:
Dancing Balloons
Stixplosions
Tiny Dancers
Flextangles
Crystal Landscapes
Are you passionate about raising creative kids?
Join over 22,179 parents and educators who want connect with kids and nurture their creative process through magical, easy projects you can do TOGETHER.
Subscribe to our email list to receive project ideas as well as offers for some our creative products.
If you want to read our privacy policy before subscribing, hop over here.
Spread creative ideas like wildfire: Pin this!
Ana, what a crazy-cool idea!! I’m blown away.
Thanks so much Rachelle, clearly we both love chain reactions 😉
Love love love this! All the color makes me want to do this right now. Oh and I’m sure my daughter would have fun too 😉
Yay!!!!
This is SO cool!
Thanks! We had a BLAST with it 😉
I seriously can’t even deal with you and the coolness of every aspect of this post and that freaking video. ANA!!!! You’re amazing!!!
Mwah!
Why am I having a hard time finding the video for the Stixplosions? I see the links to the other videos (with the herringbone, solo cups, etc.) Please advise, thanks!
It should be embedded in the post. Can you ese it there?
I’m interested in starting STEAM and applying it within my curriculum. Can I ask which part of this would be the arts integration? Thank you in advance!
Hi!
I just wanted to say thank you! I love your projects. I work with several kid bloggers to help promote good content on their social media. Your posts never disappoint and your images are beautiful.
I know how much time it takes to put together good quality posts and, for what it’s worth, I see a lot of wonderful effort here.
Thanks again!
Marie
Thank you Marie!
Ana, I could see this lesson/craft working really well with teaching kids bond angles and flexibility! Thank you!