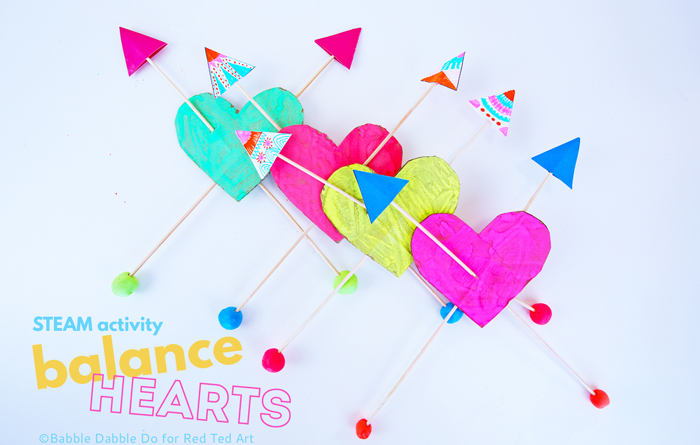
Let’s engineer ourselves a little Balance Toy from easy to find and recycled materials!

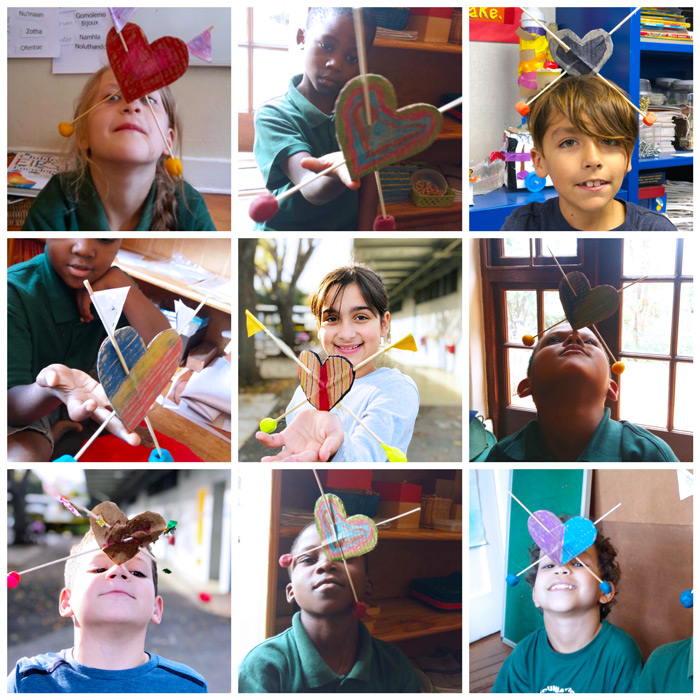
I originally published the Balance Hearts project as part of 31 Days of Love Series on Red Ted Art. After publishing it I received a wonderful email from a teacher in in the small country of Lesotho who shared images of her students with their balance hearts! I was floored! There is nothing more rewarding about blogging than seeing smiles from students halfway around the world enjoying a project developed on the blog.
Fast forward to this past month and I introduced the projects to students in our Afterschool STEAM program. They were equally as crazy about this projects as their counterparts in Lesotho. To see pictures of the kids with their hearts scroll down.

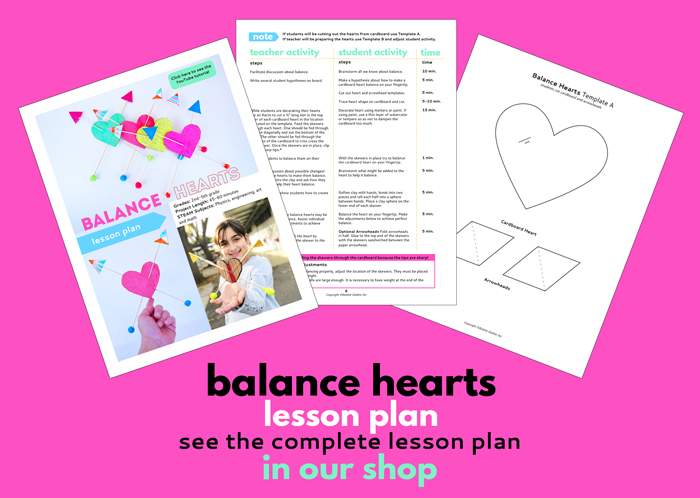
So let’s get started making this wonderful physics toys. Be sure to scroll down for the STEAM topics covered and if you are an educator or homeschooler I encourage you to check out the lesson plan I developed for the project so you can share it with your students as well!
Note: This project was created for Valentine’s Day but also fun any time of year!
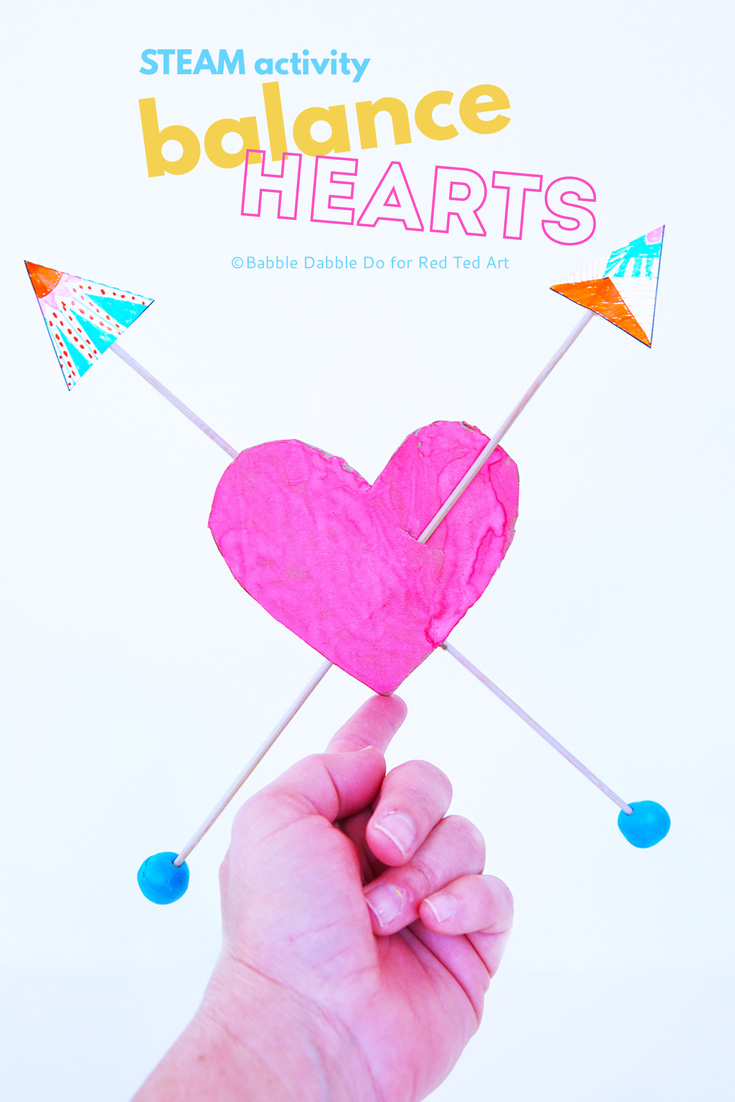
DIY Balance Toy: Balance Hearts
DOWNLOAD TEMPLATE HERE
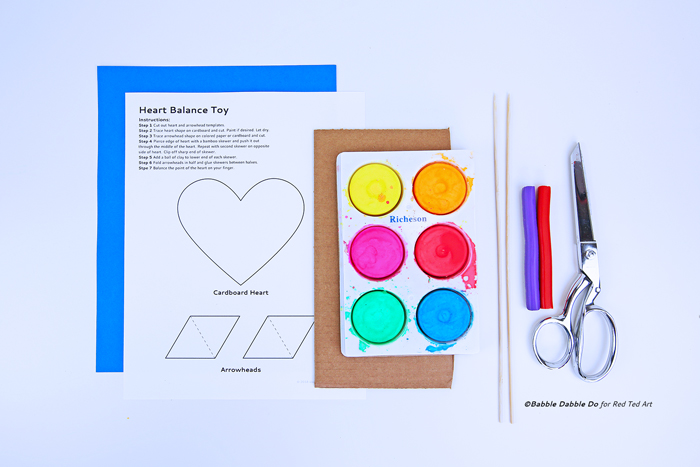
Materials
- Template Download here
- Cardboard
- Bamboo skewers
- Clay
- Cardstock
- Scissors
- Sharpies
- Paint & brush
- Glue
- Pencil
- Xacto
Instructions
Note: An alternative to painting the hearts is decorating them using Sharpies. This eliminates the need for any paint drying time.
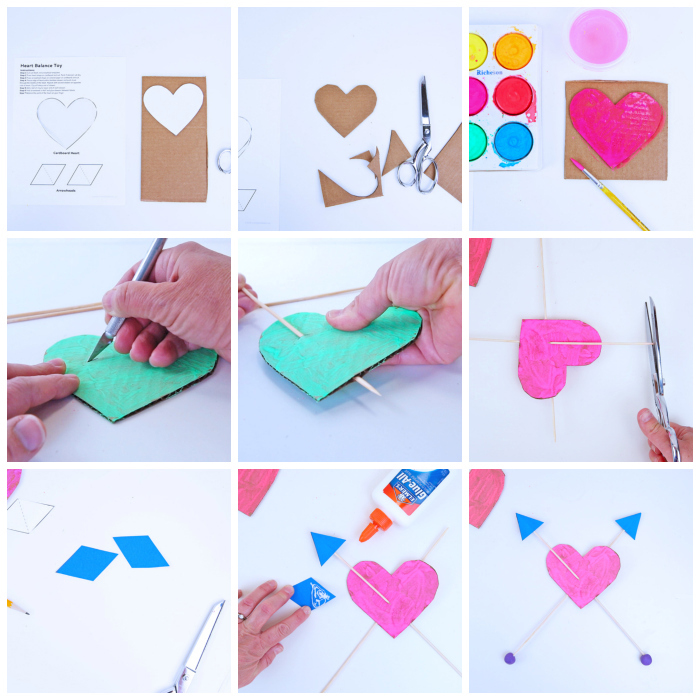
- Step 1 Cut out heart and arrowhead templates.
- Step 2 Trace heart shape on cardboard and cut.
- Step 3 Decorate heart using markers or paint. If using paint, use a thin layer of watercolor or tempera so as not to dampen the cardboard too much.
- Step 4 Using an Xacto (adults only please) cut a ½” long slot in the top layer of the cardboard heart just above and to the side of the center. Carefully feed one of the skewers through the slot and out the edge of the cardboard. BE CAREFUL! The skewer ends are sharp. Don’t poke yourself! One should be fed through the slot diagonally and out the bottom of the heart. The other should be fed through the thickness of the cardboard to criss cross the first skewer. Once the skewers are in place, clip off the sharp tips
- Step 5 Soften clay with hands, break into two pieces and roll each half into a sphere between hands. Place a clay sphere on the lower end of each skewer.
- Step 6 Balance the heart on your fingertip. Make the adjustments below to achieve perfect balance.
Optional Arrowheads Fold arrowheads in half. Glue to the top end of the skewers with the skewers sandwiched between the paper arrowhead.
Adjustments
- If your heart isn’t balancing properly, adjust the location of the skewers. Make sure they are placed at about the same height.
- Also make sure the clay balls are large enough. You need to have weight at the end of the skewers to balance the toy.
Tips:
- Skip cutting the arrowheads out of colored paper and instead decorate plain paper arrowheads with your own design!
- Write a message on each side of the heart and give to someone you love for Valentine’s Day!

Let’s Talk STEAM
Balance hearts are kinetic sculptures that illustrate the following STEAM concepts:
Science
- Balance Balance is the even distribution of weight, which allows an object to remain upright.
- Center of gravity Gravity is the force that pulls objects towards the earth’s center. In our everyday lives it’s the force that keeps us on the ground. The center of gravity is the point in which the weight of an object or body is perfectly balanced so that the object will not fall over. Objects with a lower center of gravity are more stable than those with a higher center of gravity. This is why it’s easier to tip over a water bottle than a tin can.
Engineering
An engineer tests and re-tests a design to arrive at the best possible solution. Here are some experiments an engineer might do to understand how the balance hearts work and to test the final solution. Ask your students to experiment with these changes and see how the affect the behavior of the sculpture:
- What happens if you add the weight to the top of the skewers? Can it balance?
- Experiment with different sized clay spheres. Which size makes the heart easiest to balance?
- Adjust the location of the skewers. What happens if the end of the skewer is close to the heart’s pivot point? What happens if it is far away?
Art & Math
Additional art and math concepts covered in this project are included in our Lesson Plan.

Conclusion
This is a simple DIY balance toy that illustrates so many different concepts! Once you realize all the education packed into this simple project you will be excited share it with your kids and students!
For more Valentine’s Day activities with a STEAM twist check out: Magnetic Magic, Paper Pulp Heart Pendants, and our printable Optical Illusion Valentines.
Are you passionate about raising creative kids?
Join over 22,179 parents and educators who want connect with kids and nurture their creative process through magical, easy projects you can do TOGETHER.
Subscribe to our email list to receive project ideas as well as offers for some our creative products.
If you want to read our privacy policy before subscribing, hop over here.
I was disappointed at first because my heart would just fall over. Than I made the clay balls bigger, and IT WORKED. My Balancing Heart is sitting on the top ledge of my computer as I type. Where can I find some scientific explanations about this activity? I am presenting it to 4-H leaders on Saturday at a conference, and I would to be able to provide them (as well as myself) with the scienitifc infornation.
Thank you for sharing this project.
I finally added the science behind these to the post! I hope you’ll check it out again with the updated info 🙂