The most frequent question I receive whenever I post about slime is: What is the best basic slime recipe? After testing many, many slime recipes over the years I have few I would call “the best”, depending on what you are looking for and whom you are working with.
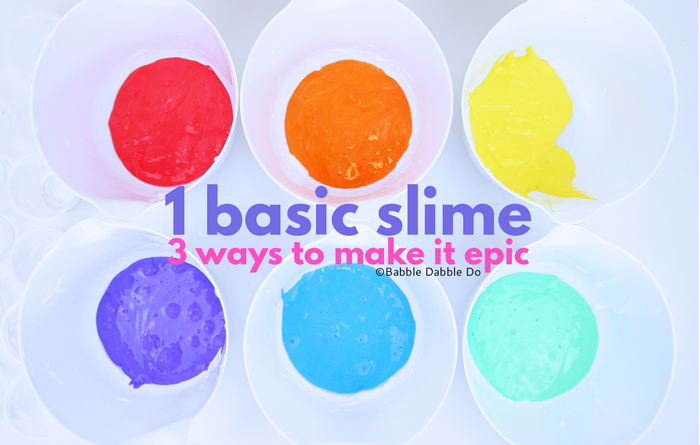
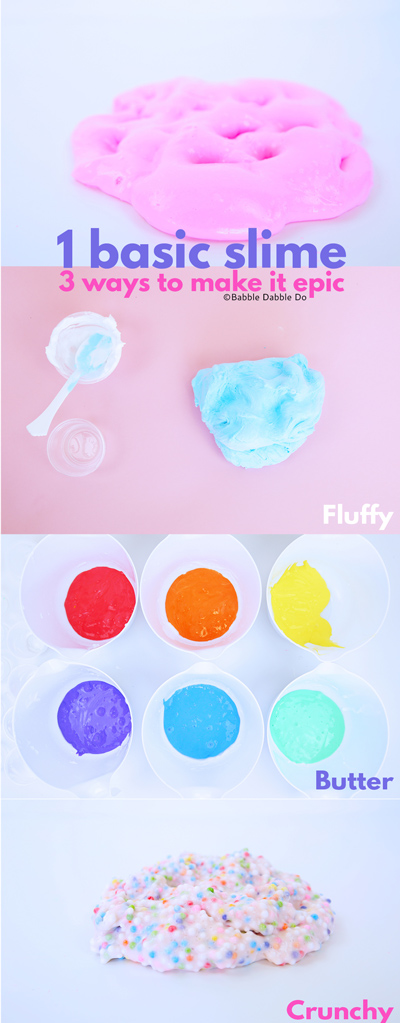
My personal favorite slime is clear slime but it’s definitely not suitable for younger kids, as it has a lot of steps and is less stretchy than white glue slime. But overall I have one recipe I return to over and over again because it is EASY, uses only two ingredients, and is super stretchy so today I’d like to present to you the best basic slime recipe and how to turn it into fluffy slime, butter slime, and crunchy slime.
This post contains affiliate links to products.
Now let me start out by saying that this slime is made with liquid starch. I realize that liquid starch is not available in every country. According to my friend Asia at Fun At Home with Kids this is a great substitute if liquid starch is unavailable. The ratios should be roughly the same as those in the recipes below but you may need to do some fine-tuning.
I also want you guys to be sure to check out my slime tips and tricks section below the recipes. Having watched kids make slime hundreds of times I have amassed quite a few ideas on how to fix all your slime making problems!
The Best Basic Slime Recipe
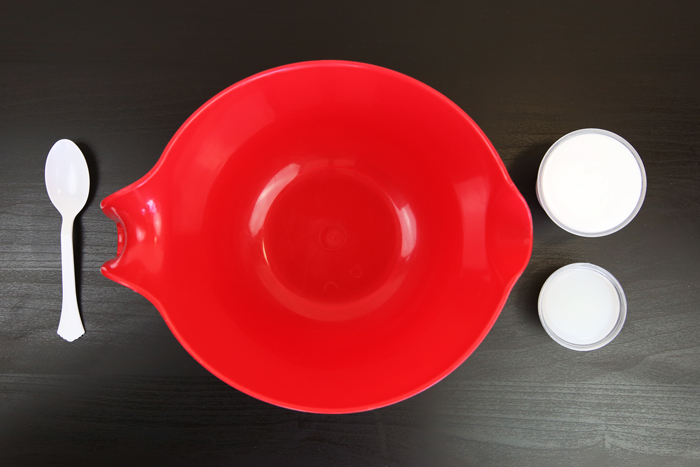
Materials
- White glue
- Liquid starch
- Bowl & spoon
Instructions
- Step One Pour 4 oz. of white glue into a mixing bowl
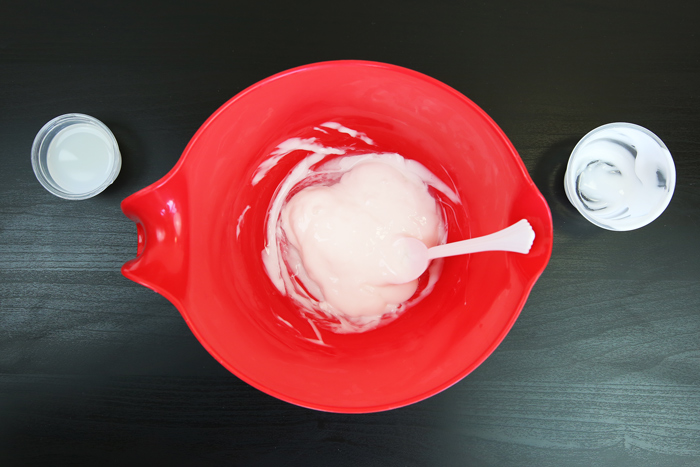
- Step Two Add 2 oz. of liquid starch a little bit at a time. Important: Adding it in slowly and mixing it each time makes for much stretchier slime!
- Step Three Once all the starch is mixed in, begin kneading the mixture with your hands.
- Step Four When the slime begins to pull away from the sides of the bowl take it out of the bowl and begin kneading and stretching it. This is really important for the combining the ingredients (you are actually creating a very strong and stretchy polymer when you do this!)
- Step Five Store in an airtight container.
Basic Slime Recipe Variation 1:
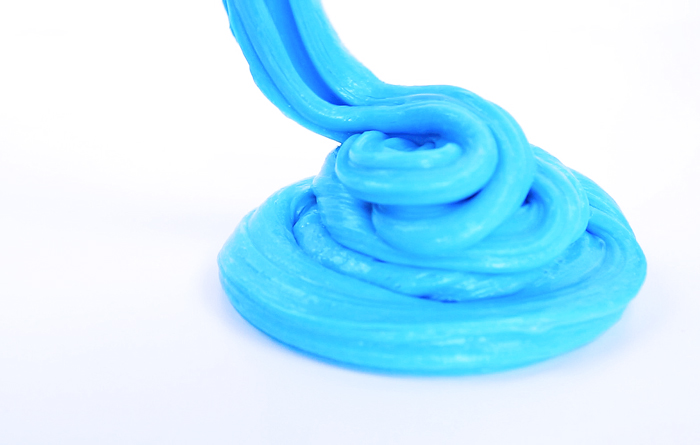
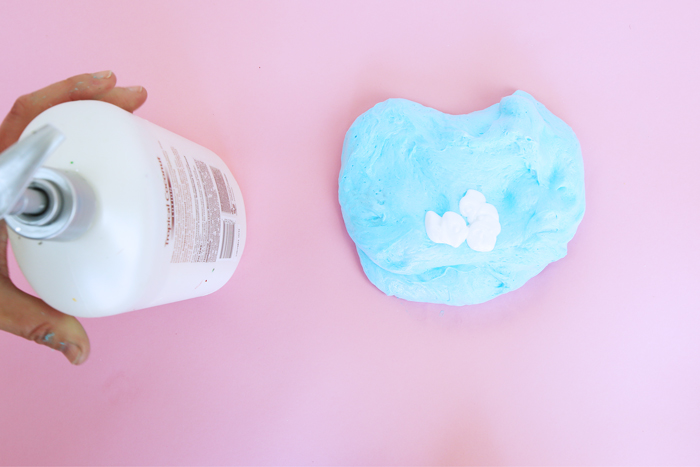
How to Make Fluffy Slime
Hands down fluffy slime is THE BEST recipe for little ones. It’s a great sensory play experience and unlike the basic recipe does not get stringy at any point. It is also BIG! The shaving cream makes it feel light, fluffy, and cloud-like.
 Materials
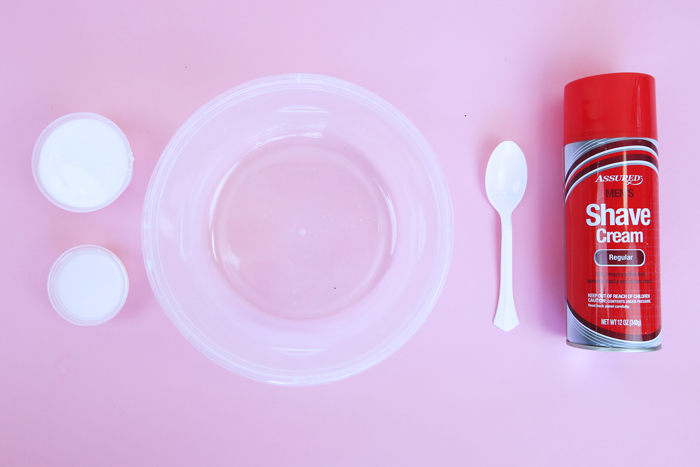 Materials
- White glue
- Liquid starch
- Shaving cream Tip: Buy it at the dollar store!
- Food coloring
- Lotion
- Bowl & spoon
Instructions

- Step One Pour 4 oz. of white glue into a mixing bowl
- Step Two Add 8 oz. of shaving cream and a good squeeze of food coloring and mix with the glue.
- Step Three Add 2 oz. of liquid starch a little bit at a time. Once all the starch is mixed in, begin kneading the mixture with your hands.
- Step Four When the slime begins to pull away from the sides of the bowl take it out of the bowl and begin kneading and stretching it. If you find your slime is not stretchy enough add in a few squirts of lotion and knead to combine.
- Step Five Store in an airtight container when done.
Basic Slime Recipe Variation 2:
How to Make Butter Slime
Out of all the variations to the basic recipe, butter slime is my favorite. The soft clay makes butter slime super stretchy and adds lovely shades of color.

Materials
- White glue
- Liquid starch
- Soft Clay We used this clay from Amazon- the colors are amazing!
- Bowl & spoon
Instructions

- Step One Pour 4 oz. of white glue into a mixing bowl
- Step Two Add 2 oz. of liquid starch a little bit at a time.
- Step Three Once all the starch is mixed in, begin kneading the mixture with your hands.
- Step Four When the slime begins to pull away from the sides of the bowl take it out of the bowl and begin kneading and stretching it.
- Step Five Place a chunk of soft clay in the center of your slime. Gather up the slime and clay and knead to fully combine.
- Step Six Store in an airtight container when done.
Basic Slime Recipe Variation 3:
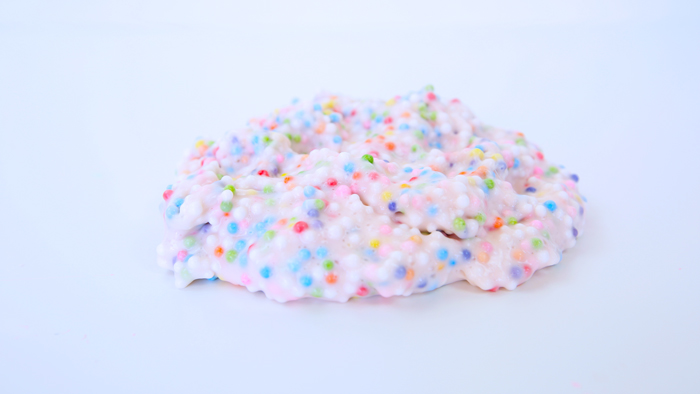
How to Make Crunchy Slime
Crucnhy slime is hard to resist pulling apart and watching all colorful beads disperse. Note: The dye from the beads will slightly color the crunchy slime so there is no need for extra color.
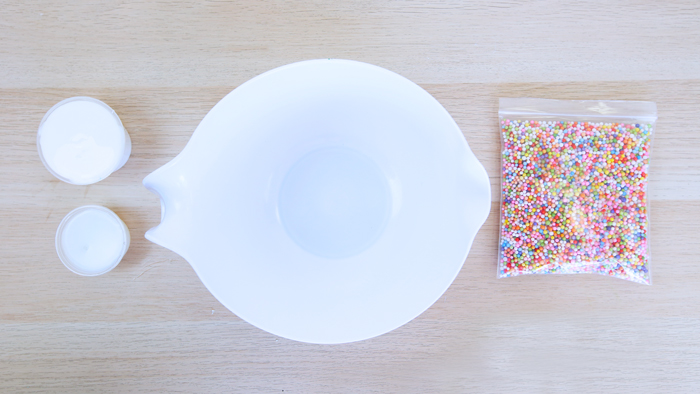
Materials
- White glue
- Liquid starch
- Foam Beads
- Bowl & spoon
Instructions
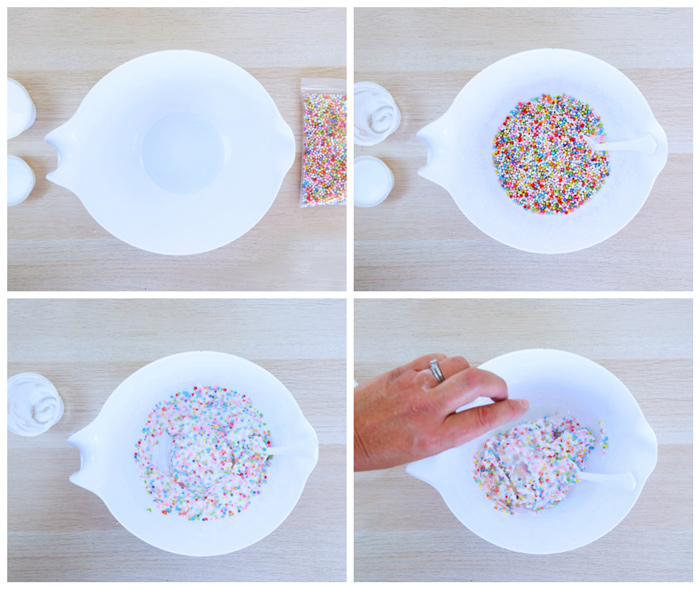
- Step One Pour 4 oz. of white glue into a mixing bowl
- Step Two Add about 8-12 oz of foam beads and mix with the glue.
- Step Three Add 2 oz. of liquid starch a little bit at a time and begin kneading the mixture with your hands.
- Step Four When the slime begins to pull away from the sides of the bowl take it out of the bowl and begin kneading and stretching it.
- Step Five Store in an airtight container when done.
Tips and Tricks for Making Slime
- Lotion commotion If you have slime that breaks apart when you stretch it, add lotion a few squirts at a time and knead to combine. Be careful though, too much and your slime will become a stretchy mess.
- Temperature matters! Temperature really affects viscosity (read about it here ) and depending on how warm or cold it is where you are making slime, you may see some differences in your slime. On hot days I usually use less starch and on colder days I might need a little more.
- Movement matters too. If you move your hands too slowly while handling slime it tends to stick to your fingers. If you move your hands quickly and handle the slime like pizza dough it tends to behave more like a solid. This is because slime is a non-Newtonian fluid. Read about it here.
- How to refresh your slime. As slime sits in a container it does settle and get more gooey. Refresh it by removing it from the container and kneading it between your hands for few minutes.
- It’s on my clothes! Got slime everywhere and now you are panicking? Don’t worry. Slime is easily dissolved by white vinegar. I recommend having some on hand at all times when playing with and making slime.
- Contain the mess. The best way to contain slime messes is to use a large tray. I love these from IKEA. Having a defined work area helps to keep kids slime in one place.
- Storage Most slime will last indefinitely if stored in an airtight container. That said, I’ve found some moldy slime around our house. The best way to prevent mold from forming is to keep the container tightly closed and to make sure your hands are clean before you make slime so you are not unwittingly adding in something that will cause mold to grow.
- Best Slime Containers Want to know what the best slime containers are? I buy these deli containers from our local restaurant supply store in bulk. They are fairly inexpensive, stack well, and are airtight!
Advanced Slime Recipes
Once you’ve mastered this basic slime you are probably ready to venture on to some more advanced techniques! I’m working a new post with some of these for you but until then here are few to try:
Chalkboard Slime
Clear Slime
Kinetic Slime
Are you passionate about raising creative kids?
Join over 22,179 parents and educators who want connect with kids and nurture their creative process through magical, easy projects you can do TOGETHER.
Subscribe to our email list to receive project ideas as well as offers for some our creative products.
If you want to read our privacy policy before subscribing, hop over here.
Leave a Reply