There are so many slime recipes, each usually featuring a different activator, and today I am going to share how to make slime with baking soda and contact lens solution.
This post is sponsored by Arm & Hammer. All opinions are my own.
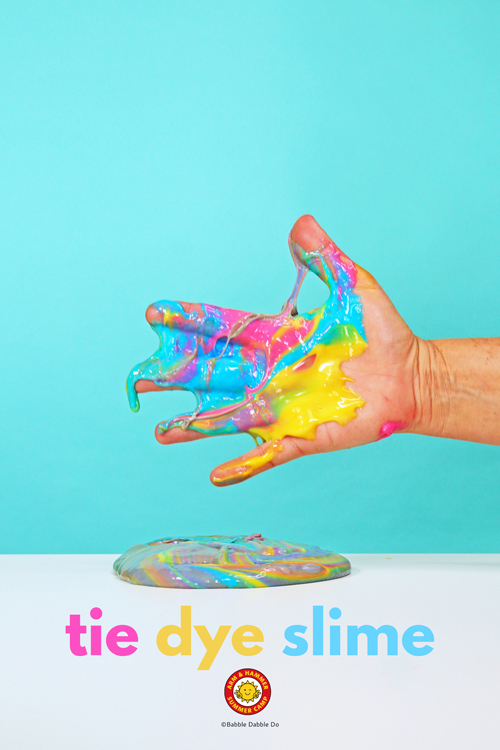
One of the reasons I love this particular slime recipe is that it uses the combination of two easy to find ingredients as the activator: baking soda + contact lens solution. And since it’s summer we’ll add another cool idea to the mix…let’s tie dye it!
Today’s project is the first science experiment of the Arm & Hammer Summer Camp! I’ve had the pleasure of being a part of this fantastic summer resource as the science counselor!
If your child has any skin sensitivity to Borax, this is a good slime recipe alternative. Please be aware though that Borax and contact lens solution include the same active ingredient, boric acid.
How to Make Slime with Baking Soda
Downloadable directions here
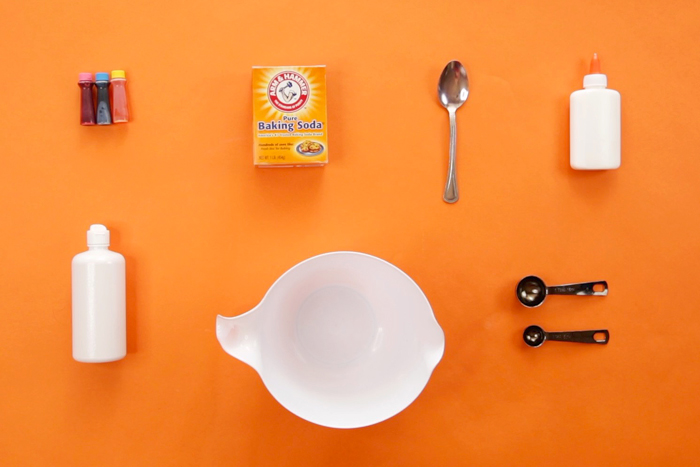
Tie-Dye Slime Materials
- Mixing Bowls 1 bowl for each color
- Glue 4oz. or (1) bottle of white liquid all-purpose glue
- ARM & HAMMER™ Baking Soda
- Contact lens solution
- Food coloring
- Baking sheet or tray
- Spoon
- Measuring Spoons
Tie-Dye Slime Instructions
Time needed: 20 minutes.
- Set out Bowls
You will need 1 bowl for each color you are making.
- Add glue to bowl
Pour 4 ounces of liquid glue into a mixing bowl. Use a different bowl for each color you are making. I suggest starting with the primary colors
- Add color and baking soda
Add a few drops of food coloring and 1 tablespoon of ARM & HAMMER Baking Soda to each bowl. Mix well.
- Add contact lens solution
Slowly add drops of contact lens solution. You will add about 2 teaspoons in total but add it slowly. If you add too much at once the slime can become stiff and you can’t make it stretchy again.

- Knead it
When the slime begins to pull away from the sides of the bowl it is ready to knead. Knead with your hands inside the bowl. If it still feels sticky after 1-2 minutes, add a couple more drops of the contact lens solution until it stops sticking to your hands.
- Make additional colors
Repeat steps 1-4 for each color.
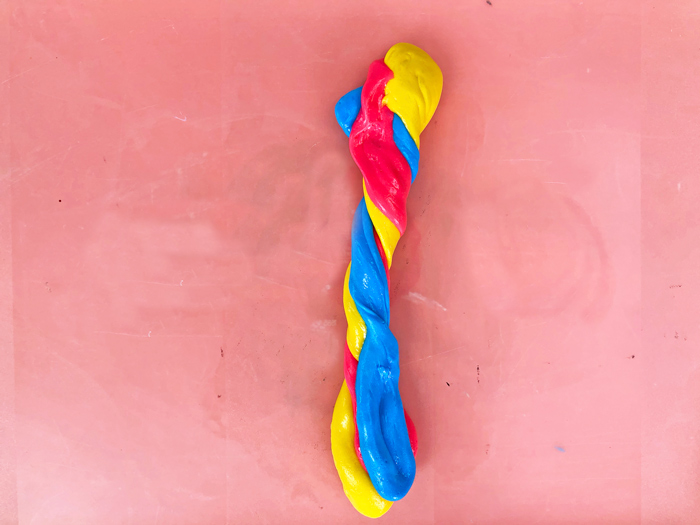
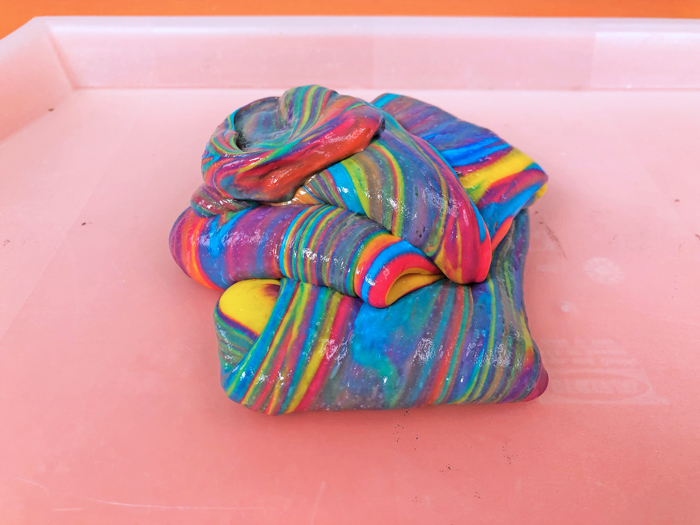
- Tie dye it
Remove each color of slime from each bowl and place on a baking sheet or tray. Stretch different color slimes side by side
- Twist
Twist the slime together to create your tie dye pattern!
- Store it
Store in an airtight container for up to a week. You may need to reactivate it with a little bit of baking soda and contact lens solution if it becomes sticky again.


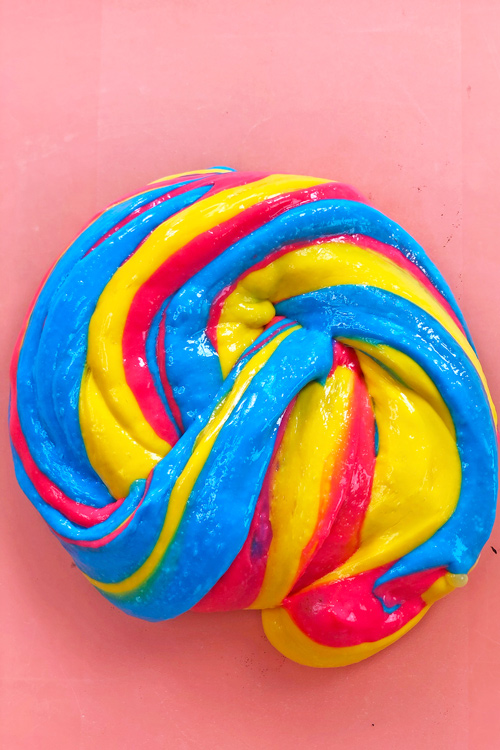
Tips on the colors
FULL DISCLOSURE ON THE COLORS: When mixing 3 or more more colors your slime will go from colorful to gray in a matter of minutes. It’s still a cool effect but if you want to get the most color fun out of your slime I suggest the following:
- Mix the tie dye slime in small batches. Use a small chunk of each color and mix it together to get the effect then save the individual colors for more slime play.
- Mix only two primary colors together at a time. This turns this into a color mixing experiment! You will end up with secondary colors in lieu of gray.
Keep it cleanish…
How do I keep slime from getting EVERYWHERE? This is the question I hear most frequently from parents about slime. Here are our tips:
- Tip #1: Contain the mess. I tell my students and children not to leave their station once they begin making slime. If they need help, tell them call YOU and then go to them. The biggest mess is made when a child walks around with slime that is too sticky. You will find slime strands everywhere! So make rule# 1 staying in place. And if it fails got to Tip #2
- Tip #2: Have lots of vinegar on hand. Vinegar is the #1 thing I use to remove slime. I’ve used it on carpet, clothing, table tops, shoes, and even hair! If you can get to the slime before it dries you’ll have a better chance of removing it. If the slime has dried, soak the area in vinegar for a few minutes before trying to rub the slime off using a rag
Let’s Talk STEAM
The Science
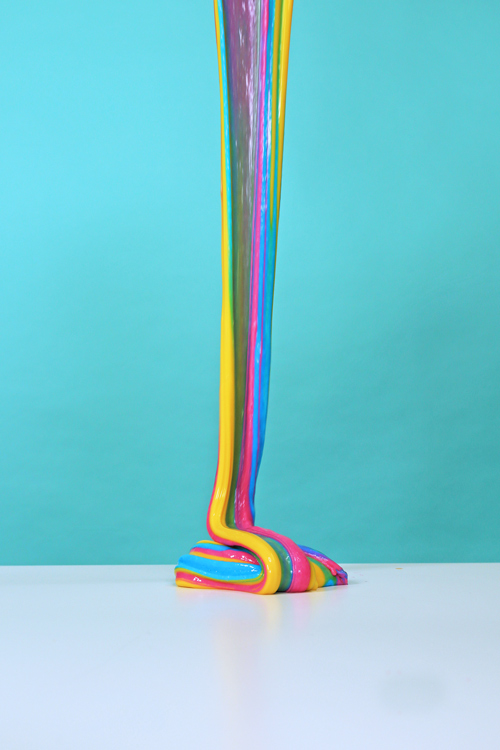
There is so much science in slime making that I wrote a post about it! Go here to read the post in its entirety. The top science fact about slime that I love to point out to kids is that slime is a non-Newtonian fluid, that means it is a liquid which changes its behavior depending on the pressure applied to it. The more you press it into a ball, it will behave like a solid, let it sit in your hand and it will soften and flow off your palm like a liquid.
The Art
This is a quick lesson in color mixing! If you want to get the most out of this as an art lesson, start by making slime in the primary colors. Then combine chunks of two primary colors to make each of the secondary colors. Finally take small chunks on the slime and mix them together to tie-dye them. Check out how beautiful they look UNTIL they all combine. What color do you end up with?
Conclusion
Now you know how to make slime with baking soda! Not only can you combine it with contact lens solution to make slime here are 4 more ways to make slime with ARM & HAMMER™ baking soda, glue, and other common ingredients.
See you back here tomorrow where we will tackle a mess-free chemical reaction! And if you’d like to see the other fun Arm & Hammer Summer Camp experiments, baking recipes and crafts, you can check out all the videos on Arm & Hammer’s YouTube channel.
Leave a Reply